

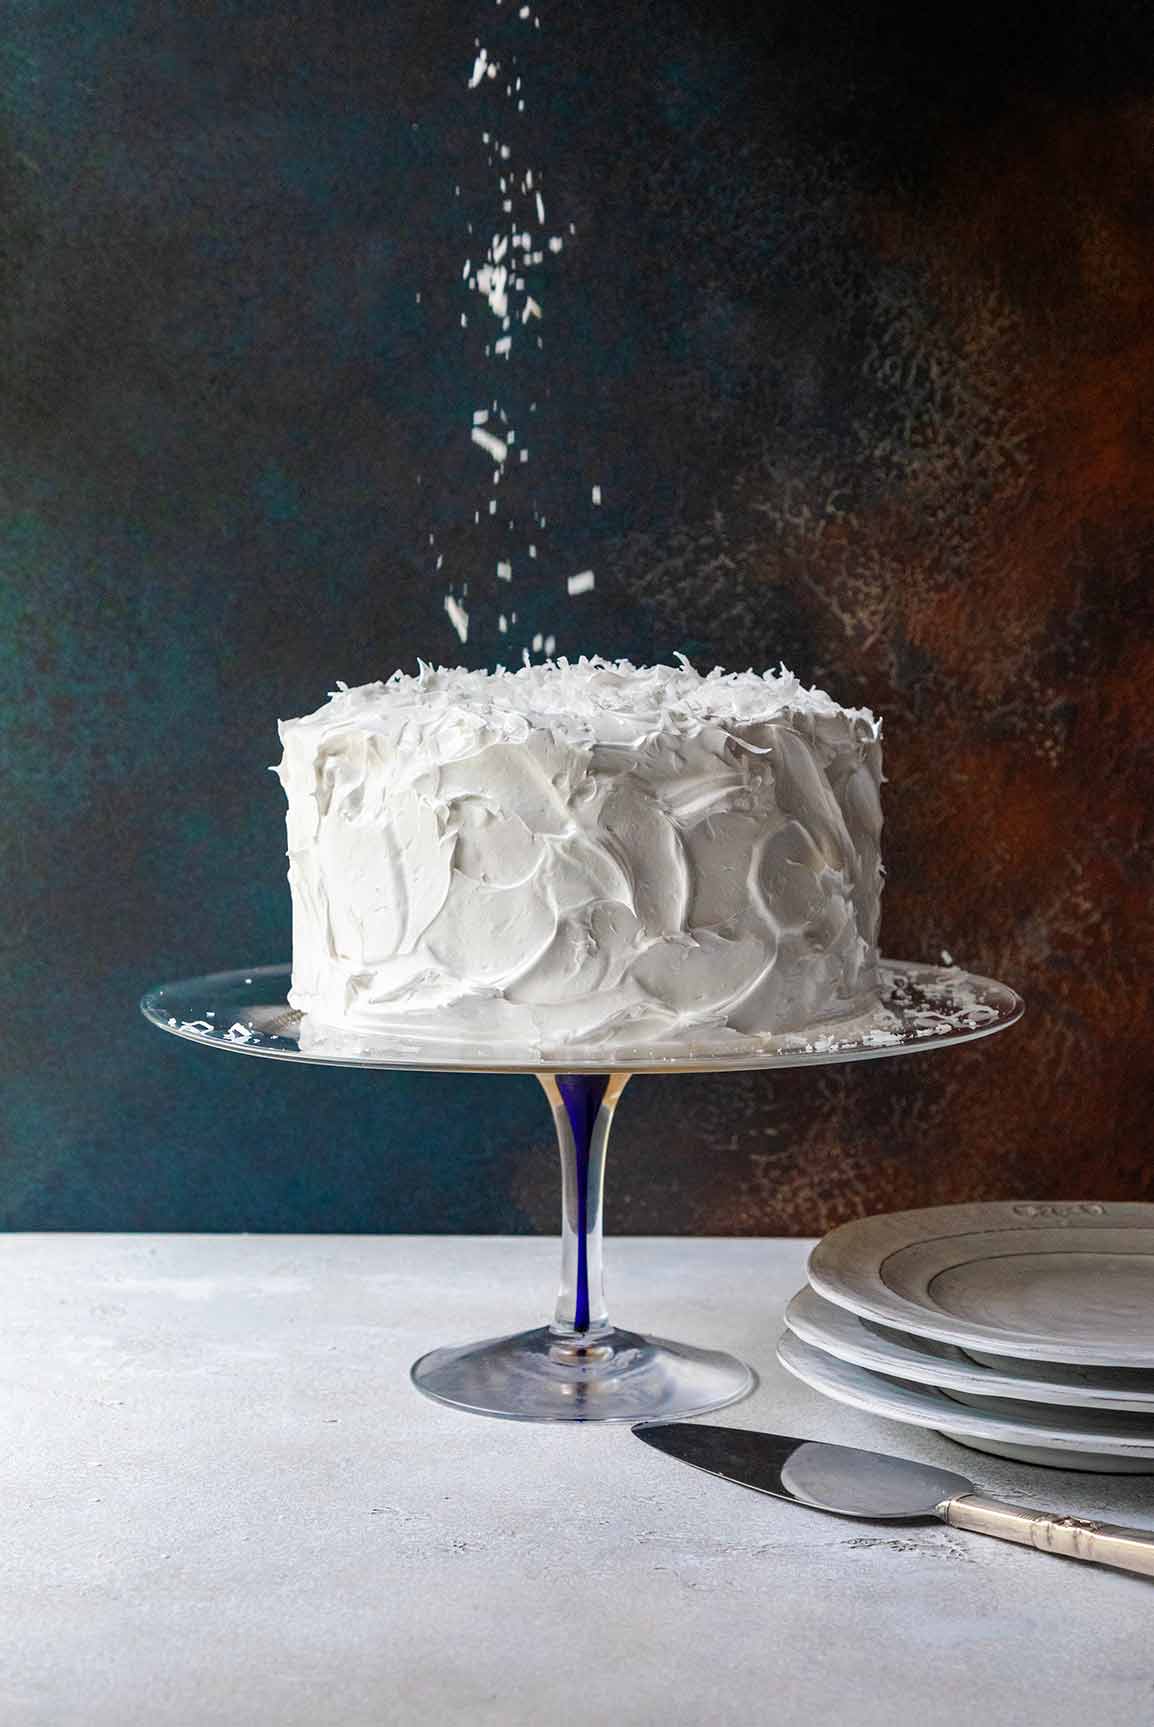
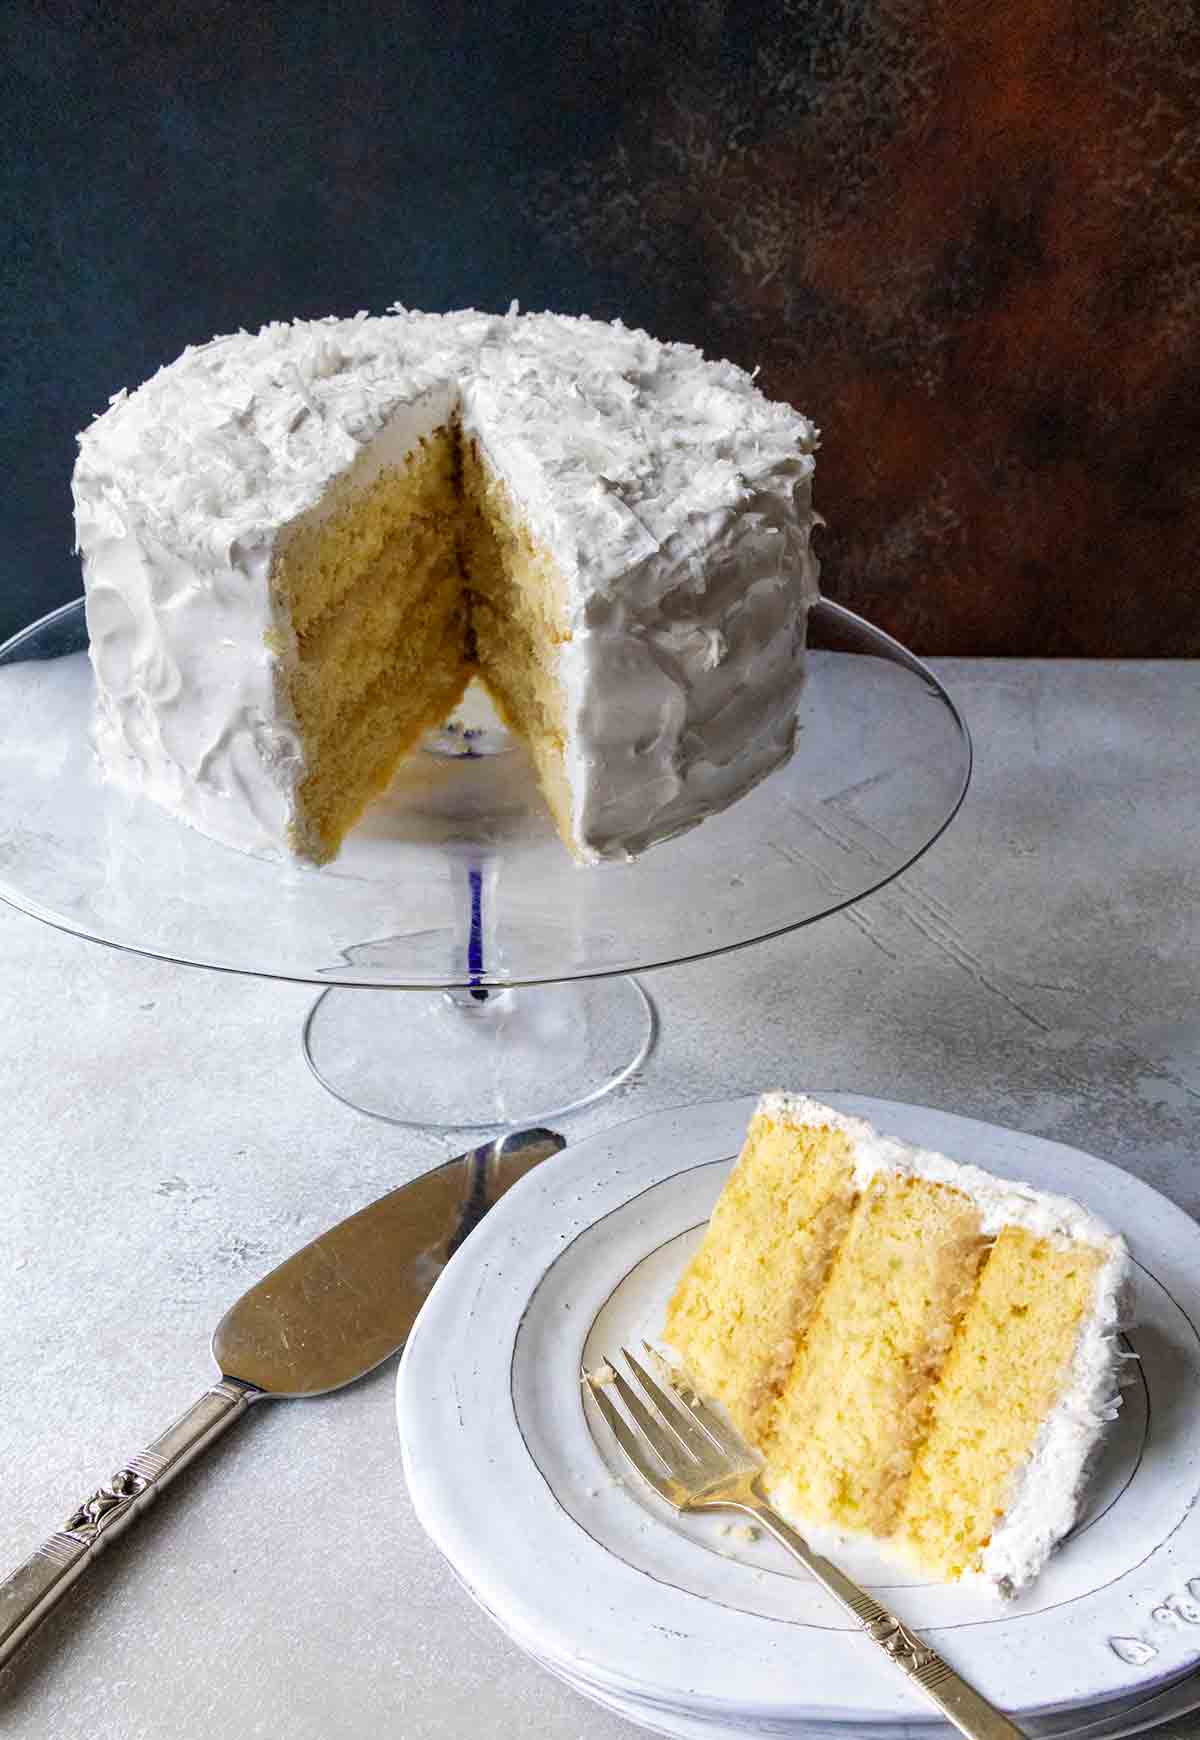
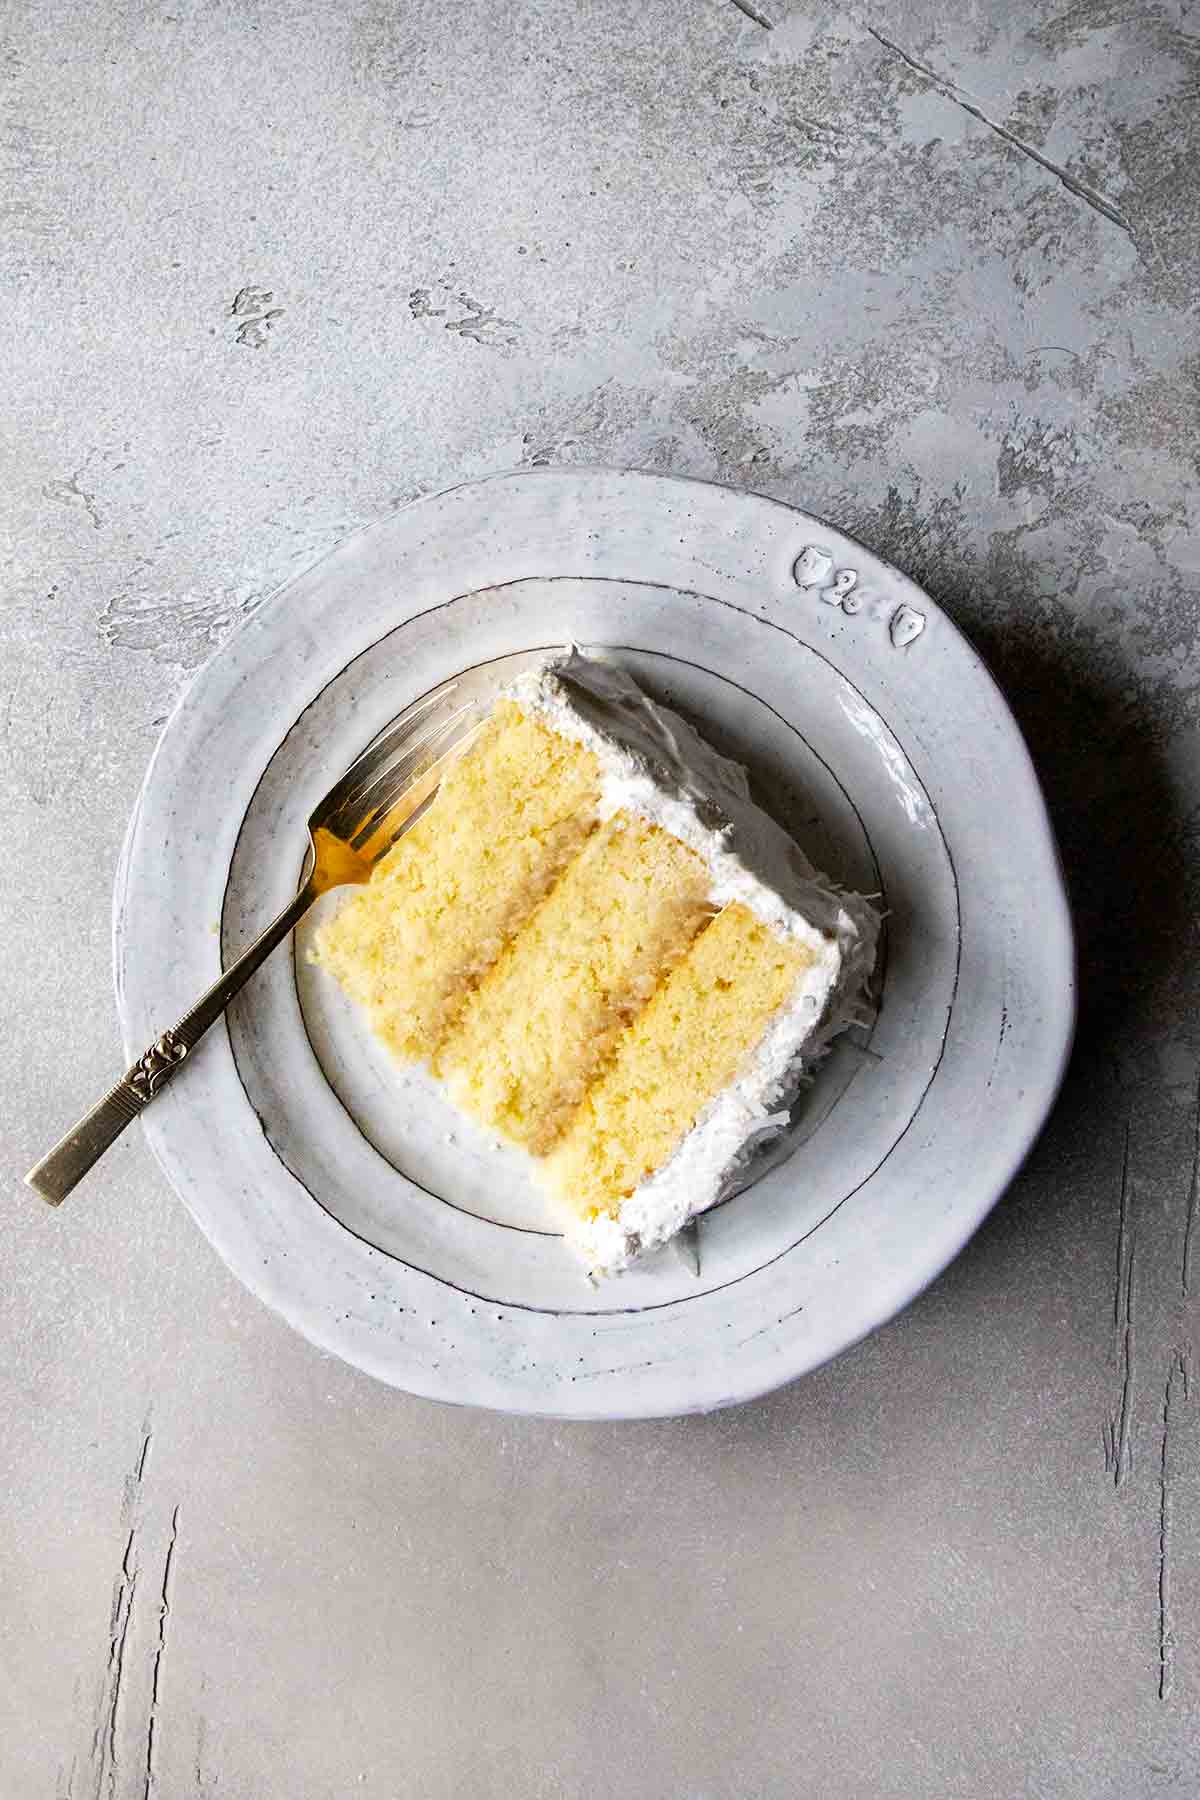
This old-fashioned coconut cake is moist and flavorful, with a rich coconut flavor and a fluffy 7-minute frosting. The cake layers are tender, and the frosting is light and airy. This cake is perfect for any occasion, and it’s sure to please–even coconut haters.
A short story that proves this is the perfect coconut cake. It’s so perfect, it’s practically miraculous. (Not that I see the face of Jesus in the frosting, but damn near as surprising.)
The One has been a lifelong coconut hater. Whenever I suggest whipping up a batch of coconut blondies or some coconut pops, he rolls his eyes and says one word. “Chocolate.”
All this month, our friend Nora has been visiting us from Uruguay. She is, as she puts it, “cuckoo for coconut cake.” As a result, I’ve made this beauty three times.
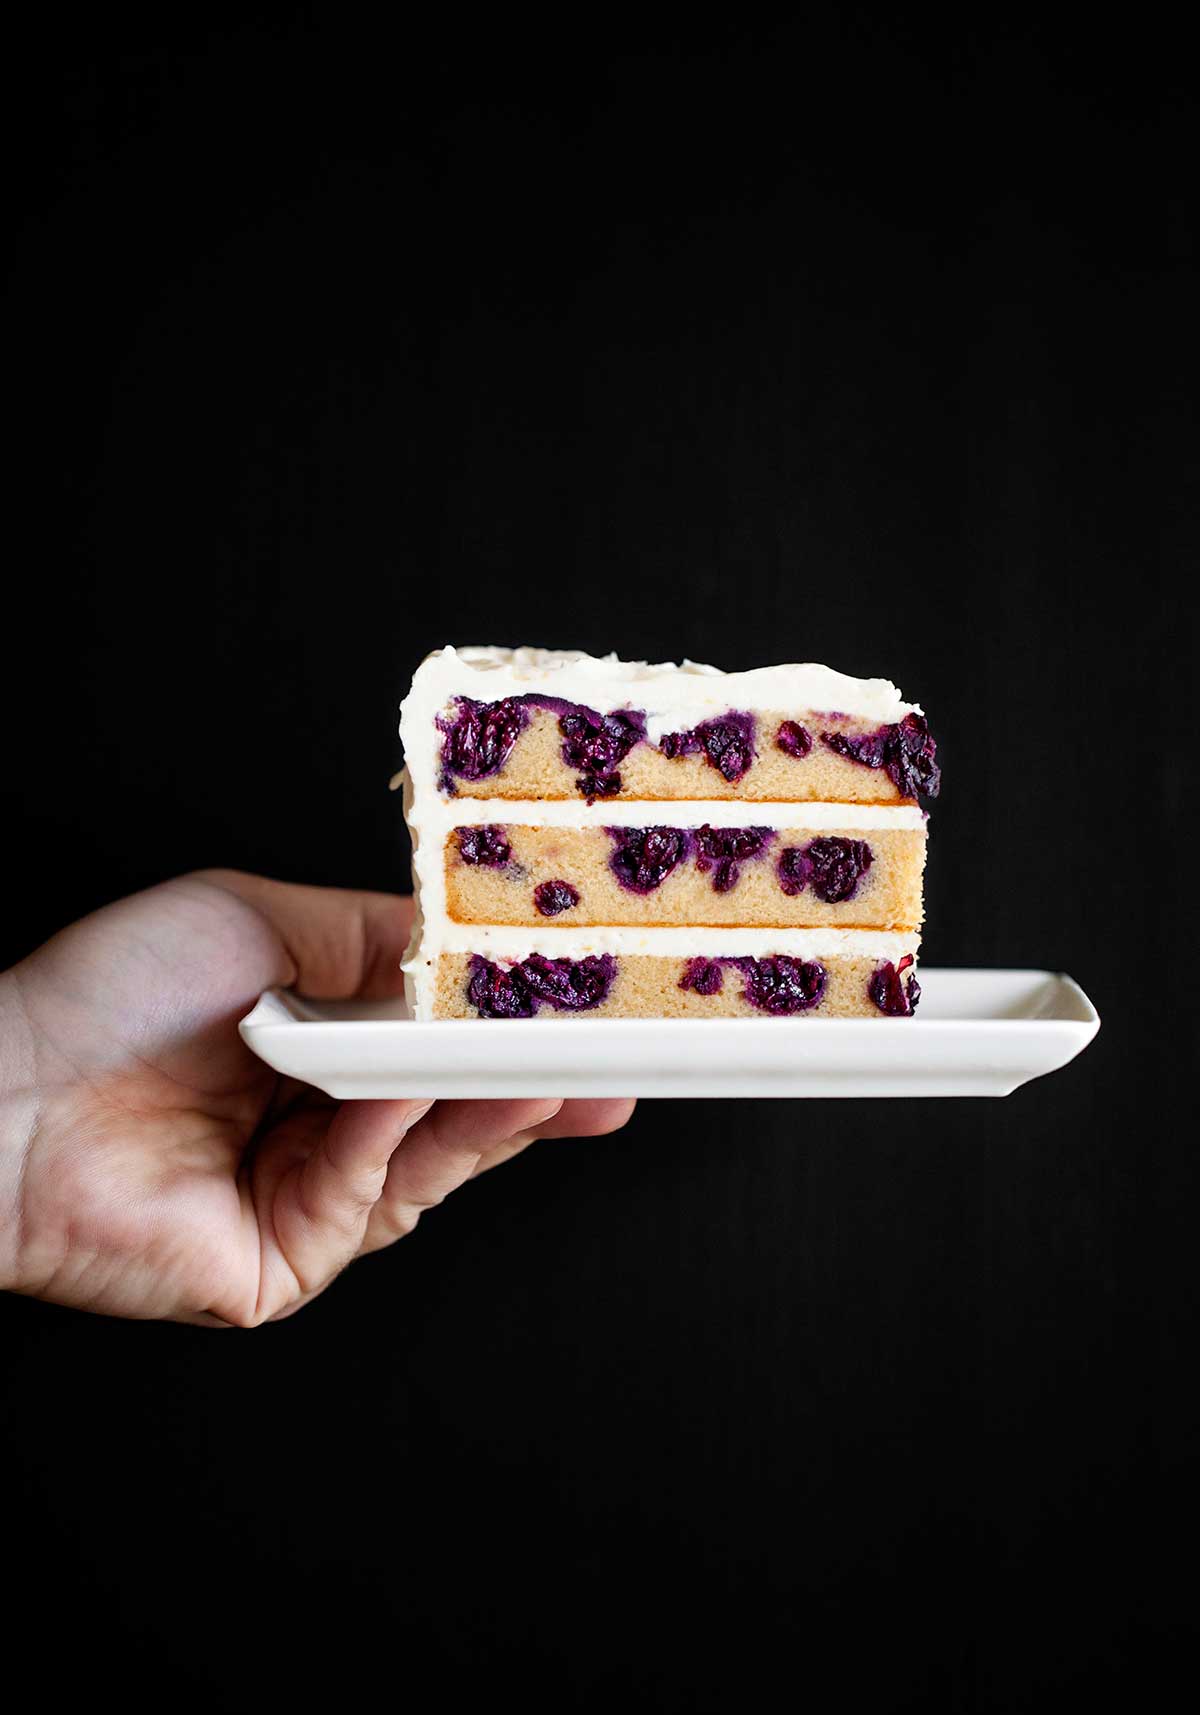
The first time, The One nibbled a bit on his slice and then reached for the blueberry slab pie.
The second time, he muttered, “Not too bad,” and had a few more mouth fulls. The third time, he demanded I divvy the cake into thirds so he could stake his claim. Now he wants it in regulation summer rotation.
I drew inspiration from the Magnolia Bakery’s coconut cake recipe. As much as I love their cake, I wanted more coconut flavor and a moister texture.
After testing and tweaking and retesting, I settled on coconut milk and coconut cream for sweetness and moisture. I added coconut to the batter, and real coconut extract gave it that extra punch of flavor.
Dare I say it restored my faith in, um, the power of dessert?

Why Our Testers Loved This
Tester Ayanna Fews struggled to find the right words to describe how much she and her goddaughter adored this coconut cake. She loved that it was “moist, sweet, rich, and just pure decadence.”
Notes on Ingredients
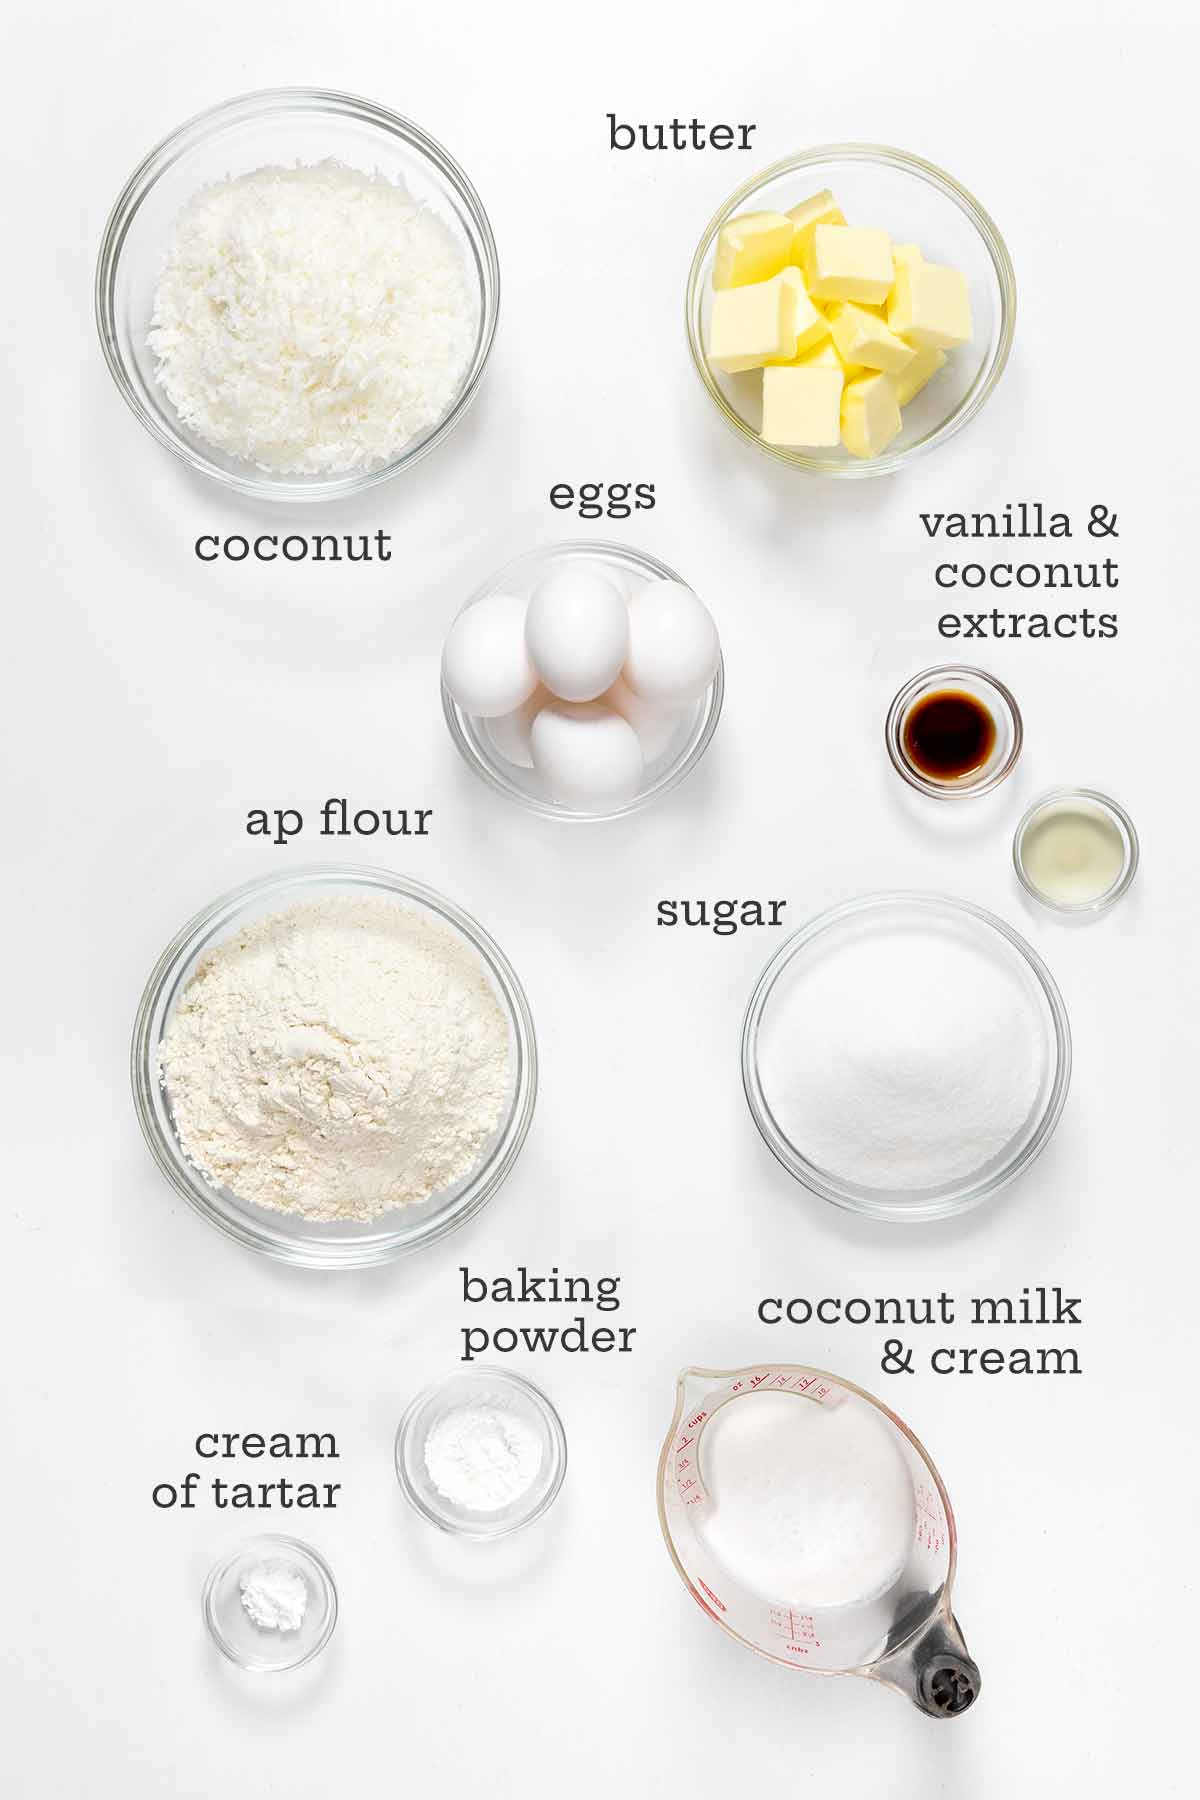
- Sweetened shredded coconut–This adds texture to the cake batter and filling as well as an attractive garnish to the finished cake.
- Coconut milk and sweetened coconut cream–To create a rich cake batter with lots of coconut flavor, I use a mix of coconut milk and coconut cream. Use the canned versions, not the boxed variety.
- Coconut extract–This delivers an extra boost of coconut flavor. Avoid the fake stuff; use real coconut extract for the best results.
- Cream of tartar–This is critical for stabilizing your meringue frosting. Don’t skip it.
How to Make This Recipe
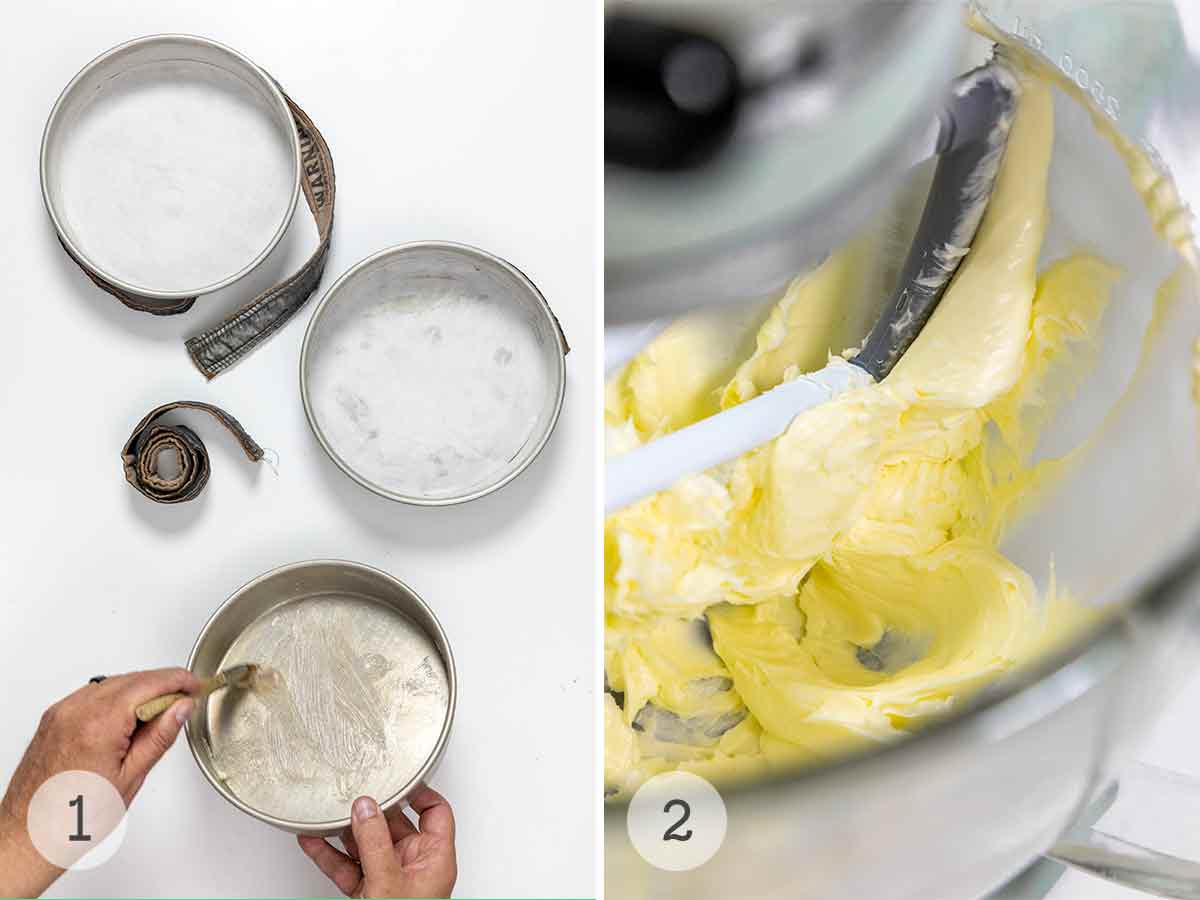
- Heat the oven to 350°F. Butter and flour three 8-inch cake pans.
- Beat the butter in a stand mixer until smooth.
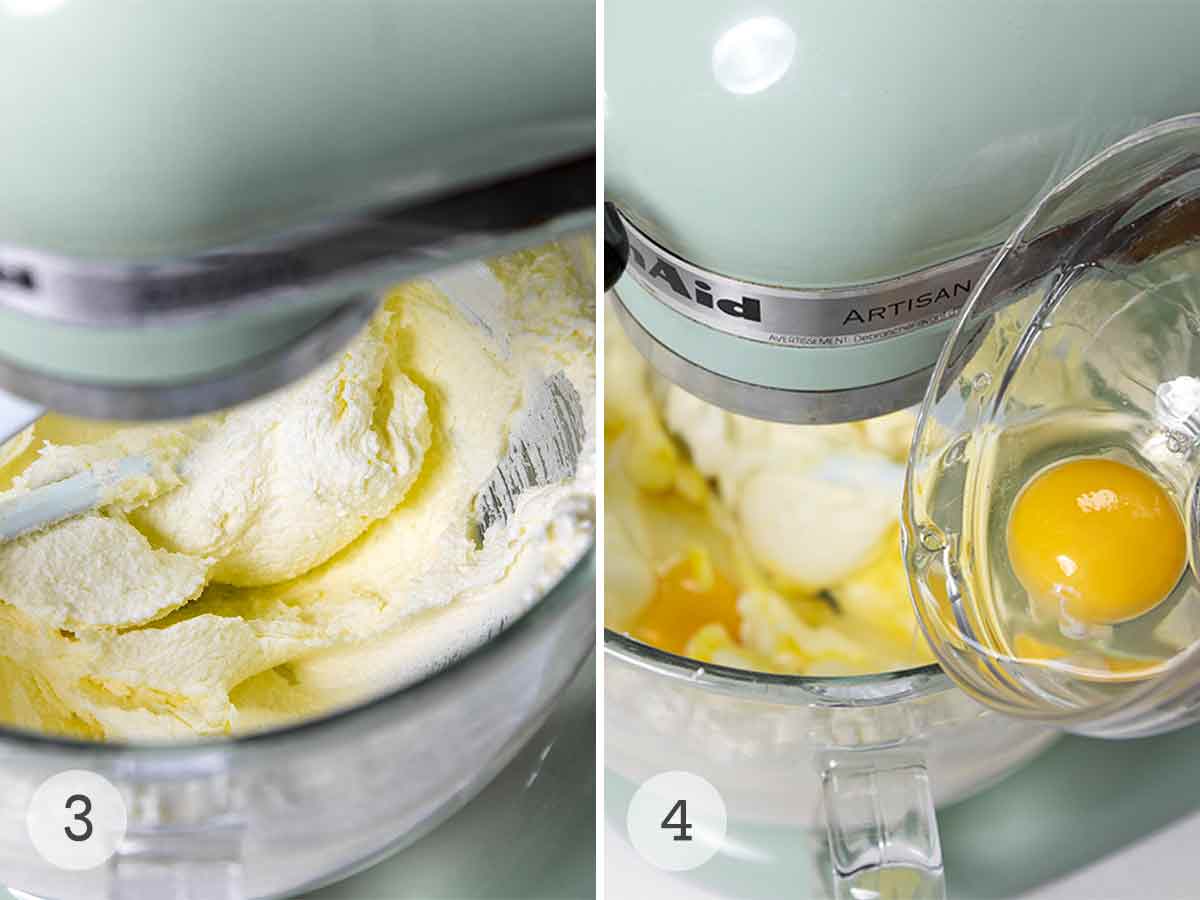
- Dump in the coconut and gradually beat in the sugar.
- Plop in the eggs, one at a time, beating well after each addition.
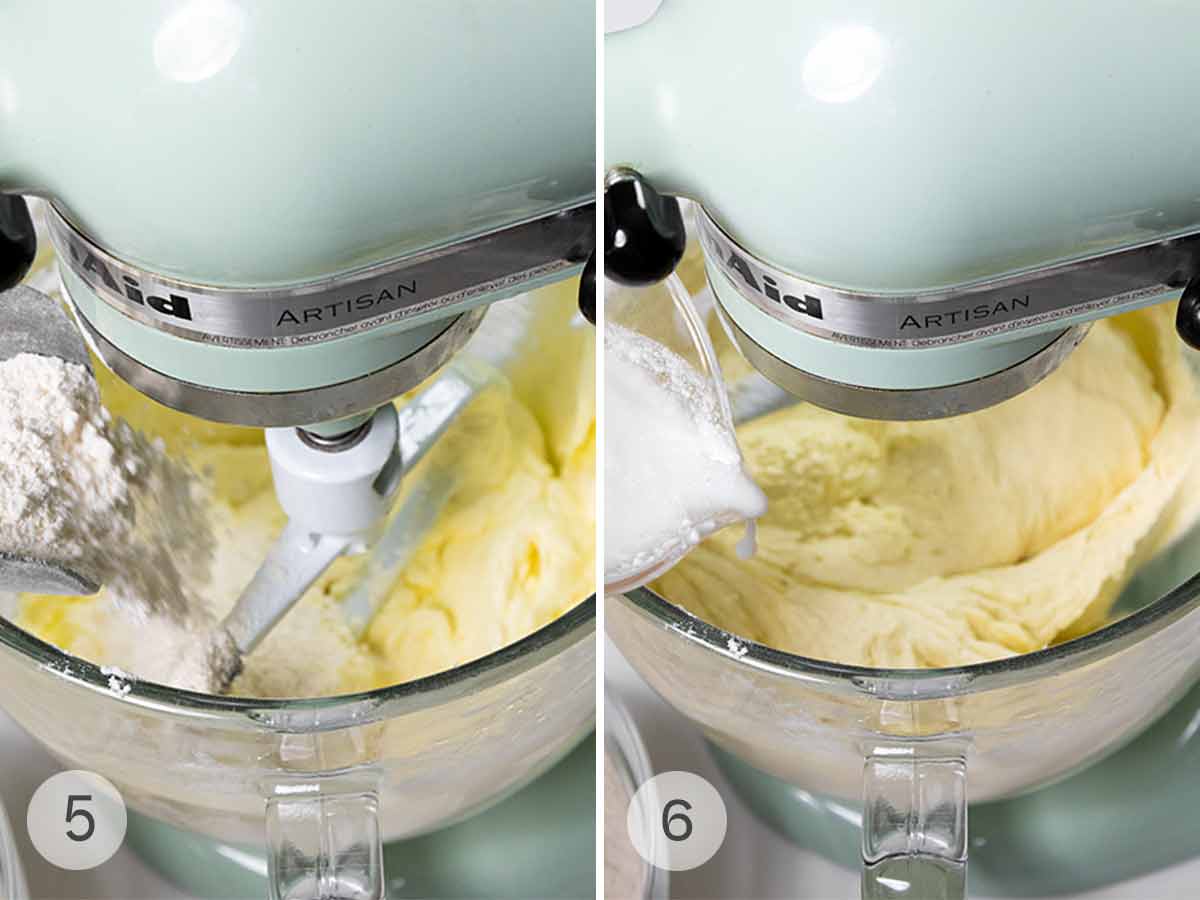
- Combine the flour, baking powder, baking soda, and salt in a bowl. In a separate bowl, whisk the coconut cream, coconut milk, vanilla, and coconut extract. Add one-quarter of the dry ingredients to the mixer while it is running.
- Pour in one-third of the coconut milk mixture and blend well. Alternate adding the remaining dry and wet mixtures.

- Divvy the batter between the cake pans. Bake until a tester comes out clean. Cool in the pans for 15 minutes, then remove and cool completely on a wire rack.
- To make the filling, whisk the coconut milk, sugar, and flour in a saucepan until smooth. Cook until thickened and bubbly.
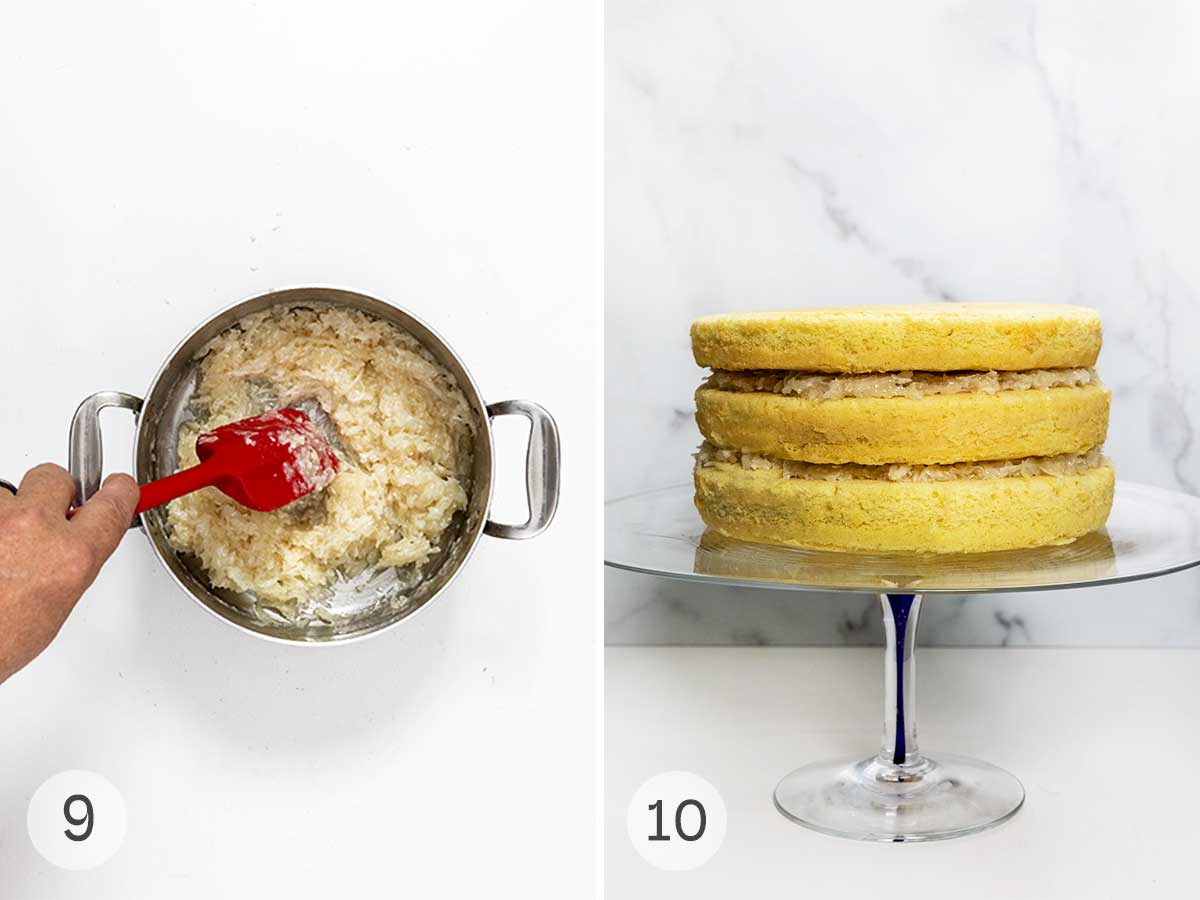
- Stir in coconut and vanilla, then cool.
- Spread half of the cooled filling between the first two layers of the cake, then spread the remaining half between the second and third layers.

- Prepare the 7-minute frosting and beat until it’s silky with stiff peaks.
- Frost the cake immediately, then sprinkle with coconut.
Recipe FAQs
This cake is best served the day it’s filled and frosted. But if I’m honest, The One and I have had sliced 48 hours, and it was perfectly fine. To keep the cake in fighting shape, it’s best to store it under a cake dome. It keeps the 7-minute frosting fresher.
Fear not. If you don’t have three 8-inch pans, you can bake the cake in batches. Just be sure not to let the batter sit too long because it could affect the cake’s rise. You could also use two 9-inch pans and reduce the baking time to 25 to 30 minutes.
Yes, but with caveats. You can freeze the unfrosted cake layers for up to 4 months. Simply wrap them tightly in plastic wrap, then, for extra safety, in aluminum foil or in airtight freezer bags.
When you’re ready to use them, let them thaw completely at room temperature before filling and frosting. Here’s the caveat: The filling and frosting don’t freeze well, so you’ll have to make them as the cake defrosts. No biggie.
Seven-minute frosting is a light, fluffy icing traditionally used for cake decoration. It’s made by heating sugar, water, and cream of tartar together and then gradually pouring this mixture into whipped egg whites while beating them.
This process creates a silky, meringue-like frosting that’s glossy and holds its shape well, perfect for creating swoops and swirls on a cake. The name “7-minute frosting” comes from the total time it generally takes to beat the frosting to the right consistency, which is around 7 minutes.
Helpful Tips
- You can make the cake layers a day ahead of time and the filling and frosting the day it’s to be served.
- Whenever I bake cakes, I use cake strips (those gray spirals in step #1). You wet them and wrap them around the outside of the cake pan. It prevents the cake from doming.
- For a more complex flavor, you toast the decorating coconut in a dry skillet over low heat. Stir constantly until the coconut is evenly colored. Immediately spoon it into a bowl to stop the cooking. It adds dramatic color to the top of the cake.
More Superb Cake Recipes
Write a Review
If you make this recipe, or any dish on LC, consider leaving a review, a star rating, and your best photo in the comments below. I love hearing from you.–David
This is the best cake ever! I really enjoyed preparing it. I have been baking for years and am quite good at it. But this is a very different cake mix and a pleasure to create.
diana s.
For the 7-minute frosting
Make the coconut layer cake
-
Preheat the oven to 350°F (175°C). Butter and lightly flour three 8-by-2-inch round cake pans, then line the bottoms with parchment paper.
-
Beat the butter in the bowl of a stand mixer until smooth. Dump in the coconut.
-
Add the sugar gradually and beat until fluffy, 3 to 5 minutes. Add the eggs, 1 at a time, beating well after each addition.
-
Whisk the flour, baking powder, baking soda, and salt In a medium bowl. In another bowl, whisk together the coconut milk, coconut cream, and extracts.
-
Spoon the flour mixture into the creamed butter in 4 additions, alternating with the coconut milk mixture, beating well after each addition. Divide the batter among the cake pans.
-
Bake for 30 to 35 minutes or until a cake tester inserted in the center of a cake comes out clean.
☞ TESTER TIP:
Resist overbaking the cake. it will be unpleasantly dry and crumbly.
-
Let the cakes cool in the pans for 15 minutes. Remove from the pans and cool completely on a wire rack.
Make the coconut filling
-
Whisk the coconut milk, sugar, and flour in a medium saucepan until smooth.
-
Cook, stirring constantly, over medium-high heat until thickened and bubbly, about 5 minutes. Remove from the heat, then stir in the coconut flakes and vanilla extract. Cool to room temperature.
-
Spread half of the cooled filling between the first two layers of cake, then the other half between the second and third layers.
Make the meringue frosting
-
Add the egg whites and coconut extract to the bowl of a stand mixer fitted with the whisk attachment. Beat on medium-high until foamy, about 1 minute.
-
Combine the water, sugar, cream of tartar In a medium saucepan over high heat.
-
As the mixture begins to bubble around the edges, stir once to make sure the sugar is dissolved completely. Let it come to a rolling boil, 2 to 3 minutes. Immediately remove from the heat.
-
Turn the mixer to medium-high, and pour the sugar syrup CAREFULLY into the beaten egg whites in a thin, steady stream. Continue beating for about 7 minutes or until stiff peaks form, but the frosting is still silky.
-
Frost the top and sides of the cake immediately, being generous with your swoops, swirls, and flourishes. Generously sprinkle the top of the cake with shredded coconut.
- Make ahead–The cake layers can be made a day ahead of time, and the filling and frosting the day it’s to be served.
- Use cake strips–Cake strips prevent doming. They’re indispensable.
- Toast the coconut–For a more complex flavor, toast the decorating coconut in a dry skillet over low heat. Stir constantly until the coconut is evenly colored. Immediately spoon it into a bowl to stop the cooking.
Serving: 1 portionCalories: 632 kcalCarbohydrates: 100 gProtein: 8 gFat: 24 gSaturated Fat: 16 gPolyunsaturated Fat: 1 gMonounsaturated Fat: 5 gTrans Fat: 1 gCholesterol: 104 mgSodium: 232 mgPotassium: 283 mgFiber: 2 gSugar: 76 gVitamin A: 630 IUVitamin C: 0.1 mgCalcium: 99 mgIron: 2 mg
Nutrition information is automatically calculated, so should only be used as an approximation.
Recipe © 2023 David Leite. Photos © 2023 David Leite. All rights reserved.
Recipe Testers’ Reviews
It’s hard to put into words just how incredible this cake is. It’s moist, sweet, rich, and just pure decadence. I shared a slice with my goddaughter, and she said, “It’s so good that it doesn’t make sense!” It really is!
The filling was amazing, and the frosting tasted SO good. (And I will admit that I sampled quite a bit of the frosting before it made it onto the cake!)
You make the frosting like you would an Italian meringue, except you don’t add any butter. It tastes like the best marshmallow you have ever tasted! The recipe was spot on as written; the only deviation I made was to toast the coconut before putting it on the cake, giving it a somewhat nutty taste that was well received.
I always use a little of the batter to make a single cupcake so that I can taste the cake without having to cut into it, and I can tell you this recipe makes an adorable cupcake, too. I added a small layer of the filling to the top of the cupcake, then I added the frosting and the toasted coconut, which turned out really cute!
I can’t wait for another reason to make this cake again, as this is the kind of cake you need to make with the intent to share. Otherwise, you could definitely eat this entire cake by yourself.