
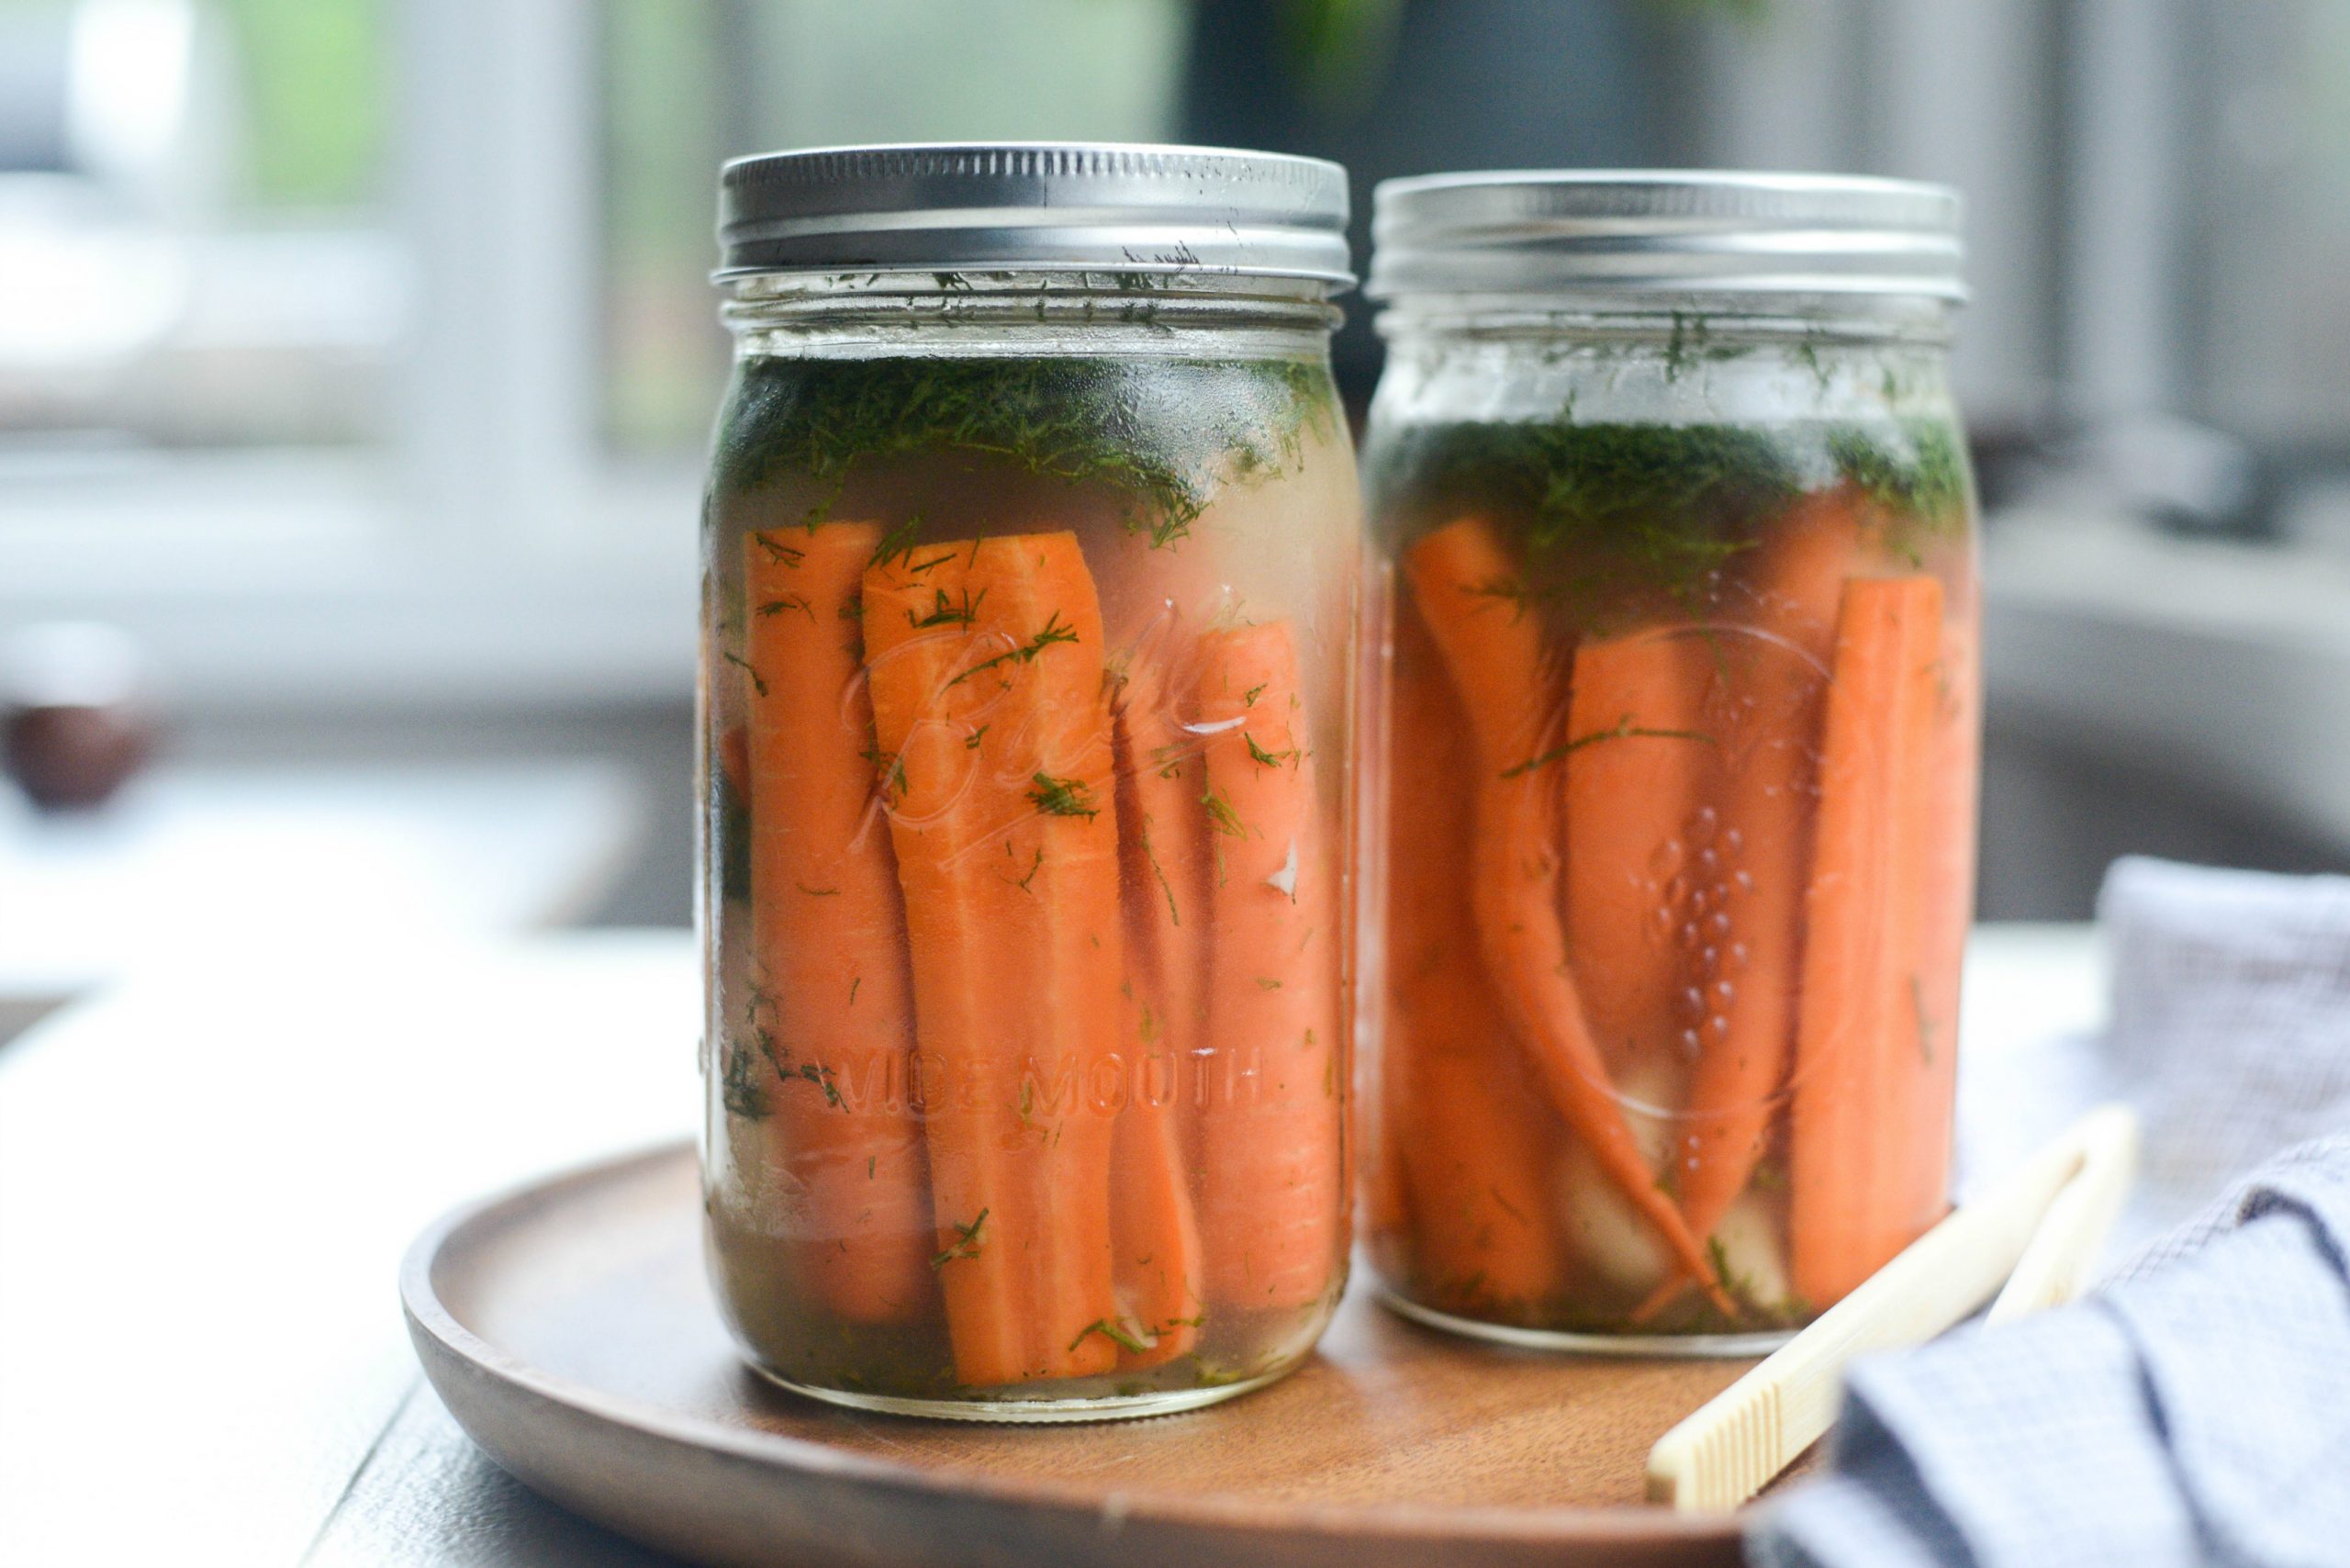
These naturally fermented dilly carrots are crunchy, garlicky and delicious! Not only are they good for you and packed with probiotics, they also make a great snack or side dish at your next get together. Simple ingredients and nature does all the work.
When I first encountered fermented carrots I almost gave them up because I won’t lie, the name alone intimidated me. But I’m so glad I got over it and gave it a try. Because these naturally fermented dilly carrots are not only incredibly tasty, but also packed with good probiotics that aid in digestion, which means they’re good for your gut!
WHAT IS LACTO-FERMENTATION?
Lactic fermentation is a method in which fruit and vegetables, dairy products and bread doughs are preserved through a fermentation process. Different foods require different bacteria, but generally lactofermented vegetables use lactobacilli.
You don’t need any special equipment for lacto fermentation. Just large wide mouth jars, ingredients like fresh garlic, veggies or fruit, salt, spices, etc. Some recipes call for whey, but I haven’t used it. Another benefit of LF is that you don’t have to sterilize jars and lids or pressure the fruit or veg! The salt in the recipe kills any bad bacteria, allowing the good bacteria (hello, probiotics!) to thrive by converting lactose and all other sugars into lactic acid, which is what gives LF food its distinctly tangy flavor. Lactic acid also creates an acidic environment that preserves food. This was common practice before modern canning methods became the norm.
How Do Fermented Dilly Carrots Taste?
One of my favorite ways to preserve carrots is to make these naturally fermented dilly carrots. You might think they must taste like dill pickles, right? But they don’t. There’s no vinegar, so the crispy, earthy carrots ooze the fresh dill and garlic flavor.
Naturally fermented dilly carrots are addictive, delicious. Keep them on hand for an easy, healthy snack, or serve them up at your family dinner or BBQ.
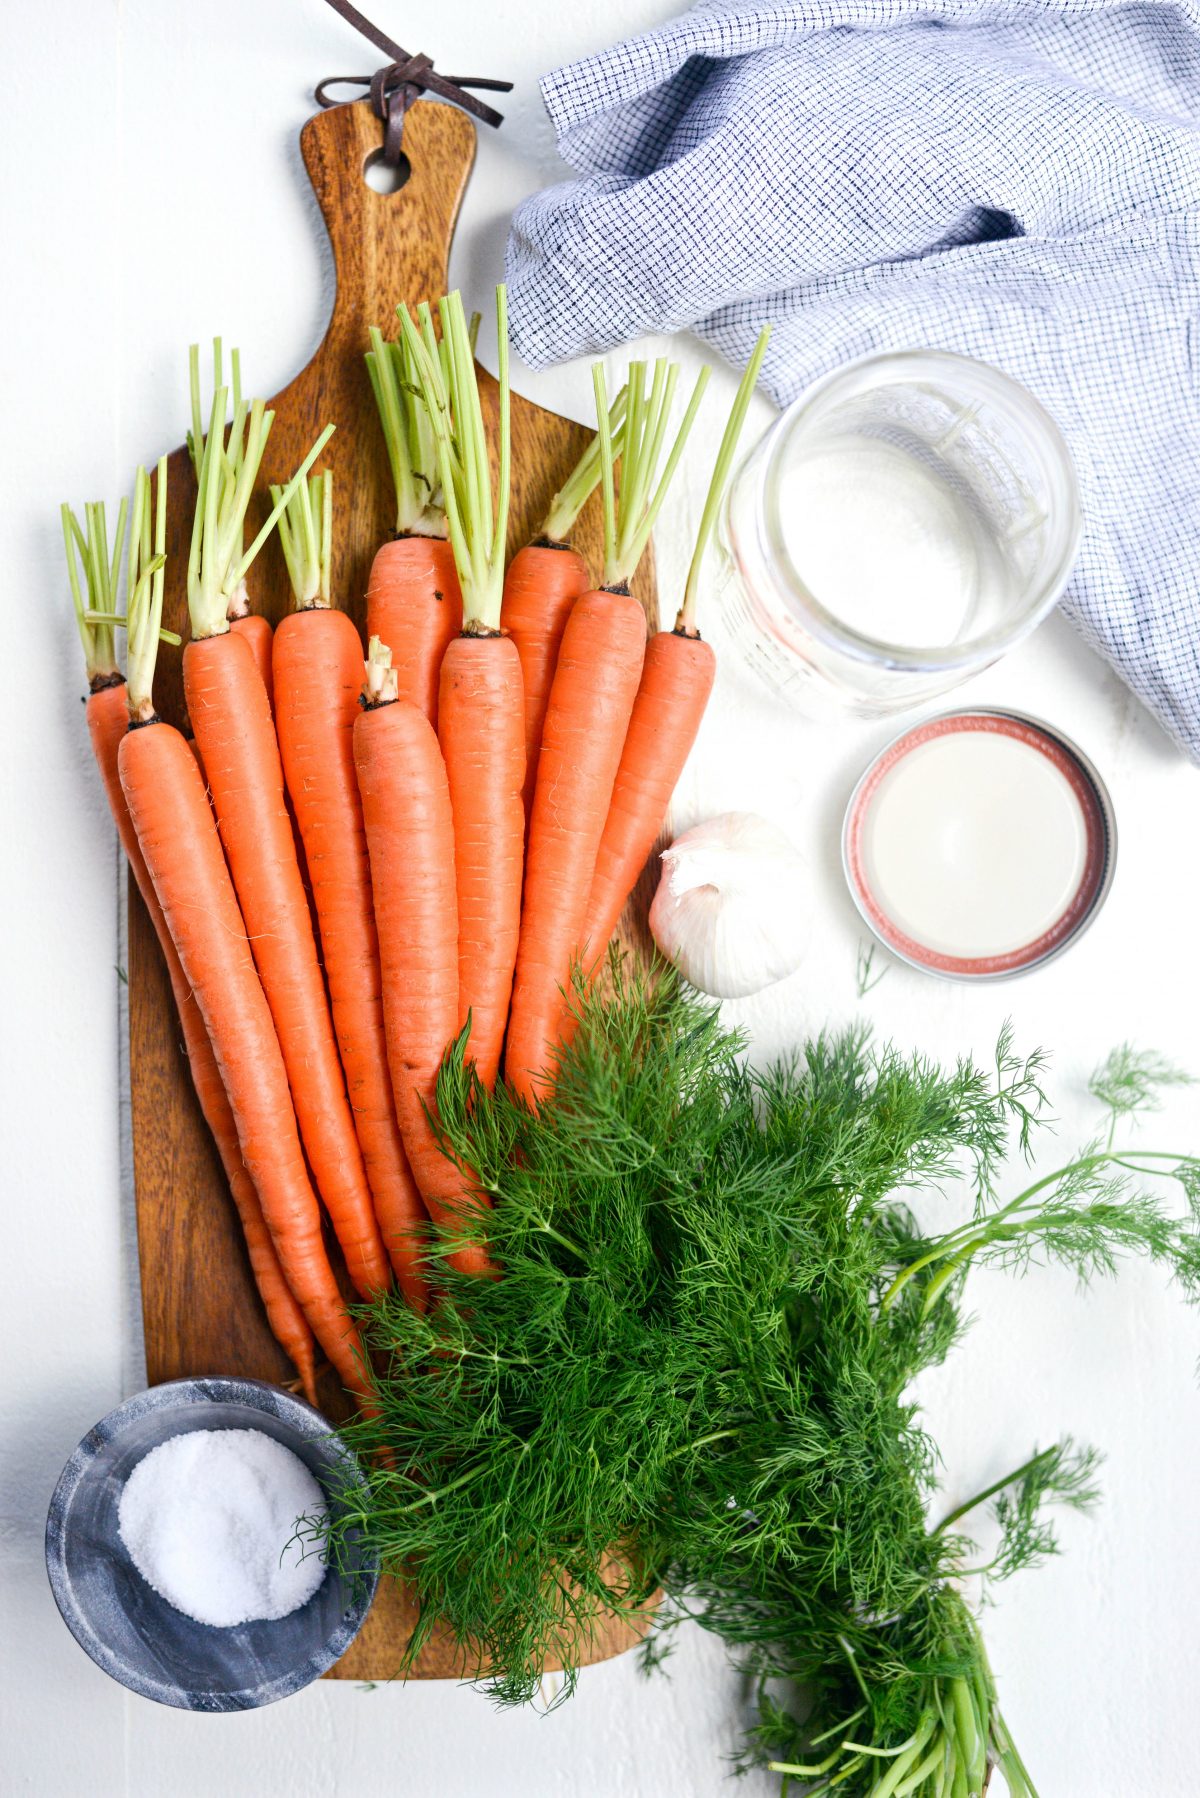
To make these naturally fermented dilly carrots you will need:
- wide mouth glass (with tight-fitting lid) – You will need a 32 ounce glass.
- carrots – I prefer thin and narrow carrots to huge fat carrots.
- fresh dill – Imparts a sweet and grassy flavor with notes of celery and parsley.
- Garlic – Adds a distinctly bold flavor.
- sea-salt – Adds flavor while keeping all the bad bacteria out so the good bacteria can thrive.
- Water – Preferably distilled or filtered. (more on that in the post)
NOTE: In this post, I make double the amount because a glass is quickly used up here. Just note that the recipe below is for a batchSo if you want 2 glasses, just double the recipe.
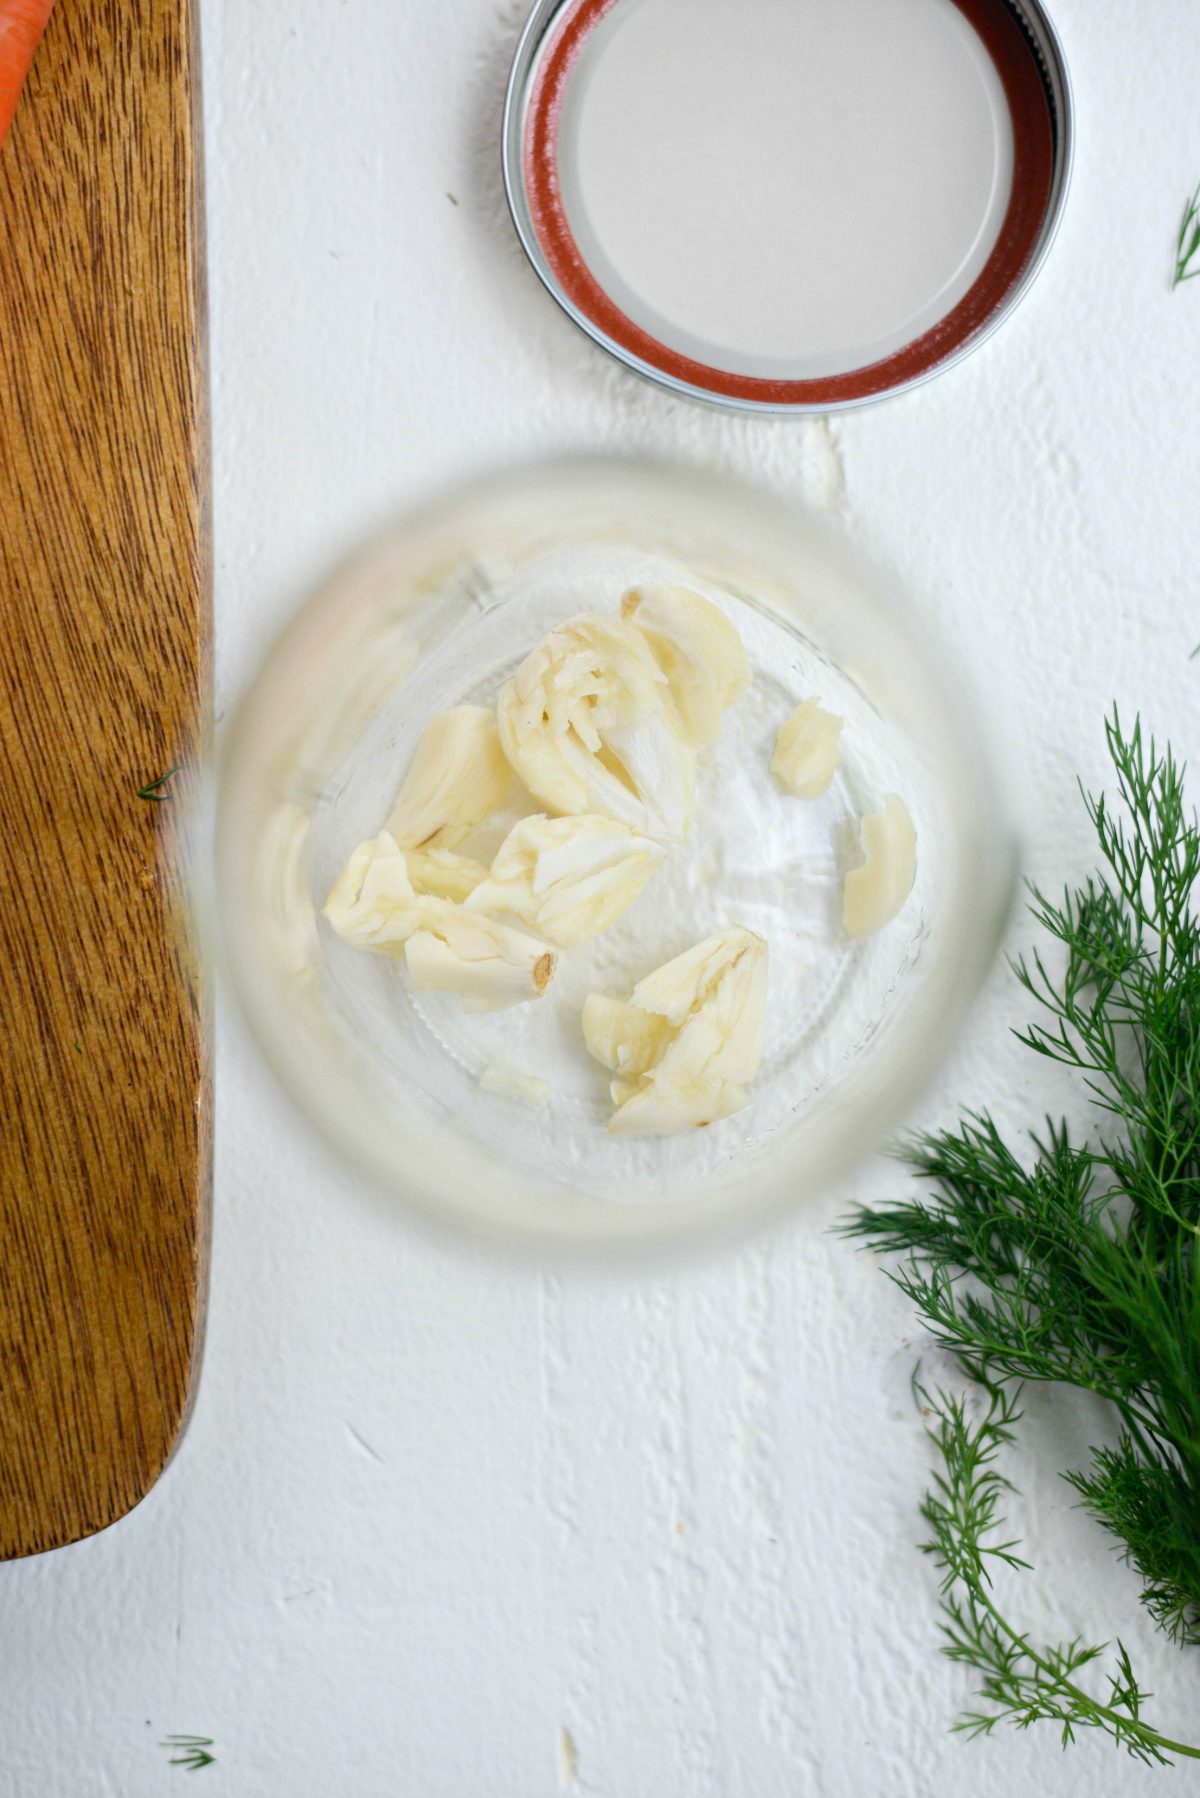
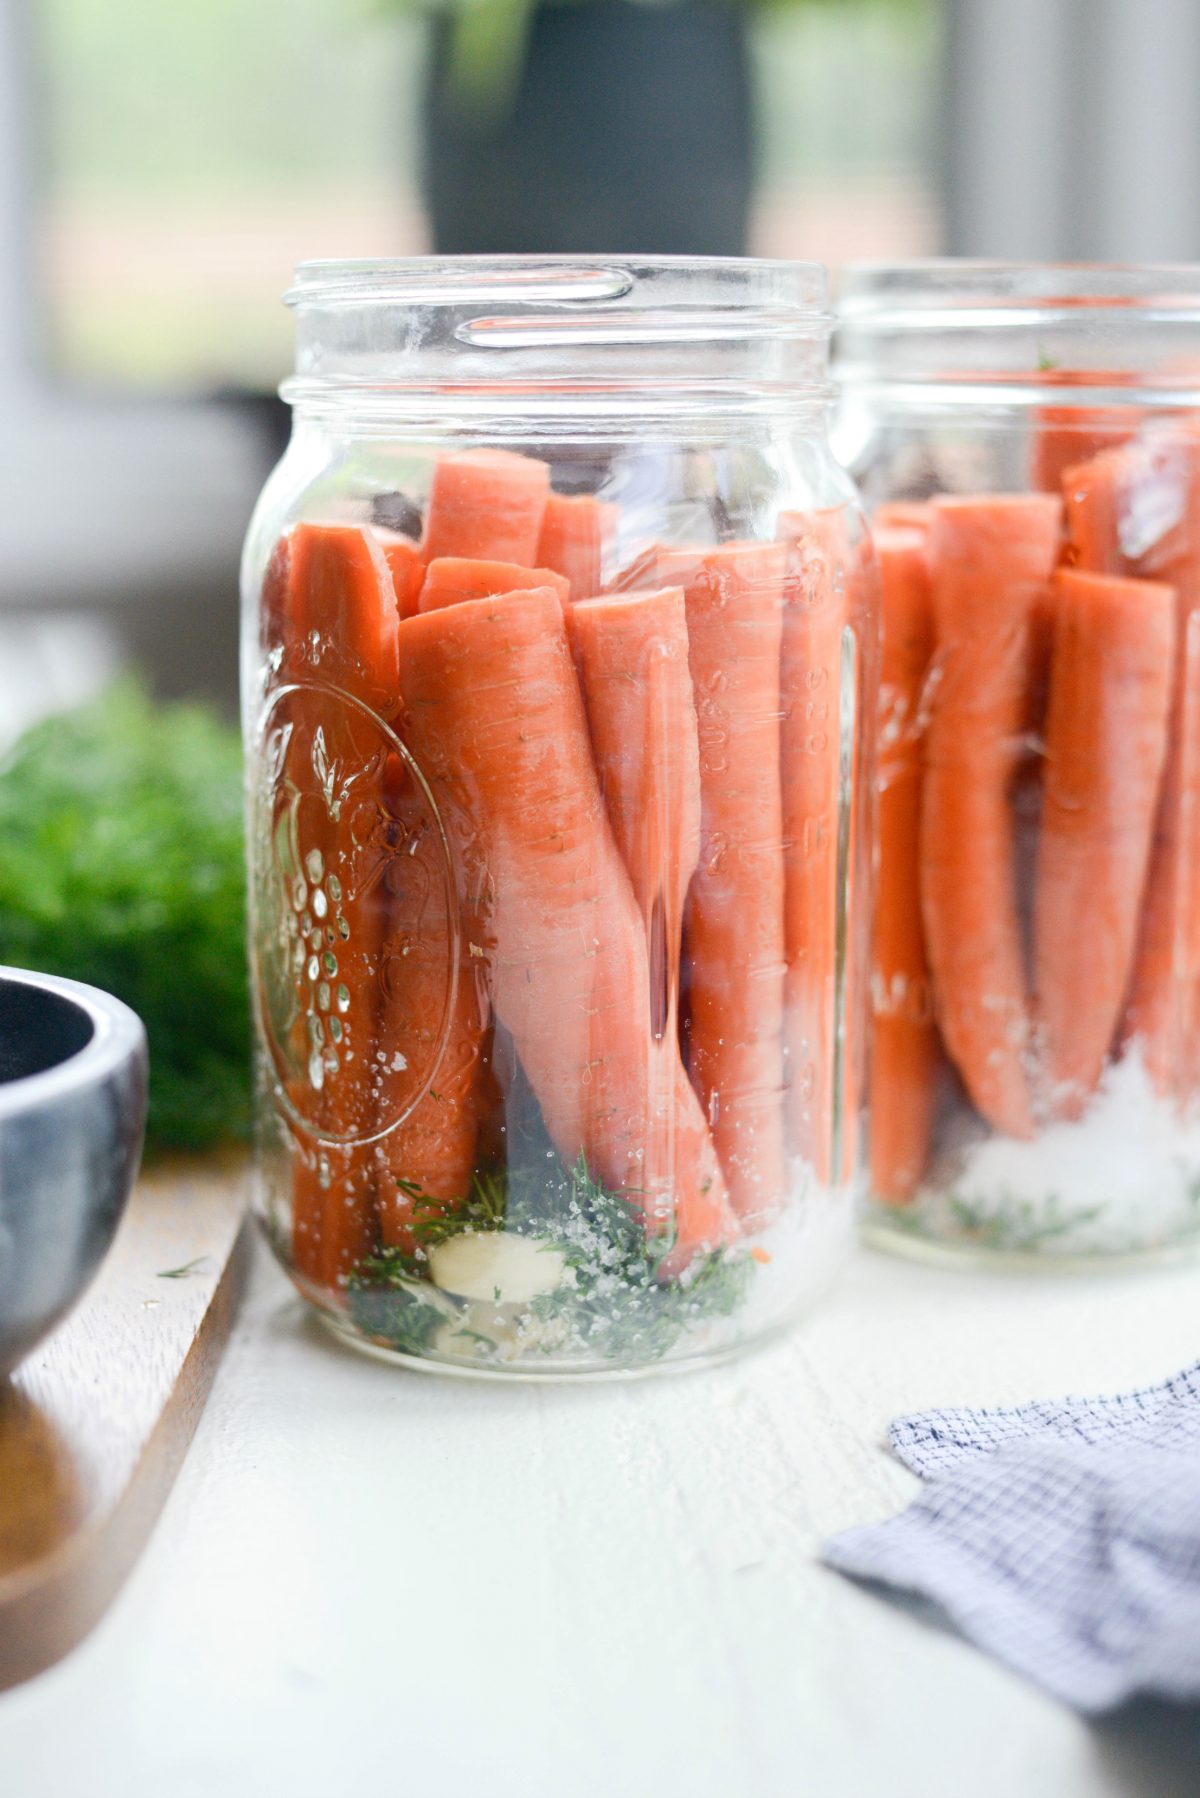
Start by crushing 2 to 3 cloves of garlic well. Next, peel the crushed garlic cloves and place in a clean 32-ounce wide-mouth jar. The wide opening is important so that the carrots fit easily and serving is more convenient.
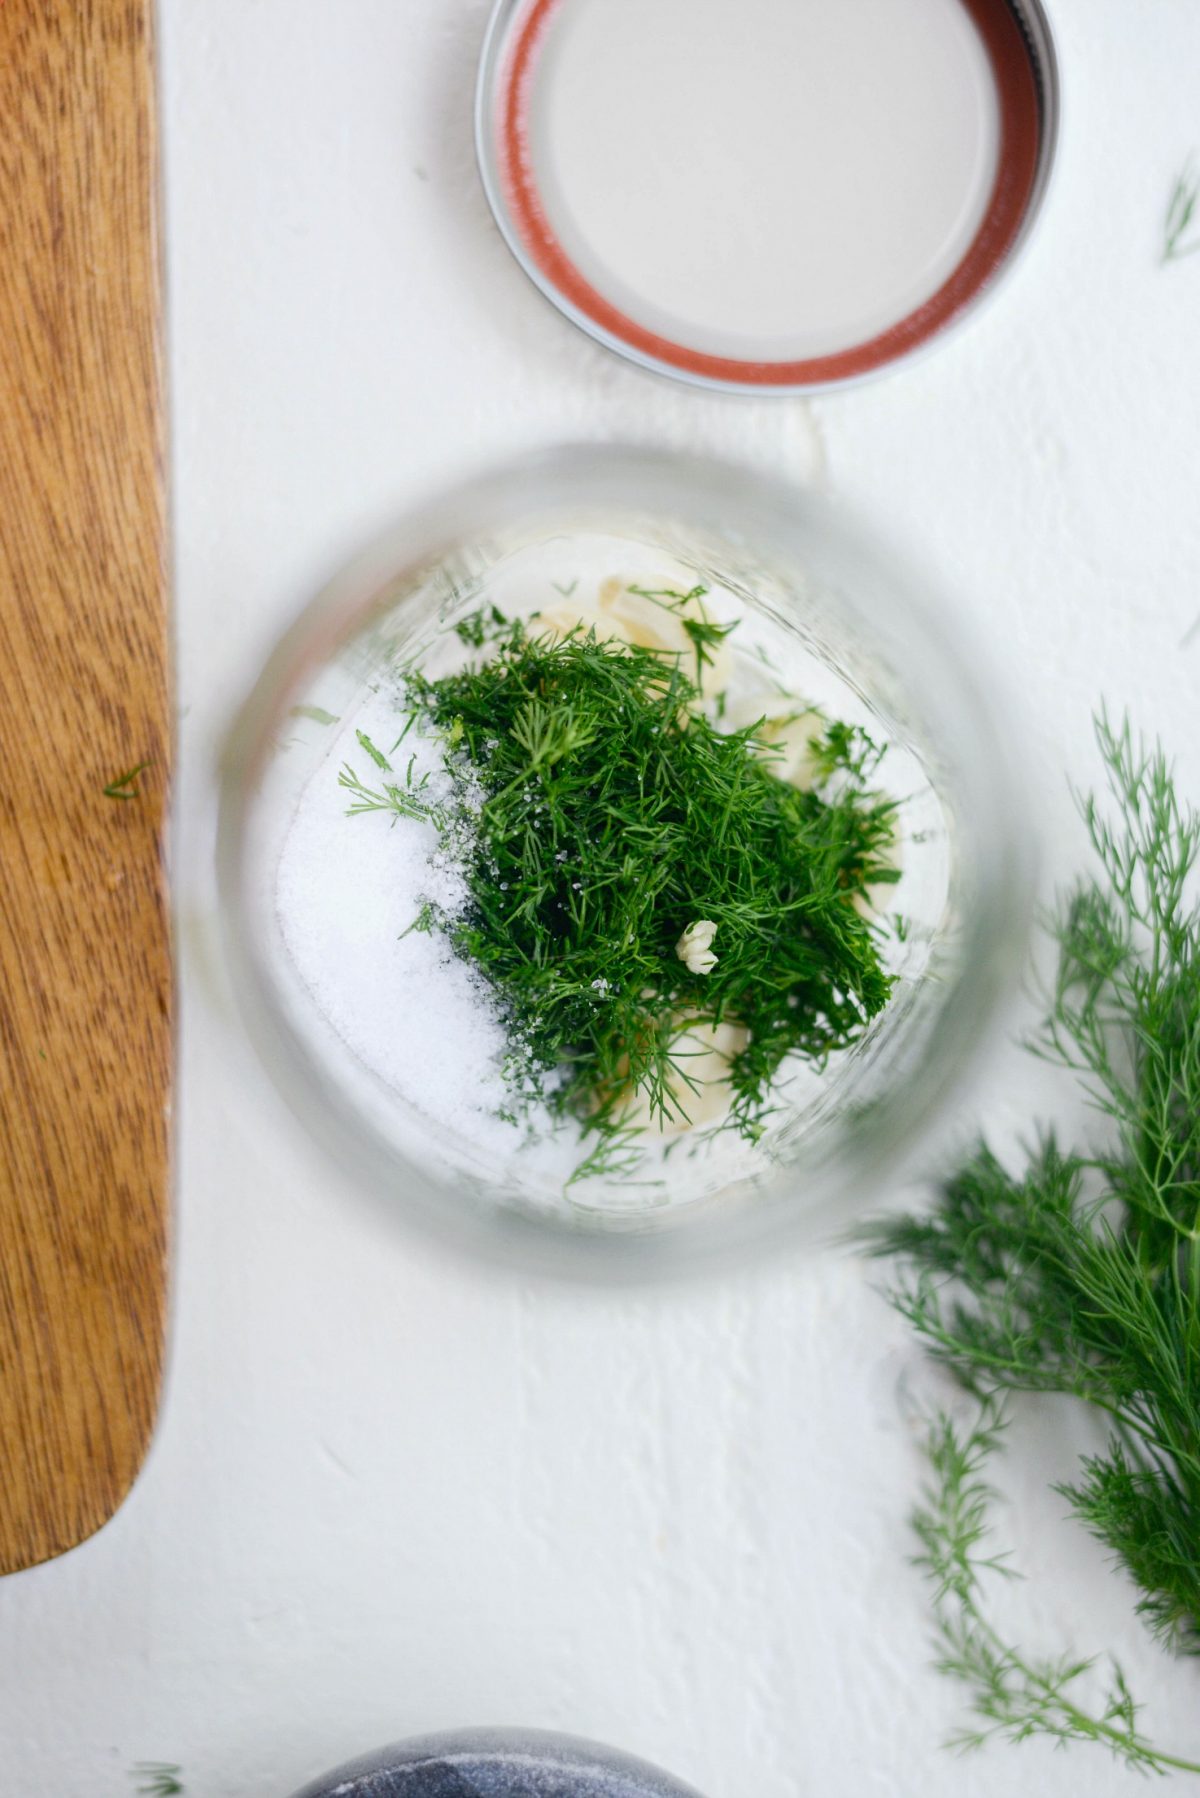
Then measure and add 1 to 2 tablespoons chopped fresh dill and 2 tablespoons sea salt.
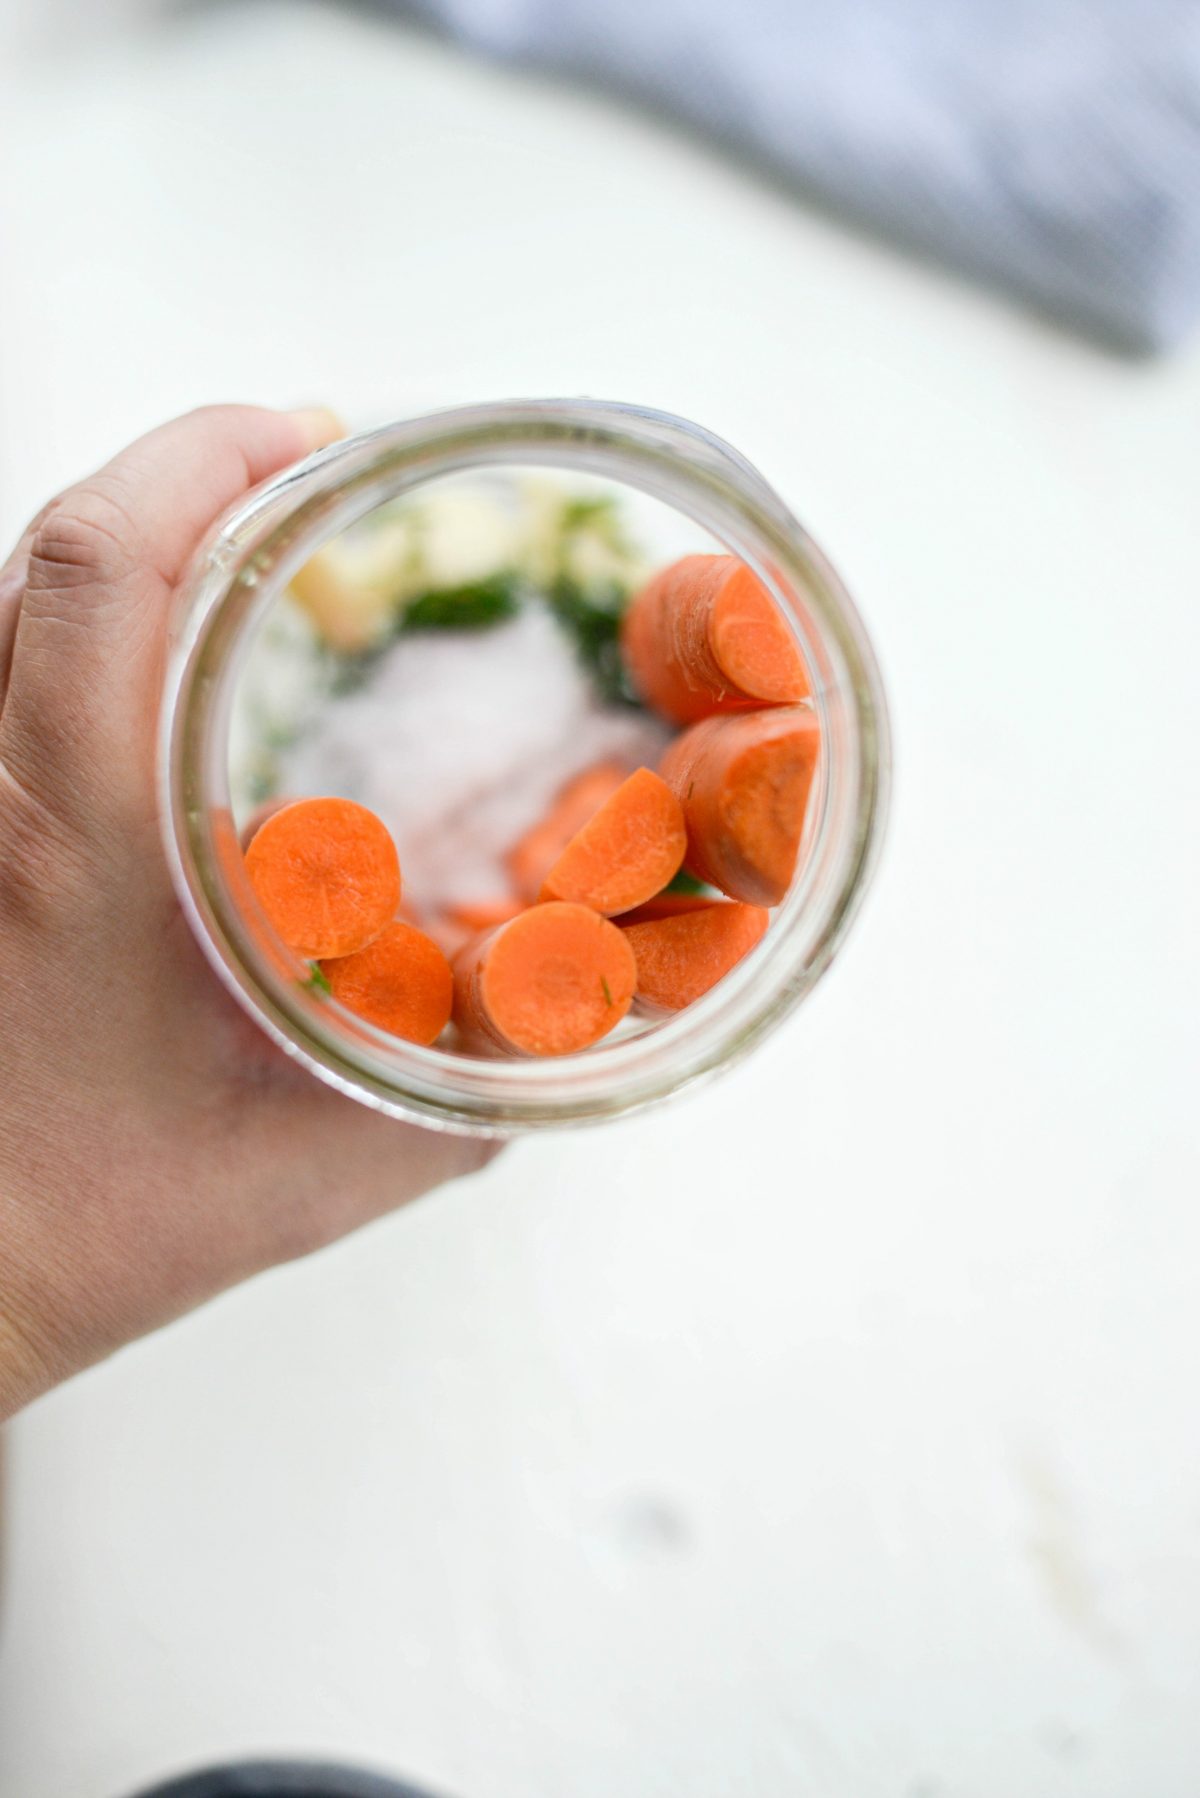
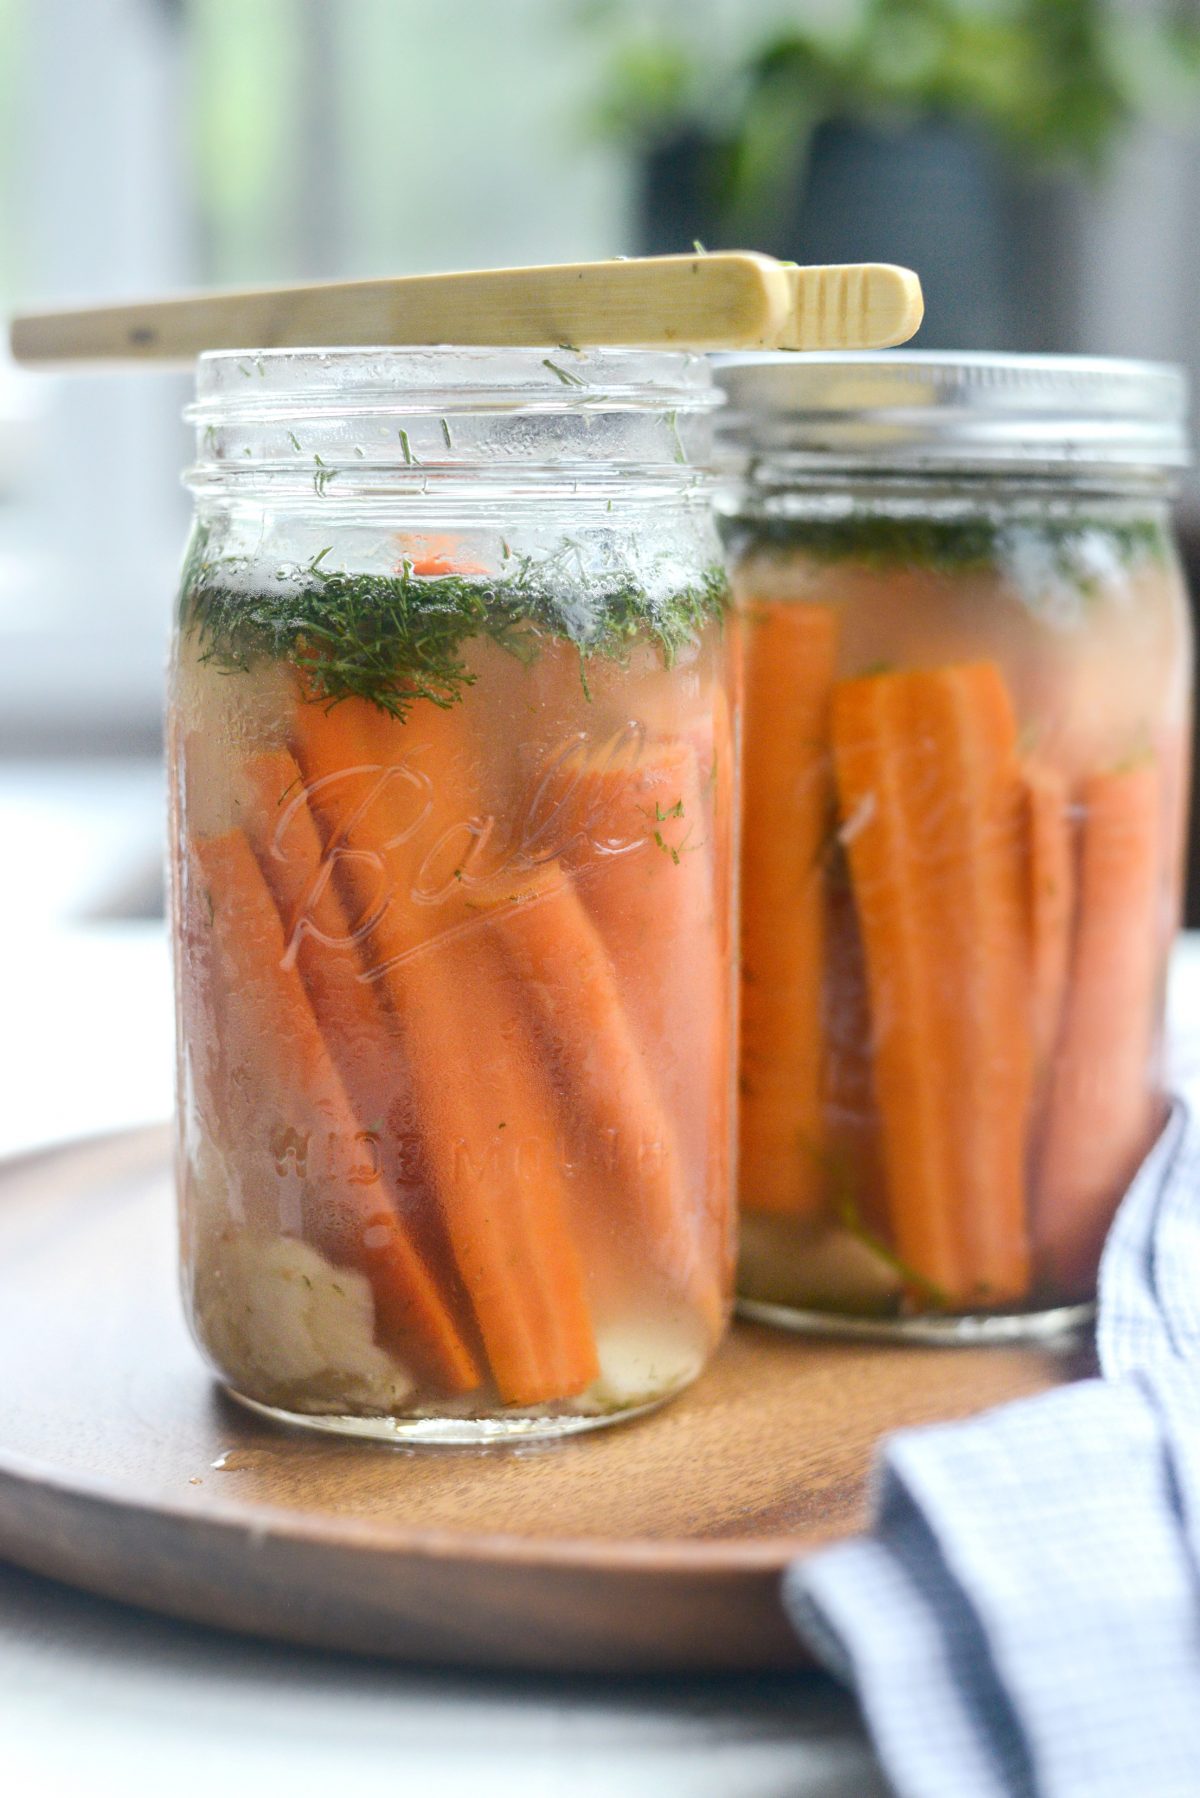
Next, depending on the size of the carrots, I first remove the green tops and cut them in half so each carrot breaks into two shorter pieces. Then I cut thicker ends in half lengthwise. Tilt the jar on its side a little and slide in the sliced carrots.
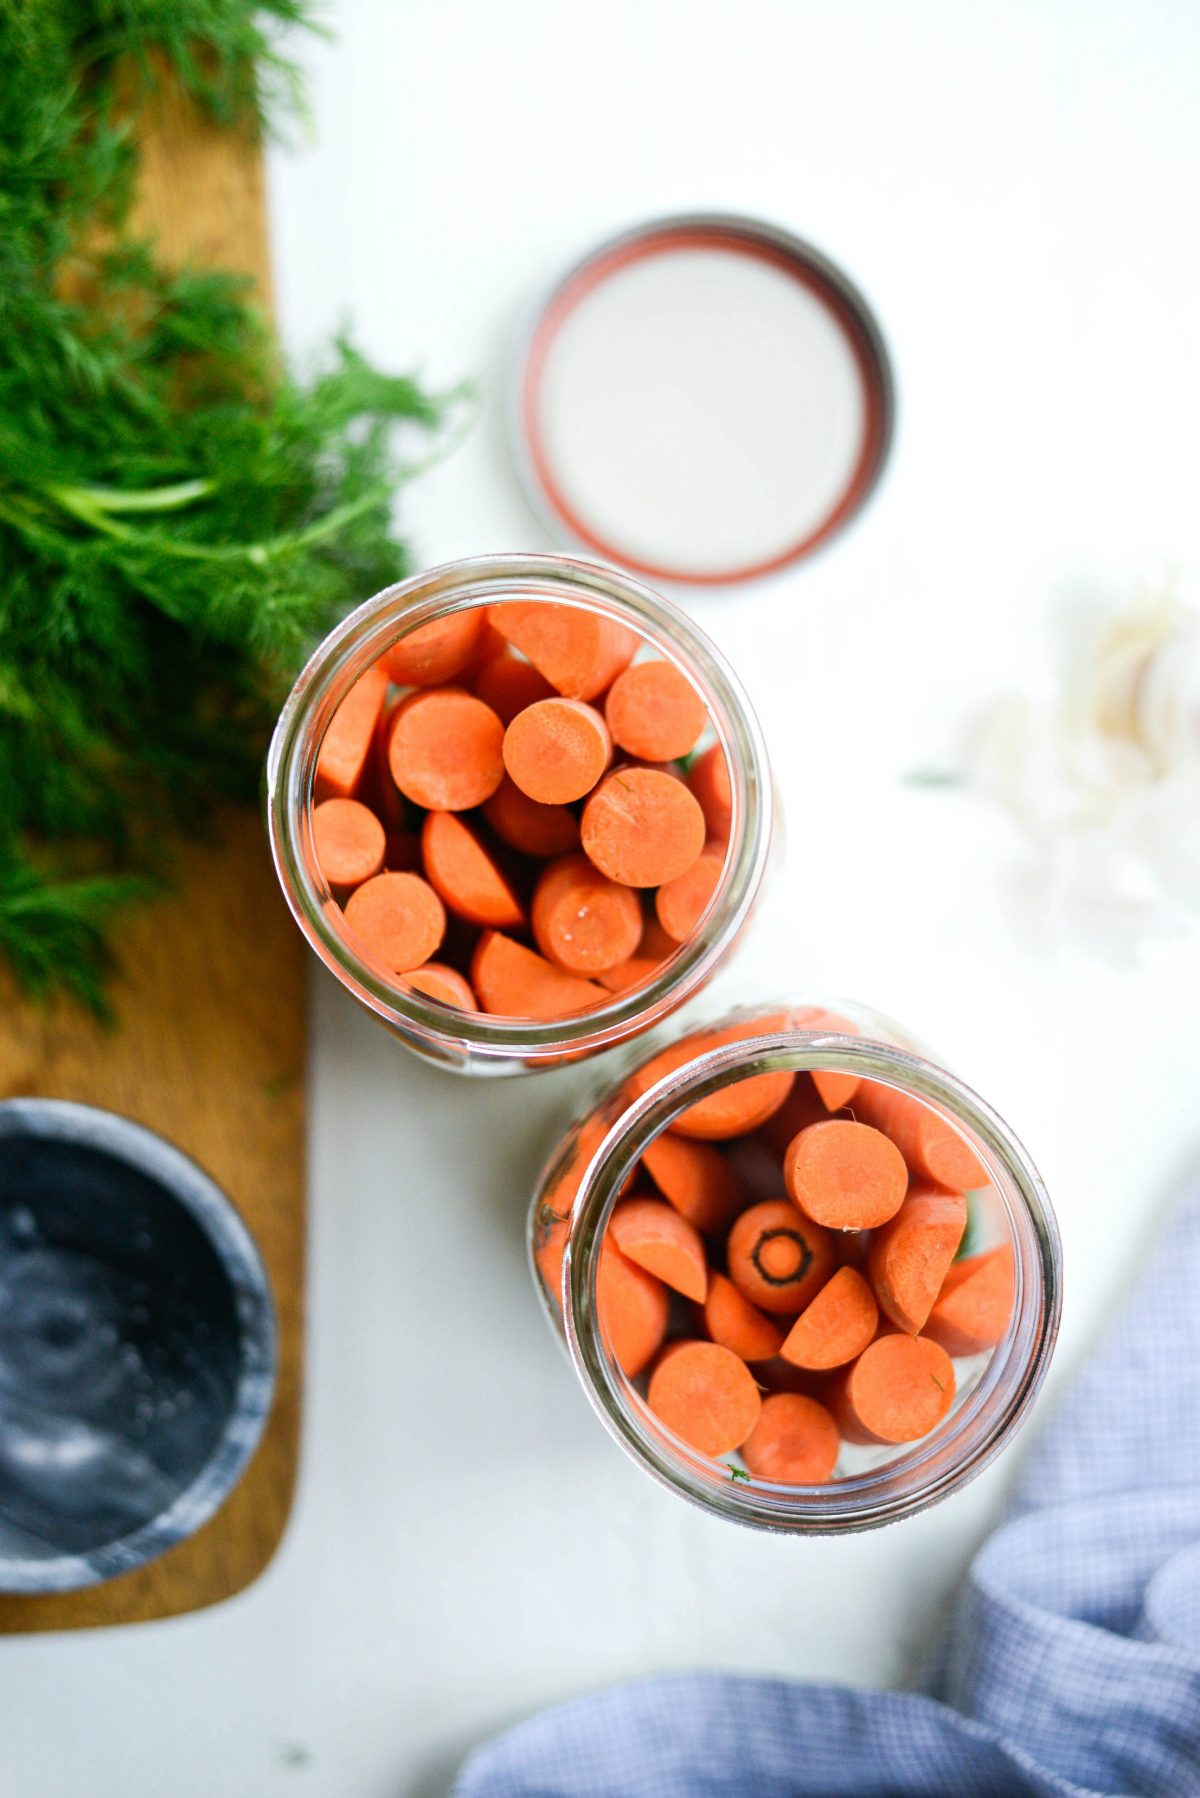
Really try to pack them full.
Note that peeling the carrots is entirely up to you.
I didn’t, I rarely peel carrots. I just give them a good scrub and I’m good to go. I’m such a rebel Or I’m lazy. Hard to say.
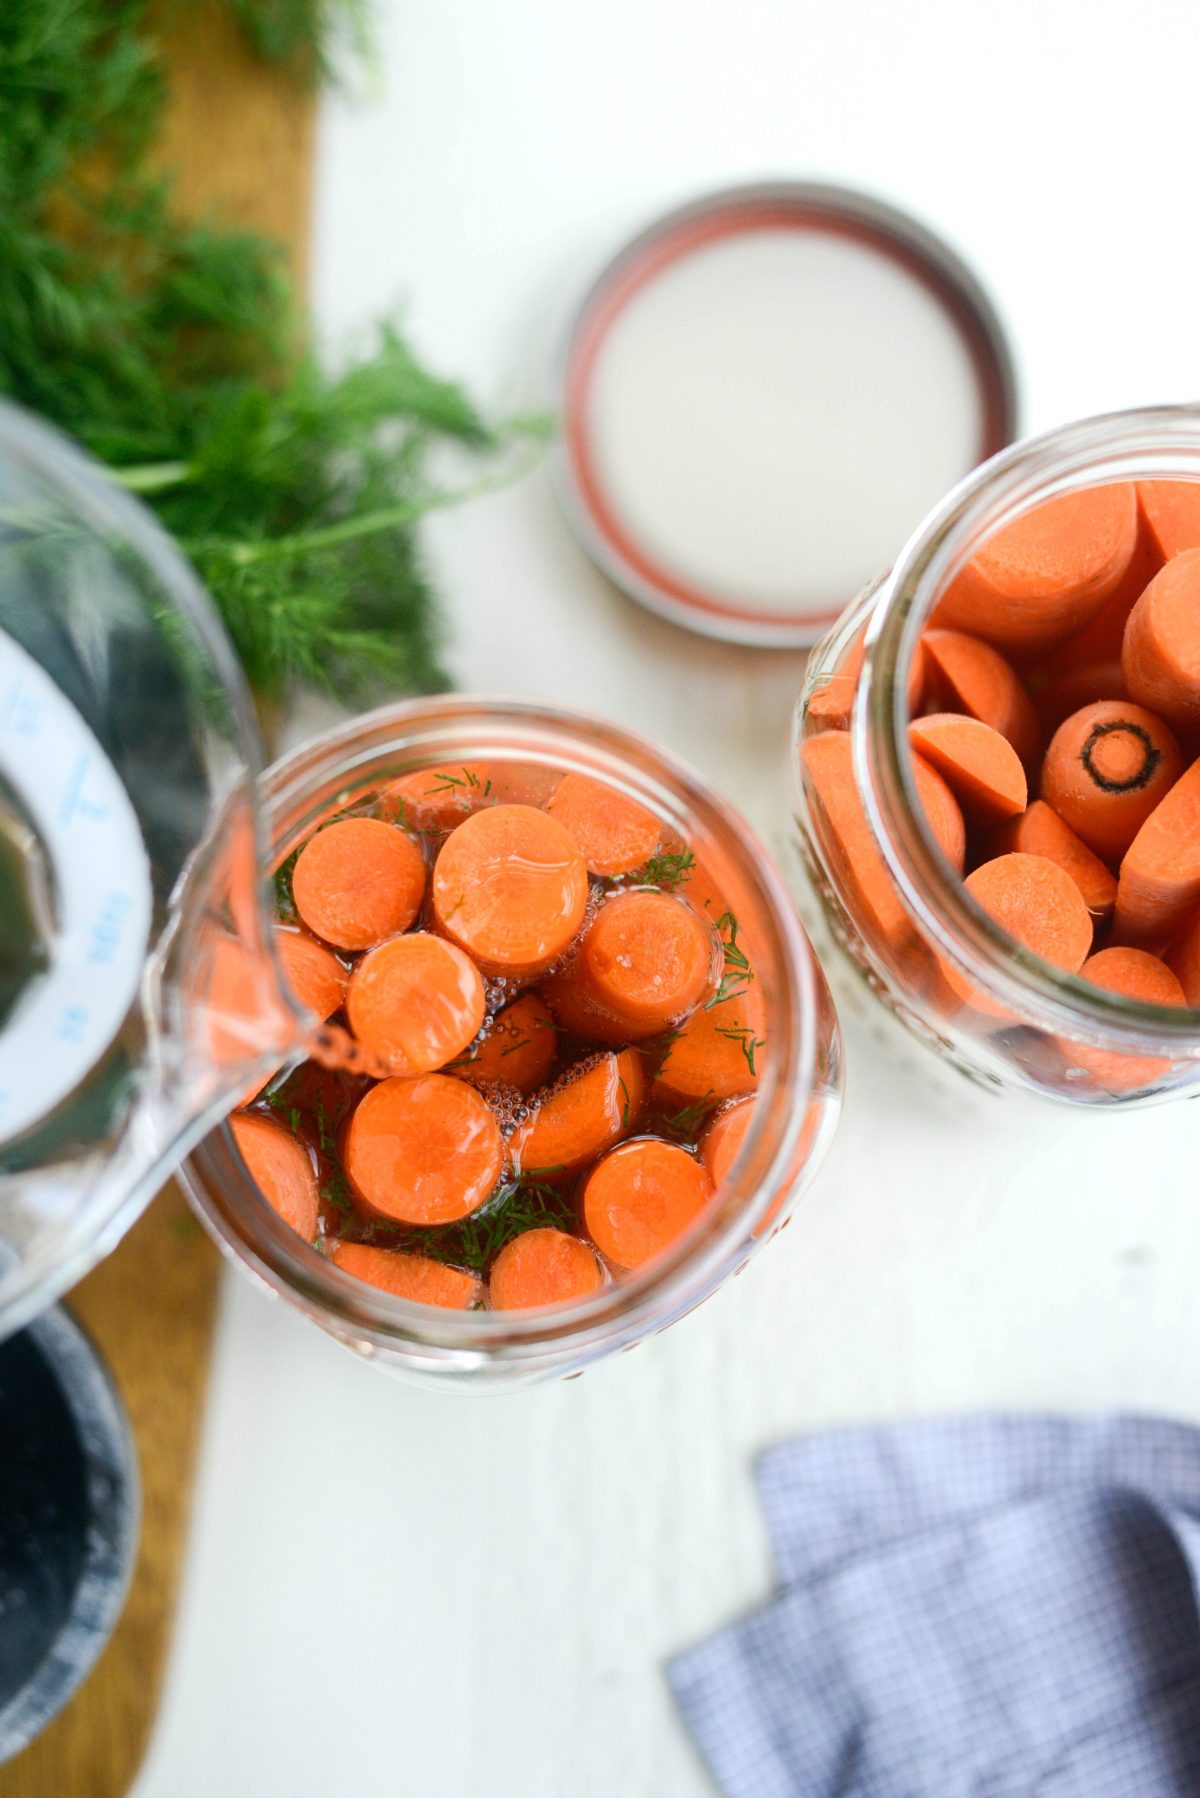
Finally, pour in enough filtered water (about 2 cups) to leave an inch of space between the water and the top of the glass.
Which water is best for lacto fermentation?
Based on my research, mineral-rich water is ideal for lacto fermentations. Keep in mind that too high a mineral content in the water can affect the fermentation process and reduce the activity of microorganisms. I have/use reverse osmosis water, but made this recipe with distilled water. If you use tap water you should boil it (and let it cool to room temperature) to remove chlorine and any bacteria that may be present OR filter it with a carbon filter (e.g. a Brita).
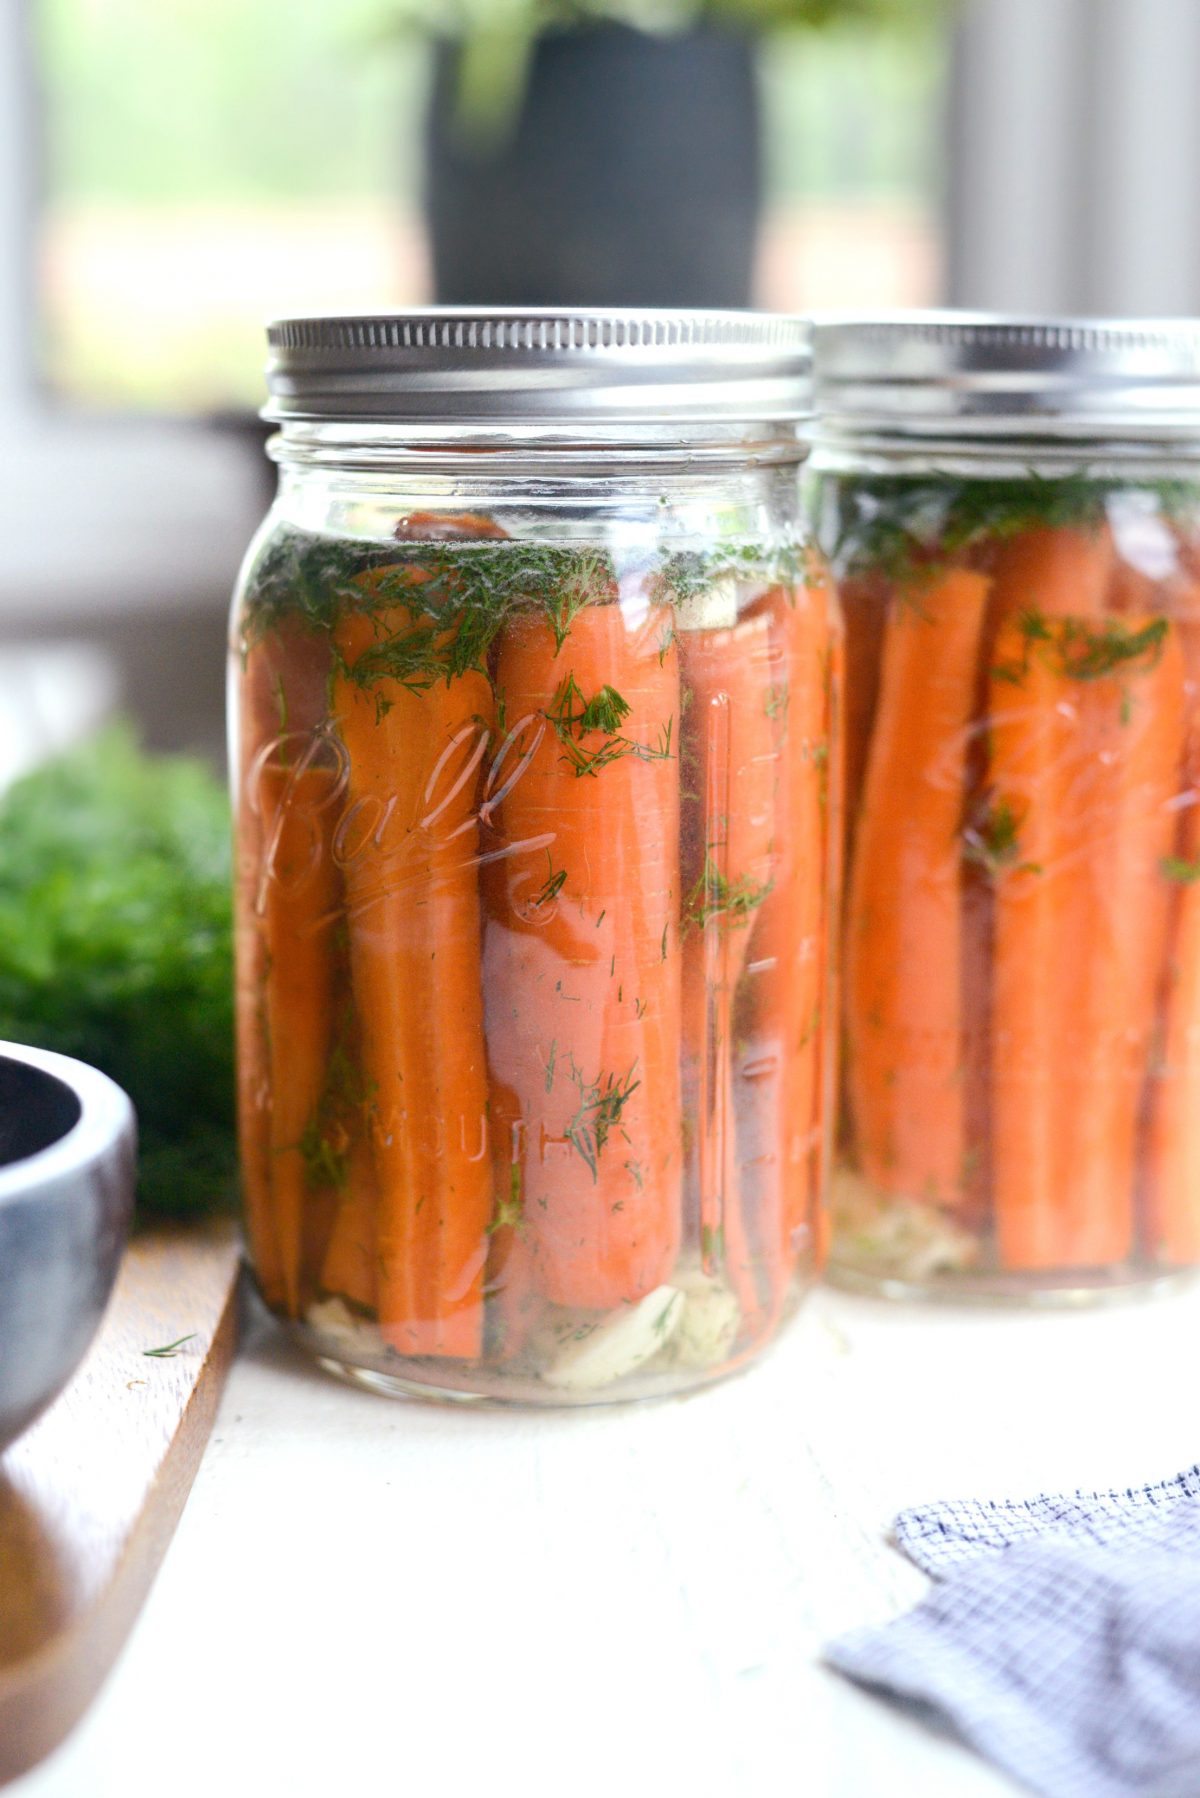
Then close the lids tightly and shake to dissolve the salt. Then loosen the lids slightly and place the jar (or jars) on the countertop at room temperature for 4 to 5 days. If at any point you hear hissing coming from your jar, consider loosening the lid a little.
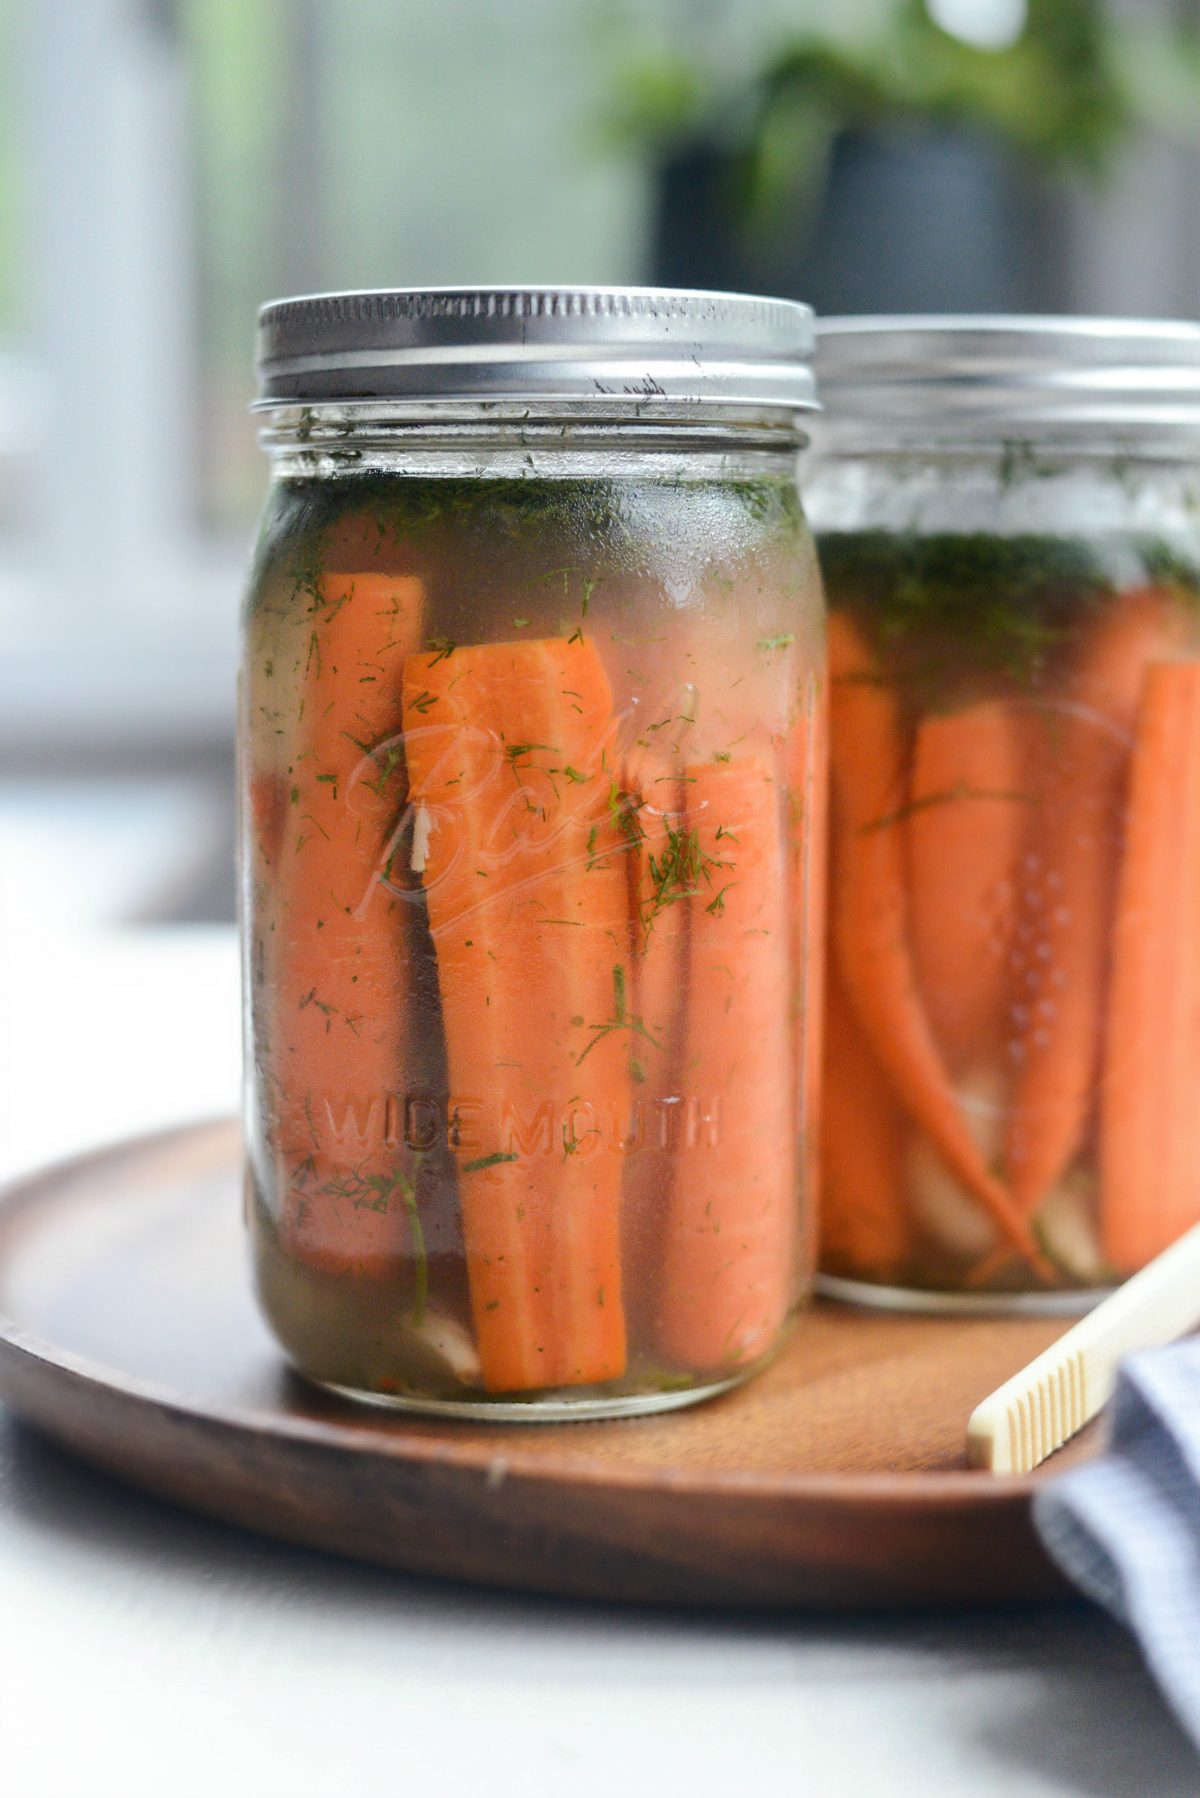
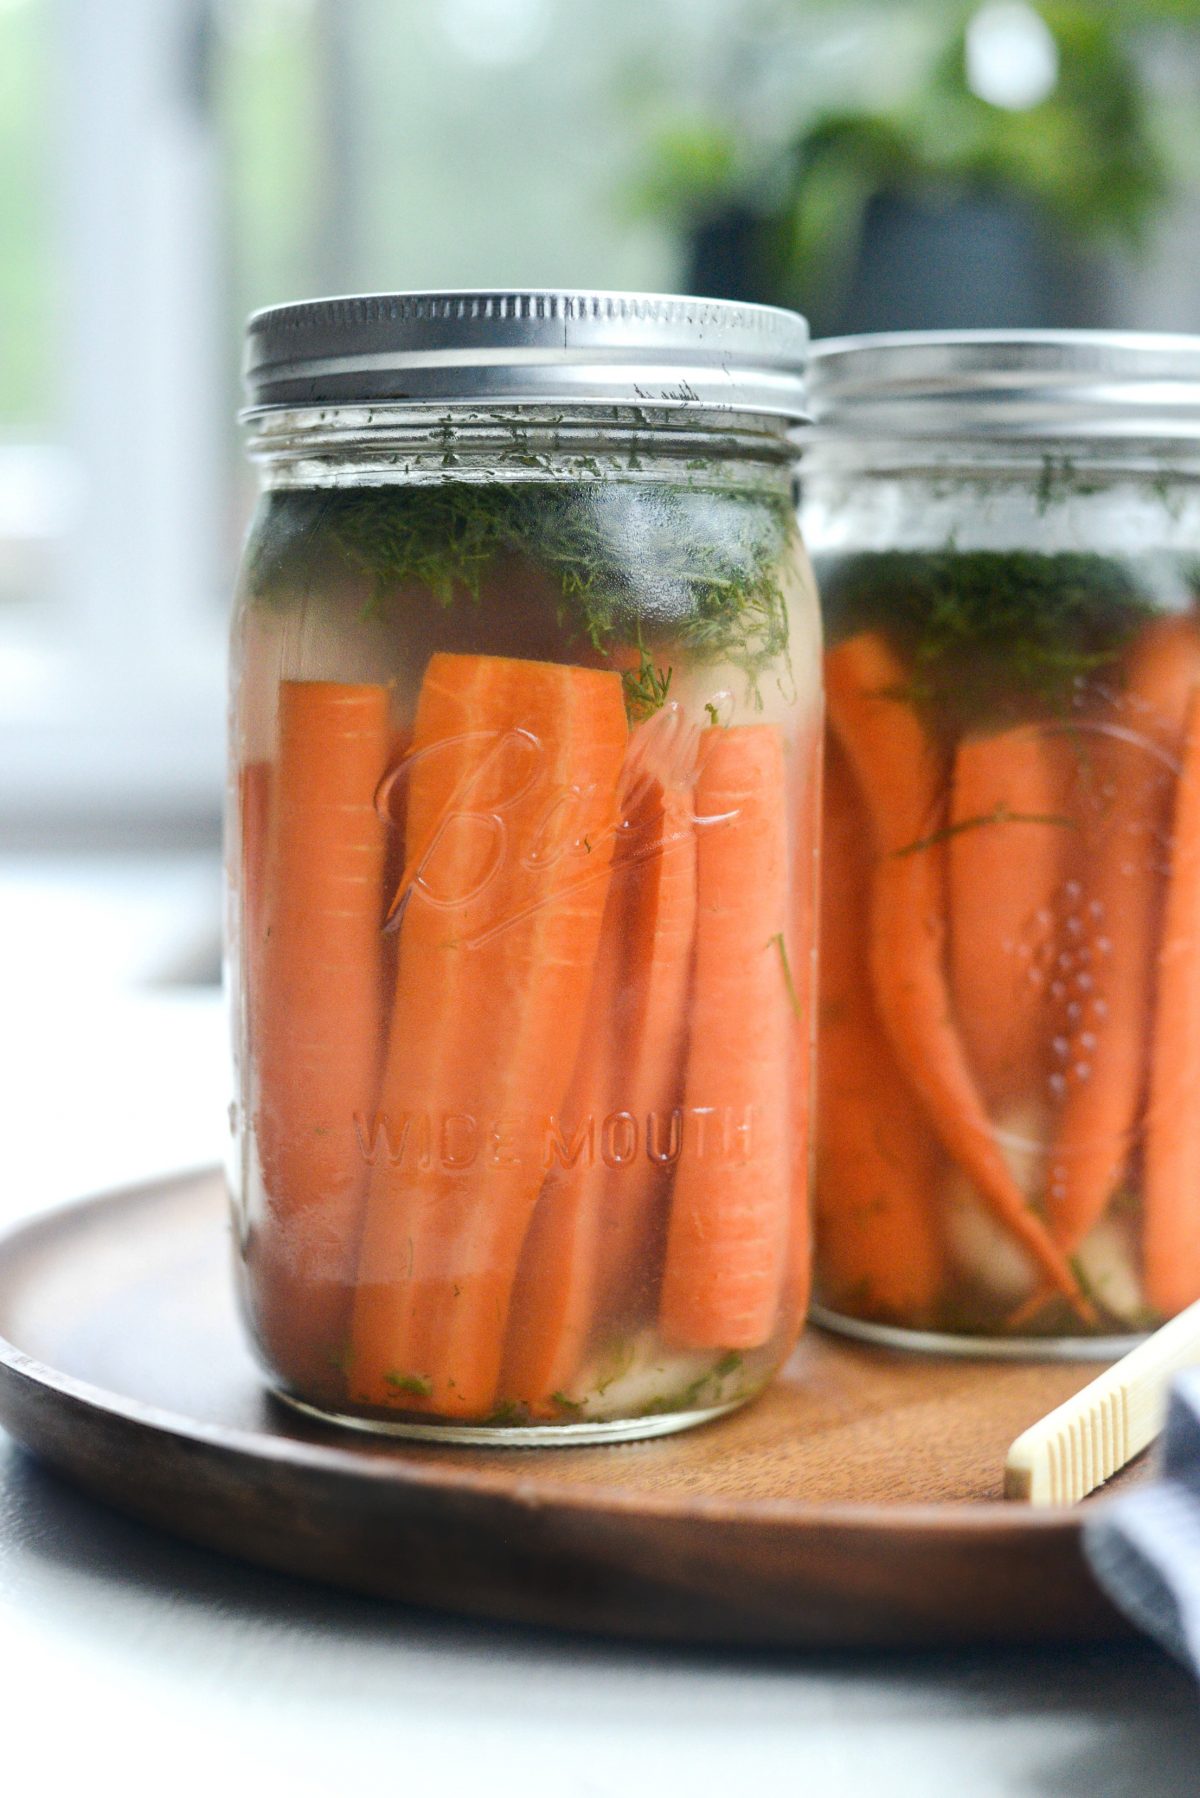
After day 4 the water should be cloudy and you may see gas-like bubbles floating from the bottom to the water’s surface. This is fermentation in progress!
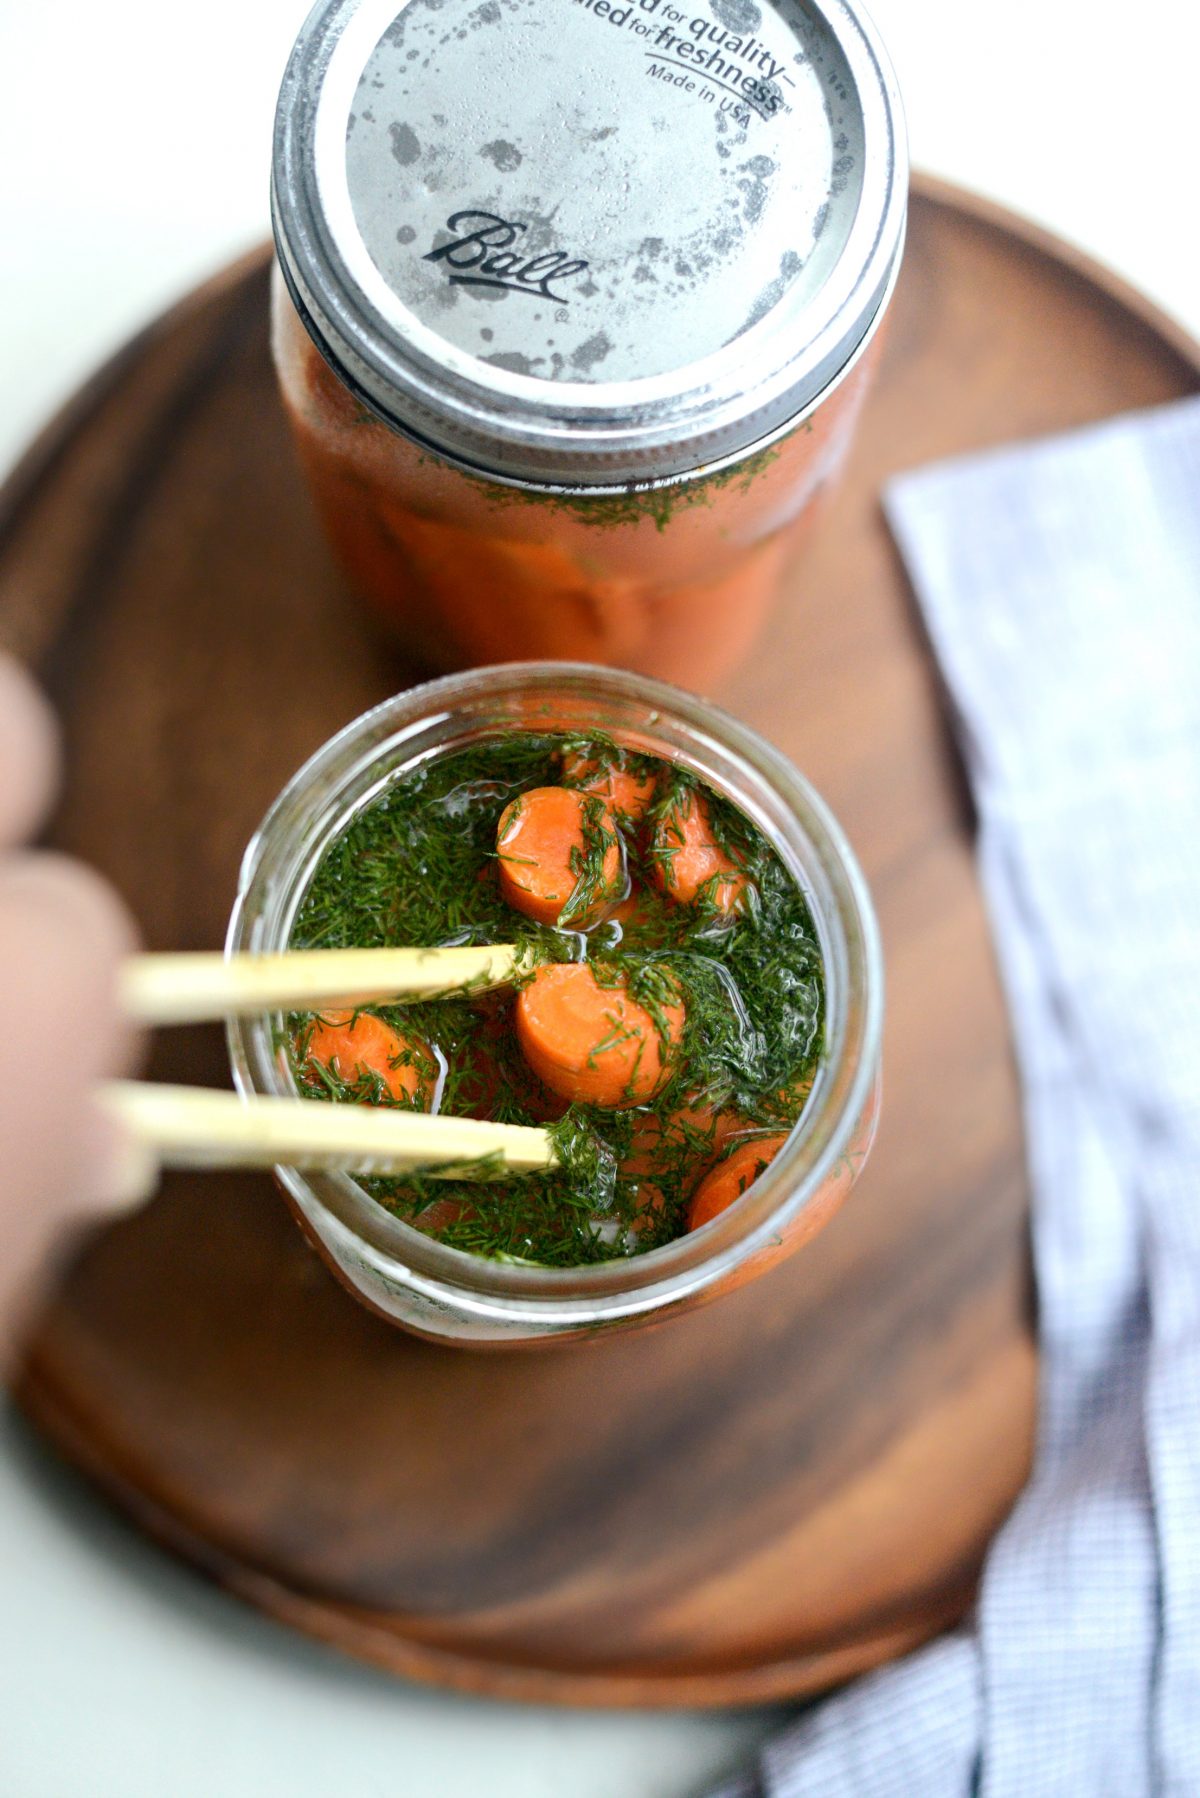
Now that you’ve waited 4 (very long and impatient) days, try the naturally fermented Dilly carrots! They should be crispy, crunchy, garlicky and delicious! You might even notice that when you open the jar you hear a little pop, as if you’re opening a “canned jar” of, say, pickles. After the 4 or 5 days on the counter, I keep my fermented carrots tightly sealed in the fridge because I love them chilled!
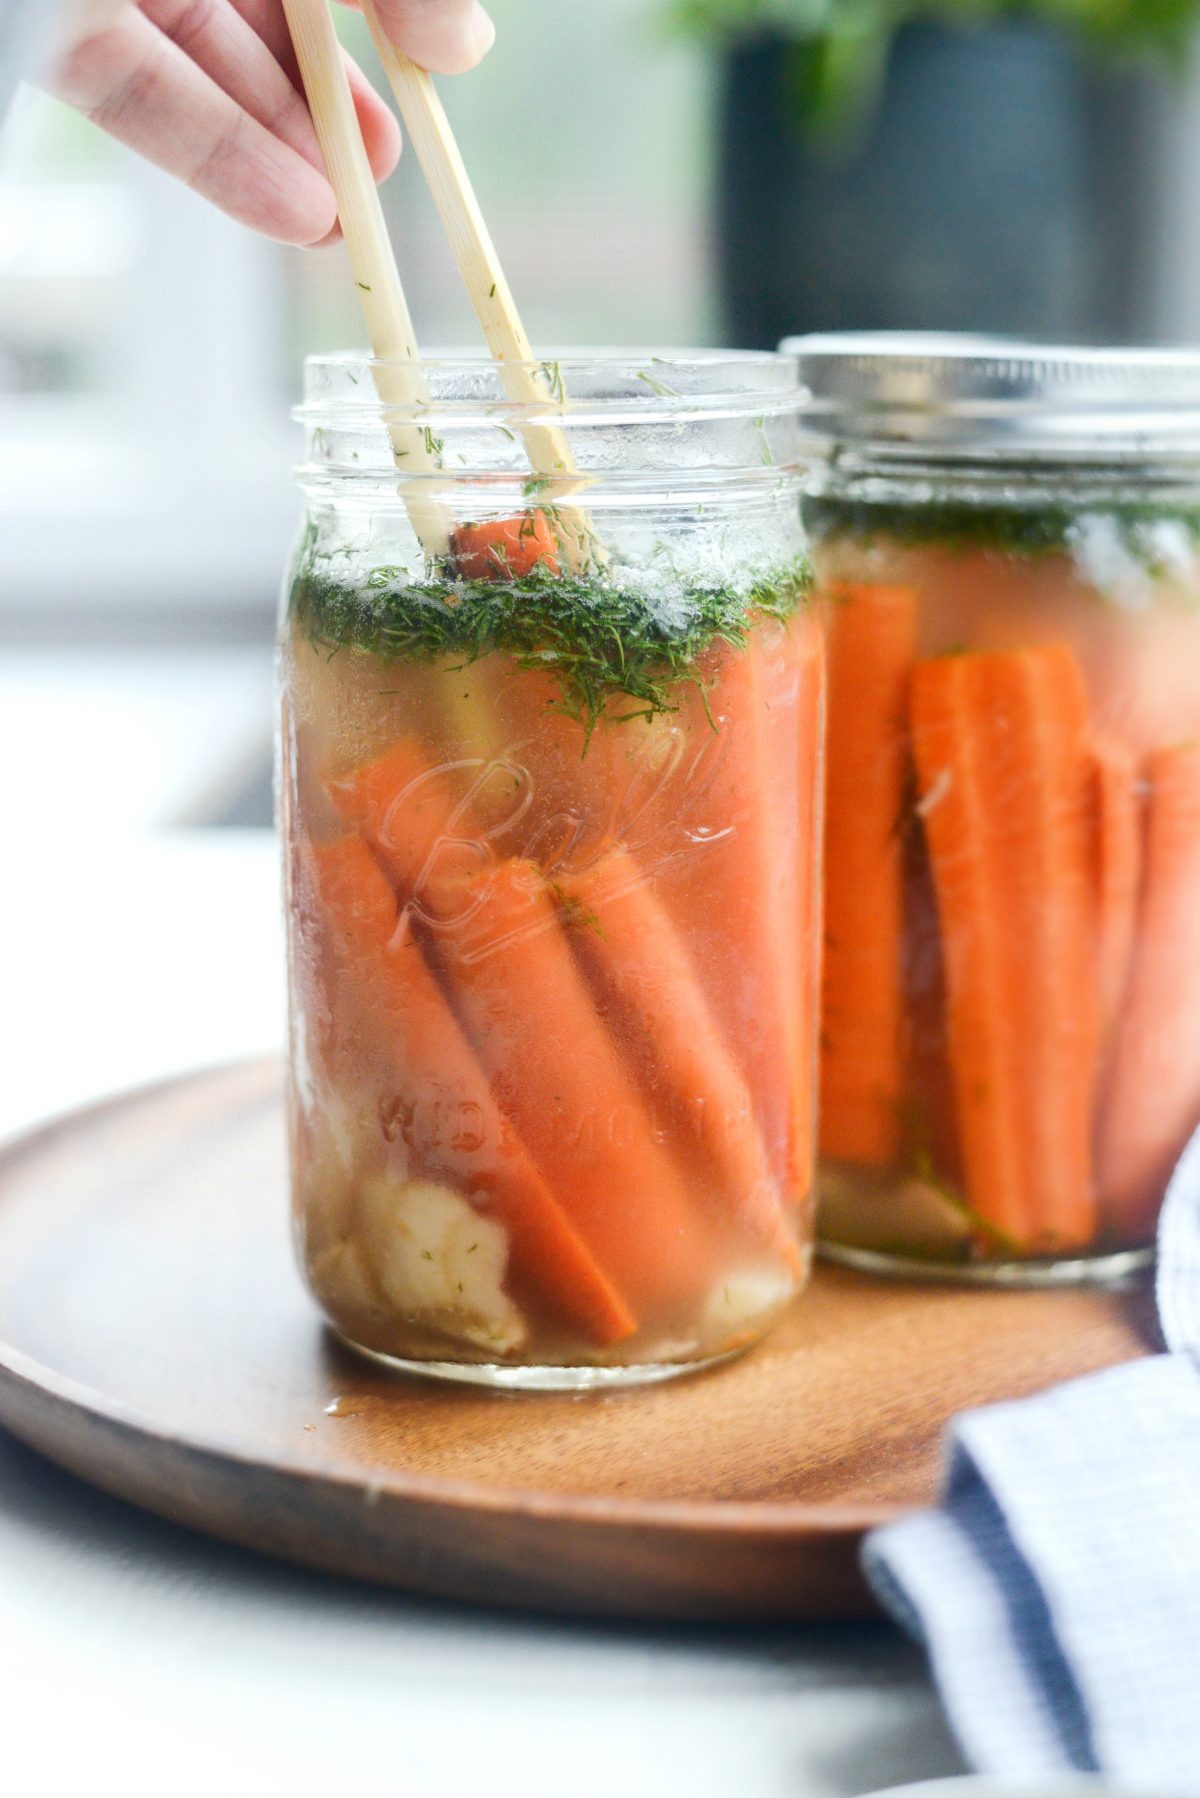
Finally, in case you’re wondering: I use these bamboo tongs, which are easy to grab a carrot with (and hygienic!) 🤣 The tongs are also useful for getting toast, English muffins or bagels out of the toaster! Mine are from Pampered Chef, but you can find many options on Amazon (link below in recipe to print).
Enjoy! And if you try this Naturally Fermented Dilly Carrots recipe, let me know! Take a picture and tag me Twitter or Instagram!
Yield: 12 portions
Naturally Fermented Dilly Carrots
These naturally fermented dilly carrots are crunchy, garlicky and delicious! Not only are they good for you, but they make a great snack or to be served alongside pickles at your next gathering. Simple ingredients and nature does all the work.
- 1 clean 32 ounce jar, wide mouth jar with tight fitting lid
- 1 bunch carrots with green leaves, unpeeled (approx. 6)
- 2 to 3 cloves Garlic, crushed and peeled
- 2 tablespoon chopped fresh dill
- 2 tablespoon sea-salt
- filtered water
-
Trim the tops of the carrots and cut them in half so you have 2 shorter carrots. Cut the thicker ends in half lengthwise.
-
In the jar, add the crushed and peeled garlic cloves, fresh dill, sea salt, and carrots. Fill the container with filtered water to within 1 inch of the brim.
-
Cover loosely and leave at room temperature for 4-7 days; You can taste them after 4 days and see if you want them to be more acidic or not. To make them more acidic/softer, let them sit longer at room temperature. Because the carrots are denser, fermentation takes longer than other lactic ferments such as sauerkraut or pickles. They also stay crispier, which we like!
-
After fermentation at room temperature, close the lid tightly and store in the refrigerator. They can be kept for up to 6 months!
This recipe is for 1 jar. Simply double this recipe for 2 glasses.
Portion: 1G, Calories: 12kcal, Carbohydrates: 3G, Protein: 1G, Fat: 1G, Saturated Fatty Acids: 1G, Polyunsaturated fat: 1G, Monounsaturated fatty acids: 1G, Sodium: 1182mg, Potassium: 93mg, Fiber: 1G, Sugar: 1G, Vitamin A: 4739IU, Vitamin C: 2mg, Calcium: 11mg, Iron: 1mg
This post may contain affiliate links.