

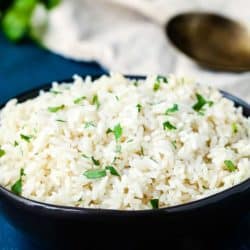
This Instant Pot Fluffy Rice is tender, light and flavorful every time! Please read on to learn my foolproof secret to cooking perfect rice in the Instant Pot. Ready in about 15 minutes. Instructions for cooking different types of rice in the Instant Pot are included.
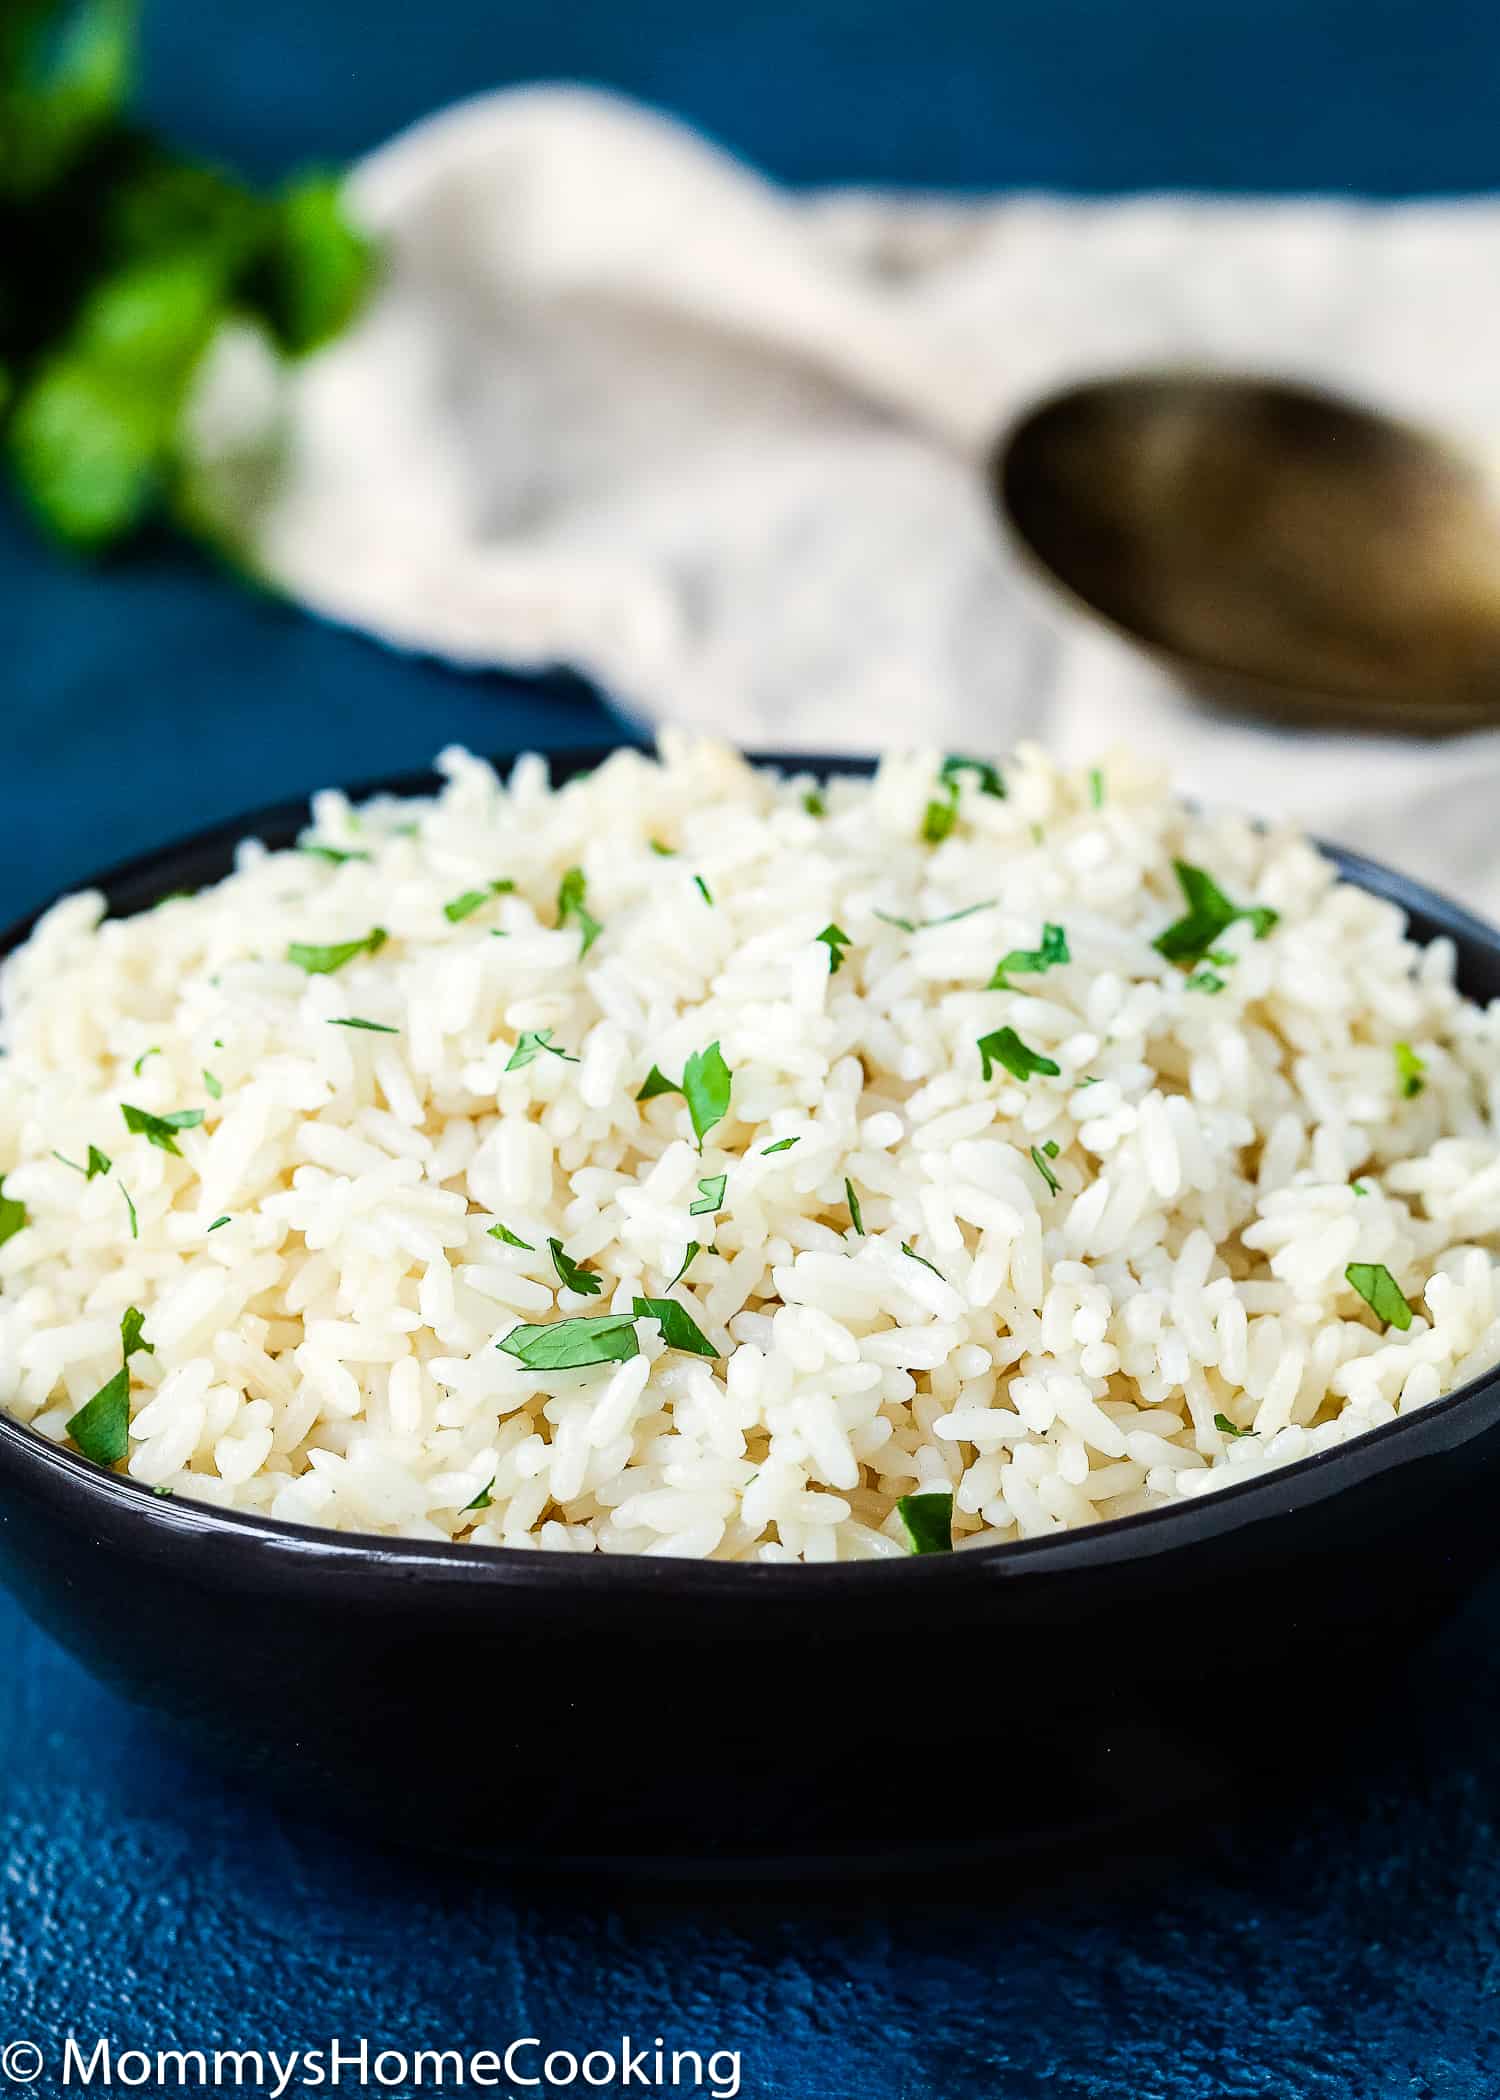
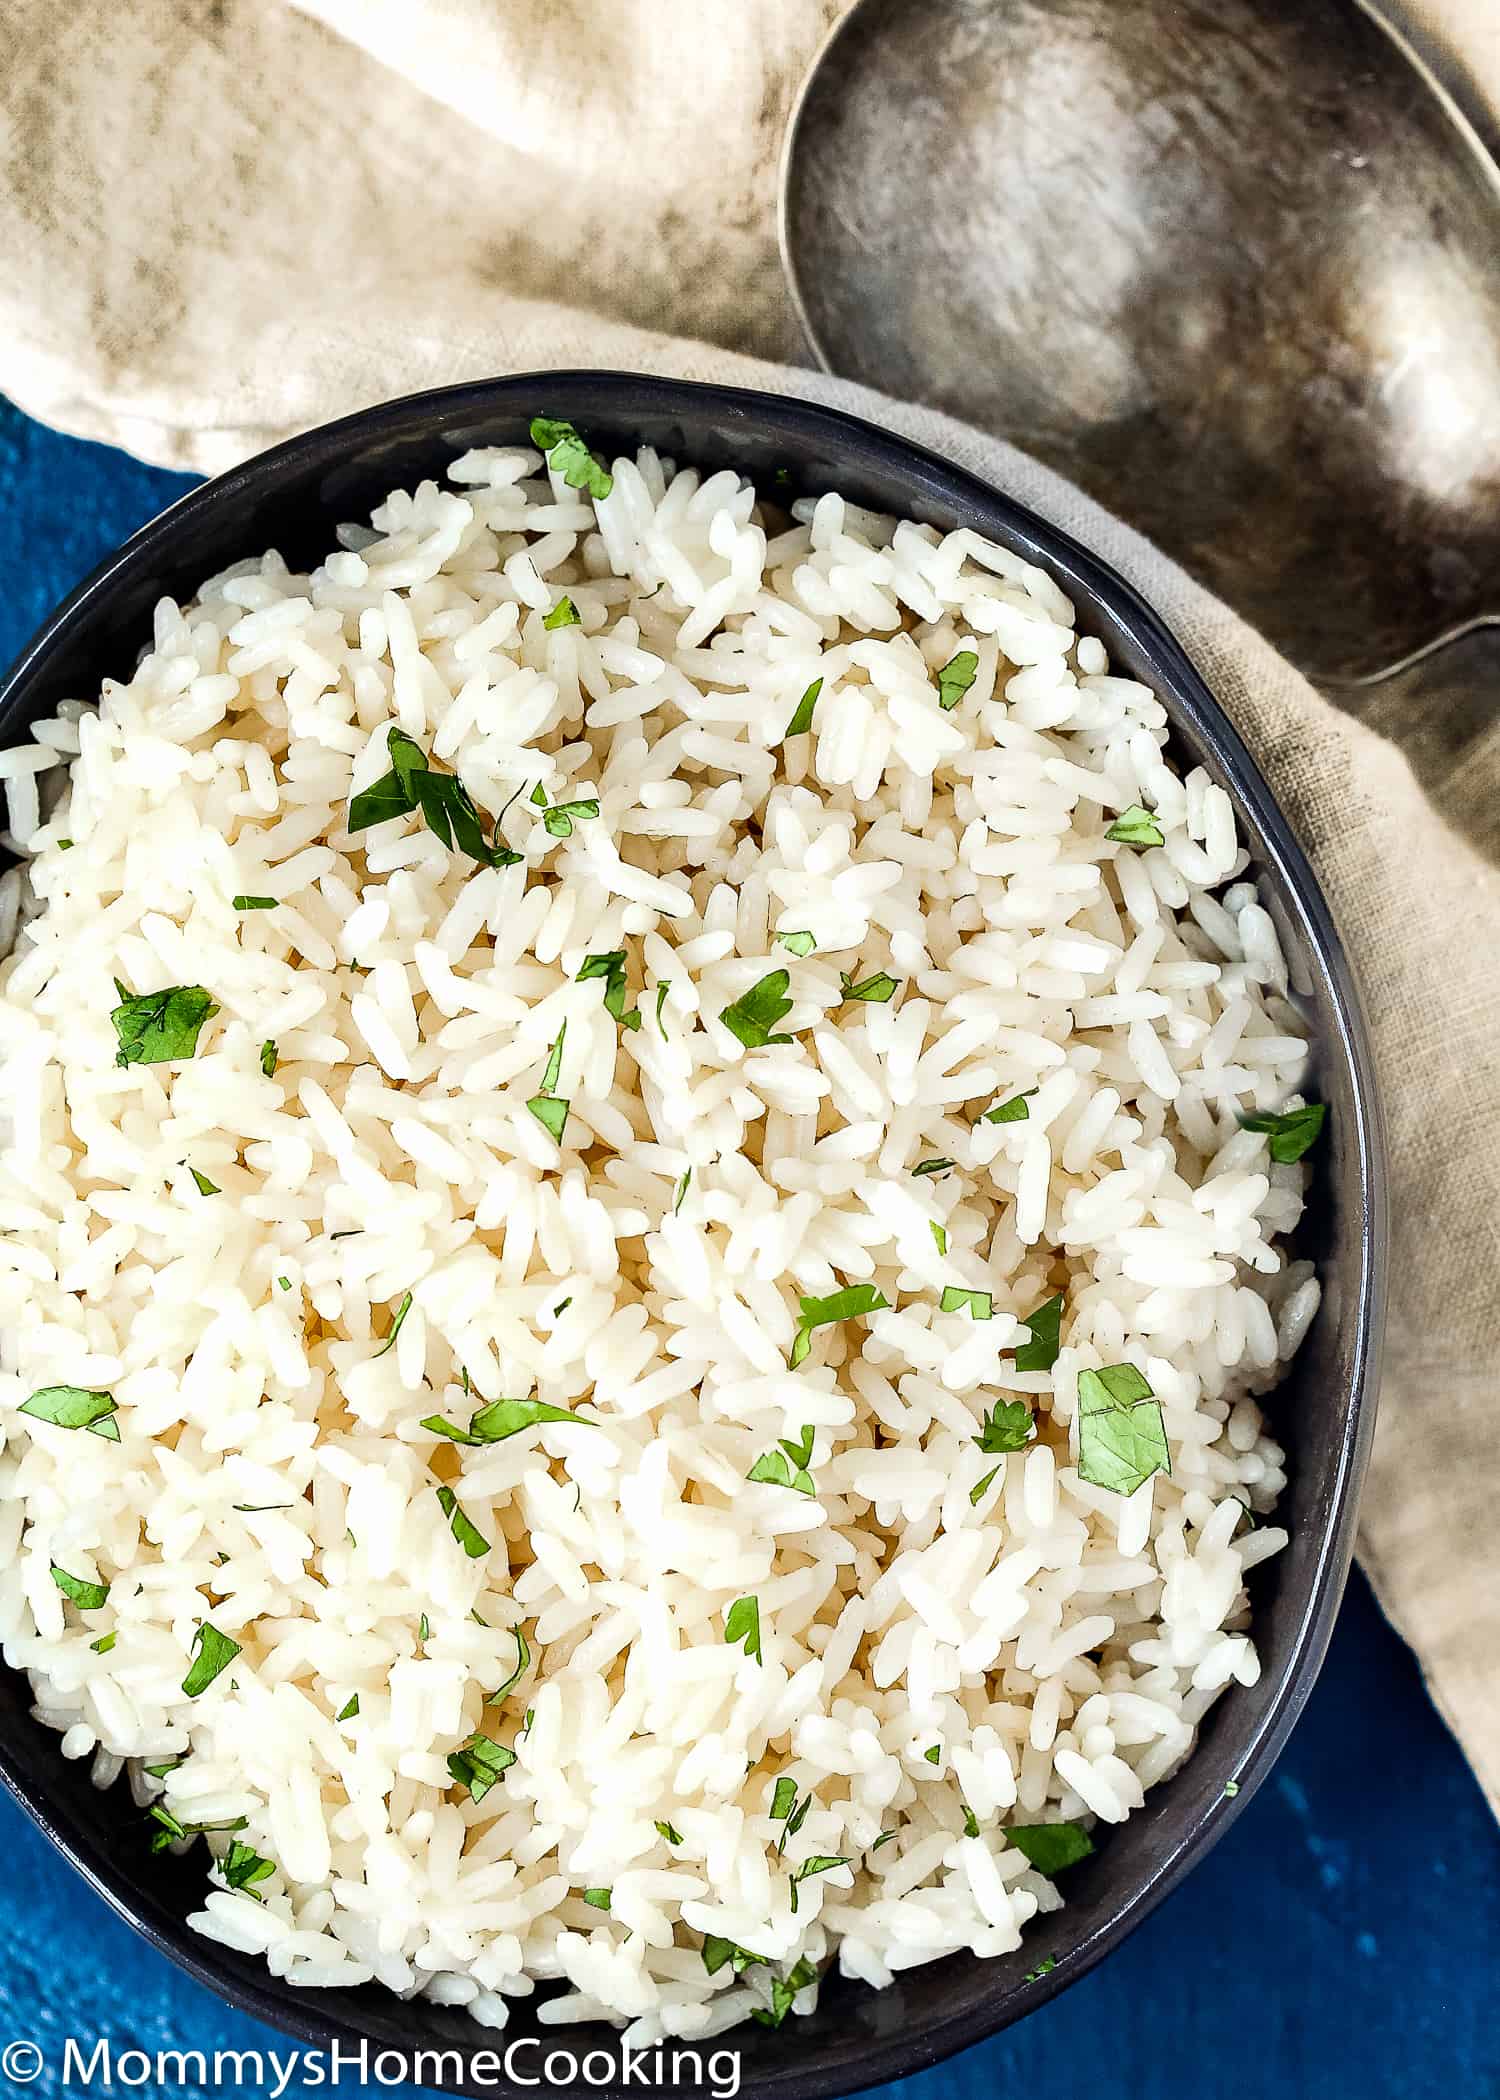
Perfect and fluffy instant pot rice
Rice is one of those everyday staples that I cook with my eyes closed. And this Instant Pot Fluffy Rice version is much easier and quicker to make. Rice was/is VERY important in my family. Seriously. I think it was the first thing I learned to cook.
The love for rice seems to be genetic as my kids LOVE rice. So once again I find myself making rice several times a week.
That’s why I’m so excited that I found a way to make it in my Instant Pot in less than 20 minutes. I’ve avoided making rice in the pressure cooker for a long time, thinking it would be sticky, mushy, and overcooked. We hate soggy rice. But after some testing and tweaking, I found the perfect way to make fluffy rice in the Instant Pot.
This Instant Pot Rice is
- Tender
- Tastefully
- fluffy
- Simply
- And AMAZING with each entree…
Secrets How To Make Fluffy Rice Every Time
- Rinse uncooked rice under cold running water to remove excess starch.
- Toast the rinsed rice with a little unflavored oil before adding the cooking liquid.
- Add 1 teaspoon of white vinegar to the cooking water.
- If cooking on the stovetop, allow all the cooking water to evaporate, reduce the heat to low, cover the rice and cook until tender.
- When cooking in the pressure cooker, allow the water to boil before locking the lid. Cook for 8 minutes. Natural release for 5 minutes and then quick release. Fluff up with a fork and serve.
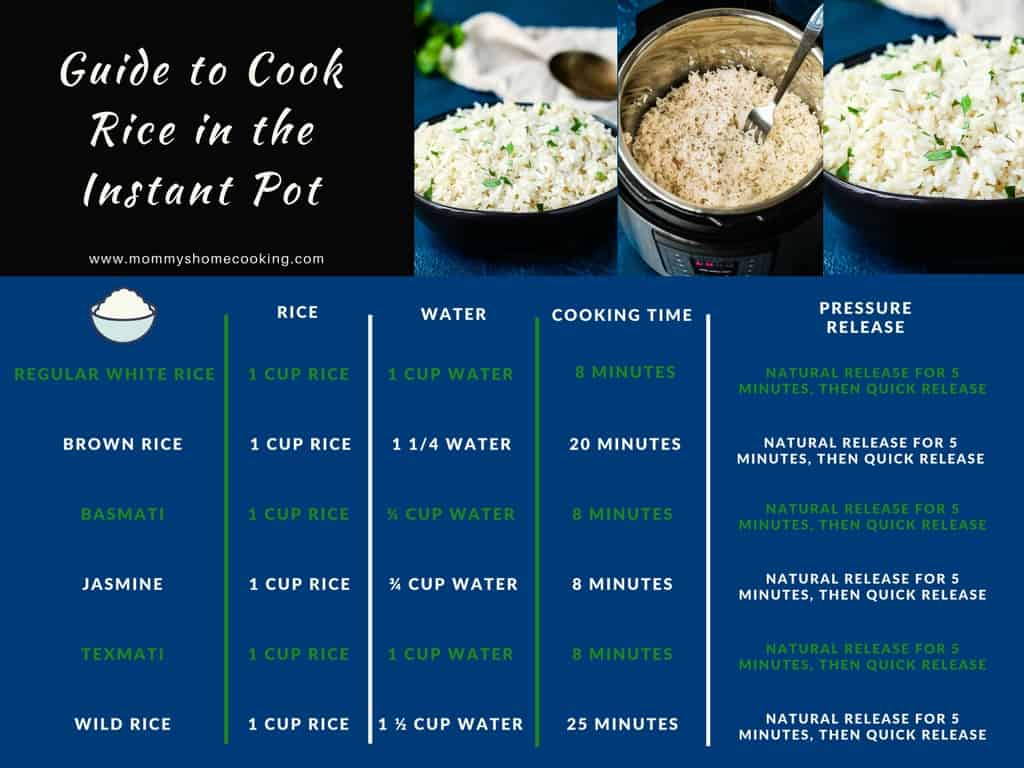
Instructions for cooking perfect rice in the Instant Pot
- Regular white rice = 1 cup of rice + 1 cup of water. Cook on high pressure for 8 minutes. Natural release for 5 minutes, then quick release.
- Brown rice = 1 cup rice + 1 1/4 water. Cook on high pressure for 20 minutes. Natural release for 5 minutes, then quick release.
- basmati = 1 cup rice + ¾ cup water. Cook on high pressure for 8 minutes. Natural release for 5 minutes, then quick release.
- jasmine = 1 cup rice + ¾ cup water. Cook on high pressure for 8 minutes. Natural release for 5 minutes, then quick release.
- Texmati = 1 cup of rice + 1 cup of water. Cook on high pressure for 8 minutes. Natural release for 5 minutes, then quick release.
- wild rice = 1 cup rice + 1 ½ cup water. Cook on high pressure for 25 minutes. Natural release for 5 minutes, then quick release.
Increase or decrease the recipe and cooking times
You can double/triple the recipe with the same cooking time. On the other hand, if you have less to prepare, cut the ingredients in half and keep the same cooking time. Remember that you should use the rice to water ratio that is best for the type of rice you are preparing.
How to Cook Fluffy Rice in the Instant Pot (Step by Step)
Please refer to the recipe card at the end of the post (scroll down) for exact quantities and detailed instructions.
Storage and Freezing Instructions
Save on computer: Leftover cooked rice can be stored in an airtight container in the refrigerator for up to 5 days. Make sure the rice has cooled to room temperature before refrigerating or freezing.
Freeze cooked rice: To freeze cooked rice, portion into freezer-safe containers or freezer bags. Remove as much air as possible before sealing to avoid freezer burn. Frozen rice can be kept for up to 6 months. If you want to use it, let it thaw in the fridge overnight and reheat thoroughly before serving.
PRO TIP: Divide it into smaller portions for easier and quicker chilling.
frequently asked Questions
You can double/triple the recipe with the same cooking time. Remember that you should use the rice to water ratio that is best for the type of rice you are preparing.
You can halve the recipe using 1/2 cup rice and 1/2 cup water and keep the cooking time the same.
The rice button on the Instant Pot does not discriminate between the type of rice you use. To avoid miscalculations, it’s best to just use the pressure cooker button and adjust the time according to the type of rice you’re cooking.
The rice measuring cup that comes with the Instant Pot holds 180ml (less than a regular cup). So if you choose to use the cup, you must use it to measure the rice and water so you can keep the 1:1 rice/water ratio.
What to serve with rice
The possibilities are endless! Rice is an incredibly versatile staple that can be served with almost anything. The following list is just the beginning, because rice can be so versatile.
Recipe card 📖
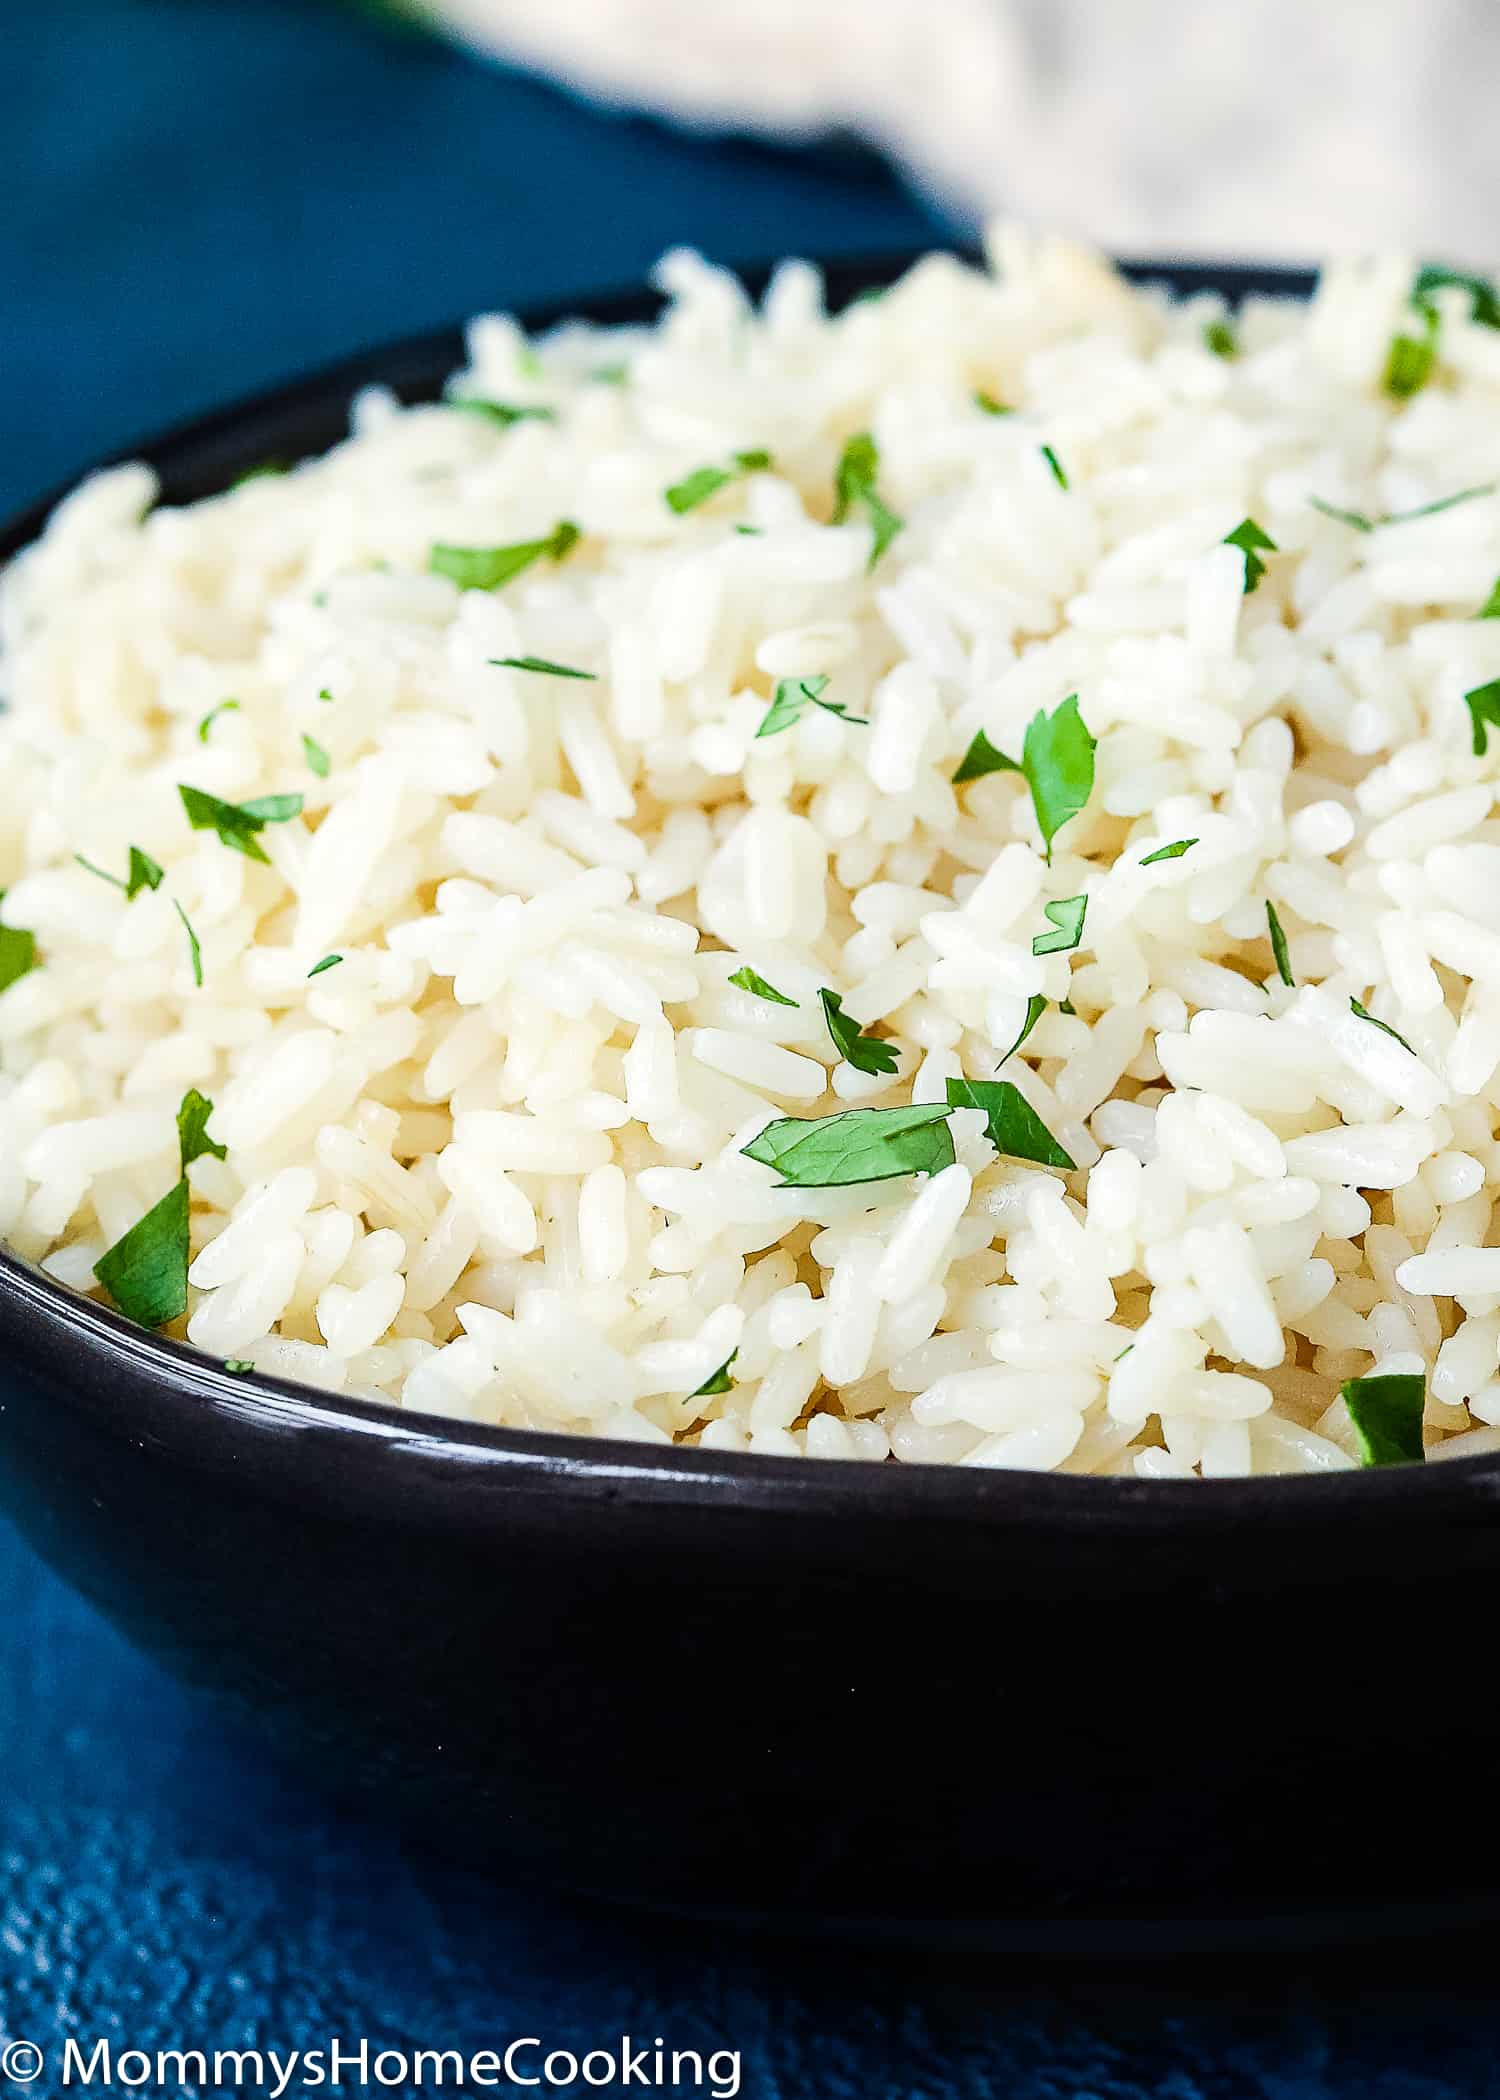
Easy and fluffy instant pot rice
This Instant Pot Fluffy Rice is tender, light and flavorful every time! Please read on to learn my foolproof secret to cooking perfect rice in the Instant Pot. Ready in about 15 minutes. Instructions for cooking different types of rice in the Instant Pot are included.
instructions
-
Place a fine-mesh rice strainer and rinse under cold running water until the water runs clear.
-
Turn on the Instant Pot, select Sauté, and set more. add oil. When hot, add the rinsed rice. Toast the rice for 2-3 minutes, until most of the moisture is absorbed and the rice appears lightly toasted and coated in oil, stirring constantly.
-
Add water, salt, garlic, vinegar, onion (if using) and pepper (if using). Bring to a boil. Attach the lid to the Instant Pot. Close the pressure relief valve. Choose manual or quick cook and set the cooking time to 8 minutes.
-
When the time is up, let the pressure release on its own for 5 minutes. Then carefully turn the valve to “vent” to release any excess pressure that may still be present. Then remove the lid. Press “Cancel”.
-
Discard onions and peppers if you used them.
-
Fluff the rice with a fork and serve.
Save on computer: Leftover cooked rice can be stored in an airtight container in the refrigerator for up to 5 days. Make sure the rice has cooled to room temperature before refrigerating or freezing.
Freeze cooked rice: To freeze cooked rice, portion into freezer-safe containers or freezer bags. Remove as much air as possible before sealing to avoid freezer burn. Frozen rice can be kept for up to 6 months. If you want to use it, let it thaw in the fridge overnight and reheat thoroughly before serving.
My secrets to making fluffy rice every time:
-
- Rinse uncooked rice under cold water to remove excess starch.
-
- Toast the rinsed rice with a little unflavored oil before adding the cooking liquid.
-
- Add 1 teaspoon of white vinegar to the cooking water.
-
- If cooking on the stovetop, allow all the cooking water to evaporate, reduce the heat to low, cover the rice and cook until tender.
-
- When cooking in the pressure cooker, allow the water to boil before locking the lid. Cook for 8 minutes. Natural release for 5 minutes and then quick release. Fluff up with a fork and serve.
Instructions for cooking perfect rice in the Instant Pot
- Regular white rice = 1 cup of rice + 1 cup of water. Cook on high pressure for 8 minutes. Natural release for 5 minutes, then quick release.
- Brown rice = 1 cup rice + 1 1/4 water. Cook on high pressure for 20 minutes. Natural release for 5 minutes, then quick release.
- basmati = 1 cup rice + ¾ cup water. Cook on high pressure for 8 minutes. Natural release for 5 minutes, then quick release.
- jasmine = 1 cup rice + ¾ cup water. Cook on high pressure for 8 minutes. Natural release for 5 minutes, then quick release.
- Texmati = 1 cup of rice + 1 cup of water. Cook on high pressure for 8 minutes. Natural release for 5 minutes, then quick release.
- wild rice = 1 cup rice + 1 ½ cup water. Cook on high pressure for 25 minutes. Natural release for 5 minutes, then quick release.
When preparing this recipe, please read the entire content of the post for lots of tips, tricks, variations, FAQs and step-by-step photos.
★ did you make this recipe Don’t forget to leave a star rating below!
Please note that nutritional information is a rough estimate and may vary depending on the products used.
Nourishment
Calories: 268kcalCarbohydrates: 49GProtein: 4GFat: 5GSodium: 395mgPotassium: 76mgCalcium: 20mgIron: 0.5mg
This recipe was originally published in February 2018. The recipe remains the same, but as of May 2023 more notes, tips, photos and information have been added to the post to make it as helpful as possible!