

*This page may contain affiliate links, which means I will make a small commission for products purchased through my links.
This chivda recipe is an oven-baked version of the popular fried Indian snack mix or “mix.” Known by many names, this delicious, savory and sweet snack mix is easy to customize by adjusting ingredients and seasonings. This recipe also has easy swaps to make it gluten-free.

What is chivda?
Chivda is an Indian snack mix that is usually enjoyed to celebrate Diwali but can be enjoyed throughout the year. The recipe varies by family and region – some use poha, a flat rice product, fried lentils, chickpeas and more.
It also has many names! Depending on the region, it may be called Bombay mix, simply called “mix” or snack mix, Namkin, Chevdo, Chivda, Chevro, Cheuda, etc. Chivda is a popular African snack mix, using similar spices.
Wherever you are, and whatever you call it, you’ll love this chivda recipe!
What makes this recipe great?
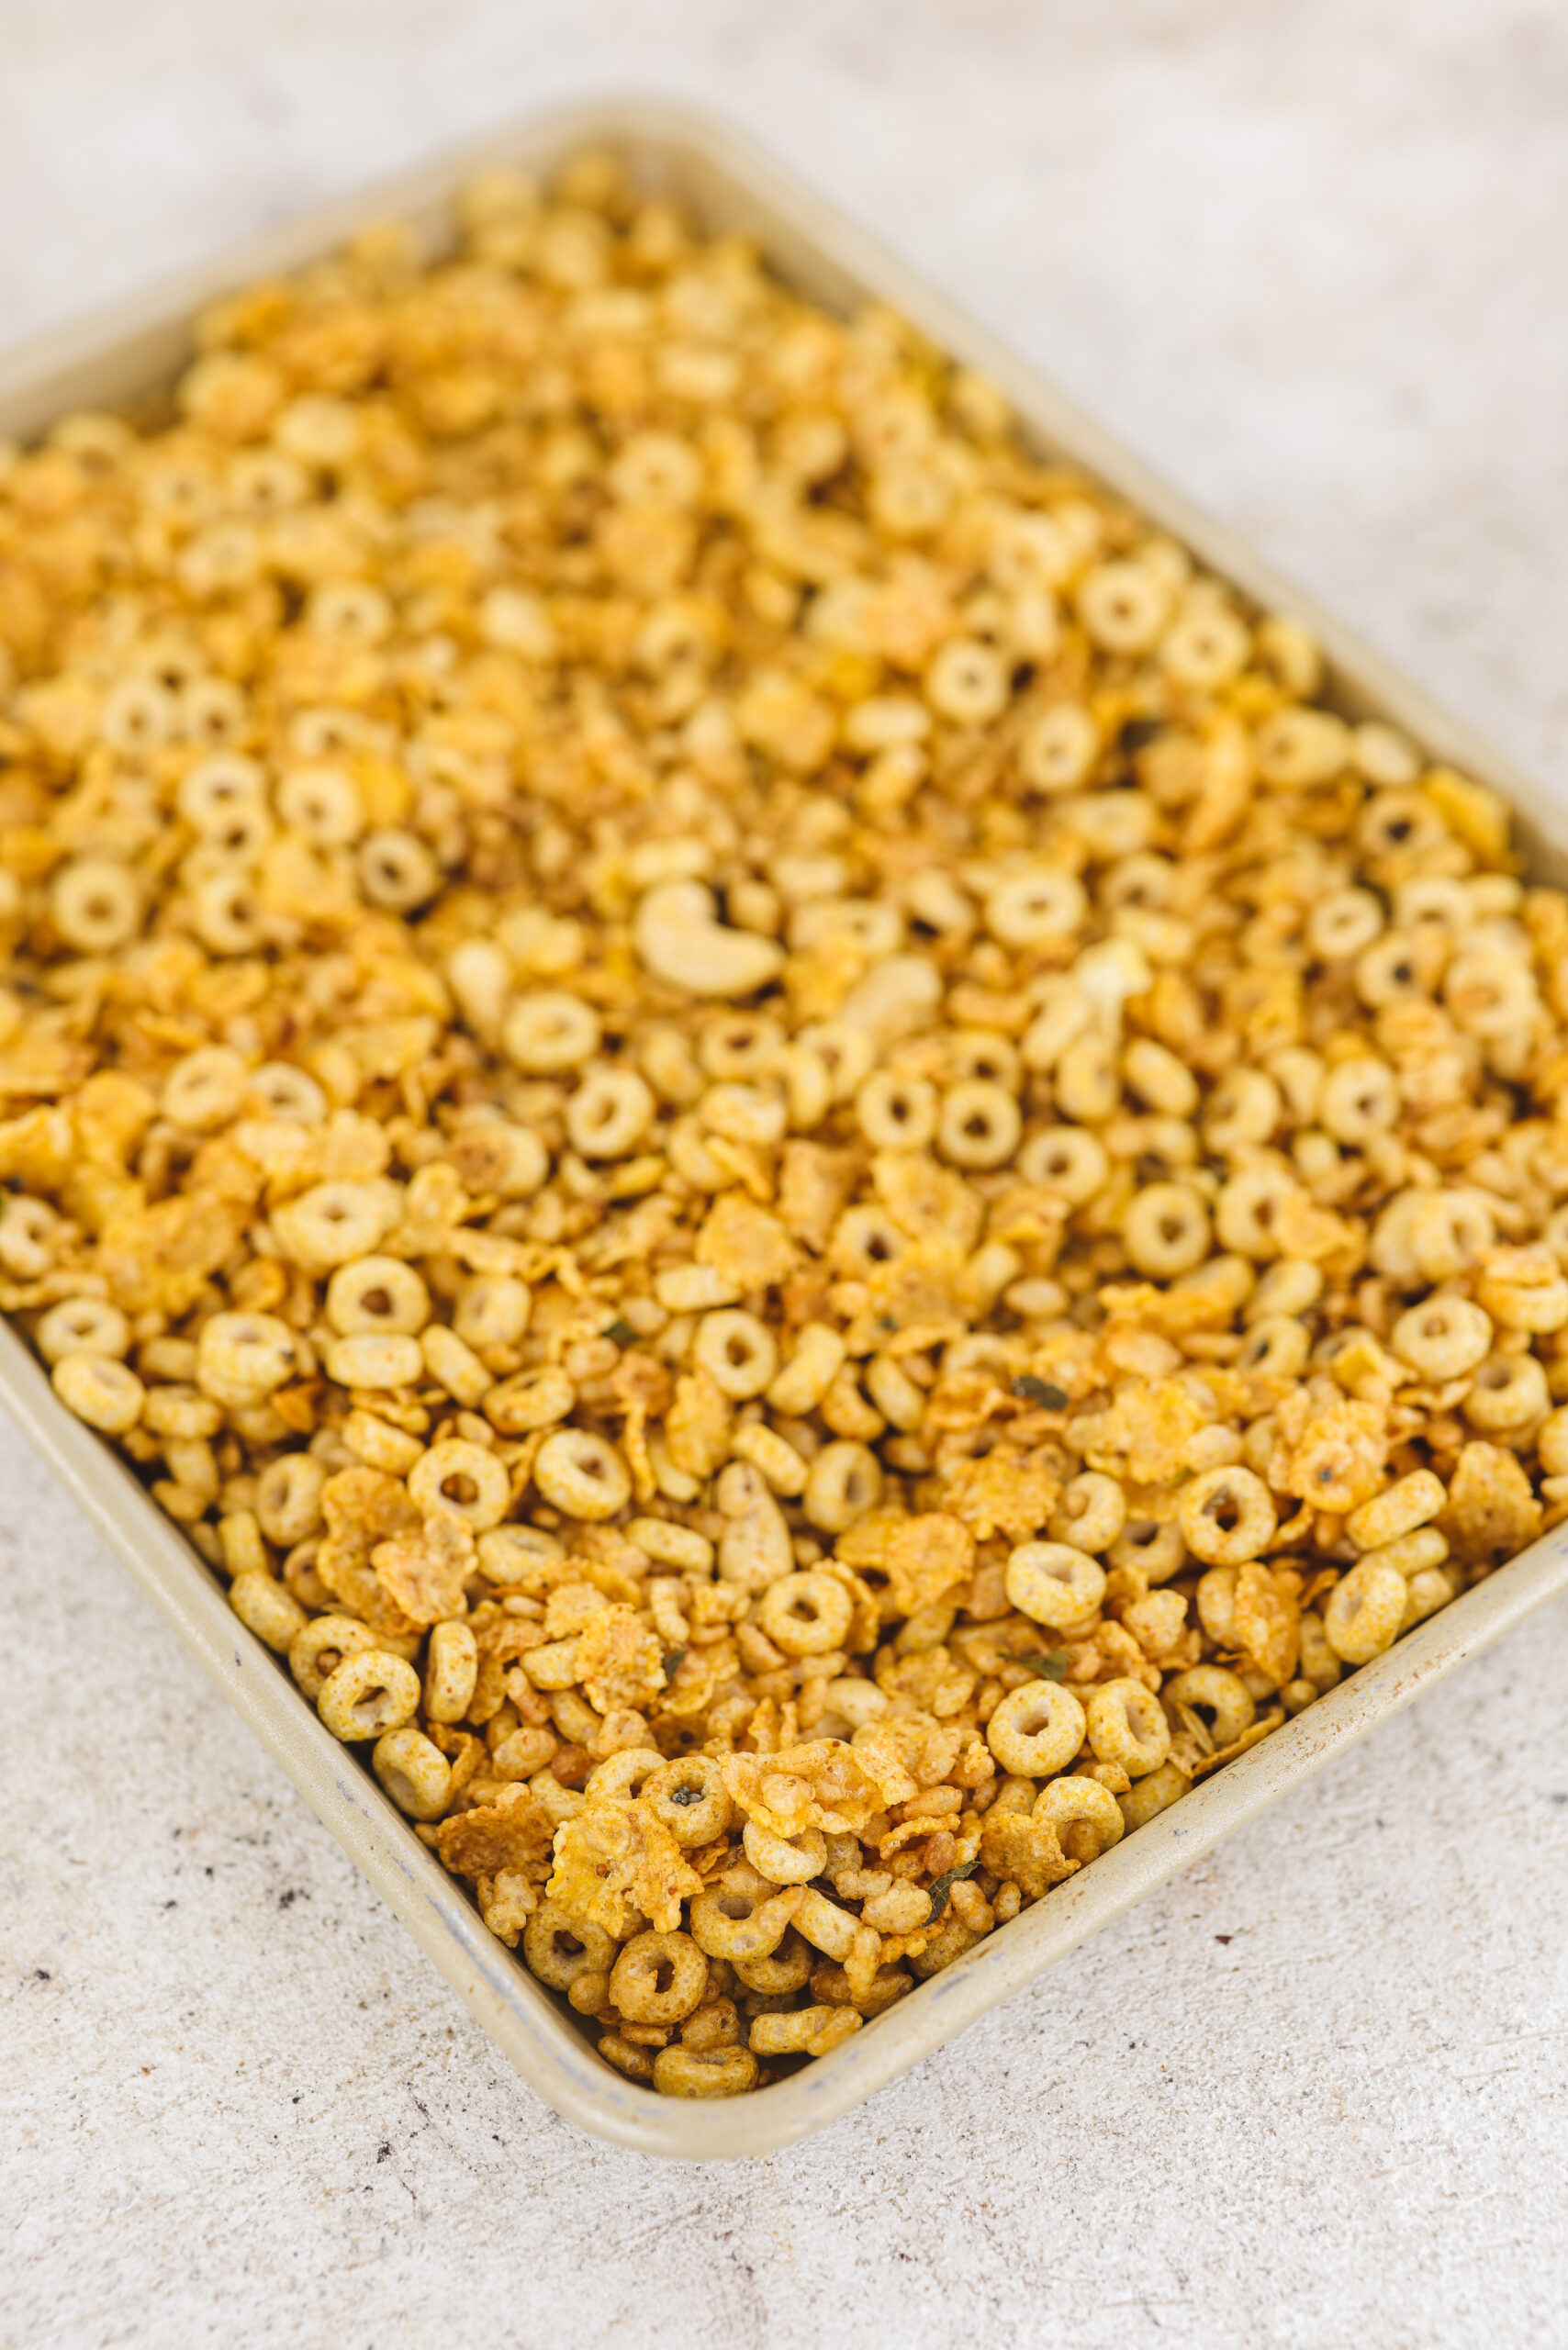
This version of a chivda recipe calls for cereal, which adds an amazing crunch. I used 3 types of cereal to add a delicious variety. Even better, it’s easily made gluten-free with a few simple swaps.
This snack mix is baked instead of fried for a healthier alternative to traditional chivda or Bombay mix. The oven is a great method and hands-off for something a little lighter. Adjust the spices to your liking, add more savory ingredients and make this chivda recipe your own!
If you like snacks, try my Vegan Chex Mix or Miso Butter Furik Popcorn!
How to make this chivda recipe

Material notes
Chivdar ingredients can be found in Indian grocery stores. They even carry packaged versions of Bombay Mix and other Indian snack mixes. However, I like making homemade versions because I can make it the way I like it.
dry ingredients
- Cereals: I used unsweetened cornflakes, plain Cheerios, and Rice Krispies. If you’re gluten-free, remember that you’ll need to swap out the cereals. Rice Chex is gluten-free and will work great.
- Whole peanuts: You can use dry roasted salted or unsalted peanuts. You can substitute cashews if you prefer.
Quick ingredients
- Oil: Use a neutral oil of your choice (vegetable oil, canola oil, avocado oil, coconut oil, light olive oil, peanut oil, etc.).
- Asafoetida: If you have trouble finding it – Hing is also called Hing. Most conventional hing powder contains wheat, but you can source a gluten-free variety to keep the recipe gluten-free.
- Brown mustard seeds
- curry leaves
- Dry red chillies
Chivda masala
- fennel seeds
- Whole coriander seeds
- Red chili powder
- Cumin powder
- yellow
- Coriander powder
- Coconut Sugar: Some recipes call for powdered sugar, however, I prefer coconut sugar because it is unrefined and has a great flavor.
Optional components
- Raisins: You can use regular or golden raisins.
- Salt: Taste.
Step by step instructions

Toast the dry ingredients
- In a dry pan, add the cereal and nuts, and toast, tossing often, to crisp up and make it nice and fragrant. Allow to cool and set aside.
spell fast
- Add mustard seeds, curry leaves, asafoetida and dry chillies (if using) to a small pan or saute pan. Cover with a neutral oil to ensure everything is coated. This will bring out the flavor of the spices and make them much more aromatic.
- Bring the mixture to a gentle simmer over very low heat, stirring often to avoid burning. Once the masala becomes fragrant, remove from heat, then add the rest of the chiveda masala (fennel seeds, coriander seeds, red chili powder, turmeric, coriander powder, cumin powder and coconut sugar). Stir gently.
Prepare the snack mix
- Preheat your oven to 175F.
- Pour the dry ingredients into a large mixing bowl and then add all the powdered spices. Use your hands to gently toss and combine evenly, tasting as you go.
- Add salt and additional spices as desired. Once you’re happy with the taste, pour the mixture onto a lined baking sheet and spread evenly.
- Bake the mixture for about 30-45 minutes, tossing halfway through.
- Toss in raisins, if using, and let mixture cool completely.

Expert tips
- be careful Do not burn the spices. Use very low heat and remove from heat when it starts bubbling. Then, add the remaining spices to the hot but simmering oil, to toast without overcooking, then use this as a seasoning base.
- you can Skip the cereal toasting First, but I like to do this with nuts so they’re nice and crispy before seasoning and baking. A dry pan works great for this.
- You can use plain Cheerios or Rice Chex or your favorite gluten-free cereal.
- Season to go, and you Adjust seasoning As you see fit. If you don’t like spices, omit the chili + chili powder altogether and this chivda recipe will still be just as delicious.
Storage Tips
- Store chiveda in an airtight container at room temperature. It will last from 4-6 months, although you can eat it much faster- it’s so good!

Recipe FAQs
Yes. You can make a quick fried version by tossing the cereal and tarka in a large pan and frying.
You can also add different dry fruits like dry cranberry, dry sour cherry or dry coconut, gram sev, fried lentil, poha, fried gram, dry green chilli etc. The options are endless!
It all depends on the ingredients and the region you are from. Although very similar, the ingredients vary slightly. Poha, which is a flattened rice product, is one of the main stars of the Poha Chivda recipe, hence the name. Namkeen translates as a “delicious snack”, which covers a wide range of snack options.
More snack recipes to love…
Carrot Cake Bliss Ball
Crunchy Tofu Fingers
Homemade Japanese Rice Crackers
Healthy Vegan Cheez-Its
If you try this chivda recipe please leave a comment below. It’s so fun for me to see your creations. Follow me on Instagram for more fun recipes coming your way.

Healthy Chivda Recipe (Indian Snack Mix)
This chivda recipe is an oven-baked version of the popular fried Indian “mix” or Bombay mix. Easily adjust ingredients and seasonings or make it gluten-free!
dry ingredients
- 2 the cup Cornflakes unsweetened
- 2 the cup cheerios Gluten free, if desired
- 2 the cup Rice Krispies Cereal
- 1/3 the cup Whole peanuts Or use cashews
Quick ingredients
- Neutral oil to cover
- 1 teaspoon Brown mustard seeds
- 10-12 curry leaves
- 1/4-1/2 teaspoon aafetida
- 1-2 Dry red chillies
Chivda masala
- 1/2 teaspoon fennel seeds
- 1 teaspoon Whole coriander seeds
- 1/4 teaspoon Red chili powder
- 1 teaspoon Cumin powder
- 1/4 teaspoon yellow
- 1/2 teaspoon Coriander powder
- 1 teaspoon coconut sugar
of other elements
- 1/3 the cup raisin
- salt to test
Toast the dry ingredients
In a dry pan, add the cereal and nuts and toast, tossing often, to crisp up and get nice and fragrant. Allow to cool and set aside.
Make it quick
Add mustard seeds, curry leaves, asafoetida and dry chillies (if using) in a small pan or saute pan if you have one. Cover with neutral oil to ensure everything is coated.
Bring the mixture to a light sizzle over very low heat, stirring often to avoid burning. Once the masala is fragrant, remove from heat, then add the rest of the chiveda masala (fennel seeds, coriander seeds, red chili powder, turmeric, coriander powder, cumin powder and coconut sugar). Stir gently.
Prepare the breakfast mixture
Preheat your oven to 175F.
Pour the dry ingredients into a large mixing bowl and then add all the powdered spices. Use your hands to gently toss and combine evenly, tasting as you go.
Add salt and additional spices as desired. Once you’re happy with the taste, pour the mixture onto a lined baking sheet and spread evenly.
Bake the mixture for about 30-45 minutes, tossing halfway through.
Toss in raisins, if using, and let mixture cool completely.
Expert tips
-
- be careful Do not burn the spices. Use very low heat and remove from heat when it starts bubbling. Then, add the remaining spices to the hot but simmering oil, to toast without overcooking, then use this as a seasoning base.
-
- you can Skip the cereal toasting First, but I like to do this with nuts so they’re nice and crispy before seasoning and baking. a dry Pan Works great for this.
-
- You can use plain Cheerios or Rice Chex or your favorite gluten-free cereal.
-
- Season to go, and you Adjust seasoning As you see fit. If you don’t like spices, omit the chili + chili powder altogether and the chivda recipe will still be just as delicious.
Storage Tips
-
- Store chiveda in an airtight container at room temperature. It will last from 4-6 months, although you can eat it much faster- it’s so good!
You may also like:
Source link