

Learn how to make and feed your own sourdough appetizer so you can make the most enticing breads, pizza dough, donuts, pancakes, and even homemade pretzels. All you need are two ingredients, a jar, and you’re well on your way to unleashing the magic of a sourdough starter.
hide
Sourdough starter highlights
Baking with a sourdough starter gives your bread a tangy flavor that only fresh starters can produce. It also breaks down gluten, making it easier to digest, and it stays fresher 2-3 times longer than ready-made bread.
The preparation requires only two ingredients and a few minutes; Get your family or roommates involved and turn it into a project where everyone can learn and grow.
Once you’ve taken the time to activate your starter, give it a good name, and bring it home, the rest is a breeze and a tasty treat to be proud of.
Whether you’re a seasoned baker or not, there are so many different ways to use sourdough starters that you’ll want to roll up your sleeves and get creative.
Once you’ve baked with a fresh sourdough you’ll wonder why you’ve never done this before as the results will be amazing.
Sourdough starter ingredients you need & notes
- whole wheat flour: Whole wheat flour helps get the fermentation process going faster than it would if regular flour was used. You can replace this with all-purpose flour; However, you need to add a day or two to the fermentation process.
- Warm water: The water should have a temperature of 75℉ (24℃). It is best to use a kitchen thermometer to check the temperature.
- All Purpose Flour: All-purpose flour is used to feed the sourdough starter because it is not only inexpensive, but also reliable and easy to use.
Sourdough starter instructions step by step
- Day 1 – Make the starter
Place whole wheat flour in a sterile glass jar with warm water and stir with a stainless steel or wooden fork until smooth. Cover the jar lightly and let it rest in a warm place in the kitchen at around 75℉ (24℃).
Pro Tip: Temperature is key to making the best sourdough starter, be sure to keep the temperature at 75℉ (24℃).
- Day 2 – After 24 hours
You’ll notice little bubbles appear on top of your starter, which means you’re off to a good start. The bubbles mean it’s starting to ferment. Nothing else is needed for the next 24 hours. Just leave it slightly covered in the same warm spot.
- Day 3 – It’s feeding time
First, remove and discard half of the appetizer’s contents, leaving you with 4 tablespoons (60g). At this point the texture of the starter is very elastic or stretchy. Use a fork to mix in all-purpose flour and warm water until smooth. Cover the jar lightly and leave it in the same warm spot in your kitchen for another 24 hours.
- Day 4, 5 & 6 – Repeat
Repeat the feeding steps of discarding half and mixing in all-purpose flour with warm water every 24 hours for those three days. The goal is to have your launcher double in size so you know it’s ready to go.
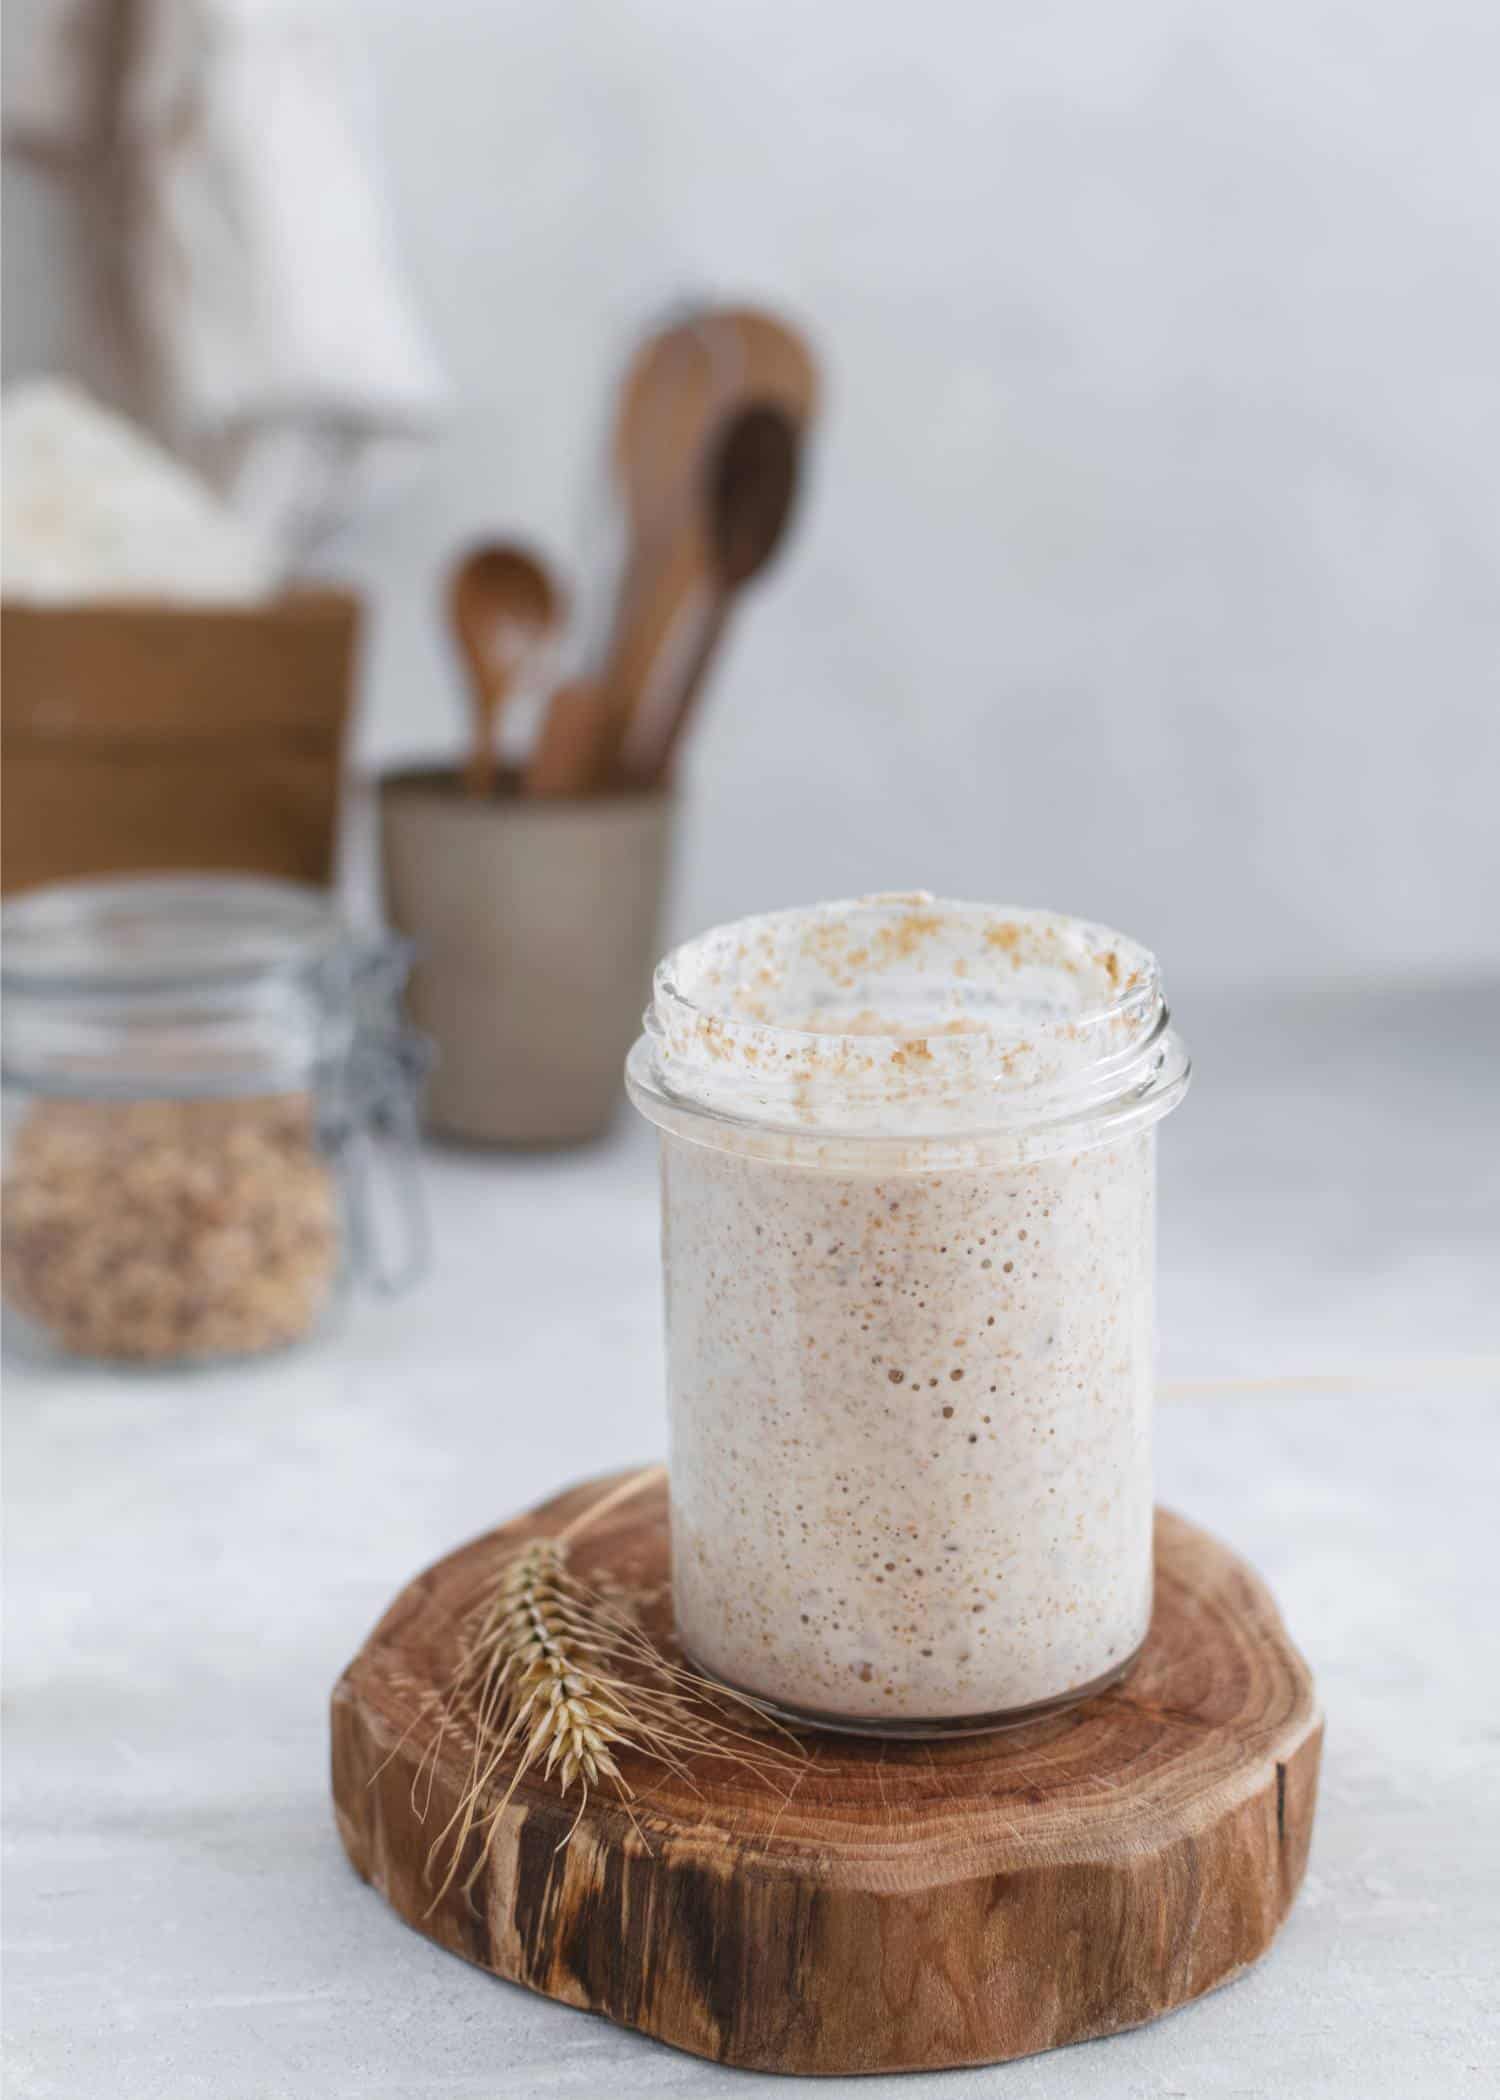
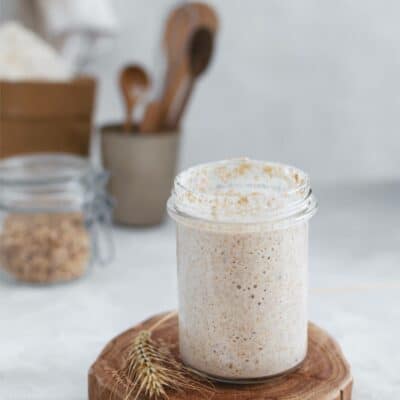
- Day 7 – Time to start
By this day, the appetizer should have doubled in size, with both large and tiny bubbles throughout the appetizer.
Pro Tip: If the starter hasn’t doubled in size by day seven, repeat the feeding steps, letting it sit for another day or two, if necessary, until it has doubled in size.
Sign up with your email address to receive egg-free recipes.
recipe tips
Plan ahead for a stable sourdough starter, you will need 7-8 days to make it.
Use a piece of masking tape or an erasable marker to make a note of where your starter started, easy to see when it’s doubled.
It’s best to use an instant-read kitchen thermometer to check room and water temperatures when making a sourdough appetizer.
Be sure to measure the ingredients correctly so the starter can react, ferment, and be active.
Storage and feeding instructions
Storage and preservation of your starter: If you bake a lot, it can be left at room temperature and fed daily. If you only want to bake once in a while, you can keep it in the fridge and feed it weekly.
frequently asked Questions
Making a sourdough starter turns water and flour into a sizzling jar of wild yeast and beneficial bacteria. The starter will attract wild yeast from the area as well as whatever wheat you give it. This gives the bread a unique “sour” taste, as well as a crispy crust and fluffy air pockets.
Metal reacts with the acidic chemicals in sourdough starters, causing them to not rise properly, and the sourdough could actually absorb the toxins in metals and transfer them into the food. Stainless steel is fine to use as long as it doesn’t have a metal coating.
Check out how it played out to check if you have an active launcher; It should have doubled in volume as you fed it. The surface should also be fairly fluffy and slightly foamy.
If you forget your starter for a long time, it will go moldy or show signs of being invaded by nasty bacteria. Mold can appear in a variety of shades and typically looks fuzzy. An orange or pink tint or streak indicates harmful bacteria.
If you bake a lot, it can be left at room temperature and fed daily. If you only want to bake once in a while, you can keep it in the fridge and feed it weekly.
This harmless brown liquid is called a “hooch” and is the liquid result of alcohol formation as the starter ferments. It’s also a sign that your starter is nearing feeding time. Simply pour off the liquid and start feeding.
100 g sourdough starter = 7 g instant yeast (1 packet). If the recipe calls for 7g of instant yeast, add 100g of sourdough and reduce 50g of flour and 50g of water. Keep in mind that the rise times are longer, almost twice as long as the original recipe.
Links to bread recipes you will love
Recipe card 📖
Easy sourdough starter
Learn how to make and feed your own sourdough appetizer so you can make the most enticing breads, pizza dough, donuts, pancakes, and even homemade pretzels. All you need are two ingredients, a jar, and you’re well on your way to unleashing the magic of a sourdough starter.
instructions
Day 1 – Make the starter
-
In a 3.75L sterile glass jar, combine ½ cup (60g) whole wheat flour with ¼ cup (60mL g) warm water 75℉ (24℃) and mix with a stainless steel or wooden fork until smooth . Cover the jar lightly and leave in a warm place in the kitchen at around 24℃ for 24 hours.
Day 2 – After 24 hours
-
You’ll notice little bubbles appearing on top of your starter, which means you’re off to a great start. The bubbles mean it’s starting to ferment. Nothing else is needed for the next 24 hours; Just leave it slightly covered in the same warm spot.
Day 3 – It’s feeding time
-
First, remove and discard half of the appetizer’s contents, leaving you with 4 tablespoons (60g). At this point the texture of the starter is very elastic or stretchy. Use a stainless steel or wooden fork to mix ½ cup (60g) all-purpose flour with ¼ cup (60mL) warm water until smooth. Cover the jar lightly and leave it in the same warm spot in your kitchen for another 24 hours.
Day 7 – Time to start
-
By this day, the appetizer should have doubled in size, with both large and tiny bubbles throughout the appetizer. You can now start baking a nice bread. Note: If the starter hasn’t doubled in size by day seven, repeat the feeding steps, letting it sit for another day or two, if necessary, until it has doubled in size.
Storage and preservation of your starter: If you bake a lot, it can be left at room temperature and fed daily. If you only want to bake once in a while, you can keep it in the fridge and feed it weekly.
Use of your starter:
Out of the fridge: If your appetizer is kept in the fridge, pull it out, feed the appetizer in the evening before leaving at room temperature overnight and you’re ready to bake.
room temperature: If your starter is already at room temperature, simply continue with your feeding schedule.
Additional tips:
- plan ahead! The sourdough starter takes 7 days to be ready to use.
- Use a piece of masking tape or an erasable marker to make a note of where your starter started, easy to see when it’s doubled.
- It’s a good idea to use an instant-read kitchen thermometer to check room and water temperatures when making a sourdough appetizer.
As you prepare this recipe, please read the entire content of the post for lots of tips, tricks, variations, and FAQs.
★ Did you make this recipe? Don’t forget to leave a star rating below!
Please note that nutritional information is a rough estimate and may vary depending on the products used. The nutrition is for the whole pie shell.