

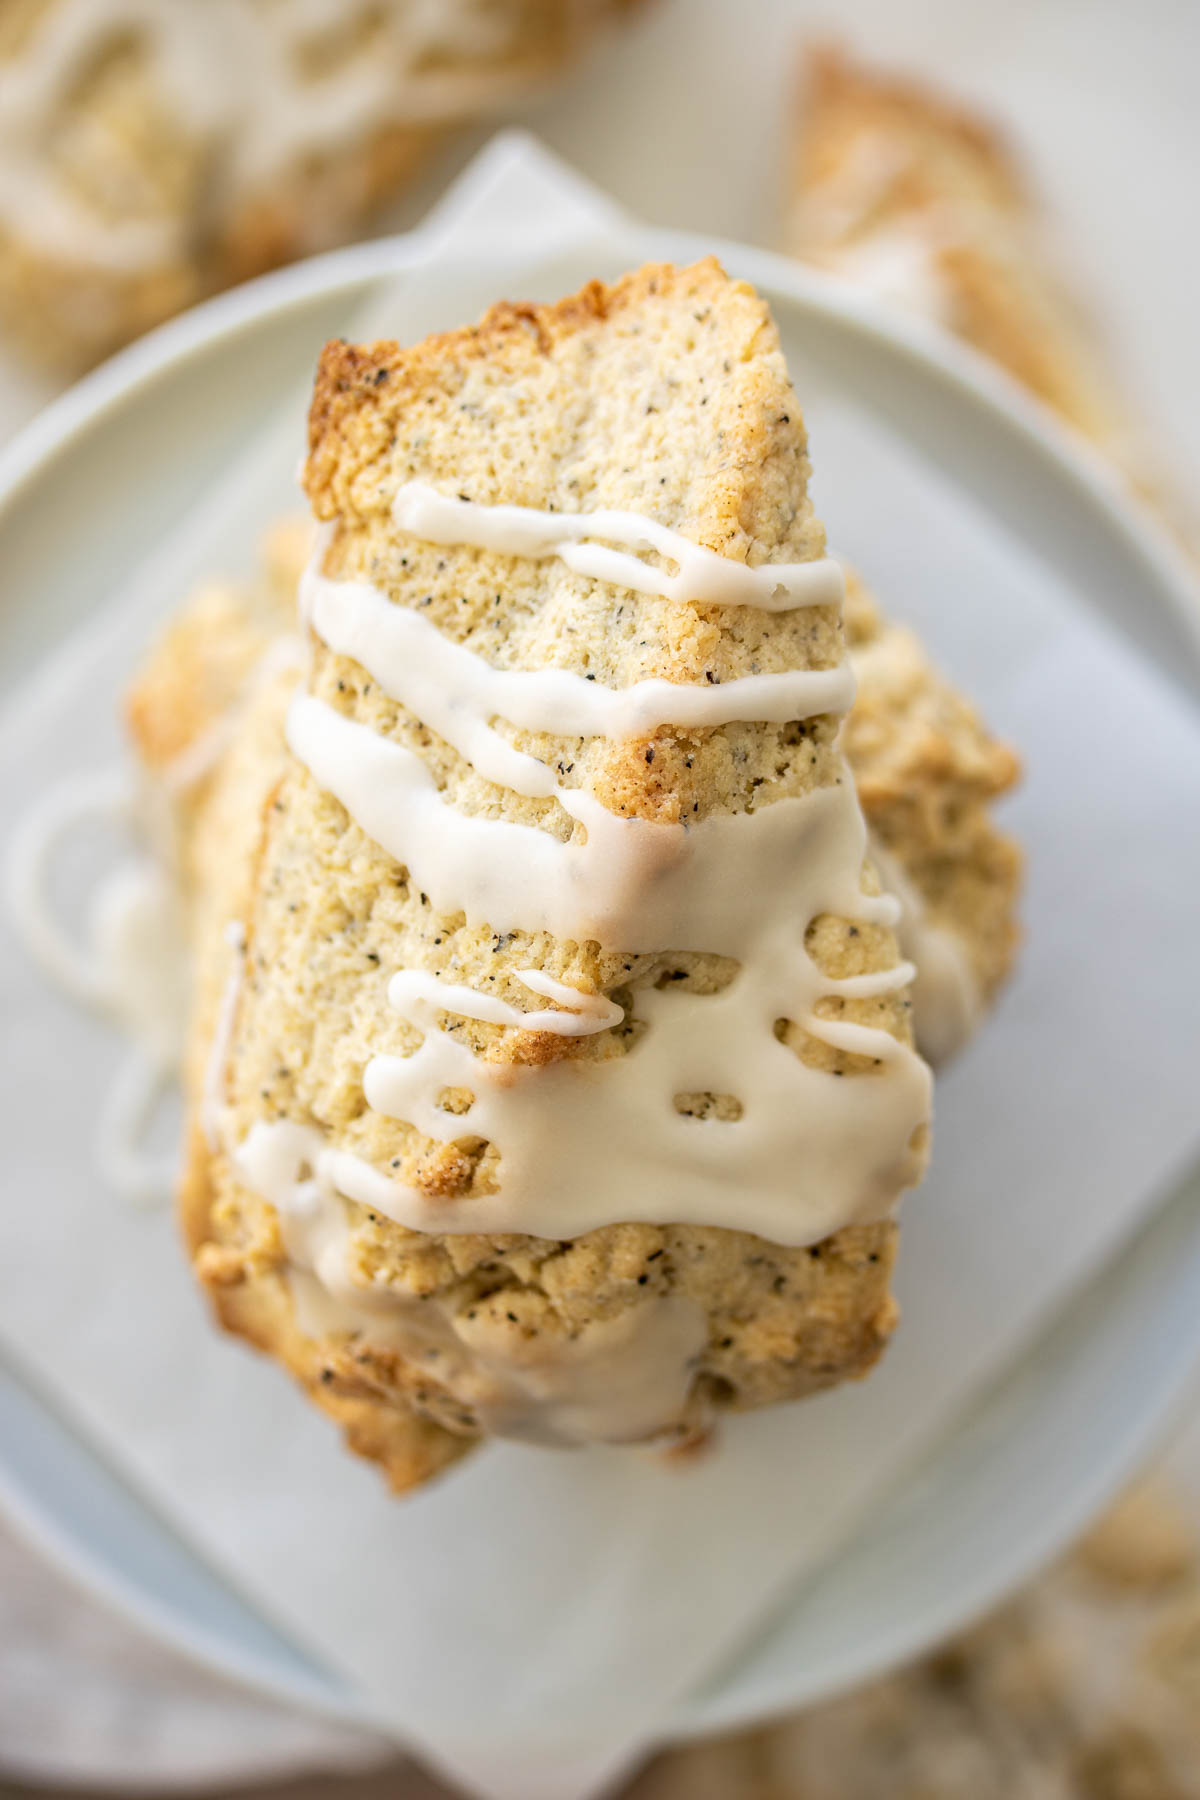
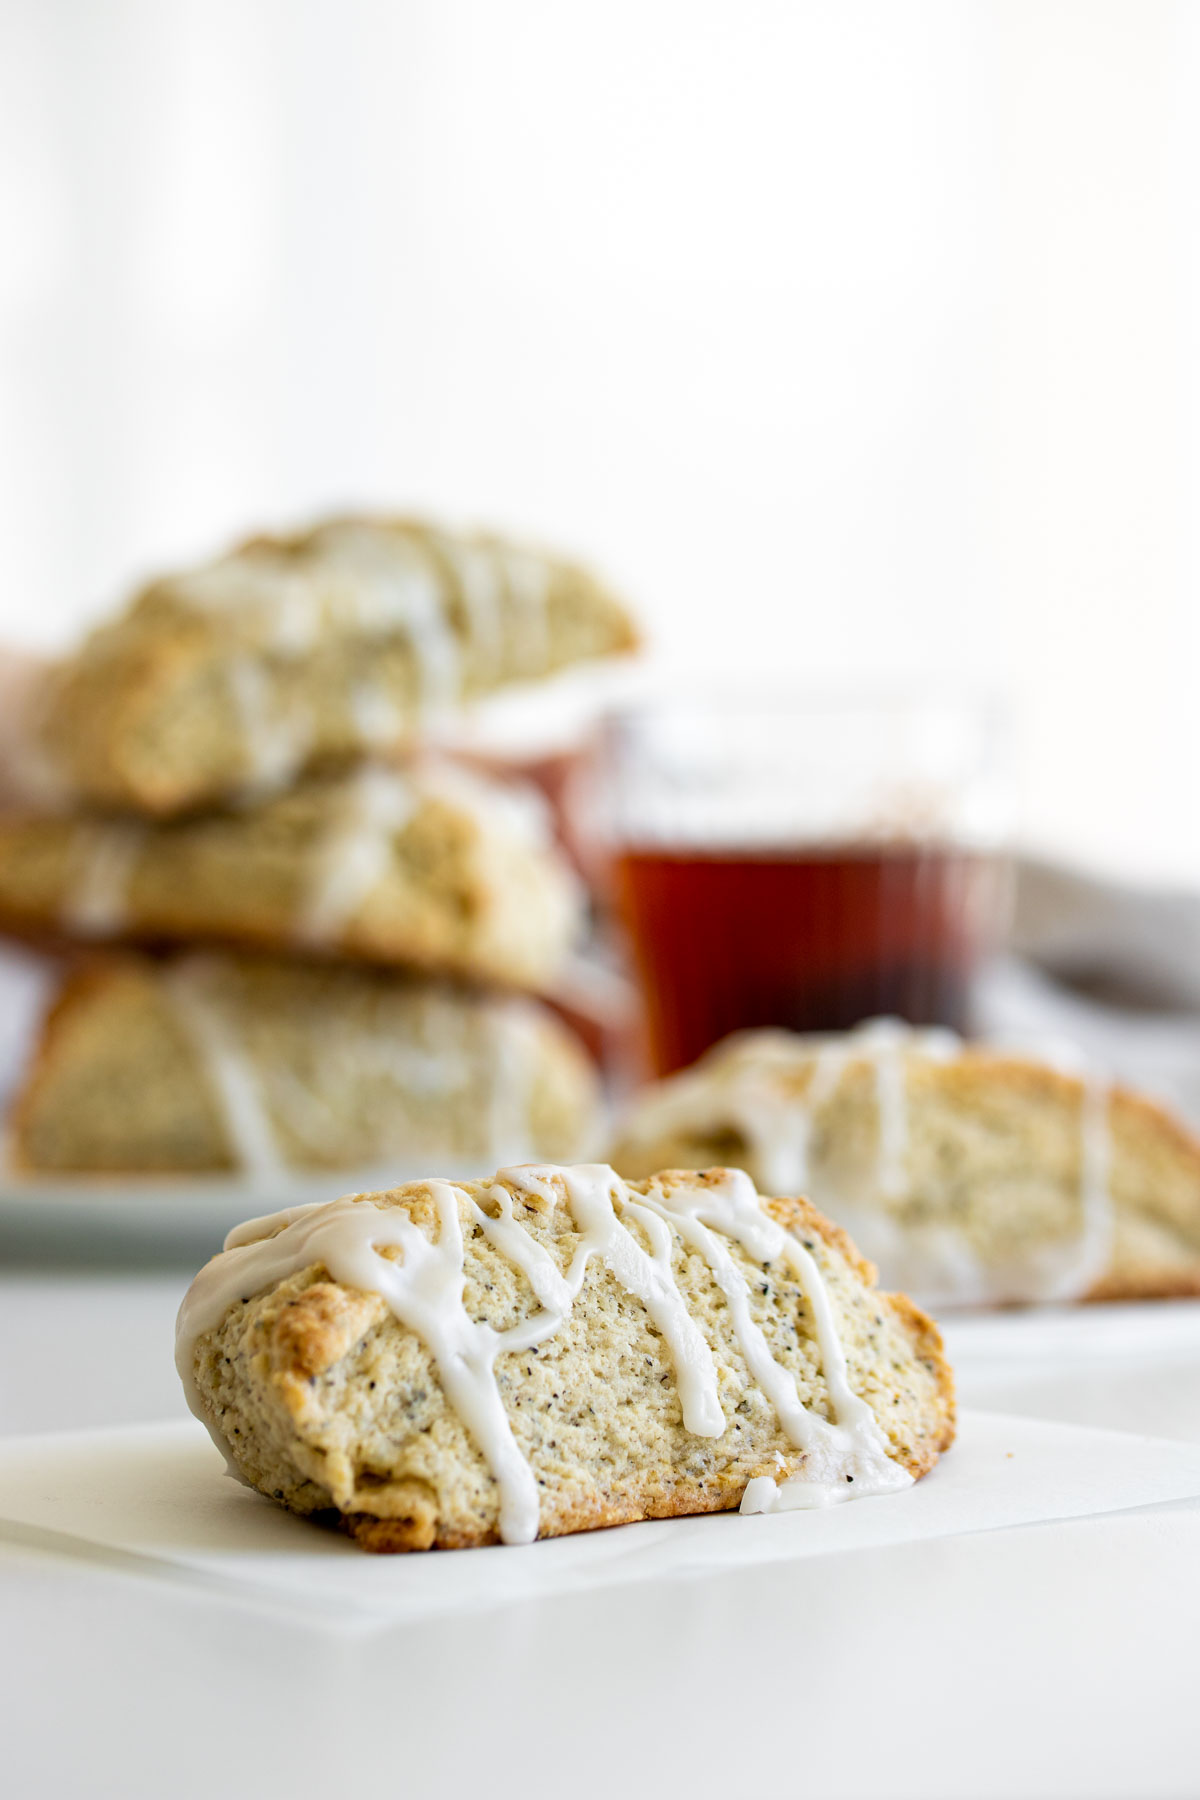
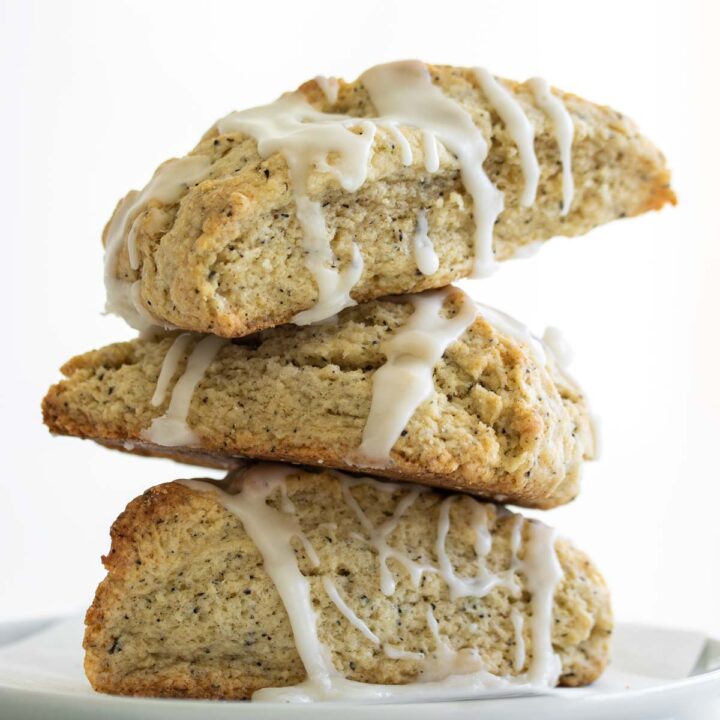
If you’re a fan of tea, you’ll love these Earl Grey Scones. Light, buttery and flaky, these scones are infused with the delicate flavor of Earl Grey tea. This recipe will give you irresistible scones that are the perfect treat for tea time!
Jump to:
🍊Earl Grey and baking with tea
Have you ever wondered what gives Earl Grey tea its distinctive flavor? It’s all about bergamot oil mixed with the black tea. But what exactly is bergamot?
Bergamot is a variety of green orange that’s grown in different areas across the world, but is often associated with the Calabria region in Italy. Despite its less-than-appealing appearance, bergamot is a true culinary gem, and is responsible for the unique and delicious flavor of Earl Grey tea.
Baking with tea is easier than you think! There are different ways you can add its flavor to a recipe. In this one, we’ll use the leaves and an Earl Grey heavy cream infusion. You can also enhance even more the taste with a homemade Earl Grey extract: it’s just perfect for baked goods!
One of the best things to bake with tea is that you can pair it with new amazing flavors. I find that any type of citrus works amazingly with Earl Grey, and these scones are paired with a delicious lemon Earl Grey glaze.
👩🏻🍳Why bake these scones?
If you bake my Earl Grey Scones, I’ll promise you’ll get:
- Buttery and flaky scones;
- Scones that are quick and easy to make (I’ll go through every step with you in the video);
- Delicious and simple flavor variations for you to try (trust me: you’ll want to bake them again!)
📝Ingredients and substitutions
A tip before beginning: measuring the flour in this recipe is very important! The recipe is both in cups and grams, but I strongly recommend weighting all the ingredients, especially the all-purpose flour.
If you’re using cups, check out this article on how to correctly measure ingredients for baking (and other baking tips that can make a difference!).
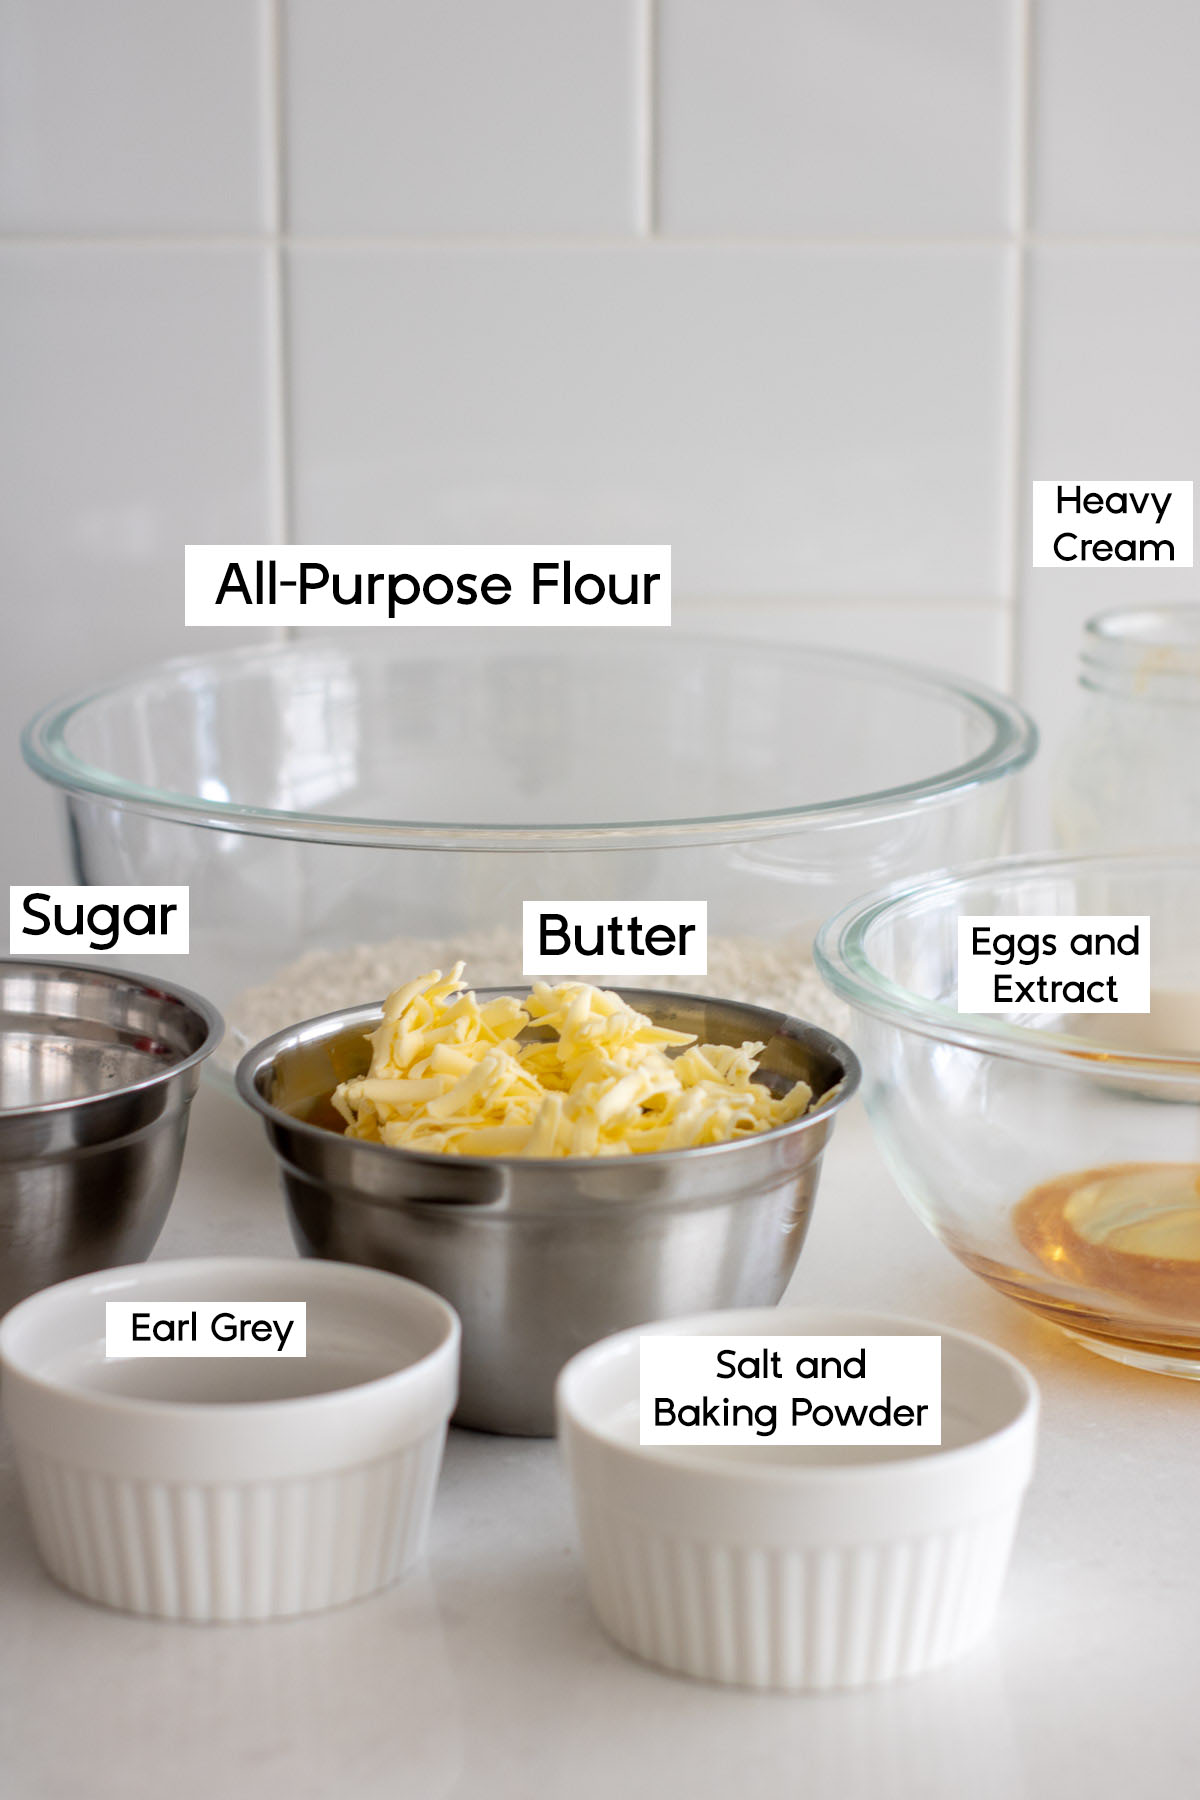
For the scones, we’re using:
- All-purpose flour. We’re keeping this recipe as simple as it can get. Don’t use self-raising flour, nor bread or cake flour.
- Granulated sugar. Is the sweetener we’re using for the scones. You can substitute for caster sugar. Don’t substitute for icing sugar: this one is just good for the glaze.
- Baking powder. It will make the scones rise.
- Salt. A pinch helps with flavor enhancement in baked goods.
- Butter. Use unsalted. This ingredient needs to be cold. I recommend grating the butter, then freezing it for an hour before starting to make the scones.
- Earl Grey. You can use tea bags or loose leaf Earl Grey. If using loose tea, you’ll get a scone with a stronger earl grey flavor. When using loose, I recommend grinding or chopping the leaves fine for a better texture, as we’re using it for baking.
- Earl Grey extract. You can make your own Earl Grey extract for baking, or substitute for vanilla extract. Using Earl Grey extract will enhance even more this flavor in the recipe.
- Egg. Use a large egg for this recipe.
- Heavy cream. Along the egg, it’s what brings the dough together. You can substitute for buttermilk if wanted. Just be aware that buttermilk will add sourness to these scones.
For the glaze:
- Icing sugar. Do not substitute for caster/granulated sugar: it won’t work.
- Earl Grey extract. It adds a touch of Earl Grey to the glaze. If you don’t have it, use only lemon juice, or substitute for brewed Earl Grey tea.
- Lemon juice. It gives a sour touch to this recipe. You can substitute for lime or orange juice.
🥄How to make them
Scones don’t have to be difficult! If you follow all the steps, I promise you’ll get moist, full of Earl Grey flavor scones with little effort.
Start by reading the whole recipe, making sure you have all the ingredients and that all the steps are clear. I have a video in this post, so you can see how I make them.
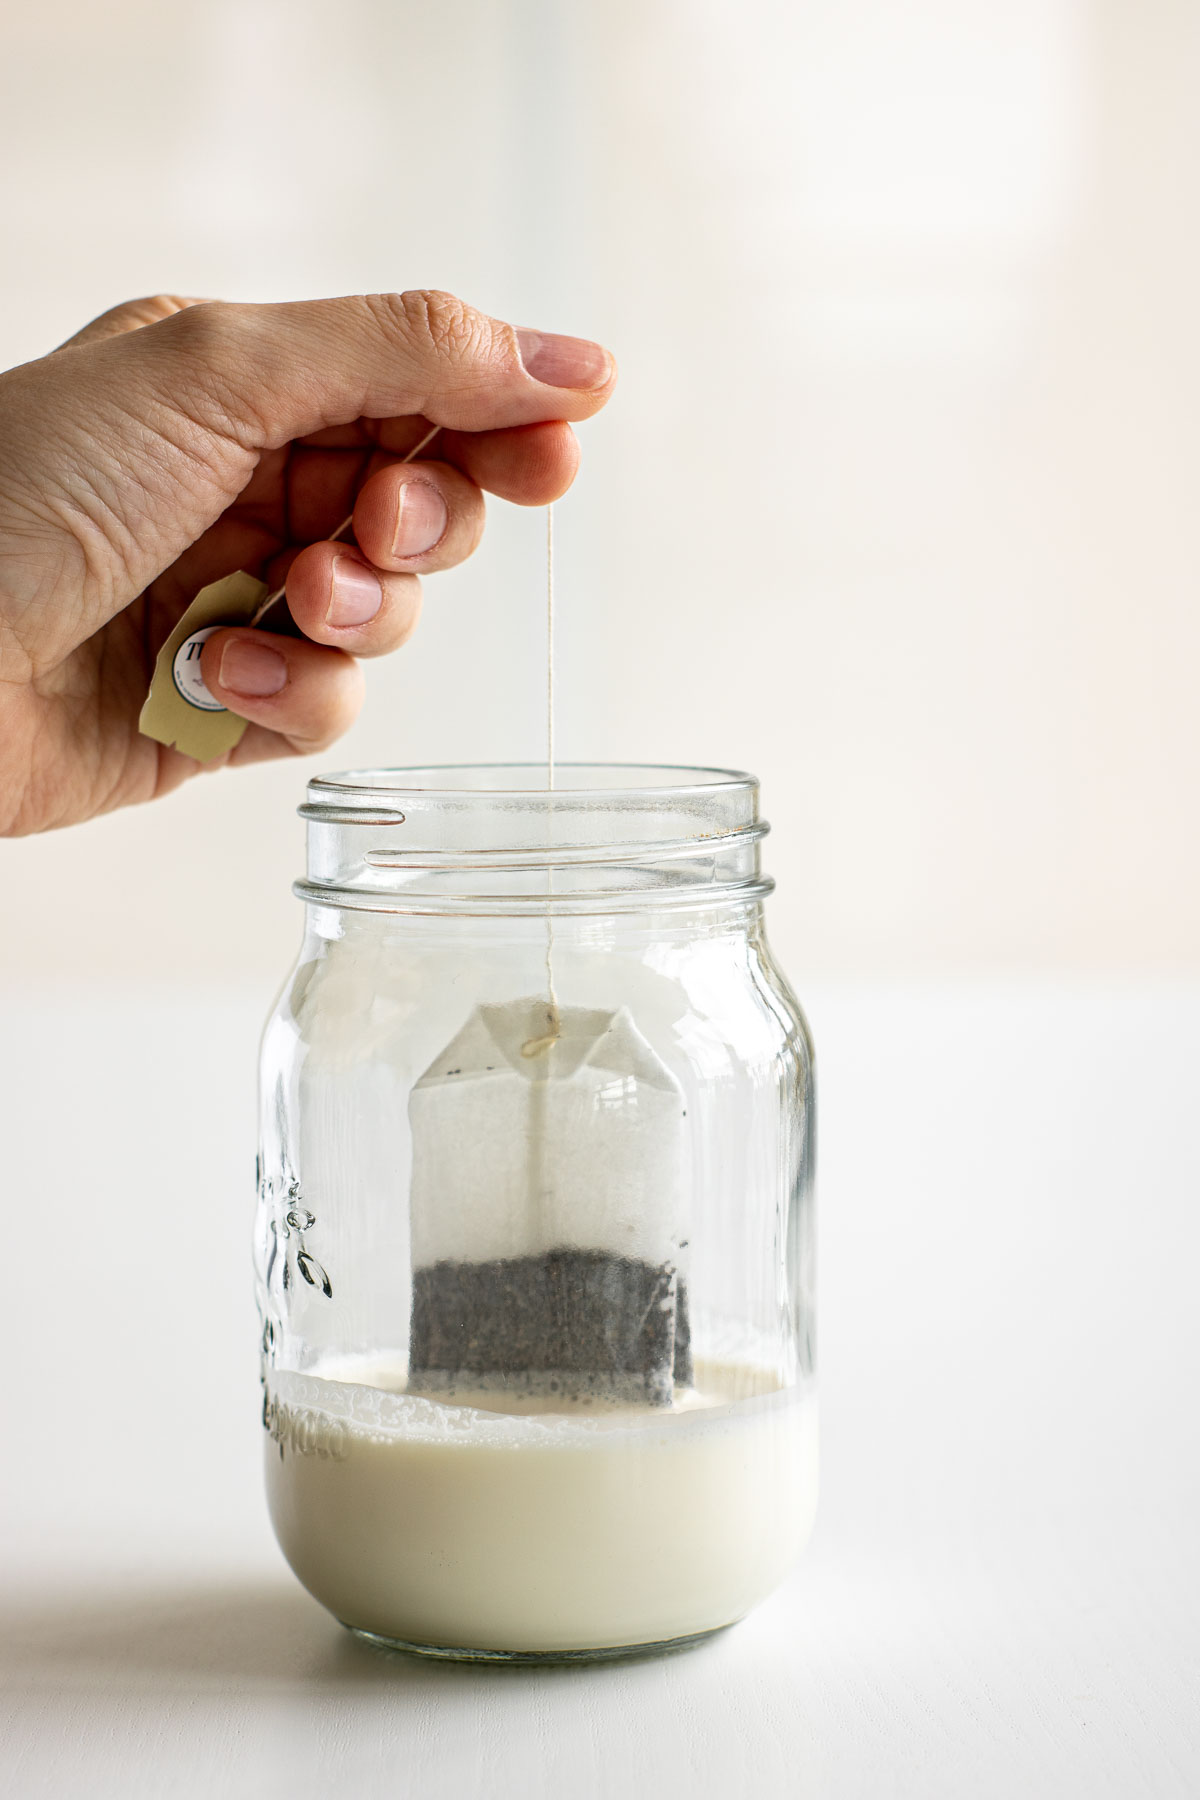
I like to infuse the heavy cream with Earl Grey the night before. Add the amount of heavy cream asked and the Earl Grey (tea bags are easier, but you can make it with loose leaves and sieve to remove them) in a jar with a lid, and let it rest in a fridge overnight.
Grate or cube the butter and freeze for an hour. I highly recommend grating and freezing the butter, especially if you’re new into making scones. You want the butter not to melt when putting the dough together, so this ingredient in very small pieces and frozen helps A LOT.
Preheat the oven to 400°F. It needs to be at the right temperature for the scones to bake properly. If the oven is not preheated, it will affect the result. Line a baking sheet with parchment paper.
Prepare all ingredients. Remove the Earl Grey from the heavy cream.
In a large bowl, mix together the dry ingredients: flour, sugar, baking powder and Earl Grey tea. If using tea bags, cut them open, add the tea and discard the bags. If using loose tea, I recommend grinding the leaves until fine for the scones. It gives your scones a better texture. Whisk to mix.
Add the cold butter, grated or cubed into small pieces. Using your fingers, a pastry cutter or a fork, press the butter and the dry ingredients together until you get the consistency of pear-sized crumbs. Do not overwork the dough: that will give you tough scones.
In a small bowl, add the egg and Earl Grey or vanilla extract and quickly whisk them together. Add the mixture to the large bowl, and using your hands, combine the ingredients. Again: do not overwork the dough. The butter should not melt. Check the video to see the texture.

Add the heavy cream and, with your hands, work the dough until ingredients are combined and dough starts to form.
Turn the dough into a floured surface and form a disk, about 1 to 1 ½ inch thick. Use a bench scraper or sharp knife to divide the disk into 8 triangles.

Place scones in the baking sheet, and bake them for 15 to 18 minutes, until lightly golden on top. Do not bake for more than 18 minutes: overbaked scones get dry and crumbly!

Remove them from the oven and allow the scones to cool for 30 minutes.
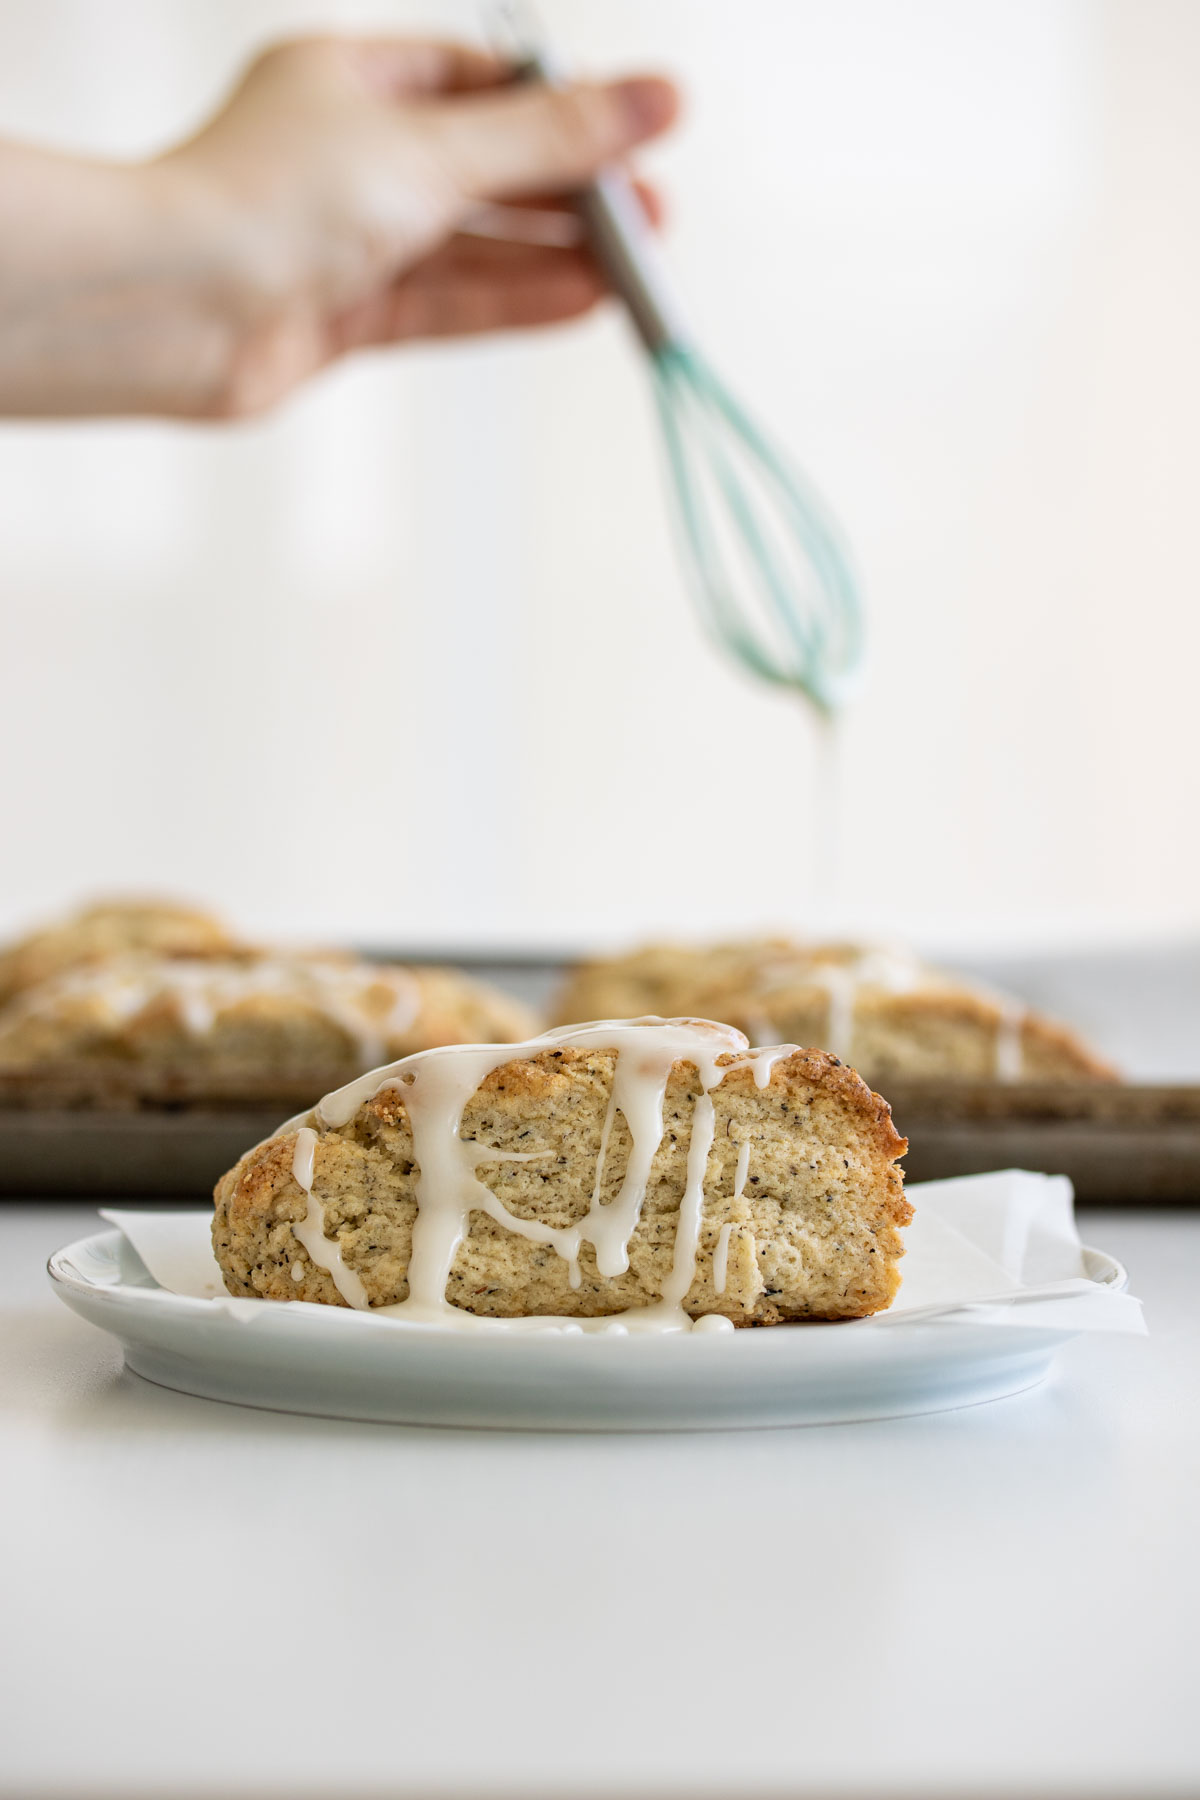
Stiff the icing sugar to avoid clumps on the glaze. In a small bowl, combine icing sugar, Earl Grey extract if using and lemon juice. Use a spoon or whisk to drizzle the citrus glaze over the scones. Don’t make the glaze ahead: it sets really fast, so make it when ready to pour over the scones.
🫖Recipe variations
- Earl Grey Lavender Scones. Add lavender extract to the glaze instead of Earl Grey extract. Ad half a cup of white chocolate chips after adding the egg.
- Raspberry Earl Grey Scones. Add a cup of frozen raspberries when making the dough, right after adding the egg.
- Blackberry Earl Grey Scones. Add half a cup of frozen blackberries, half a cup of white chocolate chips when making the dough, right after adding the egg.
😋Tips for perfect scones
- You should freeze the butter. Extra cold butter helps you to get tender scones every time.
- Don’t overwork the dough. Working too much on the dough will increase gluten development and make tough scones. You want to work on the dough until the ingredients are just barely holding together.
- Don’t overbake your scones. Overbaked scones will be dry and crumbly. Set a timer. Also, remove them from the oven as soon as they’re done baking!

Are you baking during summer, or is your kitchen too hot? You need to freeze your butter! Also, instead of preheating before starting the recipe, make the dough, shape scones, and place them in the freezer. Then, preheat the oven while they keep cool. When preheated, bake them as instructed.
🙋🏻♀️Questions you might be asking
You probably overworked the dough. Scone dough needs to be handled as little as possible.
Yes, you can make these scones ahead. If stored correctly, they’ll keep moist and tender for about 3 days. Just be aware that they’re at their best on the first day baked. Check how to freeze scones in storing below for a better option.
The base ingredients for both scones and biscuits are almost identical: the difference is the addition of eggs in scones. Eggs are added along with the liquid to create a richer, more indulgent texture in scones, while biscuits retain their classic simplicity without eggs.
If you’re a baking enthusiast, you might be familiar with the common practice of spacing baked goods apart on a baking tray to prevent them from merging into each other. However, when it comes to scones, it’s actually the opposite that helps them rise to the occasion!
Placing the scones slightly closer together on the tray during baking can aid them in rising higher and straighter in the oven. So, next time you’re making scones, don’t be afraid to try something different and place them closer together on the tray. It’s a simple and effective way to elevate your scone game and ensure a perfectly baked treat every time.
🧋How to enjoy Earl Grey Scones
If you want to go full Earl Grey, try having them with a delicious Iced Earl Grey Milk Tea.
For those wanting a different flavor and a hot drink, Earl Grey goes deliciously with a touch of chocolate. Try a mocha latte with these scones on a winter afternoon.
Looking for some berry flavor? Earl Grey matches great with raspberries, blueberries and blackberries. Try spreading blackberry jam over them, or topping your scones with blueberry compote: amazing for baking goods!
🫙Storing
Scones are at their best on the day they’re baked, but storing them correctly ensures they’ll last moist and tender for longer.
Store scones after cooled in an airtight container, bag, or plastic wrap. Do not store them in the fridge: doing so can dry out these baked goods.
Now, can you freeze scones? Yes!
Scones will freeze well baked or unbaked. For freezing, wrap them tightly with plastic wrap and store them in a freezer bag or recipient to avoid any off flavor it can get in the freezer.
When baking frozen unbaked scones, add 2 to 3 minutes to the baking time, and always remember to preheat the oven. You can bake them straight from the freezer. Just remember to preheat the oven!
For frozen baked scones, let them thaw for a couple of hours on the counter or overnight inside the fridge. To reheat, place each for about 30 seconds in the microwave, or bake for about 10 minutes in the oven at 300°F.
📖 Recipe
Yield: 8 scones
Earl Grey Scones
If you’re a fan of tea, you’ll love these Earl Grey Scones. Light, buttery and flaky, these scones are infused with the delicate flavor of Earl Grey tea. This recipe will give you irresistible scones that are the perfect treat for tea time!
Prep Time
10 minutes
Cook Time
18 minutes
Total Time
28 minutes
Ingredients
Earl Grey Scones
- 2 ½ cups all-purpose flour (315g)
- ½ cup granulated sugar (100g)
- ¼ teaspoon sea salt (2g)
- 1 tablespoon baking powder (14g)
- ½ cup unsalted butter, grated and frozen (115g)
- 1 large egg (65g)
- 1 teaspoon vanilla or Earl Grey extract (5g)
- ½ cup heavy cream + 1 bag Earl Grey (240g)
- 2 tea bags Earl Grey (7g)
Citrus Glaze
- 1 cup icing sugar
- 1 ½ tablespoon lemon, lime or orange juice
- 1 teaspoon Earl Grey Extract
Instructions
- Start by reading the whole recipe, making sure you have all the ingredients and that all the steps are clear.
- For the scones: infuse heavy cream with Earl Grey the night before. Add heavy cream and Earl Grey (tea bags are easier, but you can make it with loose leaves and use a sieve to remove them before using) in a jar with a lid and let it rest in a fridge overnight.
- Grate or cube the butter and freeze for an hour.
- Preheat the oven to 400°F. Line a baking sheet with parchment paper.
- In a large bowl, mix together dry ingredients: flour, sugar, baking powder and Earl Grey tea. If using tea bags, cut them open, add the tea and discard the bags. If using loose tea, I recommend grinding the leaves until fine for the scones. Whisk to mix.
- Add cold butter, grated or cubed into small pieces. Using your fingers, a pastry cutter or a fork, press the butter and the dry ingredients together until you get the consistency of pear-sized crumbs. Do not overwork the dough: that will give you tough scones.
- In a small bowl, add the egg and Earl Grey or vanilla extract and quickly whisk them together.
- Add egg mixture to large bowl, and using your hands, combine the ingredients.
- Add heavy cream and, with your hands, mix until ingredients are combined and dough starts to form.
- Turn the dough into a floured surface and form a disk, about 1 to 1 ½ inch thick. Use a bench scraper or sharp knife to divide disk into 8 triangles.
- Place shaped scones in the baking sheet, and bake them for 15 to 18 minutes, until lightly golden on top. Do not bake for more than 18 minutes: overbaked scones get dry and crumbly!
- Remove them from the oven and allow the scones to cool for 30 minutes.
- For the glaze: Stiff the icing sugar to avoid clumps. In a small bowl, combine icing sugar, Earl Grey extract (if using) and lemon juice until glaze forms.
- Use a spoon or whisk to drizzle the citrus glaze over the scones. Don’t make the glaze ahead: it sets really fast, so make it when ready to pour over the scones.
Notes
Don’t have Earl Grey extract? For the scones dough, substitute for vanilla extract. For the glaze, add the same amount of citrus juice (lemon, lime or orange) or add brewed Earl Grey tea.
Important tips for this recipe to work:
- Freeze the butter;
- Don’t overwork the dough;
- Don’t overbake your scones.
Recipe variations:
- Earl Grey Lavender Scones. Add lavender extract to the glaze instead of Earl Grey extract. Ad half a cup of white chocolate chips after adding the egg.
- Raspberry Earl Grey Scones. Add a cup of frozen raspberries when making the dough, right after adding the egg.
- Blackberry Earl Grey Scones. Add half a cup of frozen blackberries, half a cup of white chocolate chips when making the dough, right after adding the egg.
Tips for baking during summer or in a warm kitchen:
- Freeze your butter;
- Instead of preheating before starting the recipe, make the dough, shape scones, and place them in the freezer. Then, preheat the oven while they keep cool. When preheated, bake them as instructed.
Freezing Earl Grey scones:
Scones will freeze well baked or unbaked. For freezing, wrap them tightly with plastic wrap and store them in a freezer bag or recipient with lid.
When baking frozen unbaked scones, add 2 to 3 minutes to the baking time, and always remember to preheat the oven. You can bake them straight from the freezer.
For frozen baked scones, let them thaw for a couple of hours on the counter or overnight inside the fridge. To reheat, place each for about 30 seconds in the microwave, or bake for about 10 minutes in the oven at 300°F.
Nutrition Information
Yield
8
Serving Size
1
Amount Per Serving
Calories 382Total Fat 18gSaturated Fat 11gTrans Fat 1gUnsaturated Fat 6gCholesterol 71mgSodium 354mgCarbohydrates 51gFiber 1gSugar 20gProtein 5g
Nutrition information is an estimate only and will vary depending on the substitutions made and/or brands used.