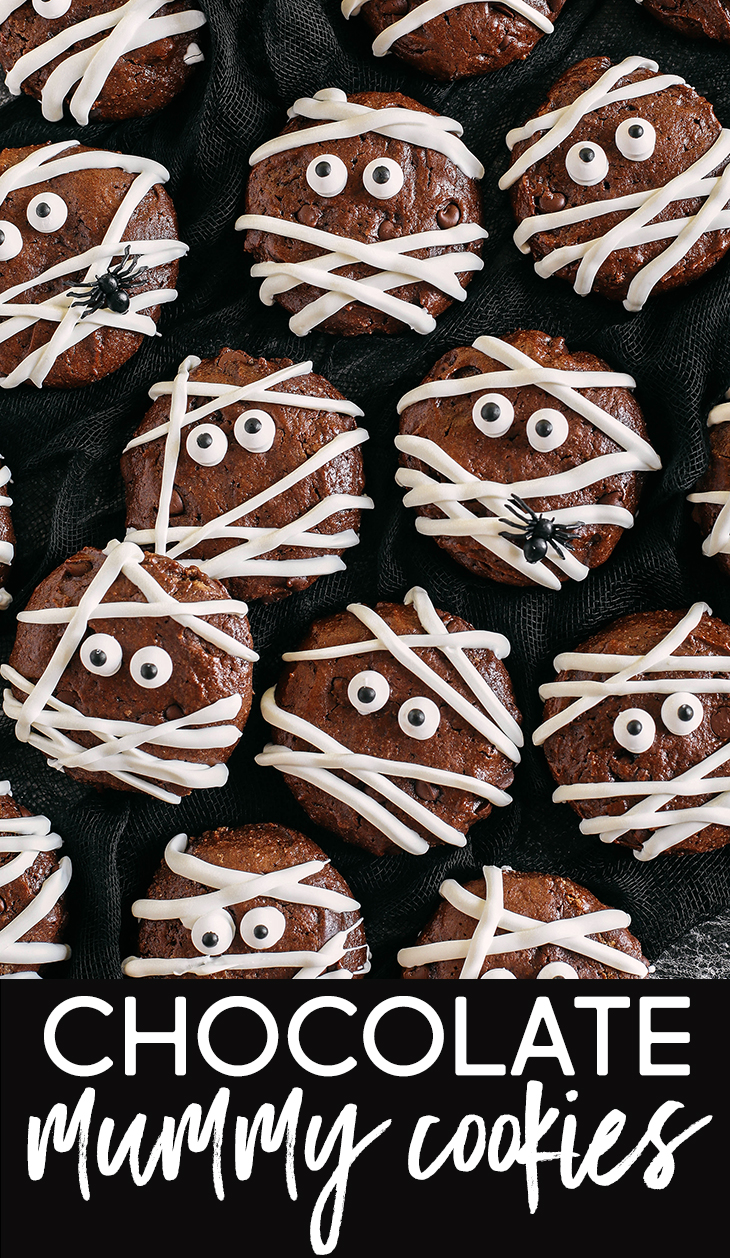
Celebrate Halloween with these delicious Chocolate Mummy Cookies! Made healthier with no butter, oil or refined sugar and the perfect spooky treat your kids will love!
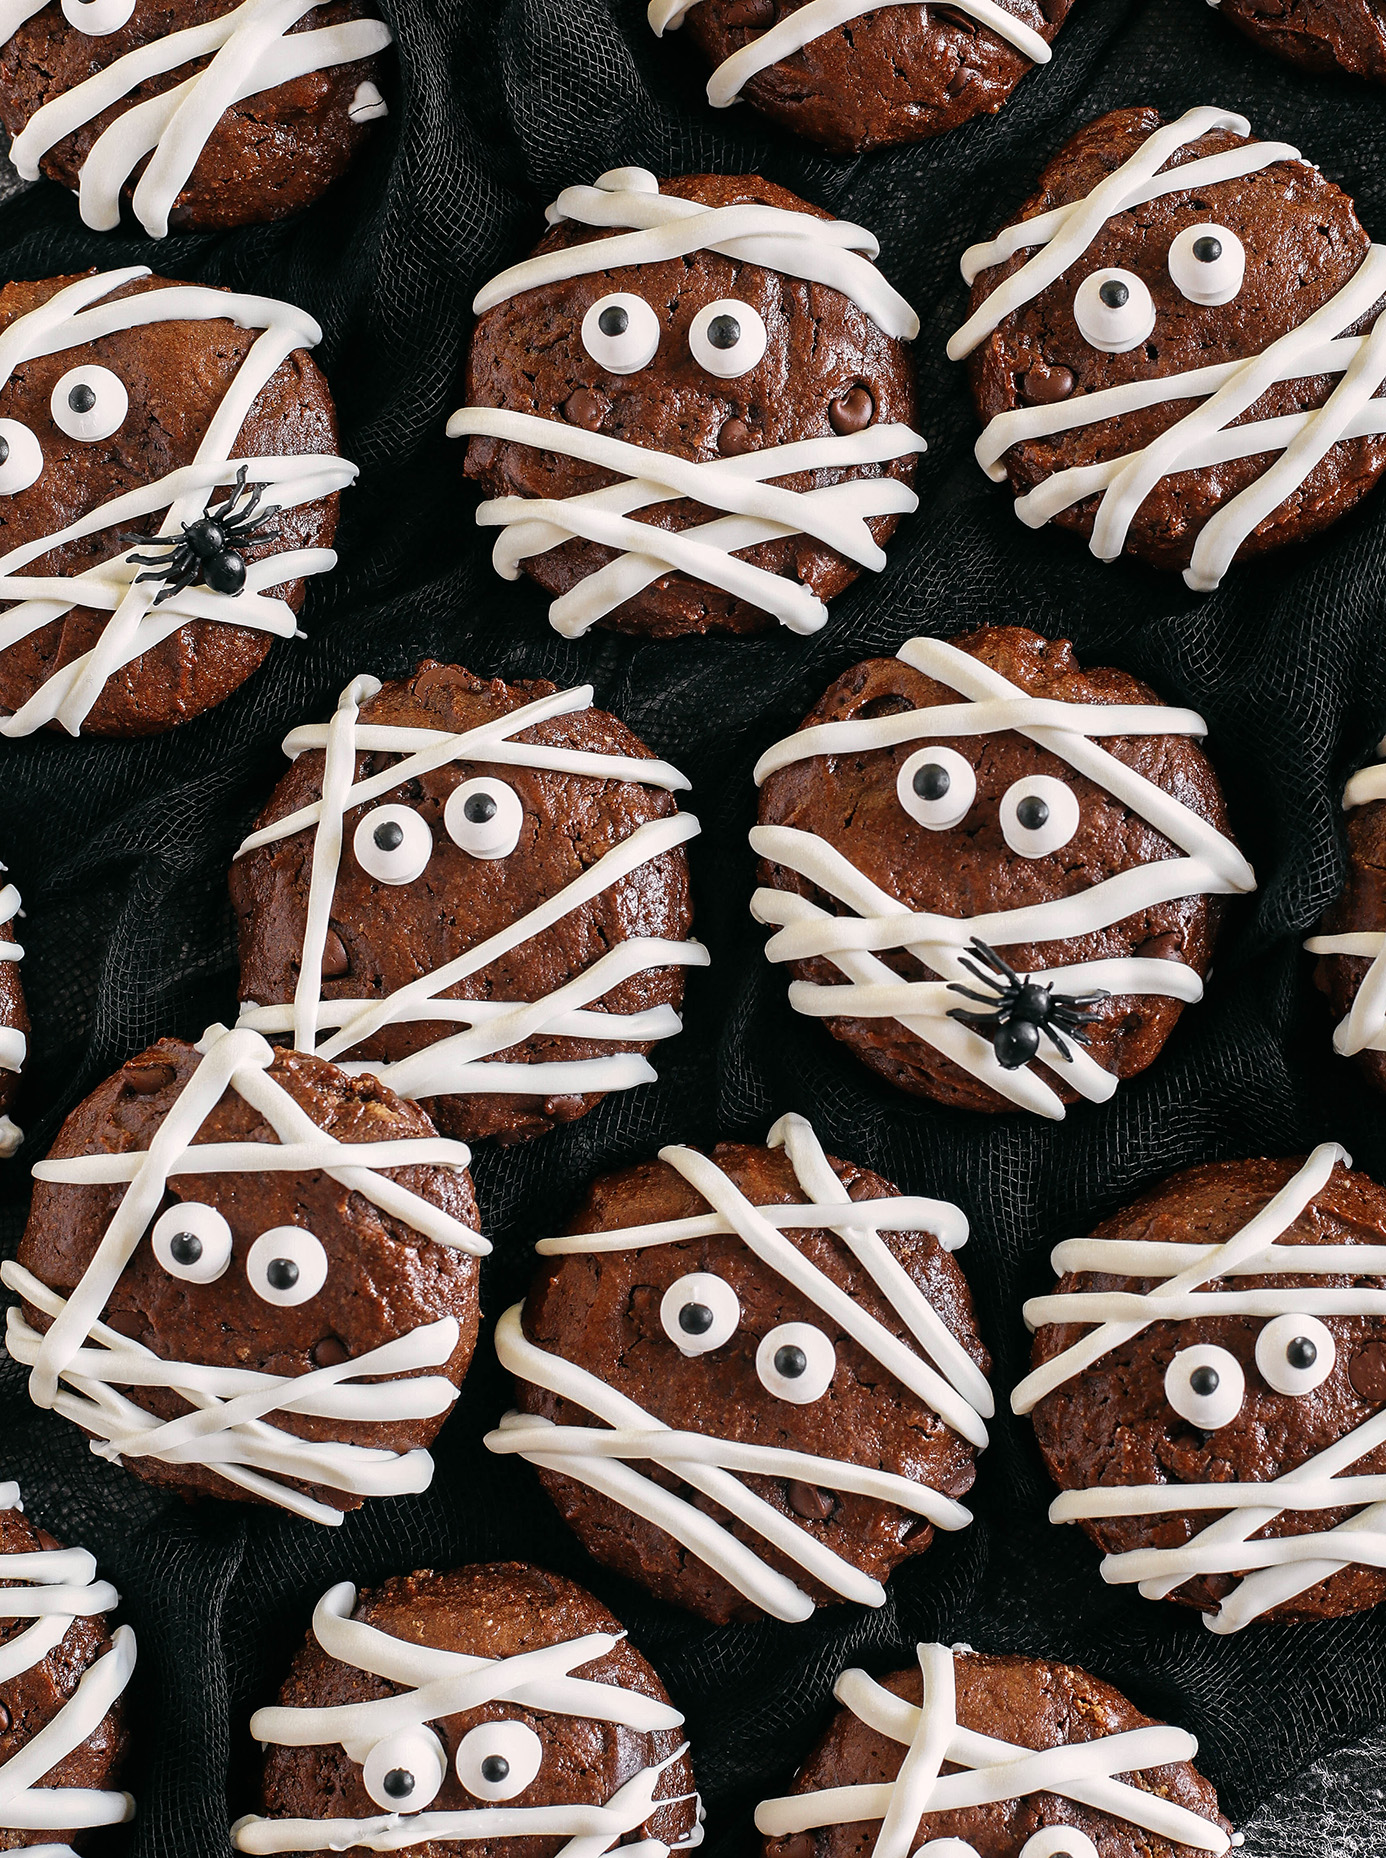
Halloween is almost here and these adorable Chocolate Mummy Cookies are sure to be a hit with your kids! Not only are the cookies with those googly eyes and white chocolate bandages super cute, but the combination of chocolate and peanut butter in these fudgy cookies makes them a real winner! Perfect for Halloween parties, served up with my Frankenstein Rice Krispie Treats and this Halloween Sausage Board!
Why You’ll Love These Cookies
- Two words: TRIPLE CHOCOLATE 🙌🏻
- All in one bowl for easy cleaning.
- These Halloween treats are gluten free and super easy to make.
- Festive and fun dessert your kids will love!

ingredients you need
- almond flour – this is a delicious gluten free/low carb flour that has great flavor and healthy fats, just make sure to use almond flour and not almond flour. If you don’t have almond flour, any other gluten-free flour mix or even regular all-purpose flour will work
- Unsweetened cocoa powder – adds the chocolate to these cookies
- baking soda – this acts as a leavening agent to help these cookies bake well and make them chewy
- peanut butter – I used creamy natural peanut butter with no added sugar, but you can use almond butter or any other nut butter if you prefer, and SunButter is a great option if you have nut allergies
- eggs – acts as a binding ingredient, adding structure and height to the biscuits
- coconut sugar – naturally sweetens these cookies without the use of refined sugar, but you can use maple syrup or honey as well
- chocolate chips – I used these Lily’s Chocolate Chips which are sweetened with Stevia which makes the sugar content really low and adds even more chocolate flavor to these cookies!
- vanilla extract + salt – Flavor Boost!
- Creepy Additions – You’ll need white chocolate chips (again, I used Lily’s chocolate chips sweetened with stevia) to drizzle onto the “bandages,” along with fun candy eyeballs, which you can find at most grocery stores, craft stores, or direct from Amazon be able
How to make Chocolate Mummy Cookies
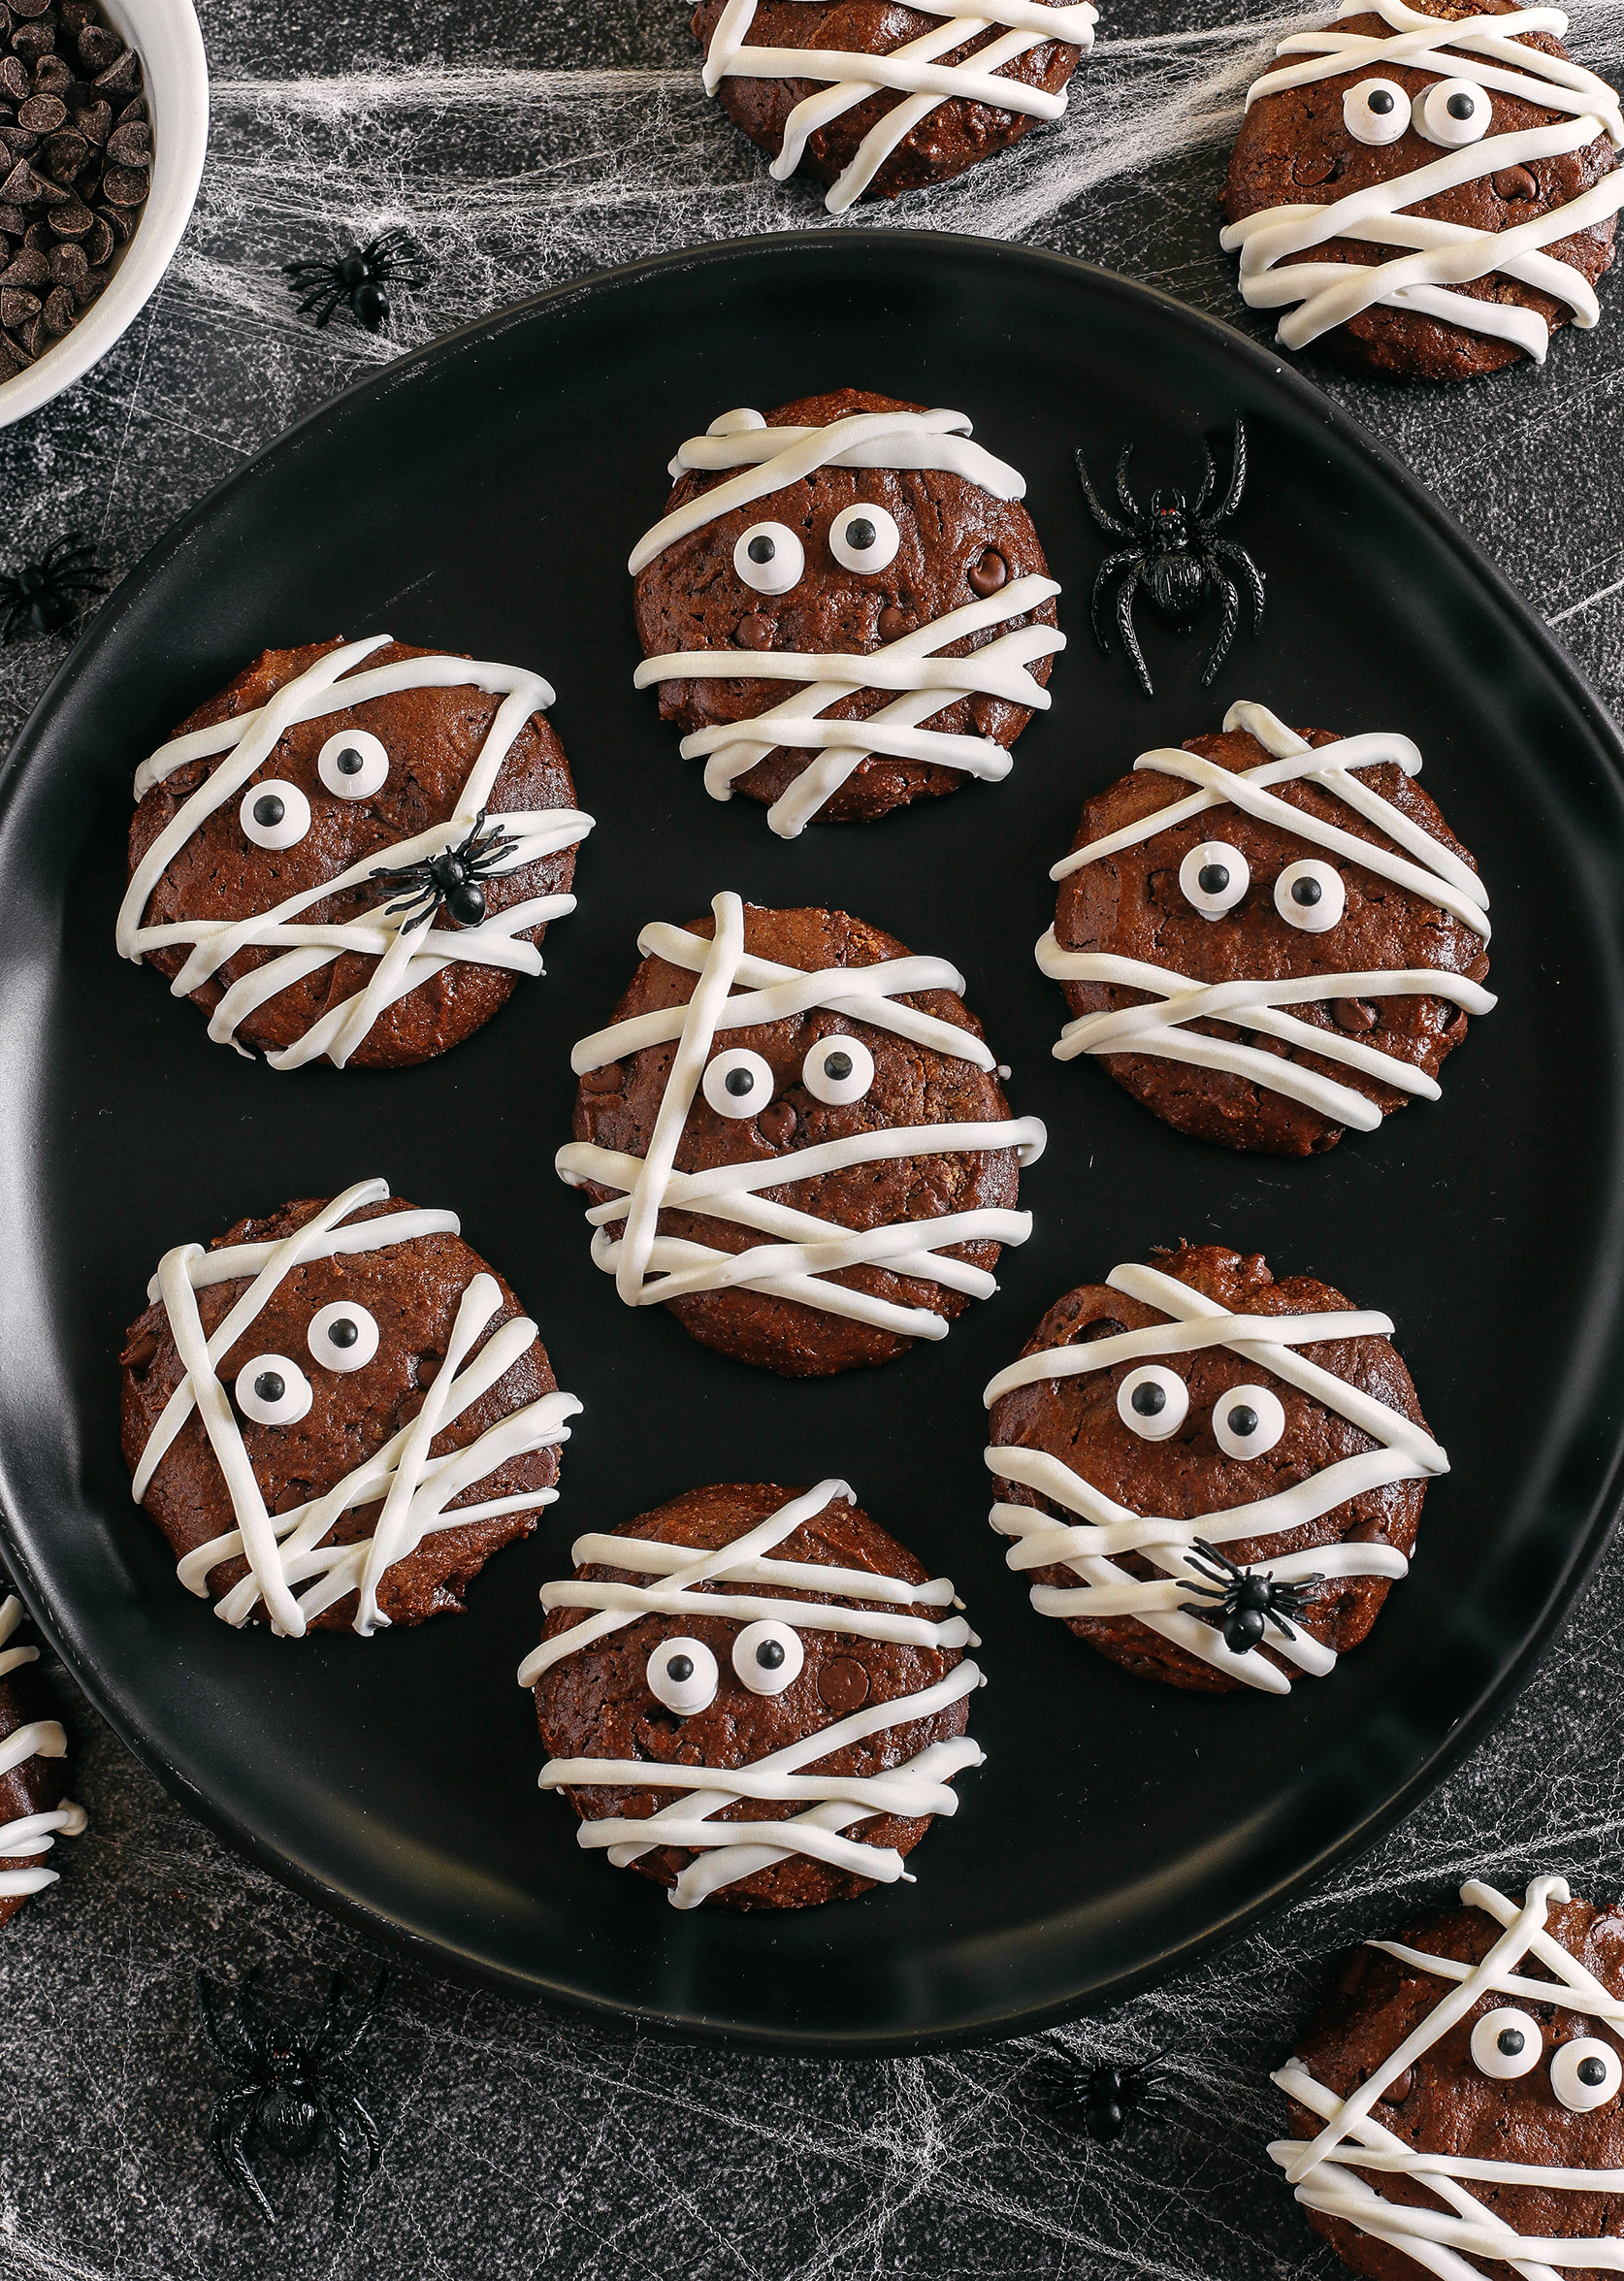
This particular chocolate mummy cookie recipe makes about 18 regular sized cookies, or I used a medium cookie scoop to make sure they were all the same size. Here’s how they’re made:
- Preheat oven and mix ingredients. Preheat oven to 375 degrees and line a baking sheet with parchment paper or aluminum foil. In a large bowl, mix together peanut butter, eggs, and vanilla until combined. Next add the almond flour, cocoa powder, baking soda, coconut sugar, and salt, stir the mixture until smooth, then fold in the chocolate chips. You could also use a stand mixer or electric mixer for this, but why mess with extra dishes!
- assemble cookies. Using a medium cookie scoop, scoop tablespoons of cookie dough onto a prepared baking sheet and flatten the tops slightly with the back end of a spatula. You should get about 18 cookies.
- TO BAKE! Bake the cookies at 375 degrees for 12 to 15 minutes, until the cookies are set and the edges are beginning to brown, then allow the cookies to cool on the baking sheet for about 10 minutes before turning onto a wire rack. We want the cookies to cool completely before decorating.
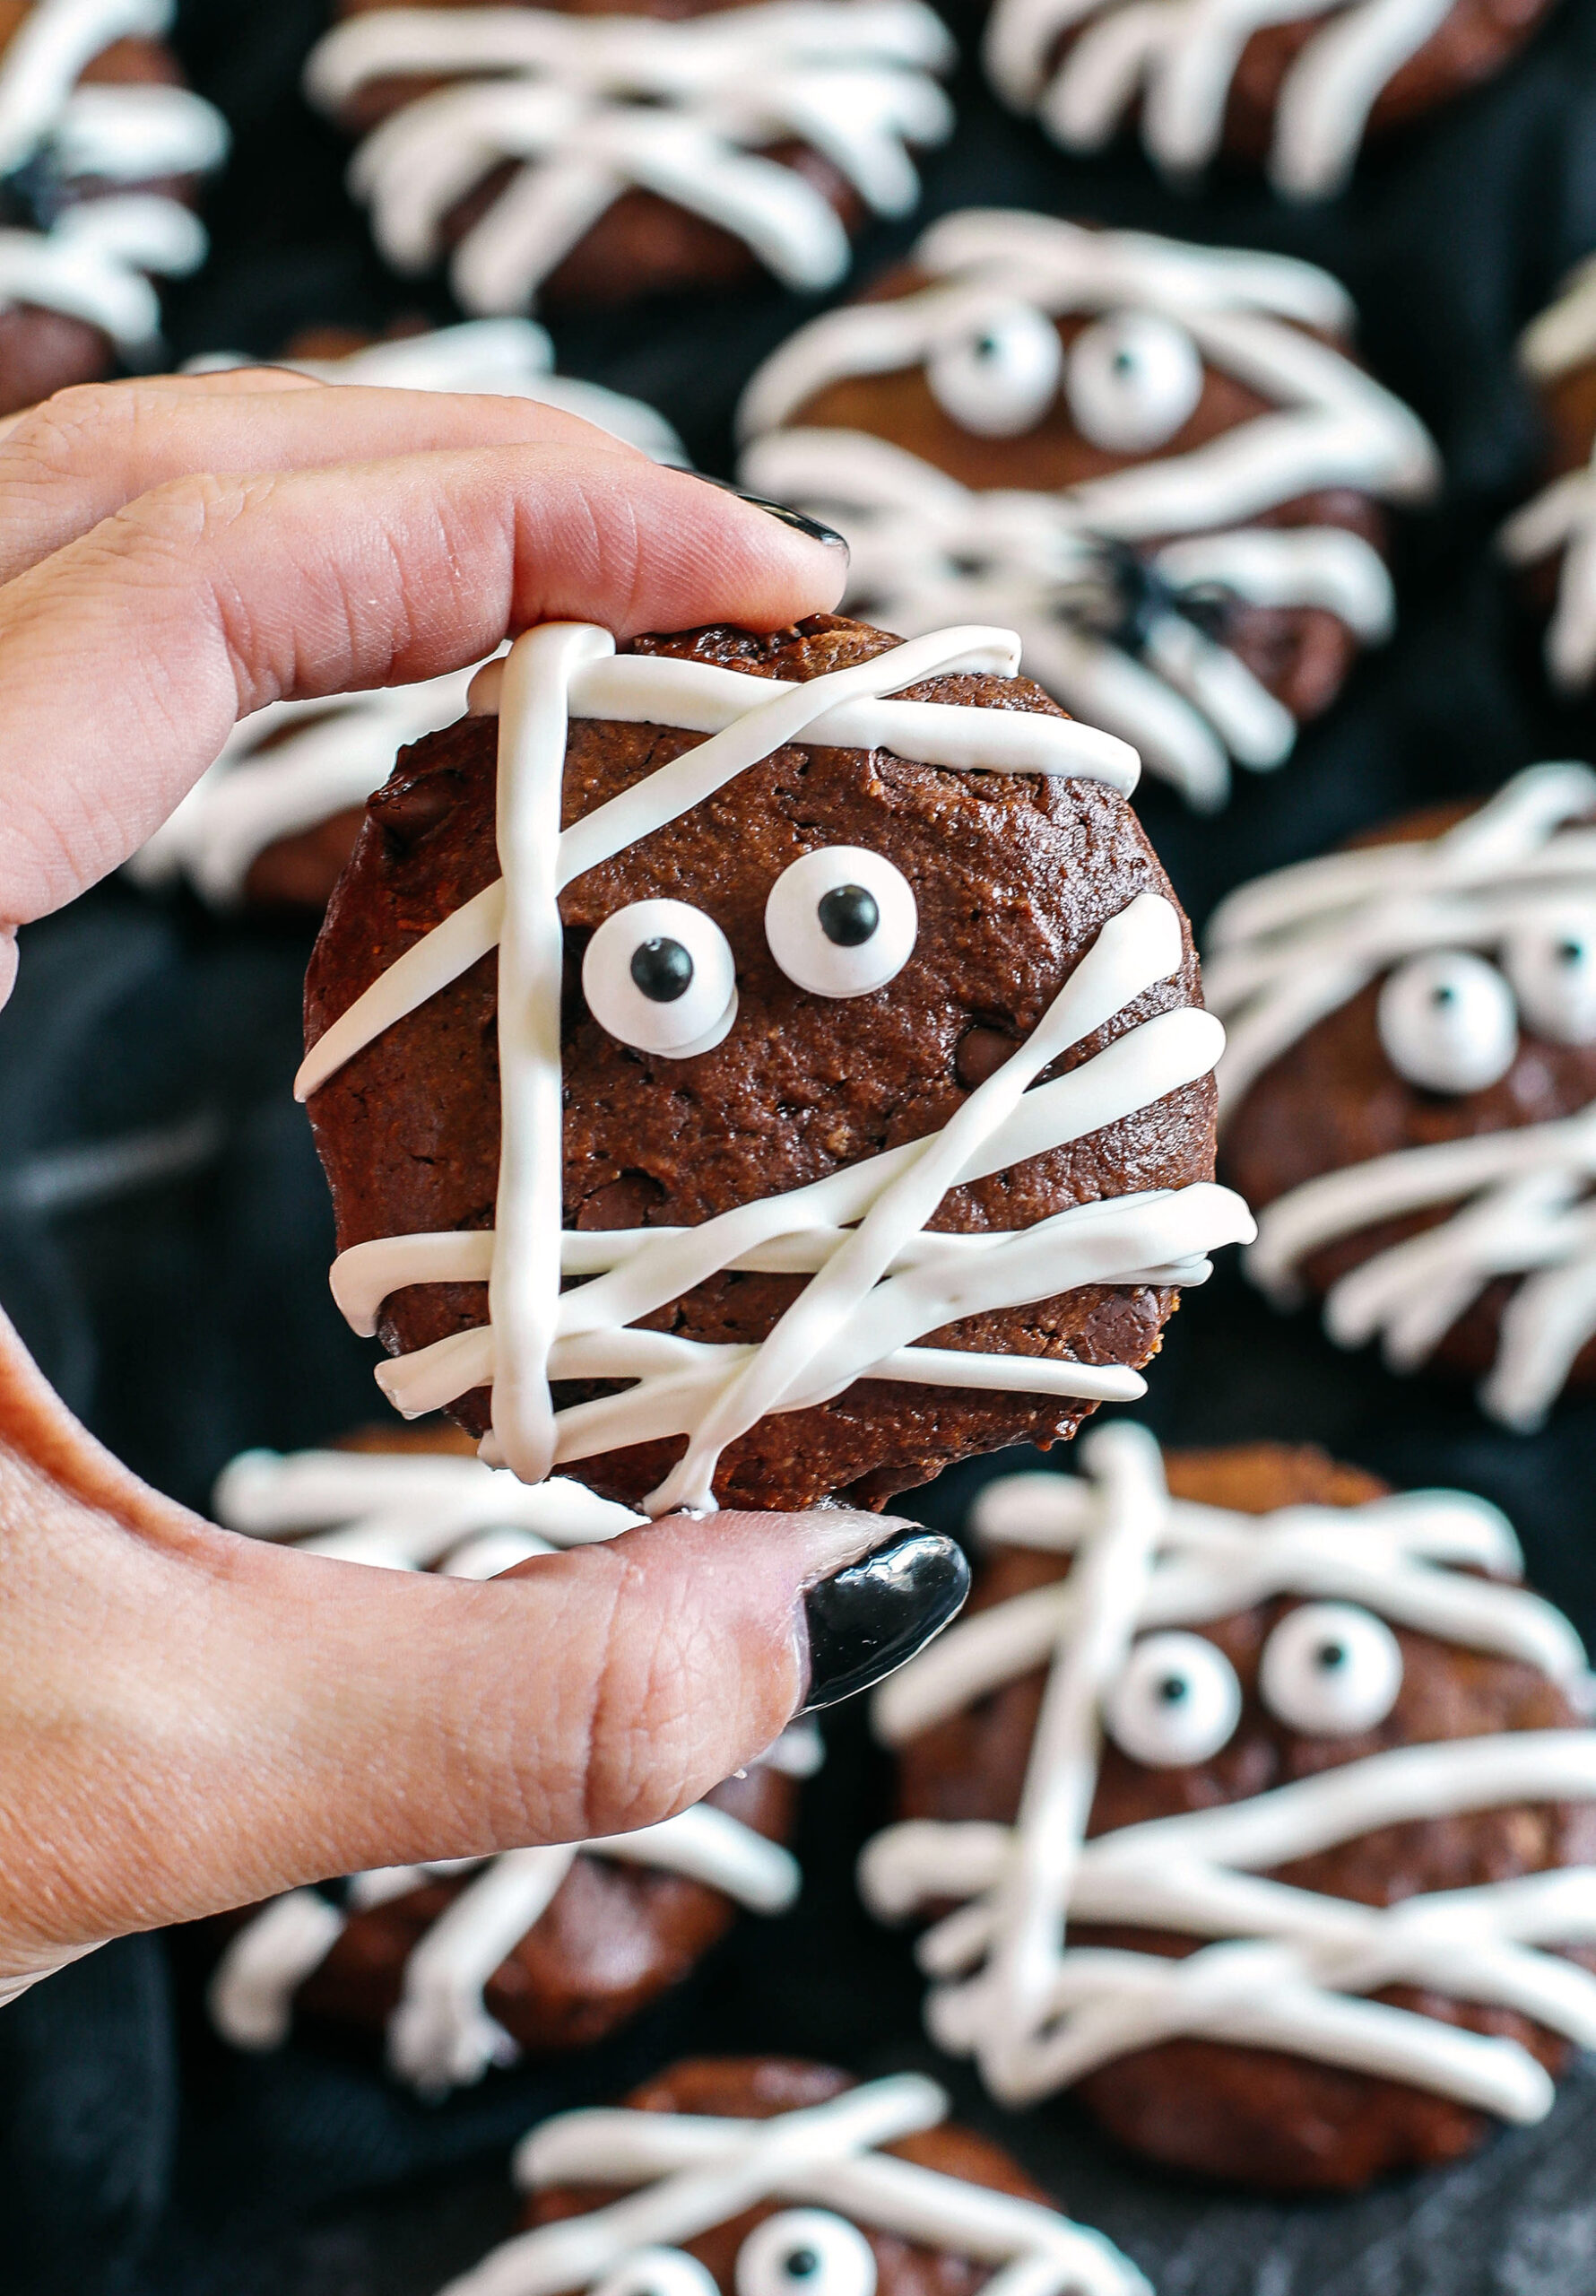
- decorate. Place white chocolate chips (or white candy melts) in a small microwave-safe bowl and microwave at 30-second intervals, mixing each time until melted. Cut a small slit at the top of a plastic bag or piping bag and carefully pour in the melted white chocolate chips. Slowly squirt the chocolate onto the cookies to make them look like “mummy bandages,” then use the melted chocolate to glue the sugar eyes on top.
Tips for making Chocolate Mummy Cookies
- You can easily swap out the peanut butter for any type of nut butter! Some other great options are almond butter, cashew butter, and even sunflower seed butter if you have a nut allergy.
- Melt the chocolate chips in 15-30 second intervals, making sure to stir well each time until the chocolate is smooth. You should be careful not to overheat the chocolate as it may start to clump. If this happens, simply add a teaspoon of hot water to the clumped chocolate (or more if needed) and stir vigorously until smooth.
- The melted white chocolate is not only used to make the “bandages” on the mummies, but also acts as glue to stick the candy eyeballs together. You can also use cream cheese, buttercream, or white icing to make the bandages.
- I like to squirt the melted chocolate onto the cookies while they’re resting on a wire rack that catches excess chocolate dripping off the sides. Then I just transfer the cookies to some parchment paper to let the chocolate set.
preparation and storage
To store: These cute chocolate mummy cookies can be stored in a sealed, airtight container up to 1 week in the refrigerator.
Freeze: These cookies can also be frozen up to 3 months in a sealed, airtight container, or you can store them individually in plastic wrap and take them out separately to thaw.
More Halloween recipes to try
I hope you all enjoy these festive Chocolate Mummy Cookies and if you love this recipe as much as we do, please leave me a five star rating below and don’t forget to tag me #eatyourselfskinny on Instagram! I love seeing all your delicious recipes!
- Preparation time: 15 minutes
- Cooking time: 15 minutes
- Total time: 30 minutes
ingredients
- 1 cup creamy peanut butter (or other nut butter)
- 2 eggs
- 1 1/2 teaspoons vanilla extract
- 1/2 cup almond flour
- 1/3 cup unsweetened cocoa powder
- 1 teaspoon baking soda
- 3/4 cup coconut sugar
- 1/2 teaspoon Salt
- 1/3 cup Chocolate Chips (I used Lily’s Chocolate Chips)
For the mummy decor:
instructions
- Preheat oven to 375 degrees and line a baking sheet with parchment paper or aluminum foil.
- In a large bowl, mix together peanut butter, eggs, and vanilla until combined. Next add the almond flour, cocoa powder, baking soda, coconut sugar and salt, stir the mixture until smooth, then fold in the chocolate chips.
- Using a medium cookie scoop, scoop tablespoons of cookie dough onto a prepared baking sheet and flatten the tops slightly with the back end of a spatula. You should get about 18 cookies.
- Bake the cookies for 12 to 15 minutes, until the cookies are set and the edges are beginning to brown. Allow the cookies to cool on the baking sheet for about 10 minutes before transferring to a wire rack. We want the cookies to cool completely before decorating.
- To decorate the cookies, first place white chocolate chips (or white candy melts) in a small microwave-safe bowl and microwave at 30-second intervals, mixing until melted each time. Cut a small slit at the top of a plastic bag or piping bag and carefully pour in the melted white chocolate chips.
- Slowly squirt the chocolate onto the cookies to make them look like “bandages,” then use the melted chocolate to glue the candy eyes on top.
Nutritional information:
- Serving size: 1 biscuit
- Calories: 208
- Sugar: 0.6g
- Sodium: 101.7 mg
- Fat: 13.6g
- Saturated Fatty Acids: 4 g
- Carbohydrates: 15.8g
- Fiber: 2.7g
- Protein: 4.9 g
* Please note that all nutritional information is an estimate only. Values vary by brand, so we recommend you calculate them yourself for the most accurate results possible.