

Chocolate Molten Lava Cakes have never been easier! The simple batter for these pies can be made ahead of time to be baked whenever the cravings hit.
You won’t believe how easy it is to make Molten Lava Chocolate Cake at home!
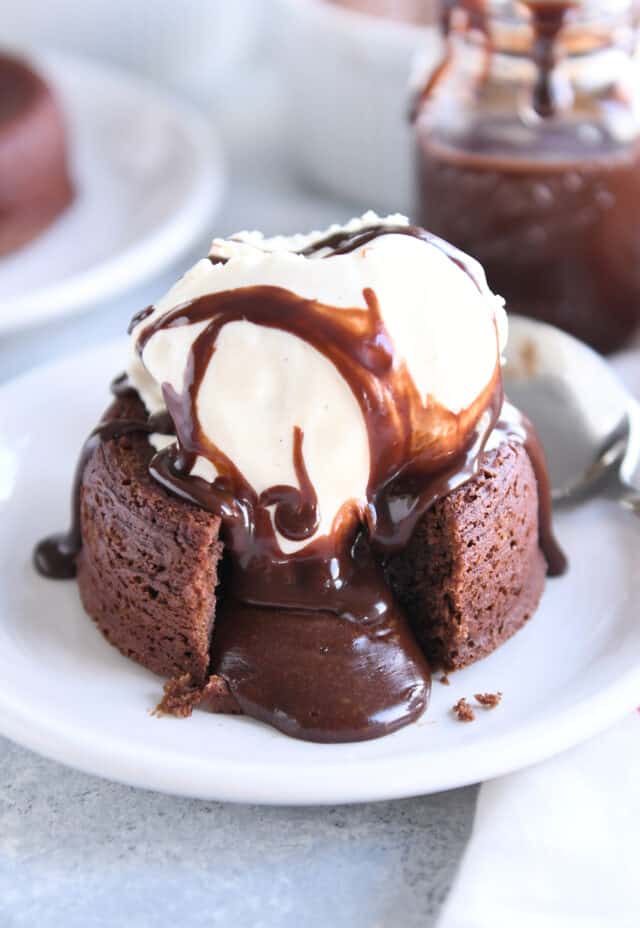
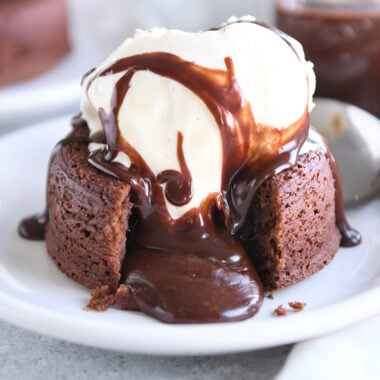
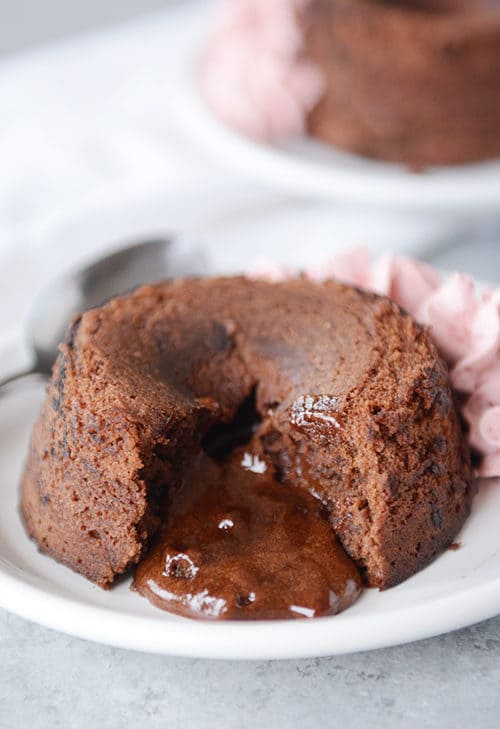
The combination of fluffy, light chocolate cake and decadently hot fudge oozing from the inside is what dreams are made of (mine, at least).
Molten lava cake batter
This dough is really easy and can be made without a stand mixer, but it relies on a few key steps:
- Don’t skimp on beating the eggs until they’re very thick, creamy, fluffy, and light in color! This will help the chocolate batter bake up easily and fluffy.
- For the melted chocolate, use chocolate that tastes good and melts well. I almost always use Ghirardelli bittersweet chocolate chips in this recipe. It’s even perfect for those who prefer a more semi-sweet chocolate vibe (it doesn’t make the lava cakes too dark and rich). Not all chocolate chips melt too. I recommend using Ghiradelli or Guittard chocolate chips to melt with the butter in this recipe.
- Don’t mix too much after adding the flour. Simply stir the batter quickly until the flour is just mixed.
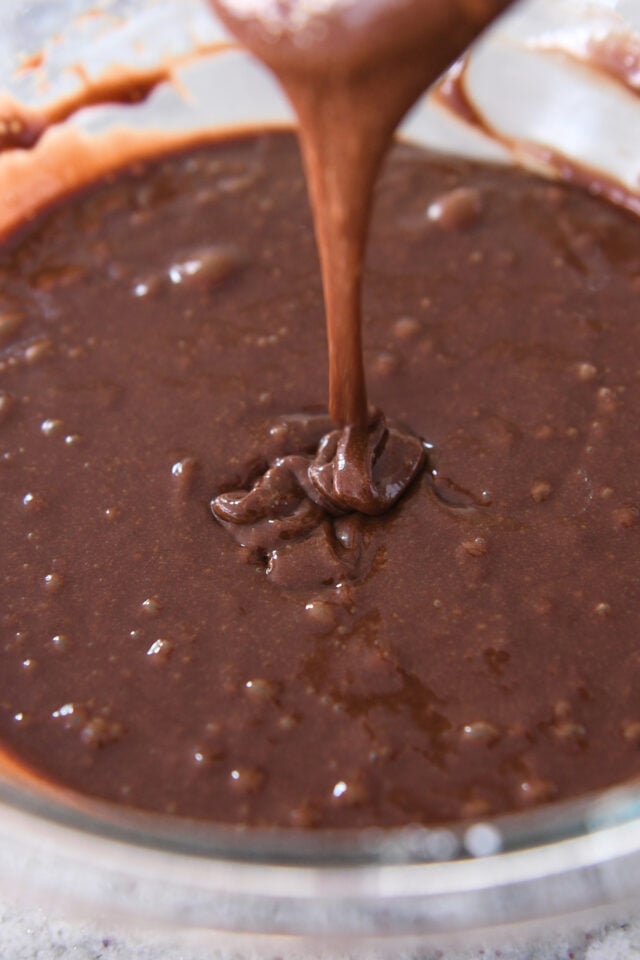
The chocolate batter will be moist and medium-firm, but still pourable.
Small air bubbles anywhere are fine!
Use the best sized casserole dishes
I make the lava cakes in 8 ounce ramekins {aff. Shortcut}.
You can also use 6-ounce ramekins {aff. Shortcut} (If so, you’ll probably get eight lava cakes out of the batch instead of six).
AND…perhaps their best kept secret are these simple, super cheap Pyrex glass pudding cups {aff. Shortcut} also work great for these cakes. This is what my Aunt Marilyn (creator of this recipe) uses most of the time.
I also made the lava cakes in a standard muffin pan (fill only 10 of the cups, not all 12). Baking time is a few minutes faster if you use a muffin tin and it’s harder to turn out and make them look pretty, but it definitely works in a pinch!

How to grease the molds
These melted chocolate lava cakes rely on a well-greased baking dish so they pop out easily for plating and serving.
Yes, you may just bury them right in the casserole dish, but it’s fun and a bit more traditional to invert them onto a plate to serve them this way.
How one: Brush or rub butter liberally over the bottom and sides of each casserole dish, paying close attention to the crease, especially where the sides and bottom meet. Then sprinkle in the cocoa powder evenly and knock out the excess. That seems to do the trick perfectly!
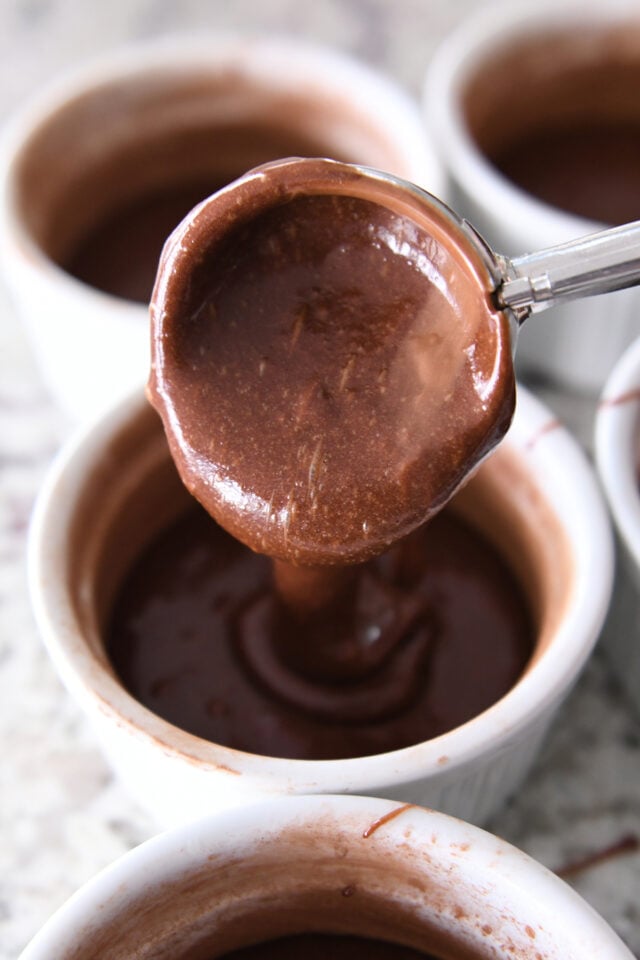
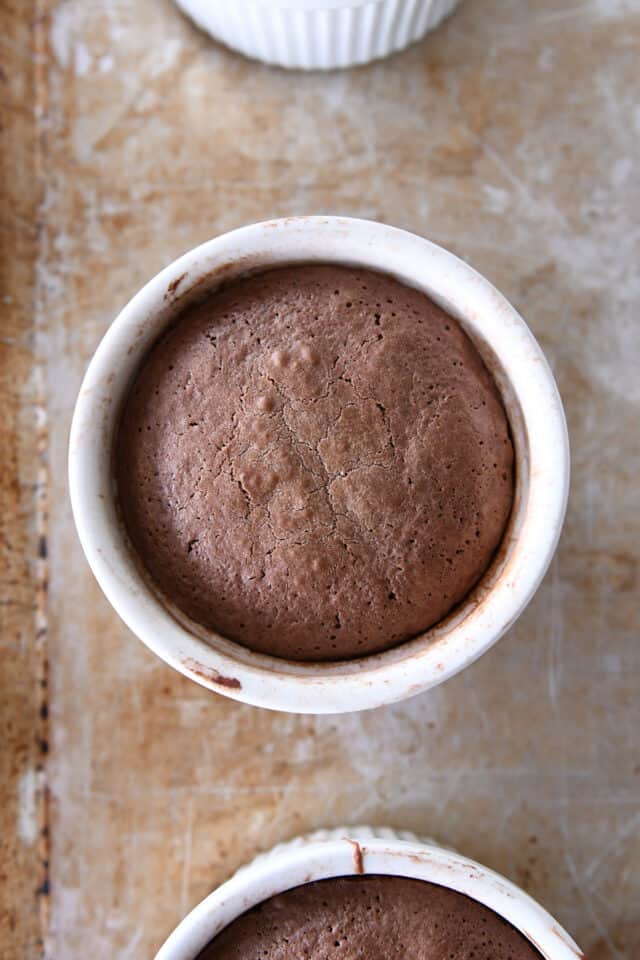
Fill each mold about 2/3 full with batter.
Bake just until the edges and top are set, but still slightly jiggly in the center.
How to make the lava cakes
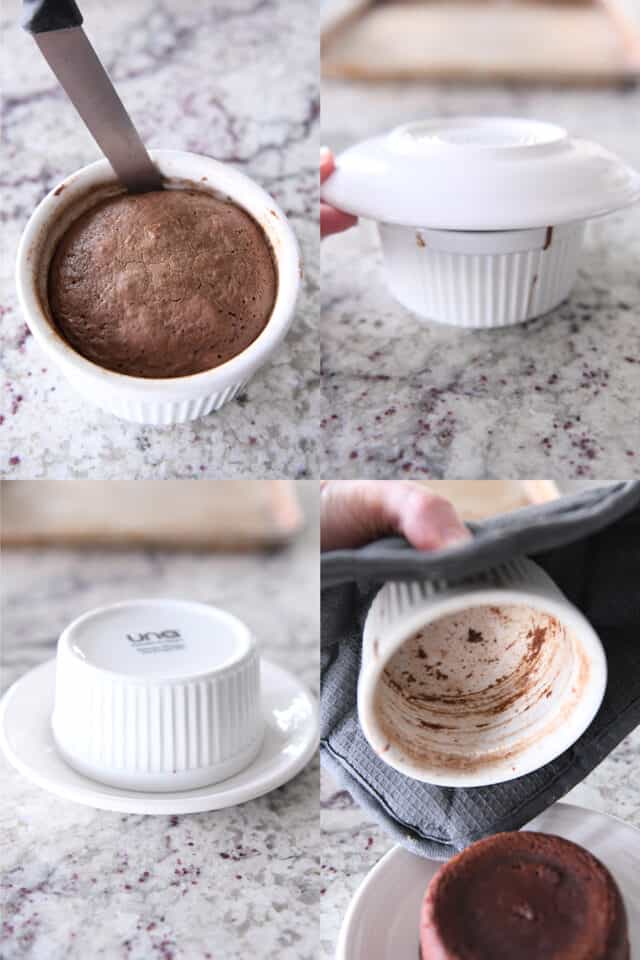
Leave the lava cakes out of the oven for 2-3 minutes before loosening the edges with a thin knife.
*They can sit longer – just be aware that in this case it will probably be harder to squeeze them out cleanly, and cooling in the hot casserole dish means the melted center will cook a little more and not be quite as lava-y .
Place serving plate over top of ramekins and tilt so plate rests on counter. Gently tap the plate and casserole dish to allow the cake to slide out.
Carefully lift the hot molds off the cake using a hot surface.
A popular dessert
These Molten Lava Chocolate Cakes are so easy to make at home and one of my favorite desserts ever.
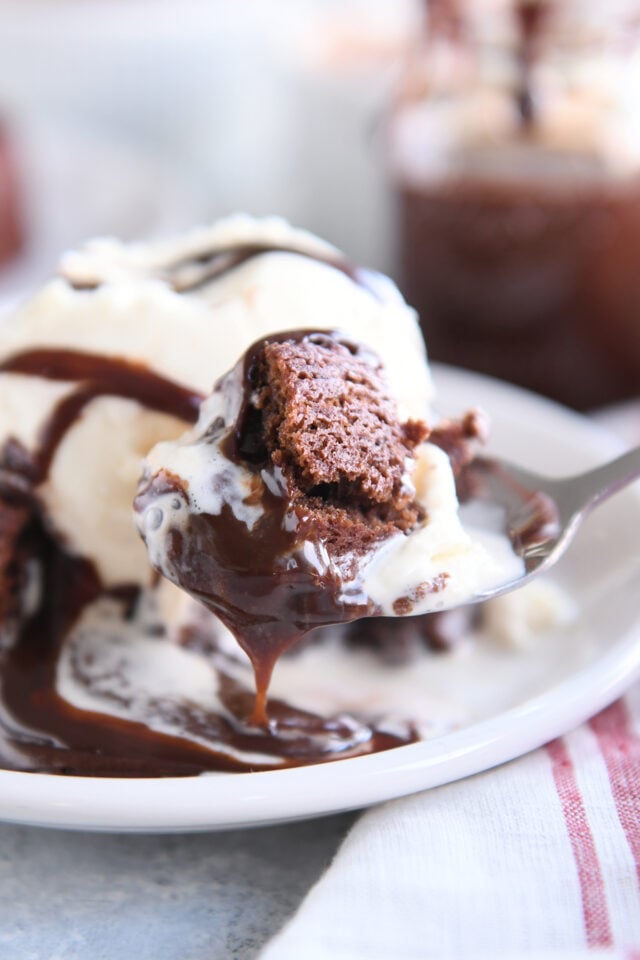
We serve them with ice cream and sometimes hot fudge sauce, but they’re also delicious on their own. Perfectly chocolatey and so rich and delicious, they are amazing.
Many of you have also fallen in love with these lava cakes to take home!
Ashley writes: My 13 year old daughter made these today with just a little guidance from me. They were a smash hit. They’re easy and we always have the ingredients on hand – that could get dangerous! ⭐️⭐️⭐️⭐️⭐️
Brenda says: Delicious! The hit with my family ⭐️⭐️⭐️⭐️⭐️
says Shelley: These are SO GOOD!! I made these with my kids, and they loved the whole process!! We enjoyed them with some ice cream and they are just so damn good! Thank you Mel!!! ⭐️⭐️⭐️⭐️⭐️
Doris writes: Made these exactly as directed in the Christmas Day dessert recipe. Baked the cakes early afternoon and baked them after dinner when we were unwrapping presents. Everyone absolutely raved about it! Definitely a goalkeeper! Thank you very much. ⭐️⭐️⭐️⭐️⭐️
A year ago: Whipped Chocolate Buttercream Frosting
Two years ago: Sweet baked ham
Three years ago: Garlic and herb butter spread
My favorite melted chocolate lava cakes
- 1 Cup (170 G) chopped dark chocolate (see note)
- 10 tablespoon Salted butter
- prize from salt, about 1/8 teaspoon – use more if using unsalted butter
- ½ teaspoon vanilla extract
- 3 Big Eggs
- 3 large yolks
- 1½ cups (171 G) powdered sugar
- ½ Cup (71 G) all purpose flour
-
Preheat oven to 375-400 degrees F (see note!).
-
Grease the bottom and sides of six 6- or 8-ounce ramekins by brushing or gumming evenly across the bottom and sides of each ramekin, paying close attention to the crevices, especially where the sides and hit the ground. Sprinkle in cocoa powder to coat evenly and tap off the excess.
-
Place the chocolate and butter in a medium bowl and melt in the microwave in 1 minute increments, stirring occasionally, until melted and smooth (do not overheat). This can also be done in a pot on the stove.
-
Remove from heat, stir in salt and vanilla. Allow the mixture to cool to room temperature (it may be slightly warm but not hot).
-
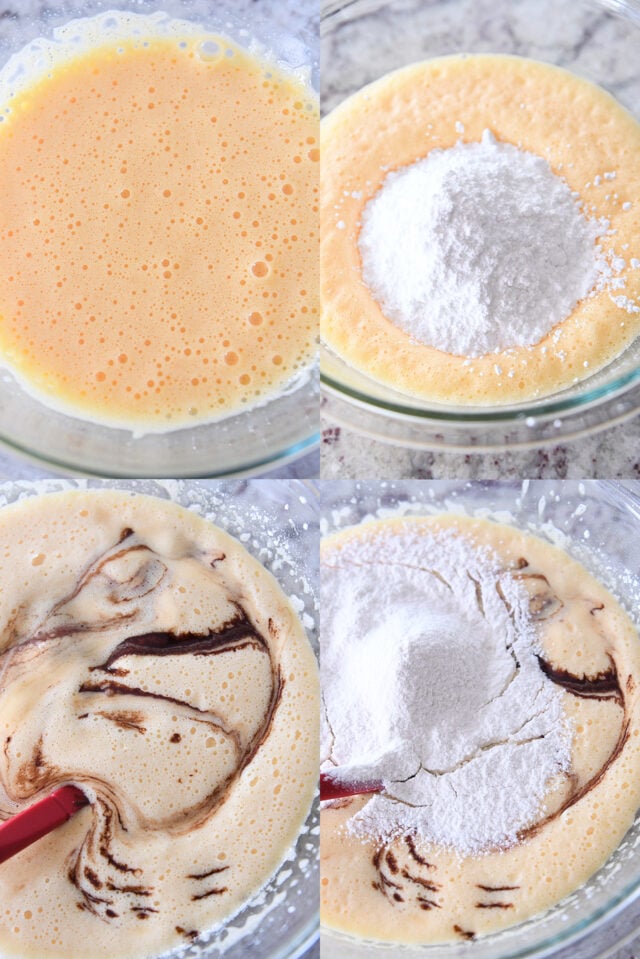
In a large bowl, using a hand mixer or in the bowl of an electric stand mixer fitted with the paddle attachment, beat the eggs and yolks together until thick and light-colored (don’t skimp on this step!), 2-3 minutes.
-
Add the powdered sugar and mix until combined. Add the cooled, melted chocolate mixture and flour and mix with a spoon or spatula until combined and no streaks remain (don’t mix too hard).
-
Divide the batter evenly among the ramekins and place the ramekins on a large baking sheet, leaving a few inches between each ramekin.
-
Bake 12-13 minutes, until sides are set and cakes are soft when touched in center. Timing is really important here and a lot depends on whether your oven is baking hot or cold. You want the cakes to bake long enough to form a crust around the melted filling without baking all the way through.
-
Remove from the oven and let rest for 2-3 minutes. Run a small knife or metal spatula around the edges to loosen them. Place a plate upside down on the baking dish and, holding both the plate and the baking dish, gently turn it over so the cake falls onto the plate (tap the bottom of the baking dish very lightly if the cake doesn’t come out immediately comes out ).
-
Dust the cakes with powdered sugar or serve them with whipped cream and strawberries or ice cream and hot fudge sauce (or a combination of all!).
Chocolate: I almost always use Ghirardelli bittersweet chocolate chips in this recipe. Not all chocolate chips melt well – I recommend Ghirardelli or Guittard chocolate chips to melt with the butter.
Grease the molds: Using a cooking spray with flour (like Baker’s Joy) works great, but may leave a small white or yellowish residue on the outside edges of the cake (no big deal). I usually grease the ramekins very well with butter, then sprinkle in cocoa powder to evenly dust and tap off the excess.
Get ahead: The cake batter can be prepared 1-2 days in advance and spread into the molds. Cover the ramekins with plastic wrap and cool. Bake the cakes as directed (remove the plastic wrap, see above), adding an additional 30-60 seconds to the baking time to allow for the cold batter.
Portion: 1 Cake, Calories: 557kcal, Carbohydrates: 54G, Protein: 7G, Fat: 35G, Saturated Fatty Acids: 20G, Cholesterol: 231mg, Sodium: 206mg, Fiber: 3G, Sugar: 41G
Recipe Source: slightly adapted from a recipe famous in my extended family, made by my cousin Camille and given to me (and served to me countless times) by my Aunt Marilyn
The recipe was originally published in March 2016; updated January 2023 with new photos, recipe notes etc.
Disclaimer: I am a participant in the Amazon Services LLC Affiliate Program, an affiliate advertising program that offers me the opportunity to earn commissions by linking to Amazon.com and affiliated websites. As an Amazon Associate, I earn from qualifying purchases.