

This post may contain affiliate sales links. Please read my disclosure policy.
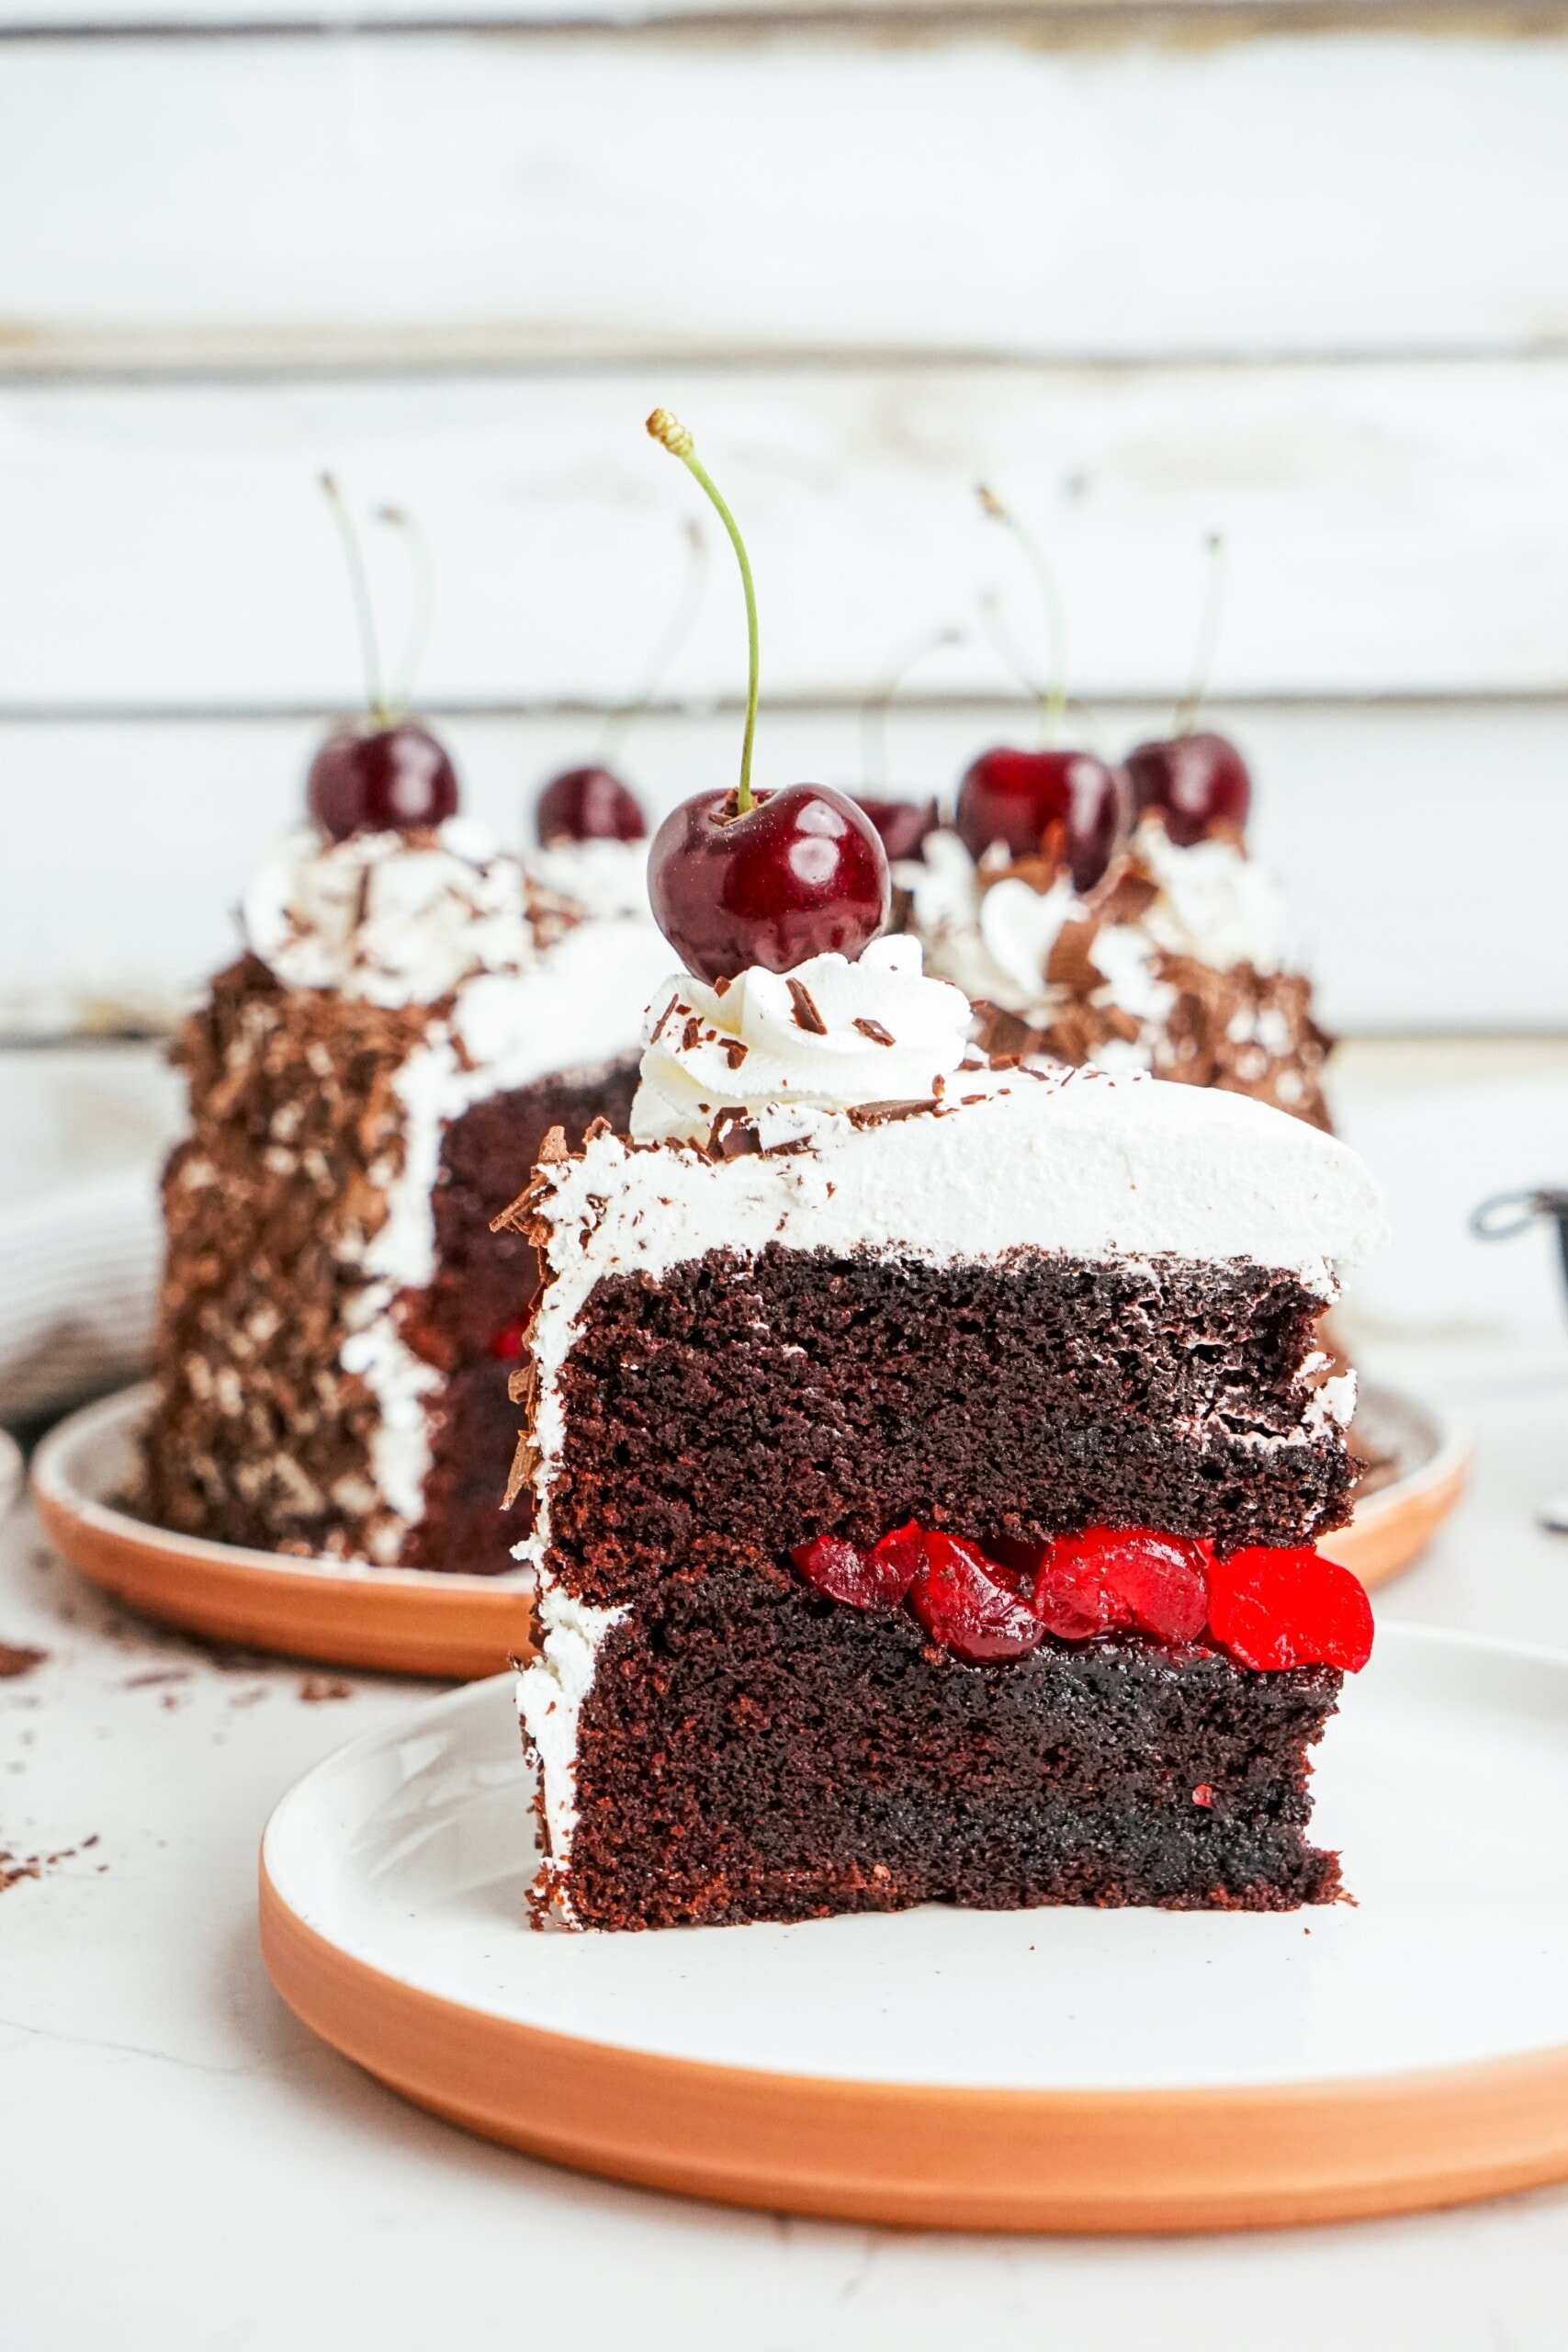
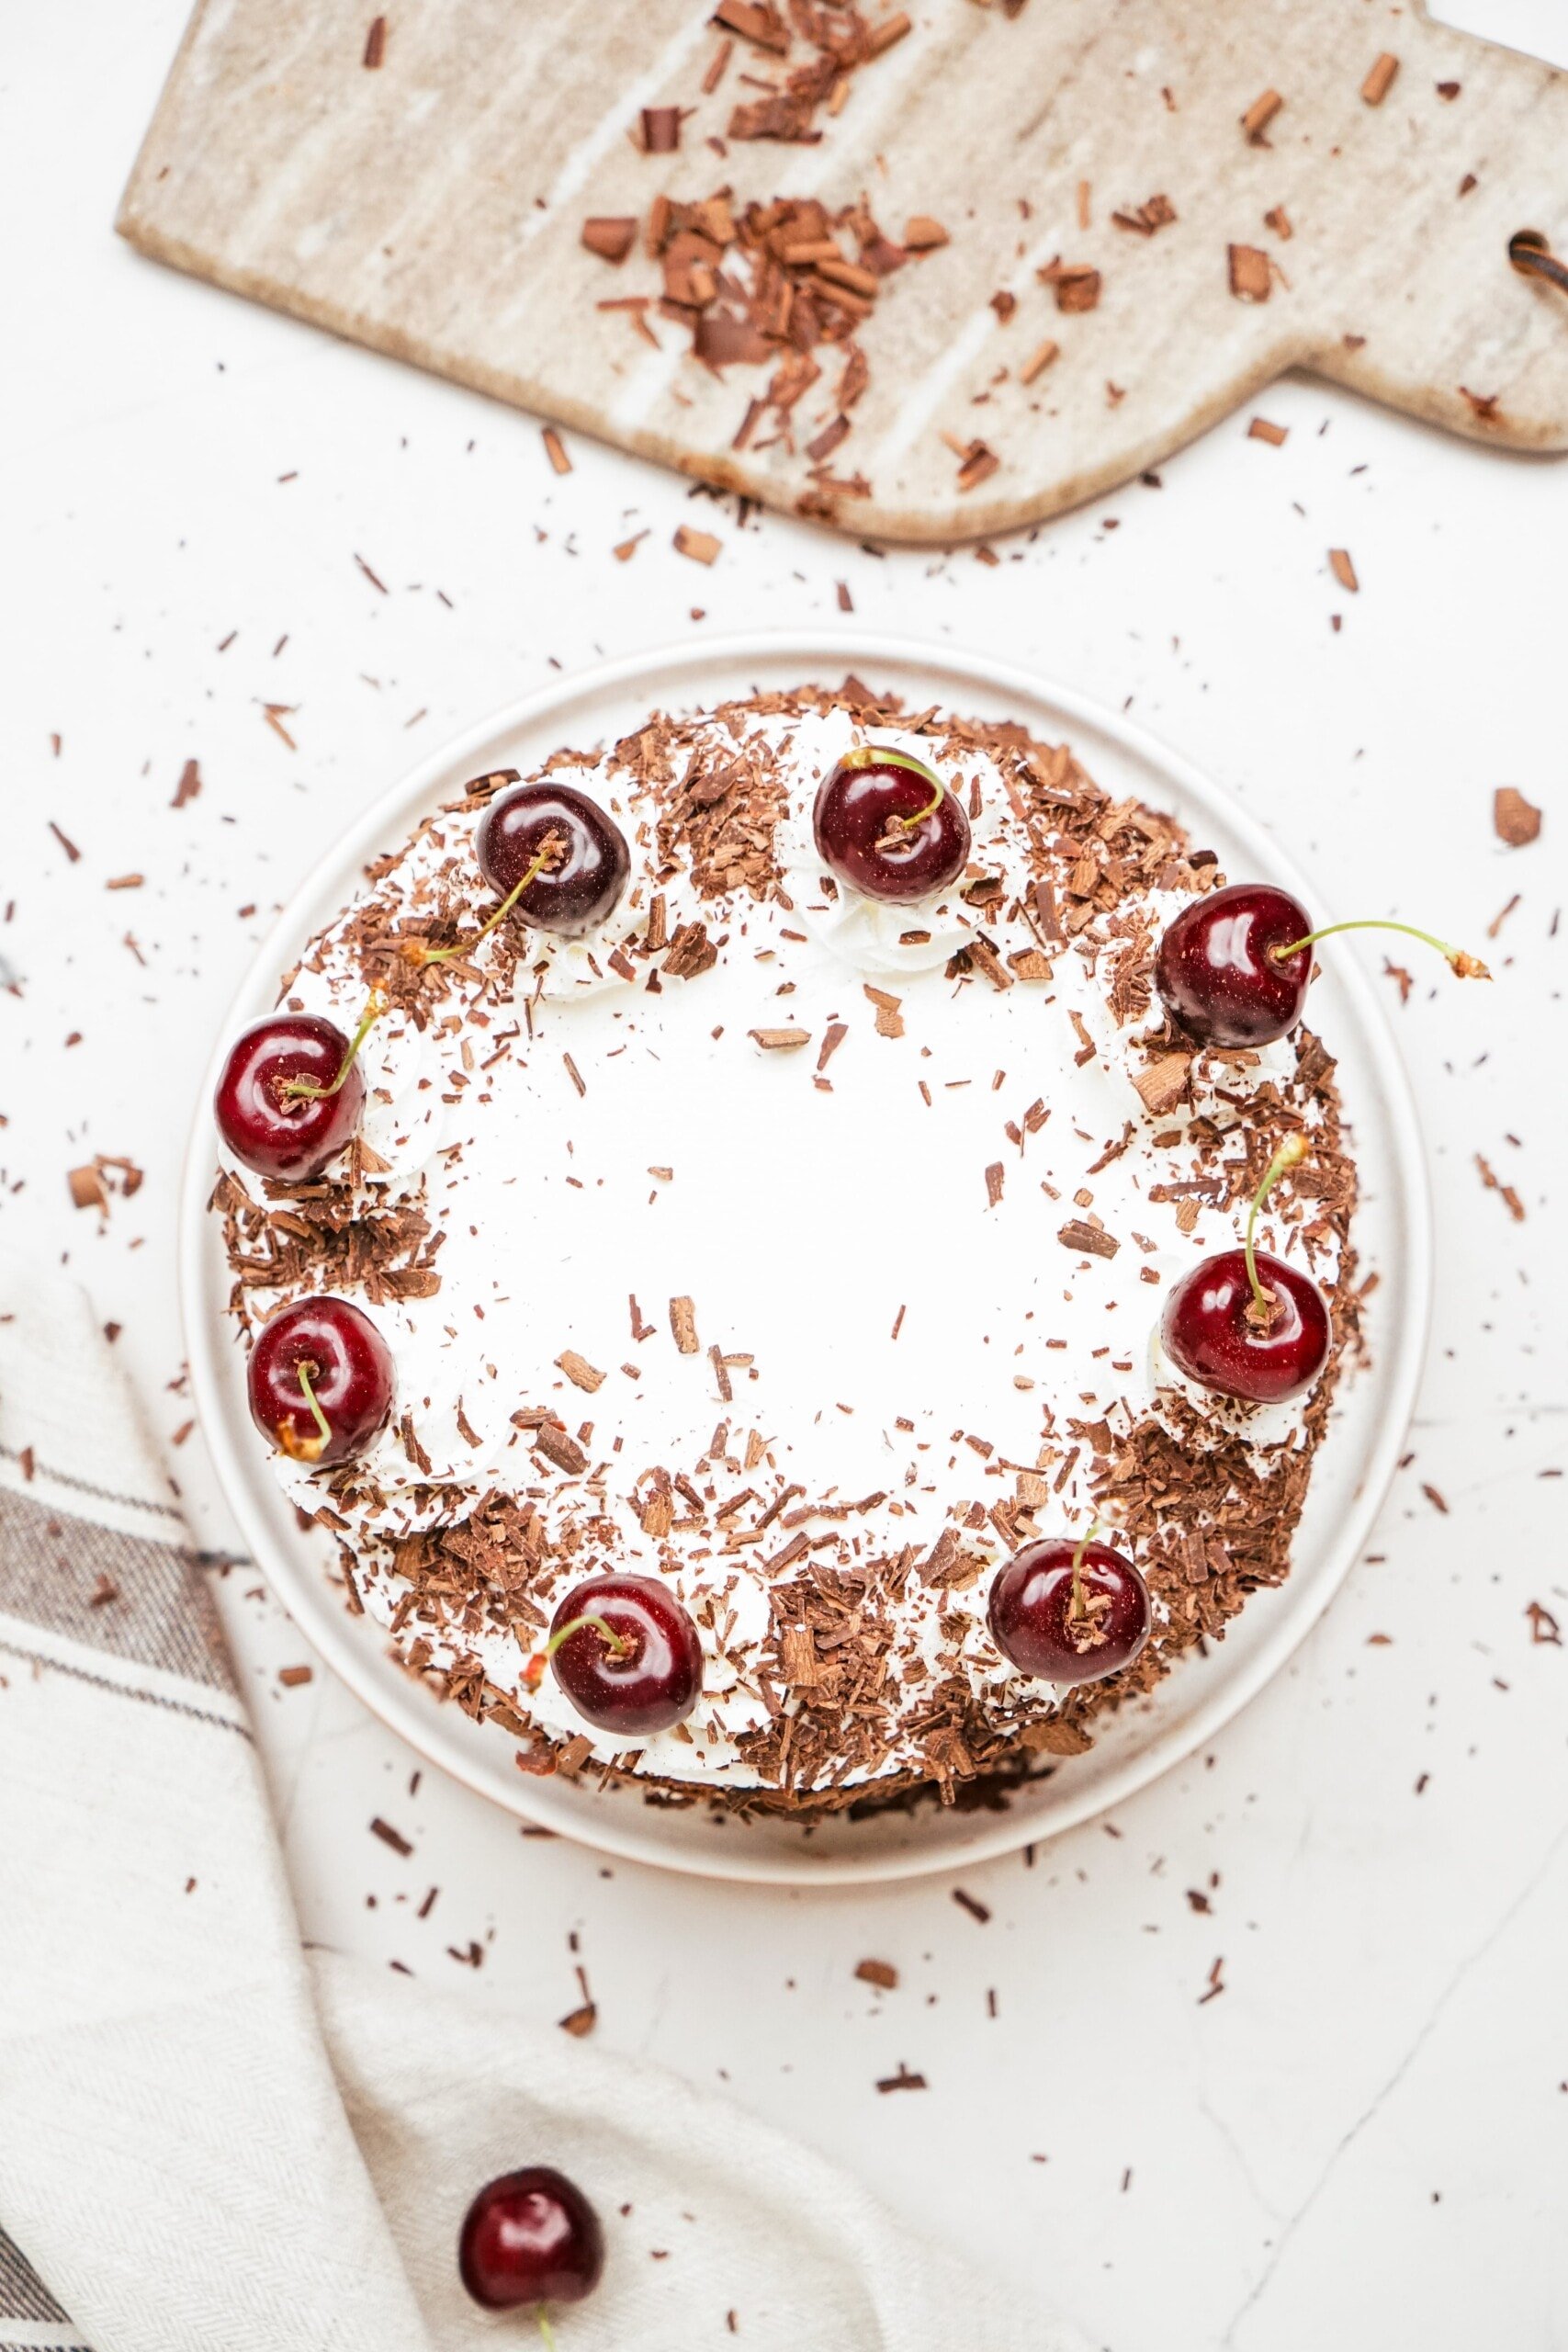
This Black Forest Cake Recipe is a creamy, chocolate-cherry dream! Made from scratch with my homemade chocolate cake, homemade cherry filling, and vanilla whipped cream. It is heaven on a plate.
What is Black Forest Cake?
Black Forest Cake (Black Forest Gateau), is based on a traditional German dessert called Schwarzwälder Kirschtorte. It is typically made out of chocolate sponge cakes, sandwiched together with fresh whipped cream, cherry filling, and Kirsch (a type of brandy). The results are a moist chocolatey crumb, a tart cherry filling, and a creamy fresh coating of whipped cream. Ugh, so good!
Choose Your Favorite Chocolate Cake
When I first made this Black Forest Cake Recipe, I used my classic chocolate cake recipe. However, feel free to use whichever chocolate cake recipe you personally like best. Just make sure it’s chocolate! Here are a couple of good options to choose from:
- Classic – this is my classic chocolate cake recipe. Super good, super chocolatey, super reliable.
- Vegan – don’t worry friends, the vegan cake tastes very similar to regular chocolate cake.
- Dark Chocolate – make this dark chocolate cake recipe if you like things on the more bitter side.
- Store-Bought – and lastly, you can always make a store-bought cake mix for ease.
Note: Depending on which cake you choose, you’ll need all the other ingredients that go along with it. Baking is a science, so make sure you carefully measure out your ingredients.
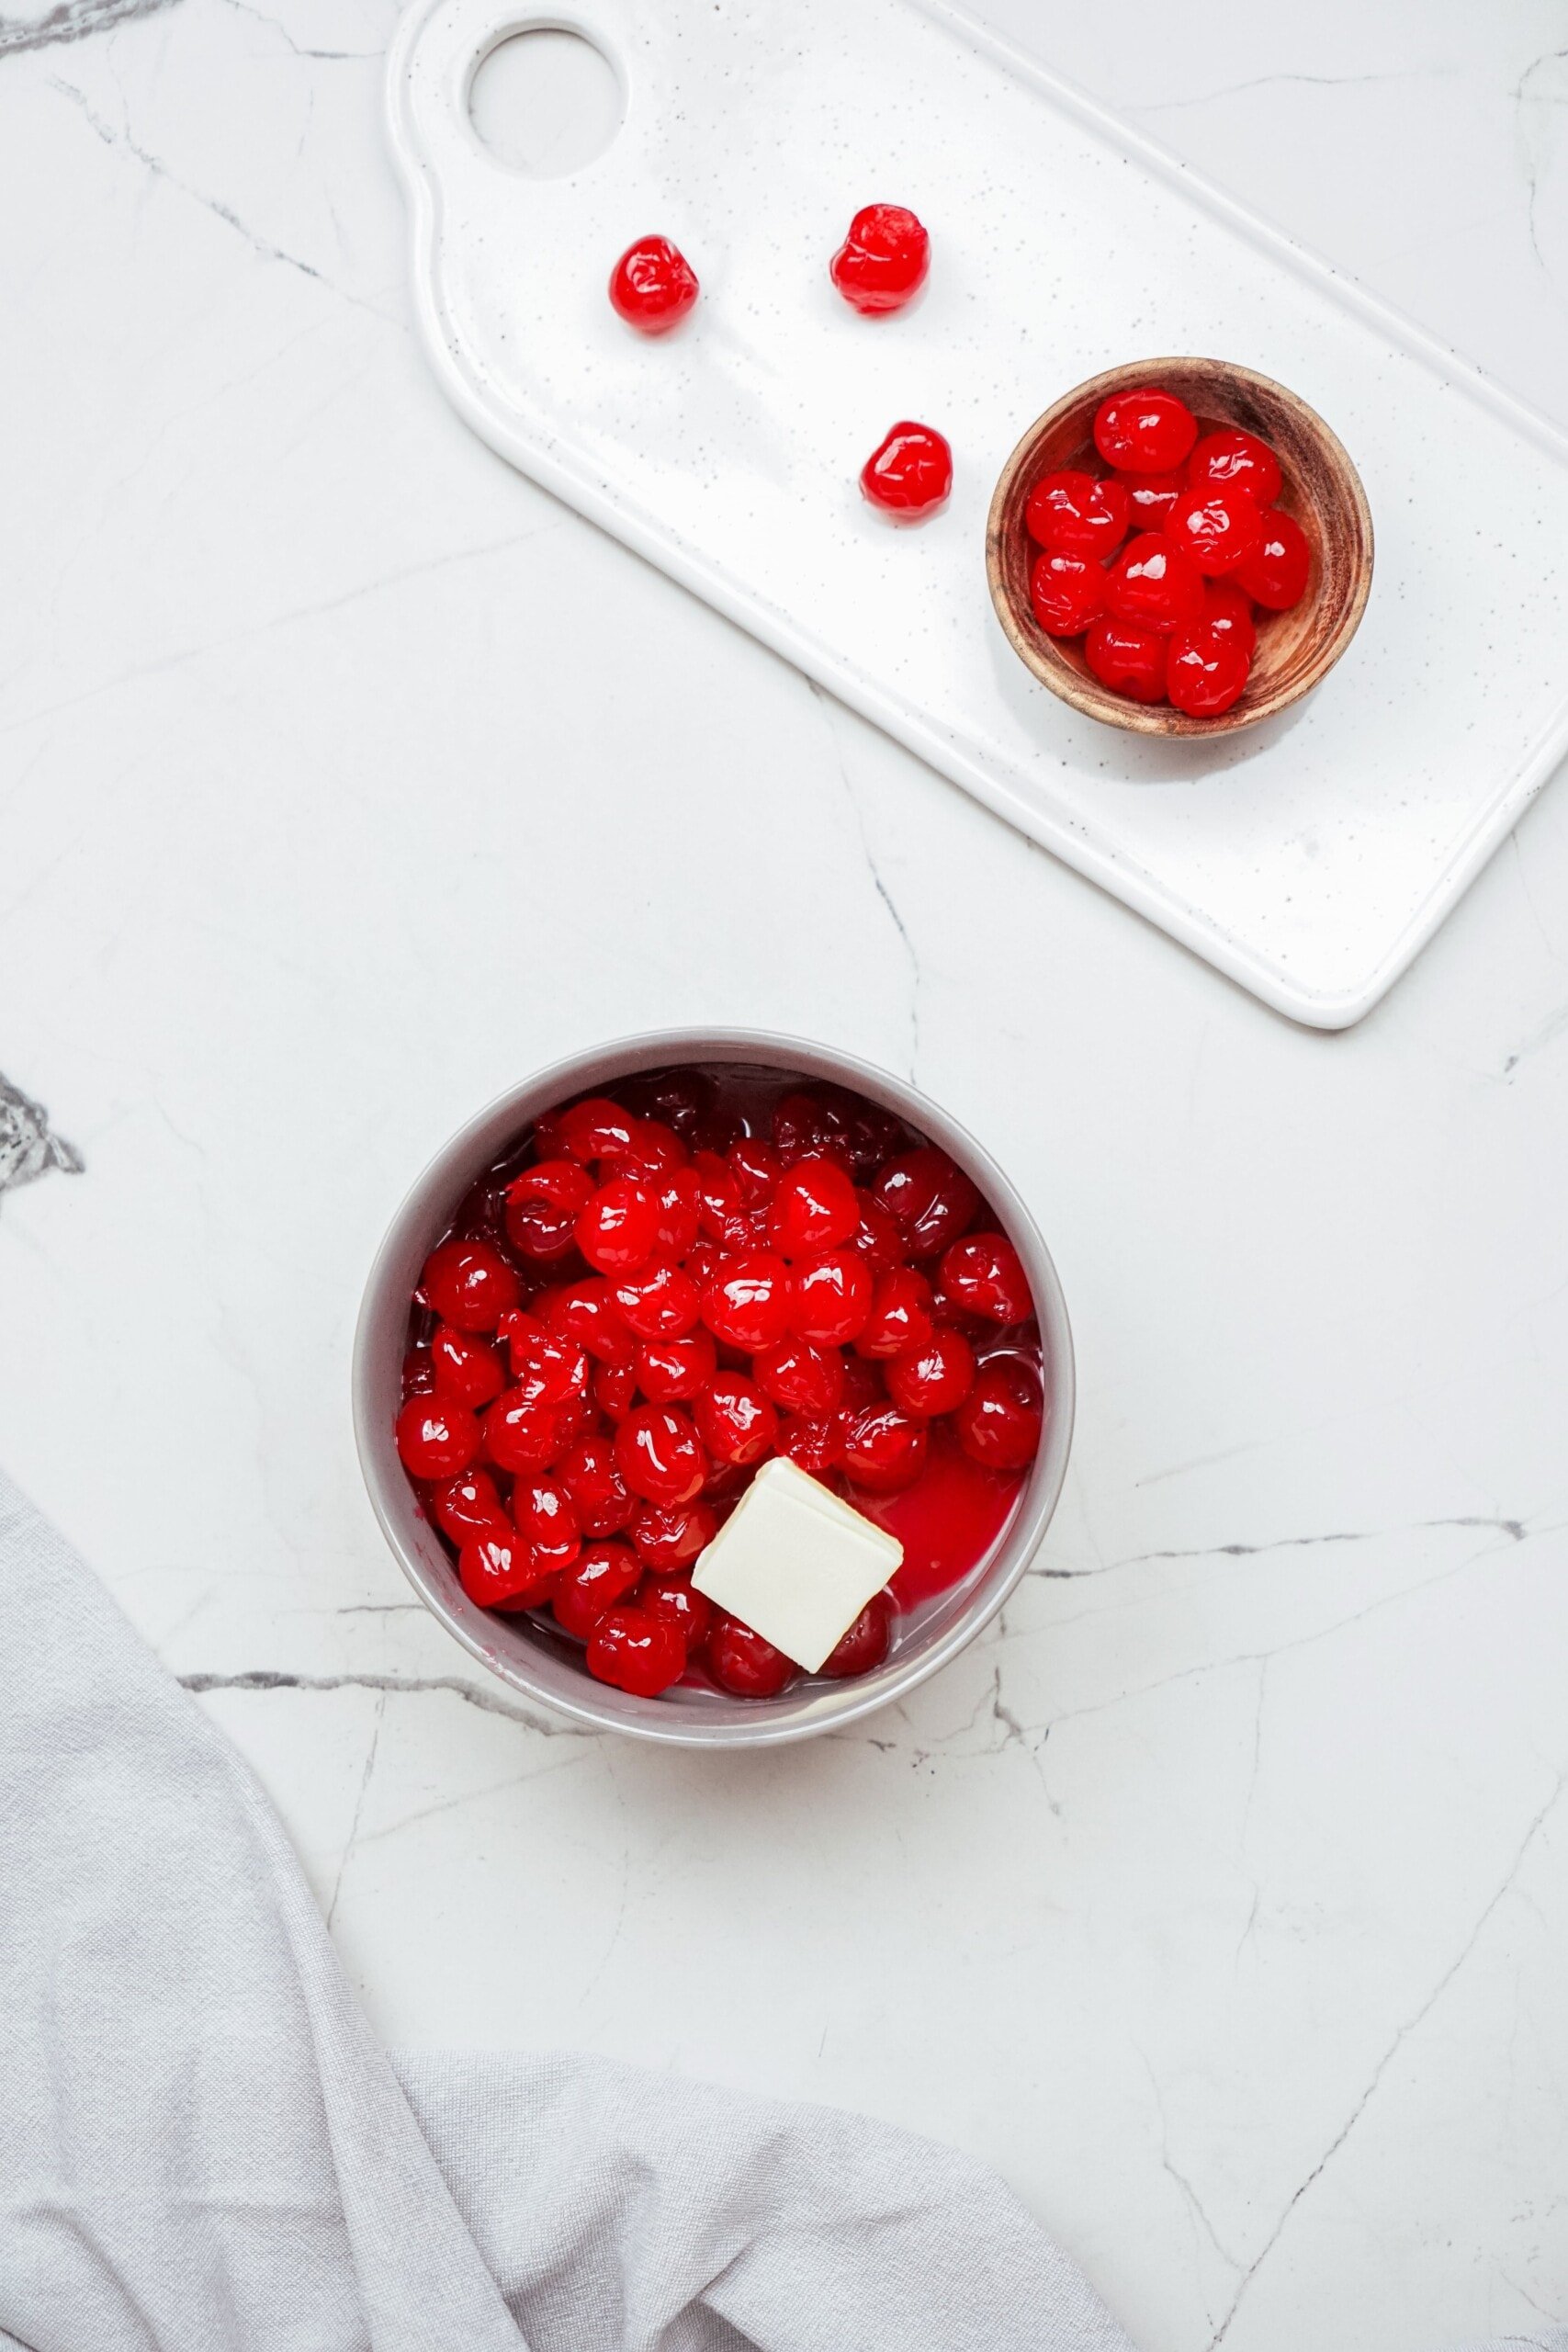
Cherry Filling Options
To make the homemade cherry filling you’re going to need ingredients like frozen tart cherries, sugar, cornstarch, butter, and almond extract. These all come together to make a sweet-tart gelatinous filling.
- Sweet Cherries – If you like things on the sweeter side, opt for sweet cherries instead of tart.
- Canned Cherry Filling – Alternatively, you can use the canned cherry filling as a store-bought shortcut!
- Kirsch – A traditional black forest cake recipe contains Kirsch, which is a type of cherry brandy. My recipe has everything but the Kirsch, but feel free to add in a healthy splash to the cherry filling, while cooking, if desired.
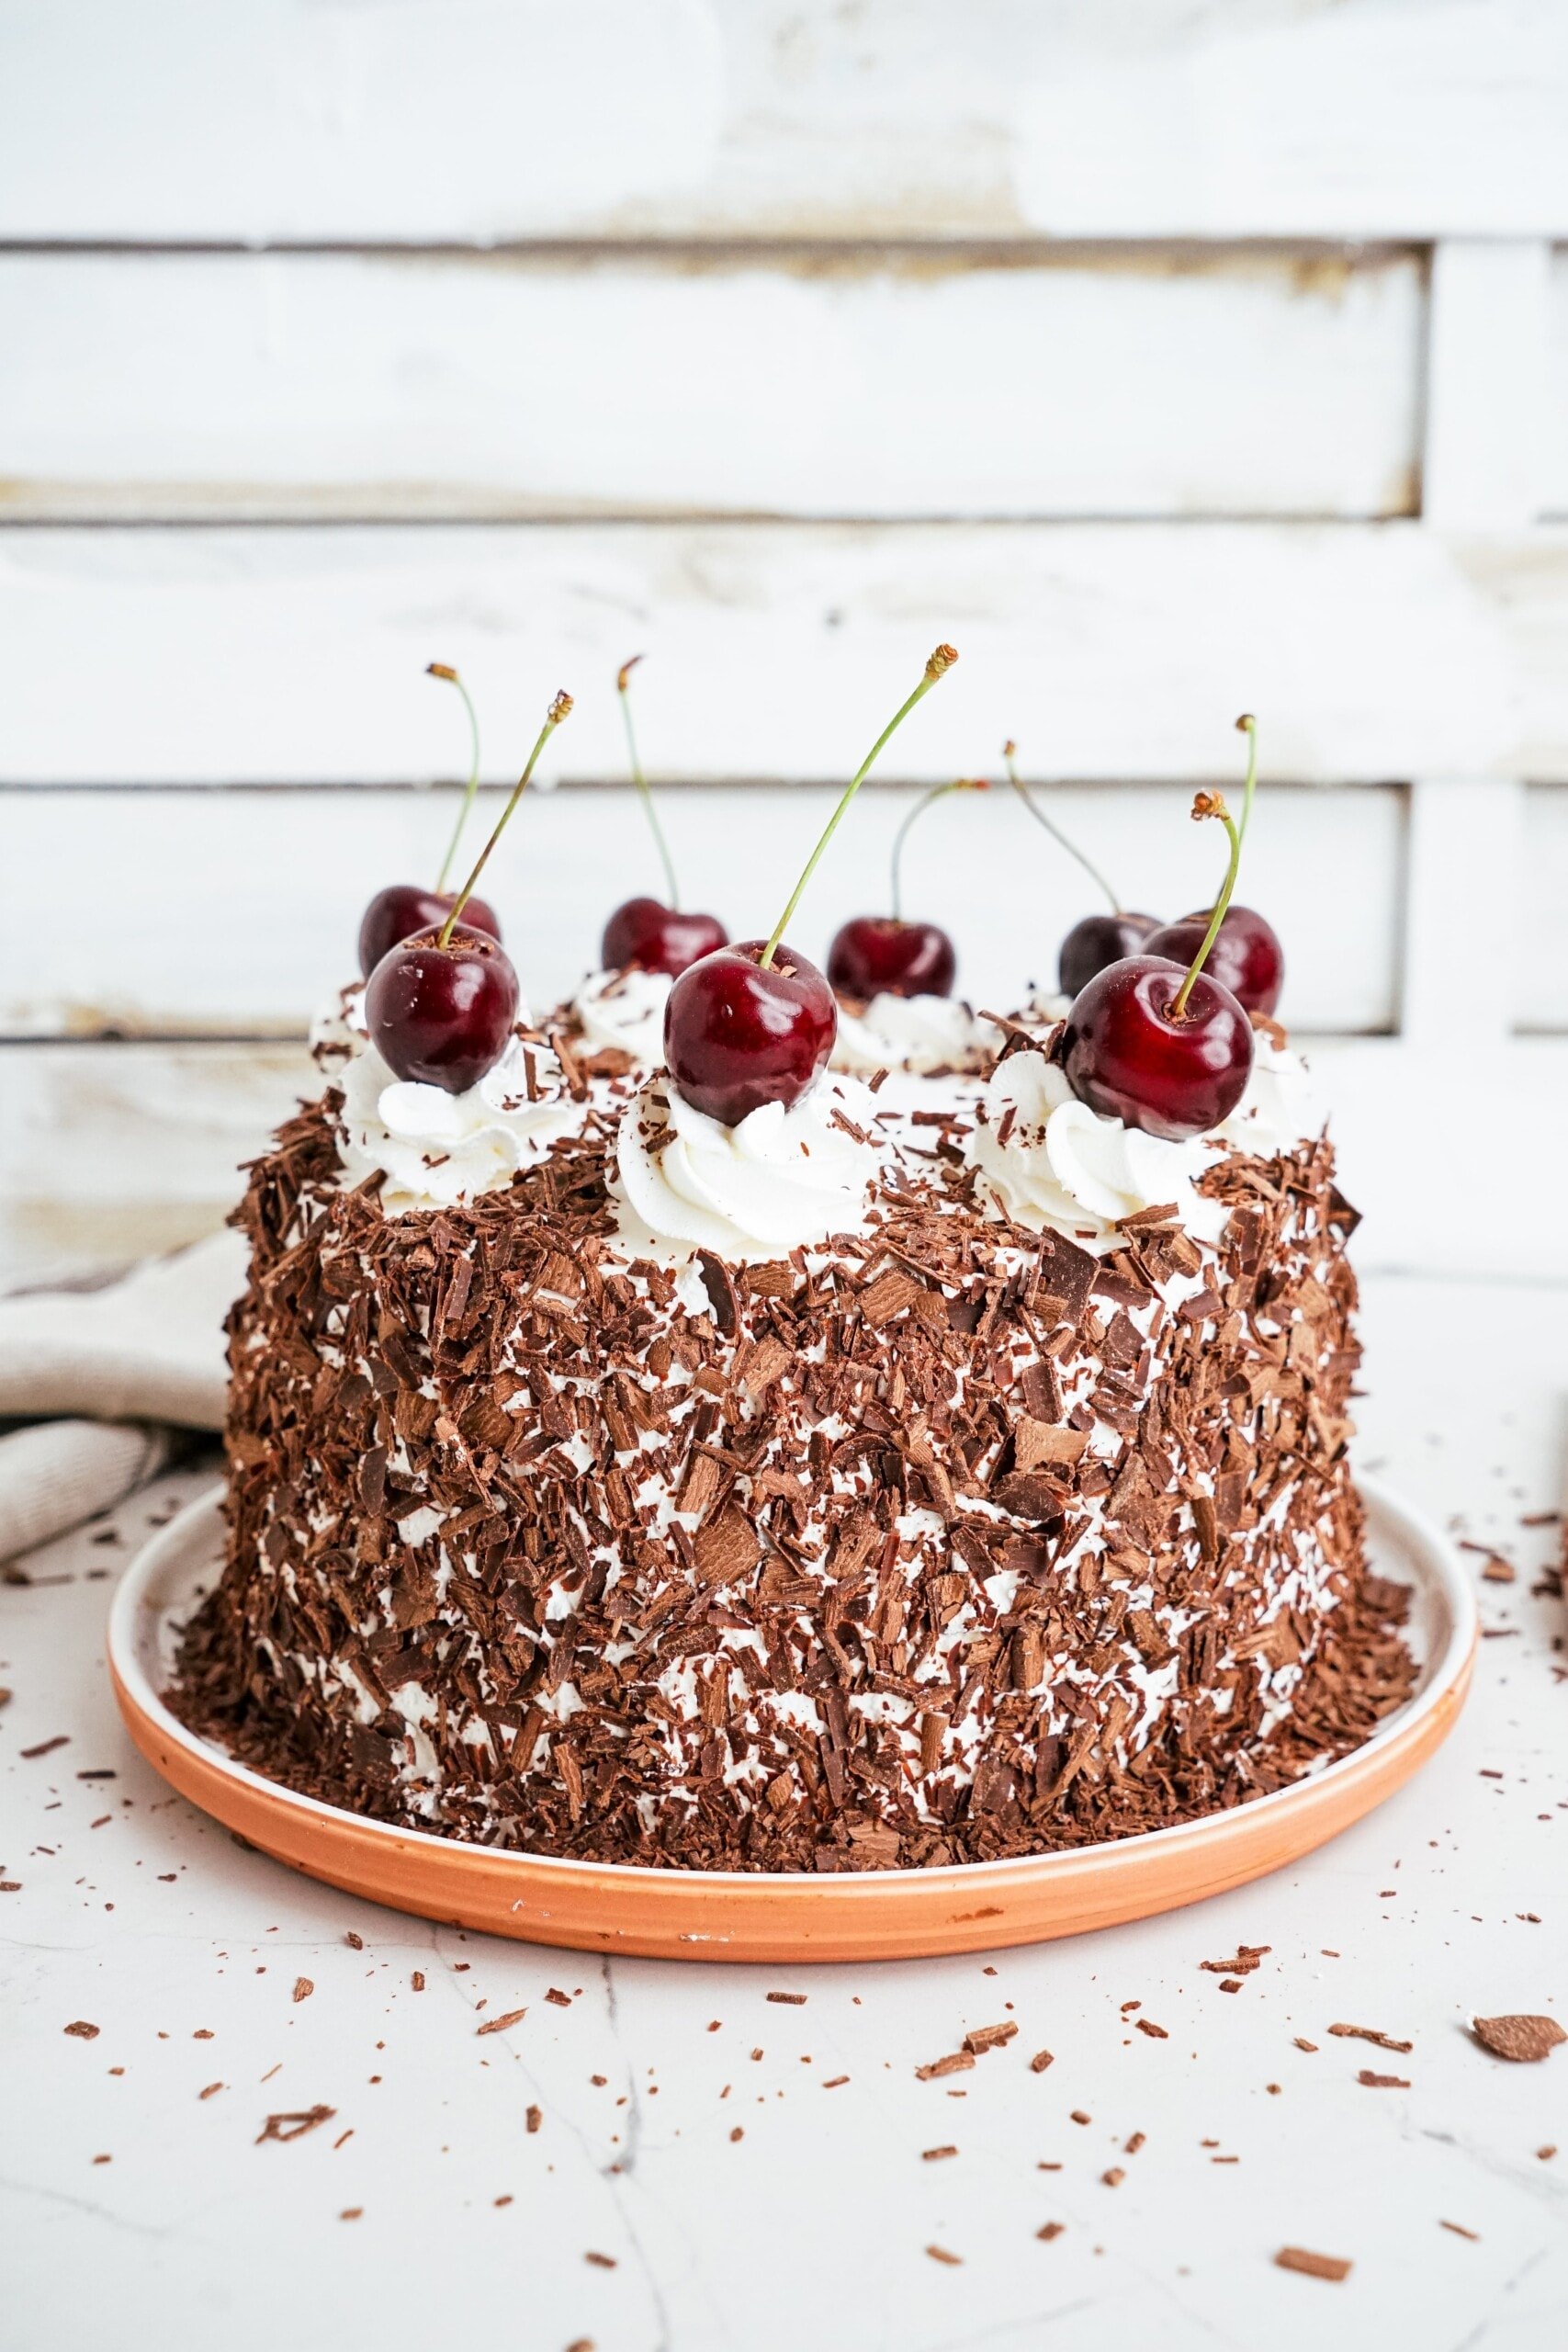
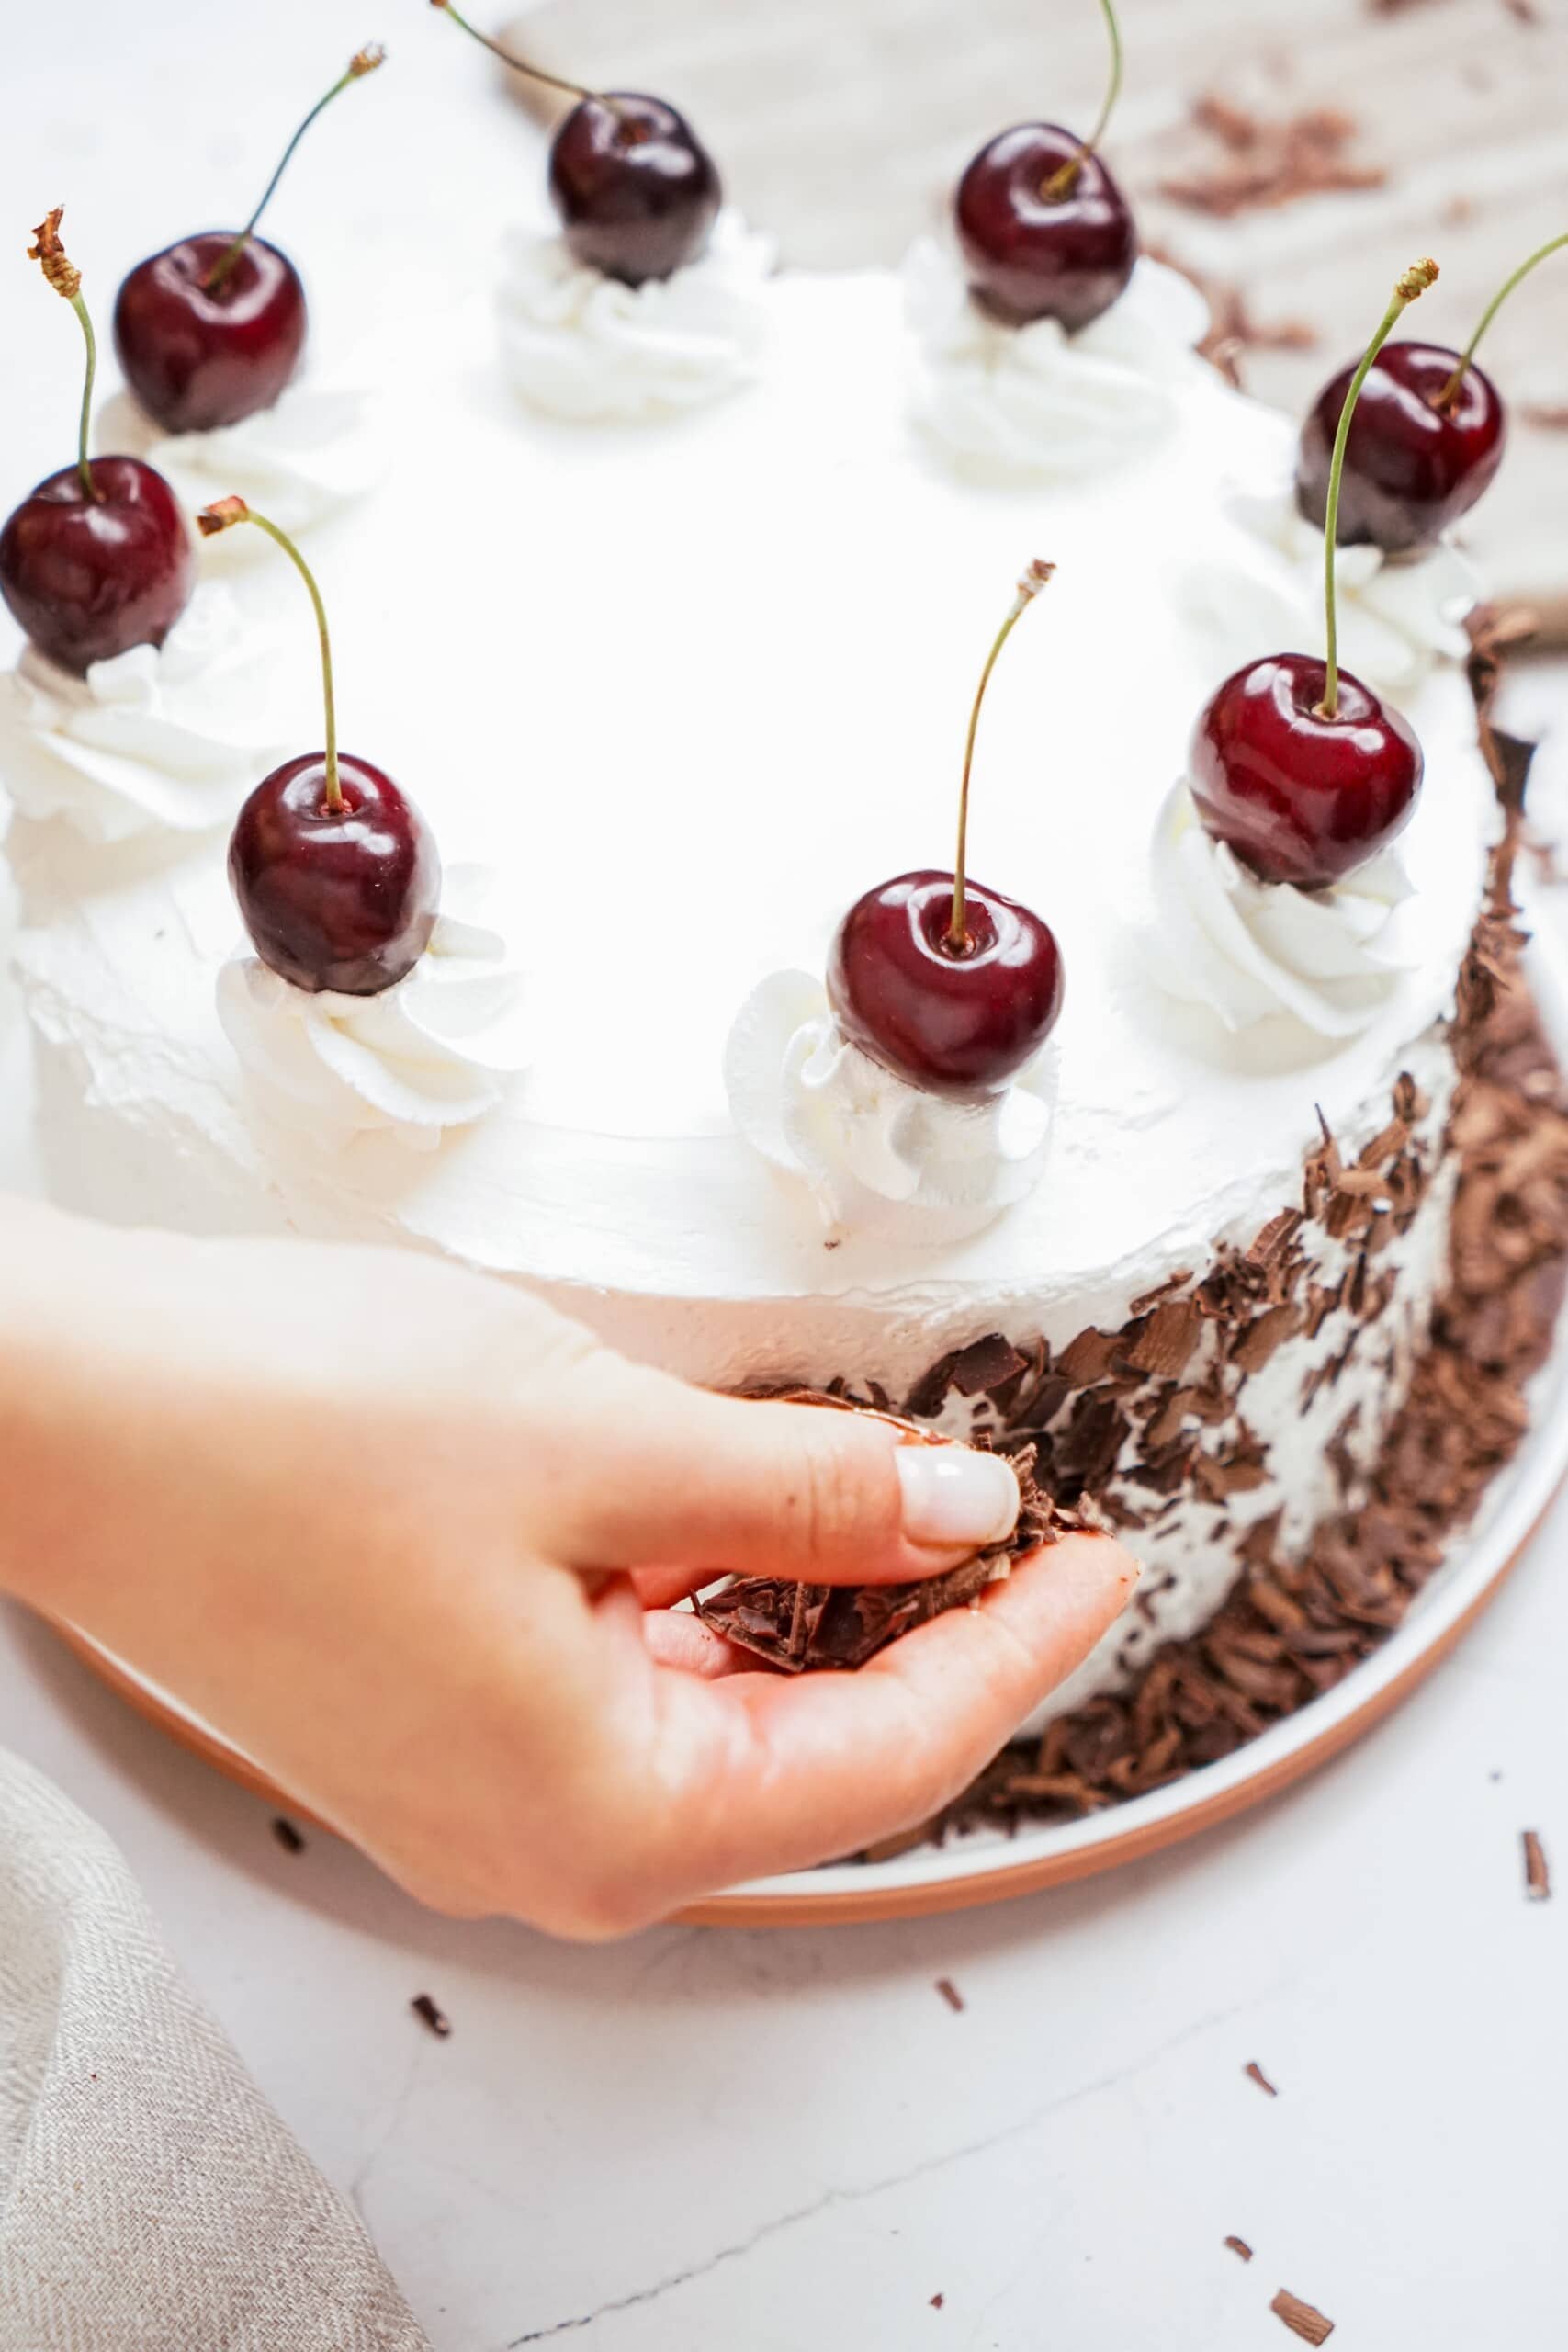
Black Forest Cake Decoration
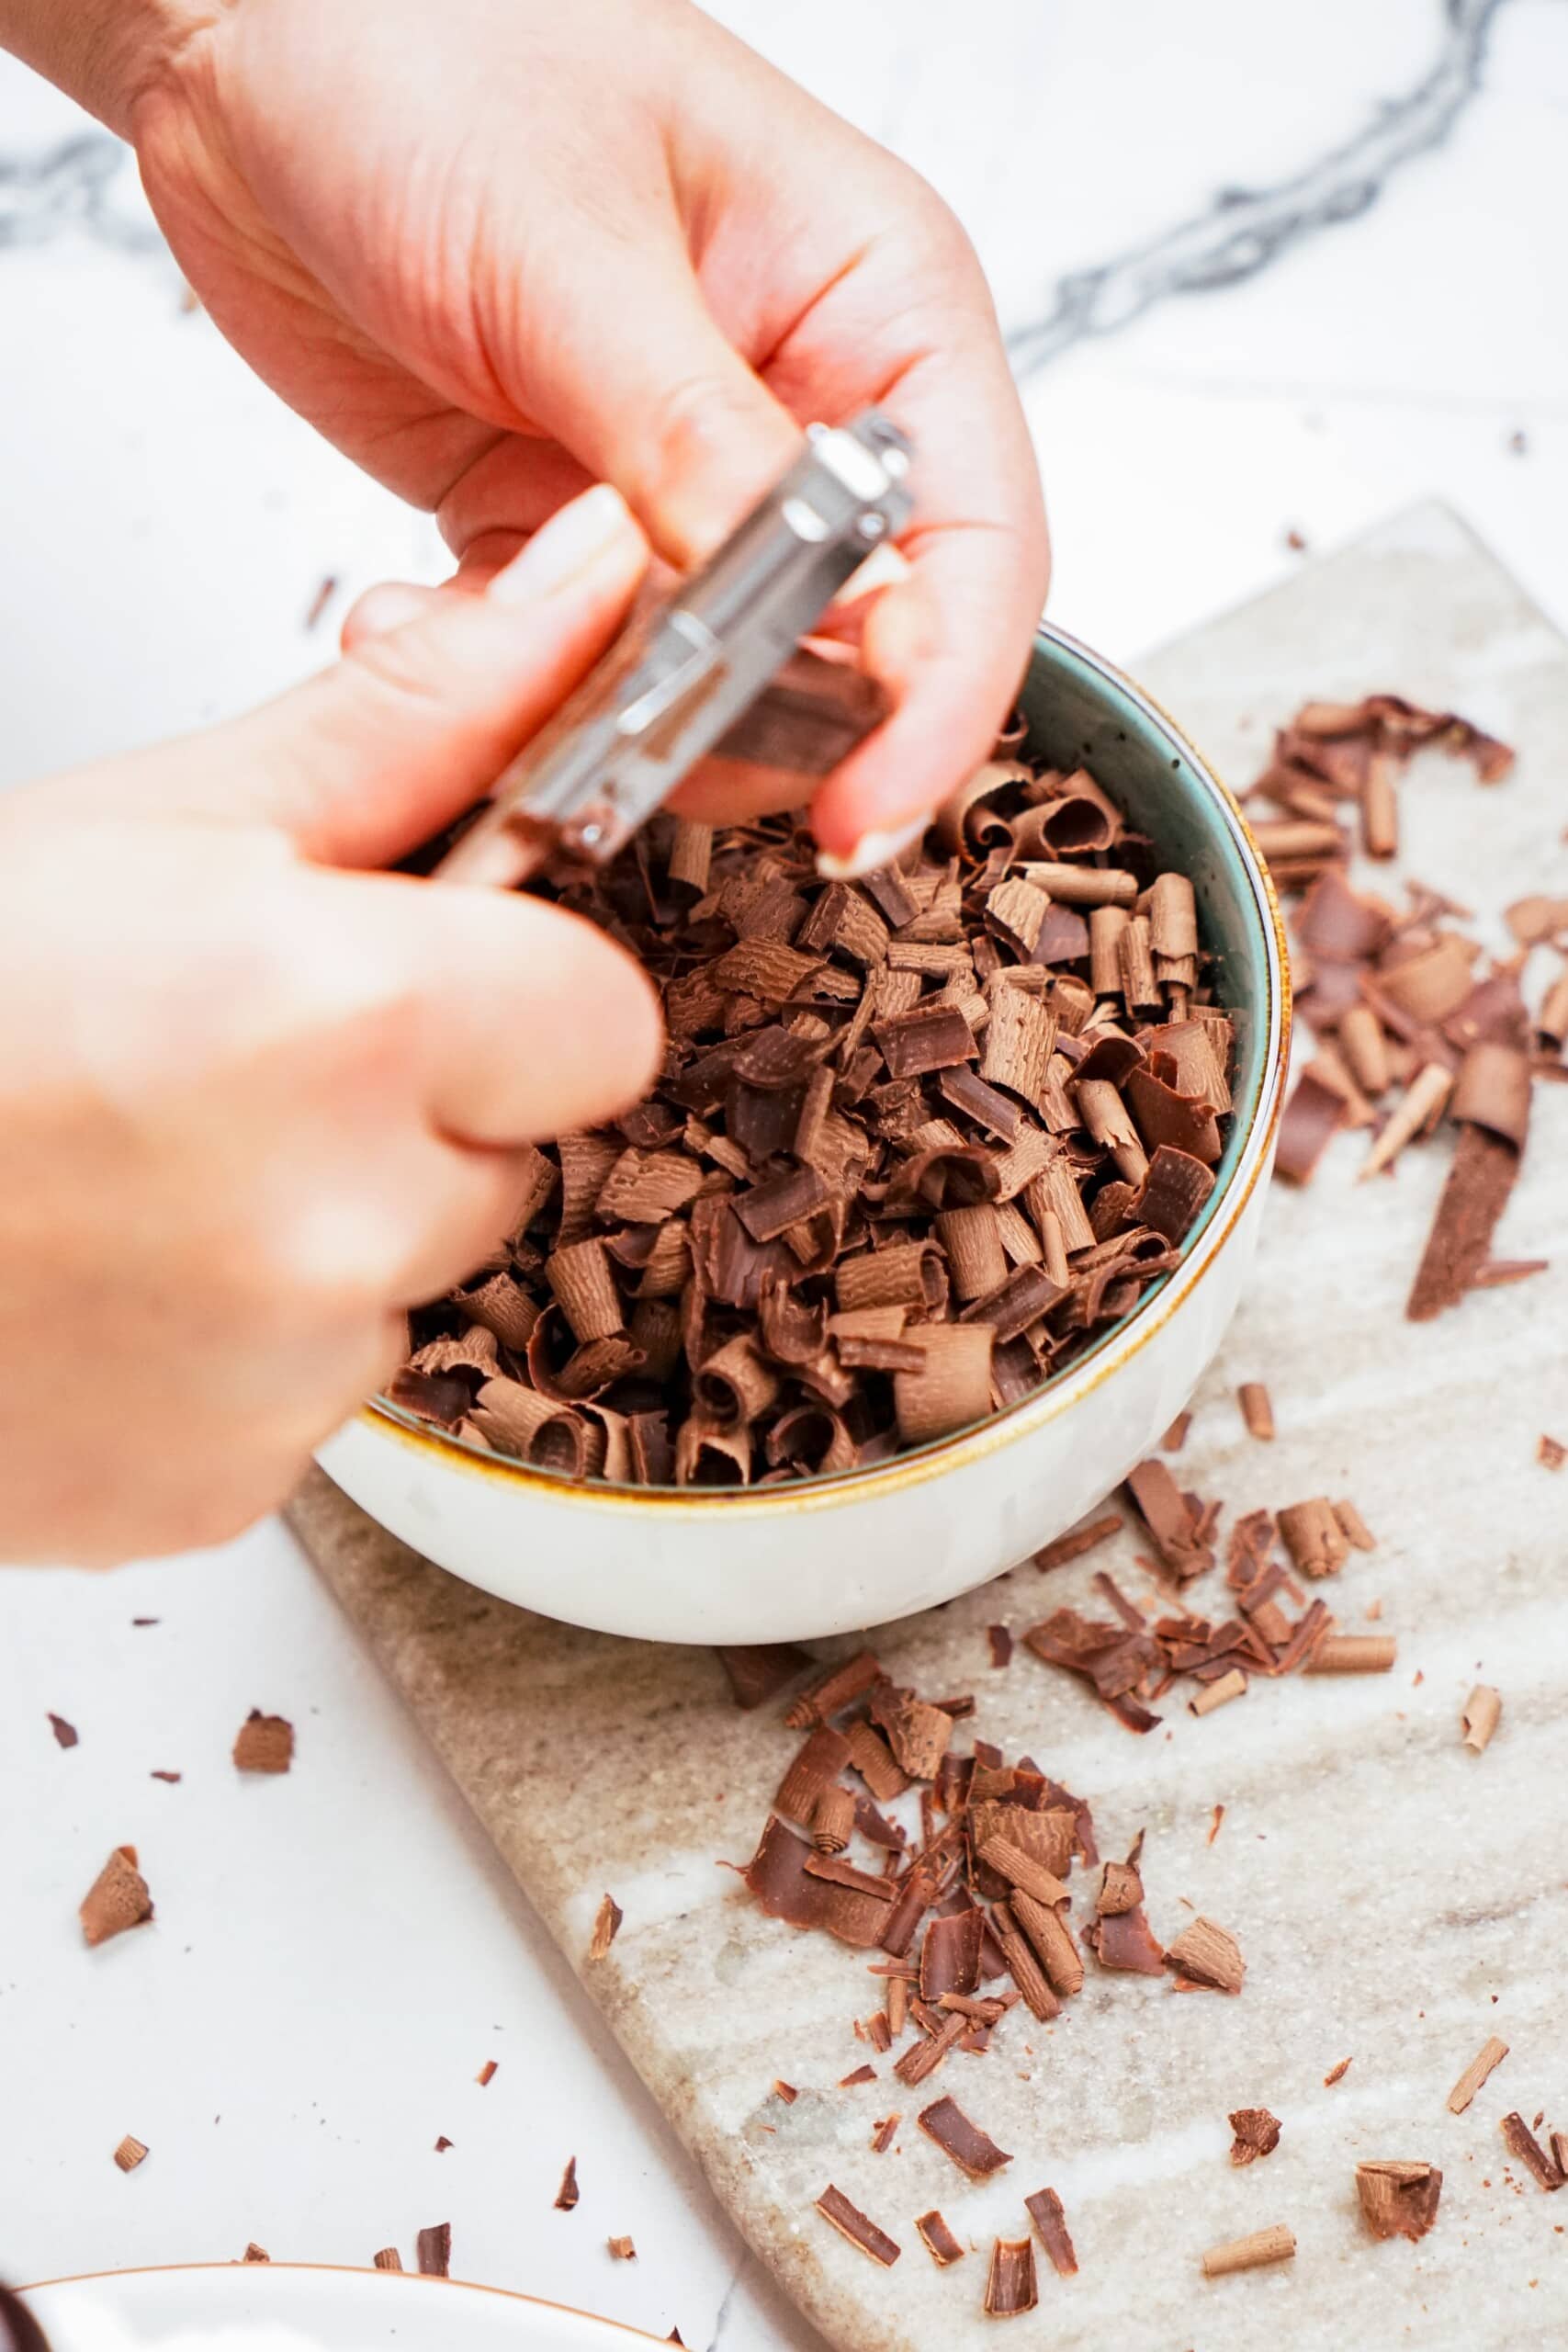
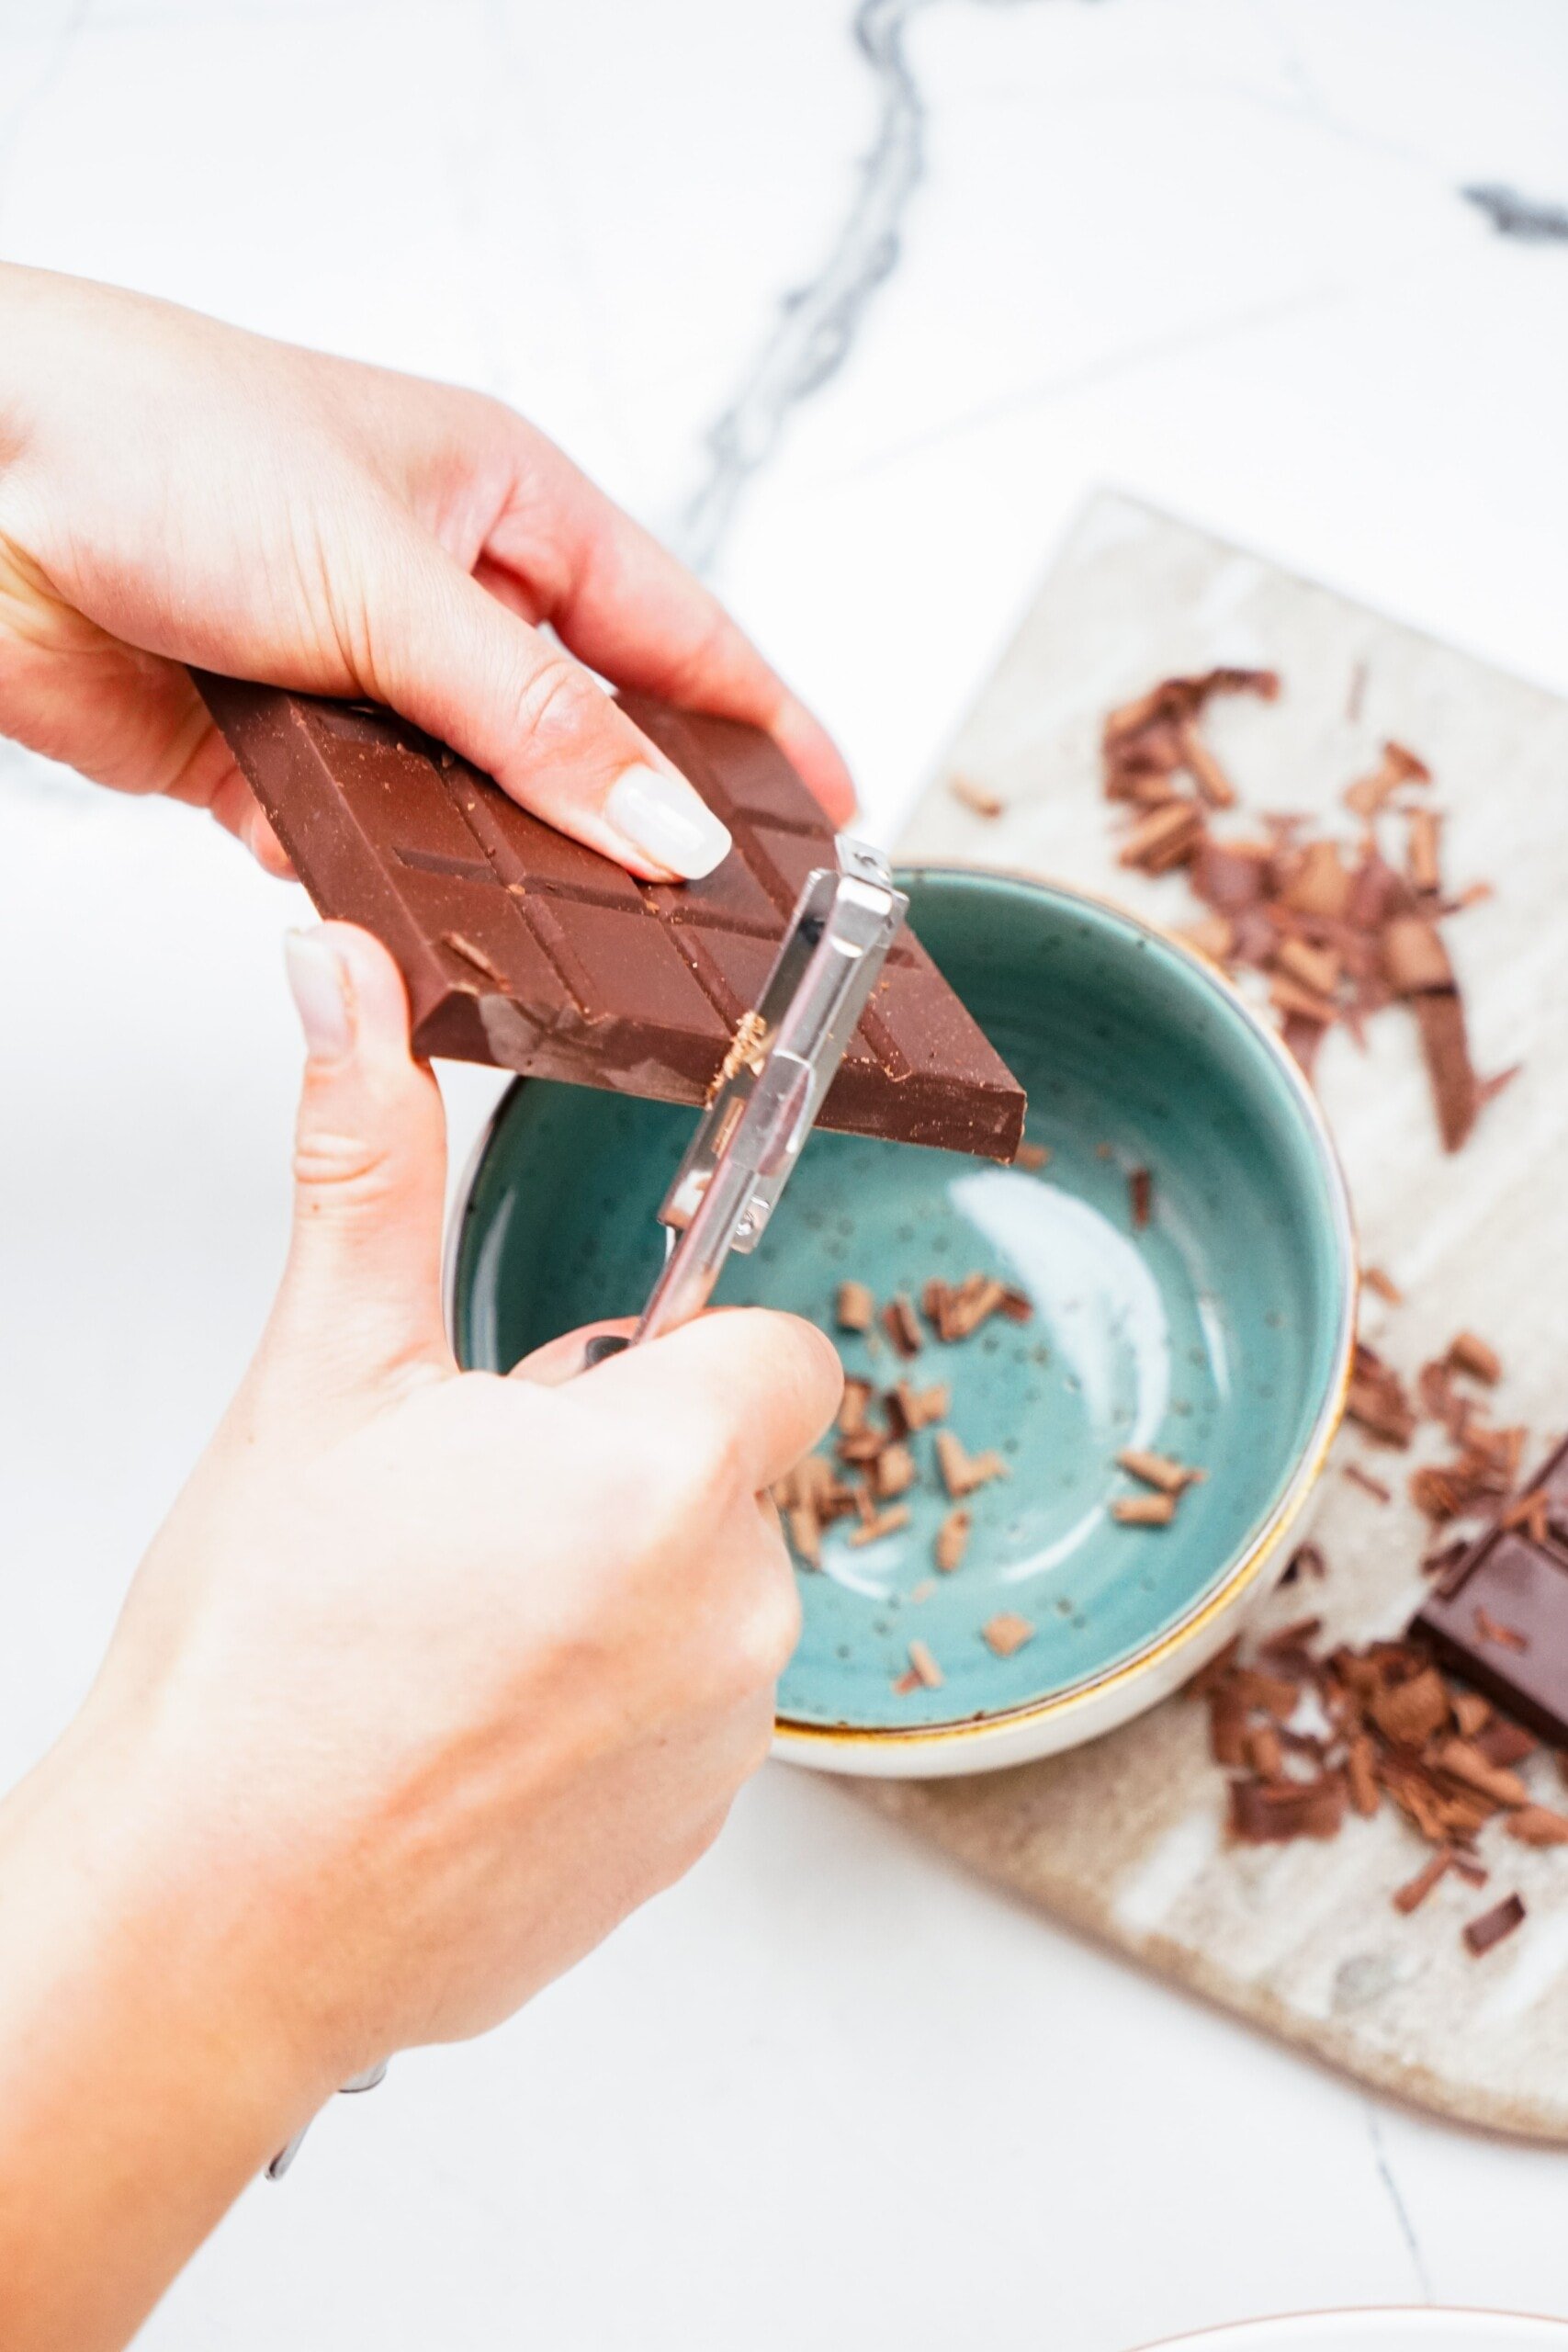
The whole outside of this Black Forest Cake is covered in homemade whipped cream, dusted with chocolate shavings, and topped with more cherries. For more information about making homemade whipped cream <– see here!
While I absolutely adore whipped cream, I totally get if you prefer Cool Whip. It’s more stable and ready to use. Or if you’d rather use an actual frosting recipe, my Buttercream Frosting would work great.
And if you don’t want to buy a block of chocolate and shave it down, just buy a bag of mini chocolate chips!
How to Make Black Forest Cake
For full recipe details, including ingredients needed and measurements, see the printable recipe card down below. Here is step by step what to expect when making this cake:
The first thing to do to make this black forest cake is to make the chocolate cake! If you don’t use the cake recipe I have down below, make sure your recipe makes enough to make two 8-9 inch cakes.

Preheat Oven + Prep Pans
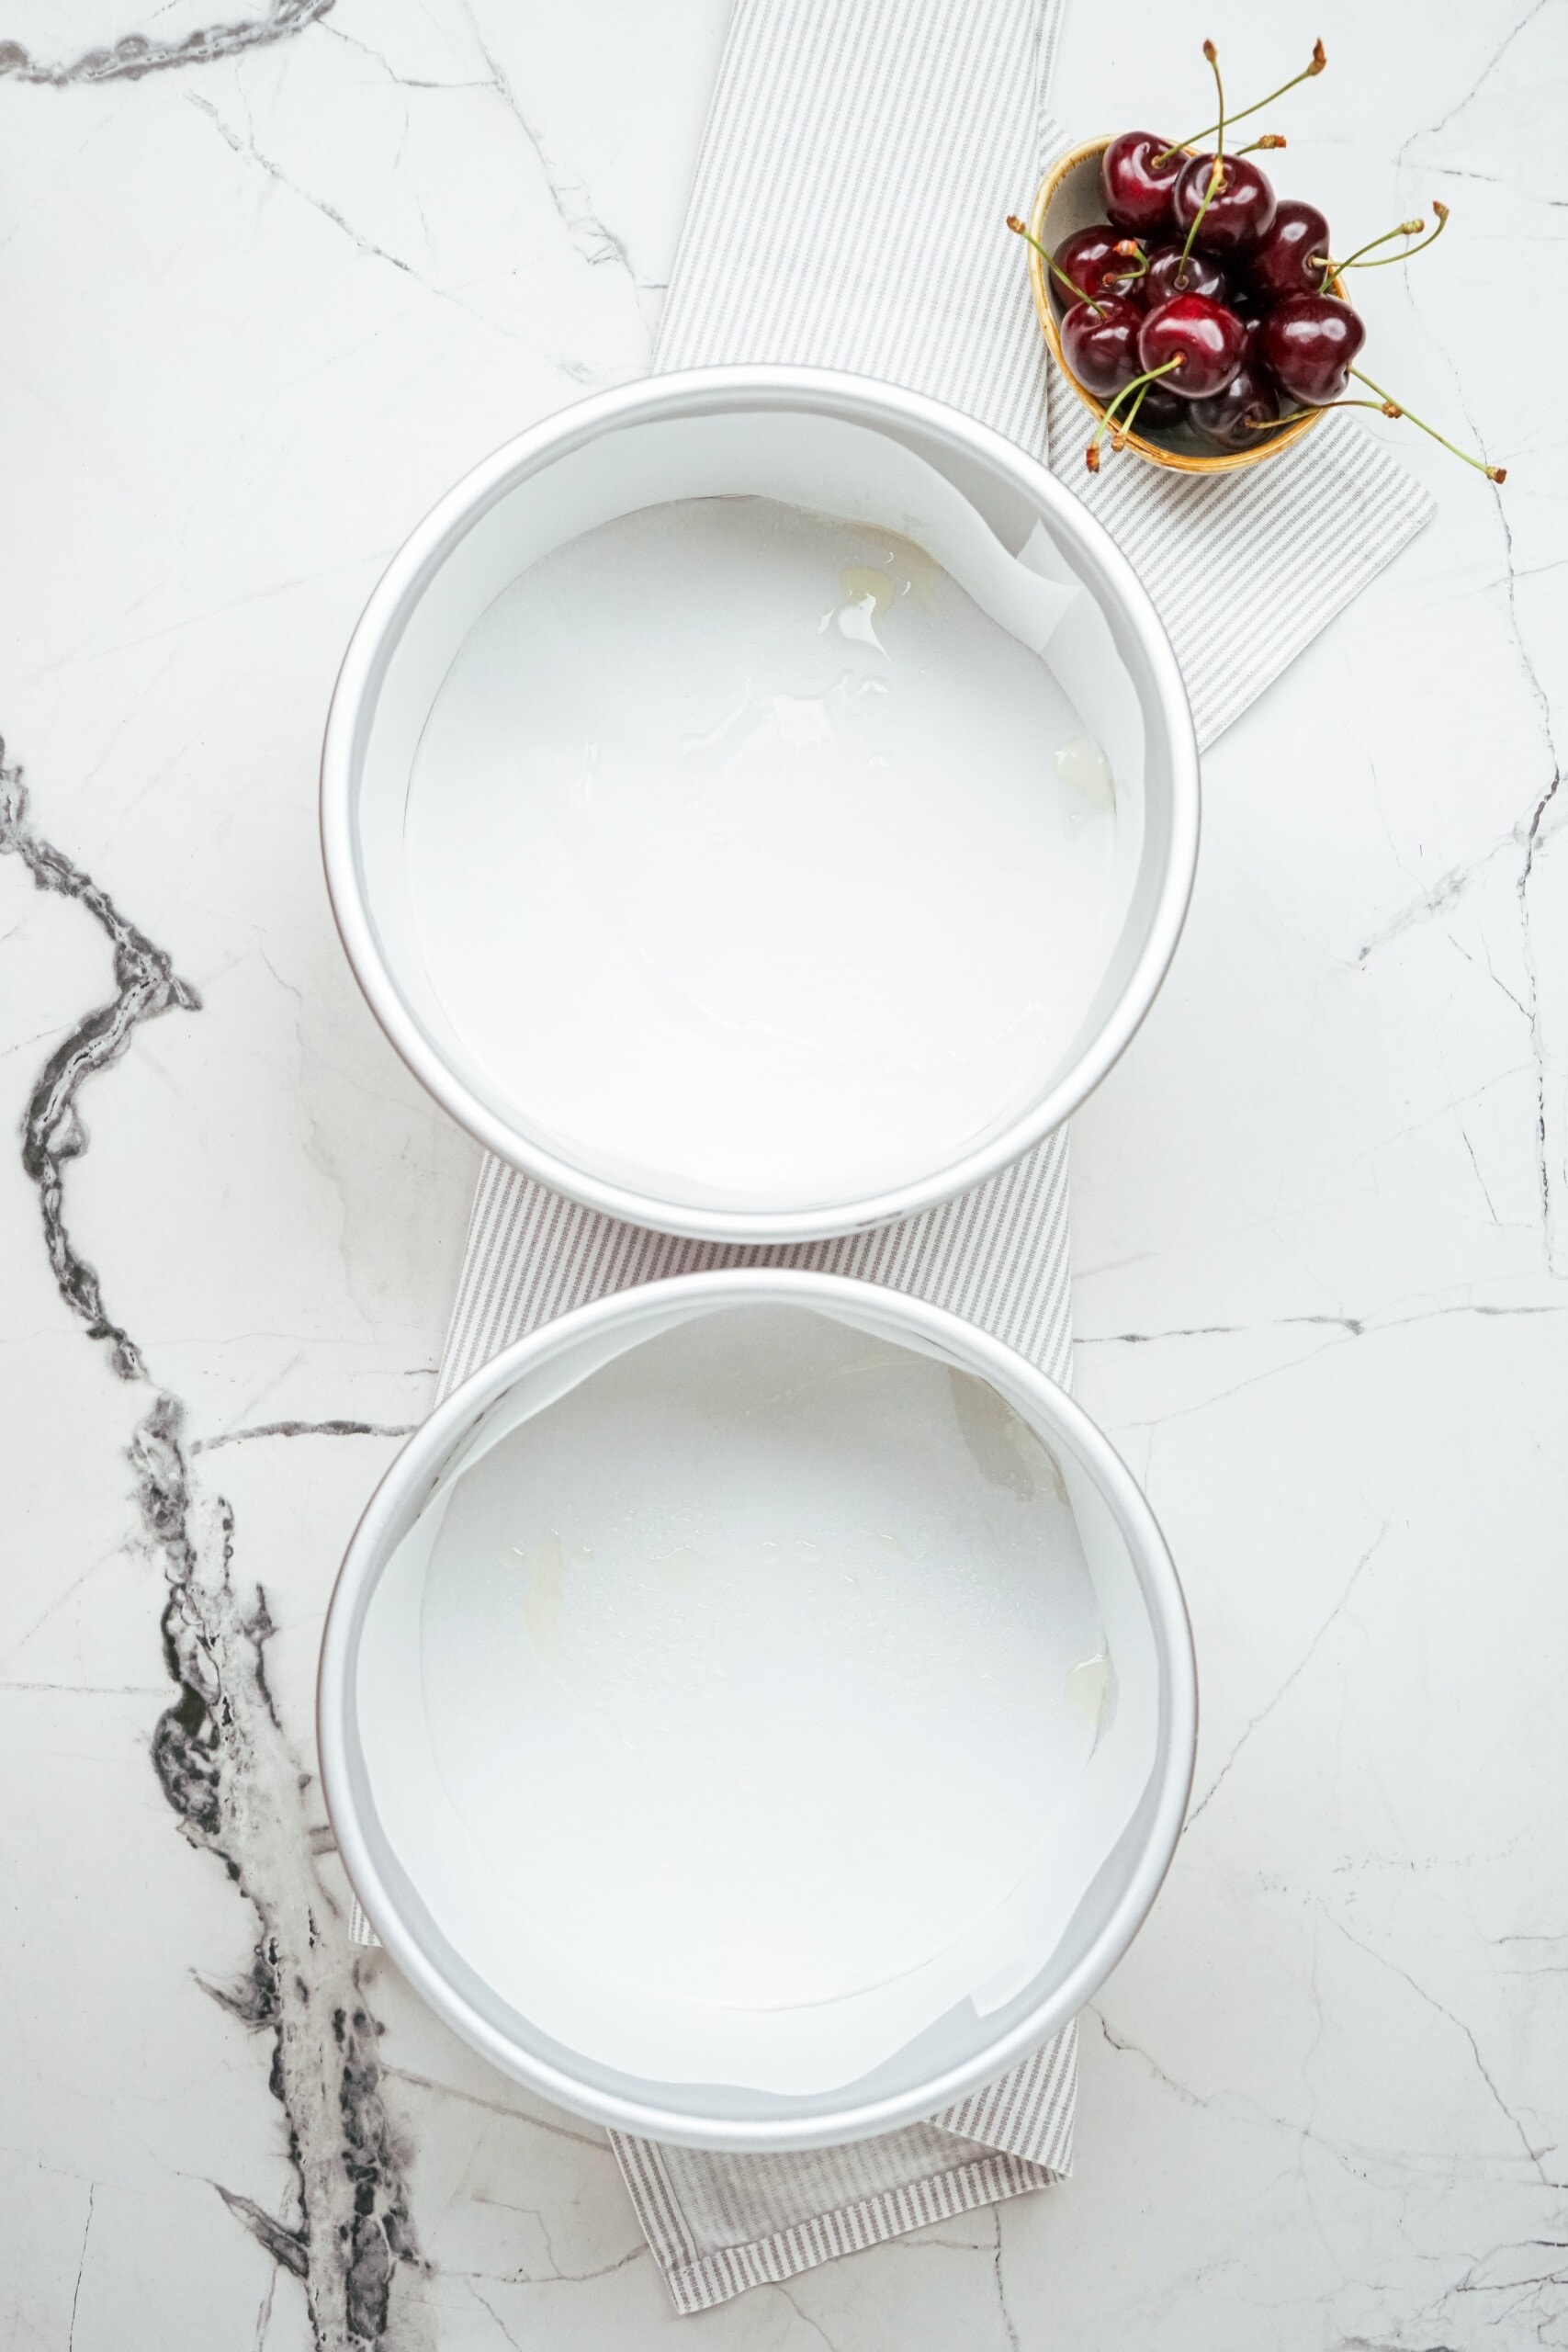
Preheat oven to 350° F. Line two 8-inch round baking pan with parchment paper and/or spray well with nonstick cooking spray and set aside.
Pro Tip: Regardless of how you bake this cake, be sure to use lighter-colored baking pans (or glass). Using a darker pan will make the edges cook a lot quicker than the center of the cake, giving you darker, crispier edges which isn’t what we’re going for with this chocolate cake recipe.
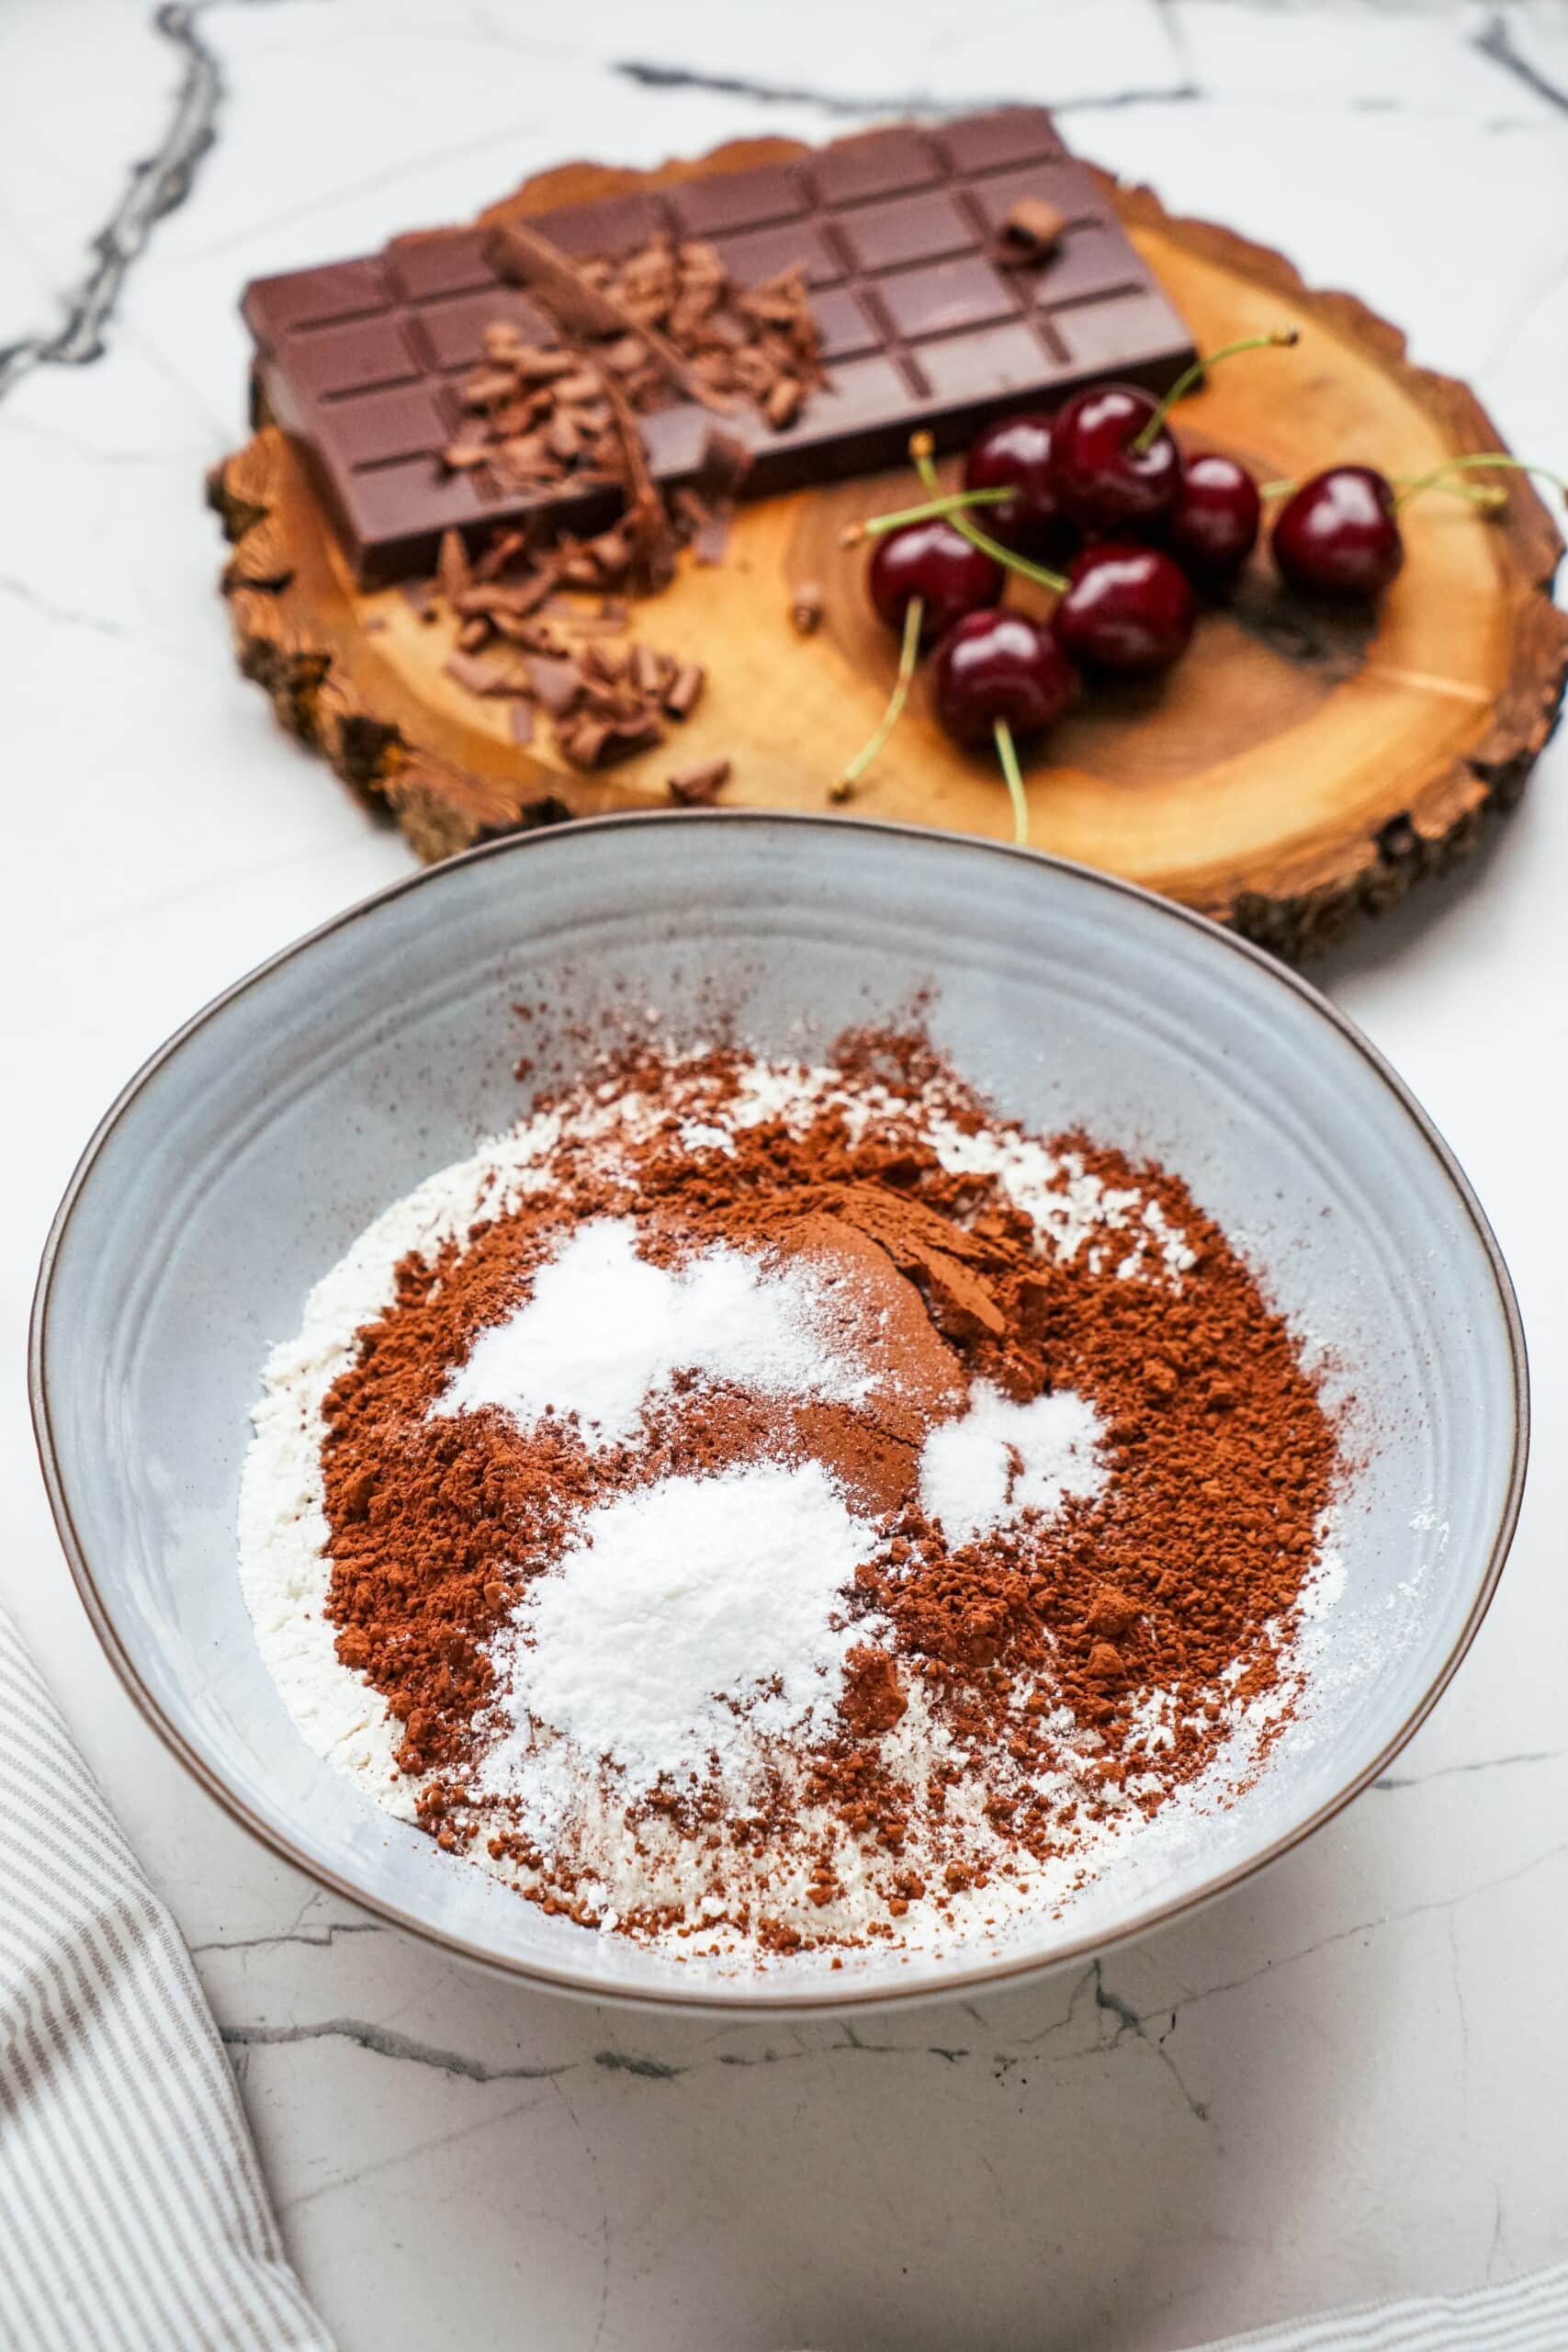
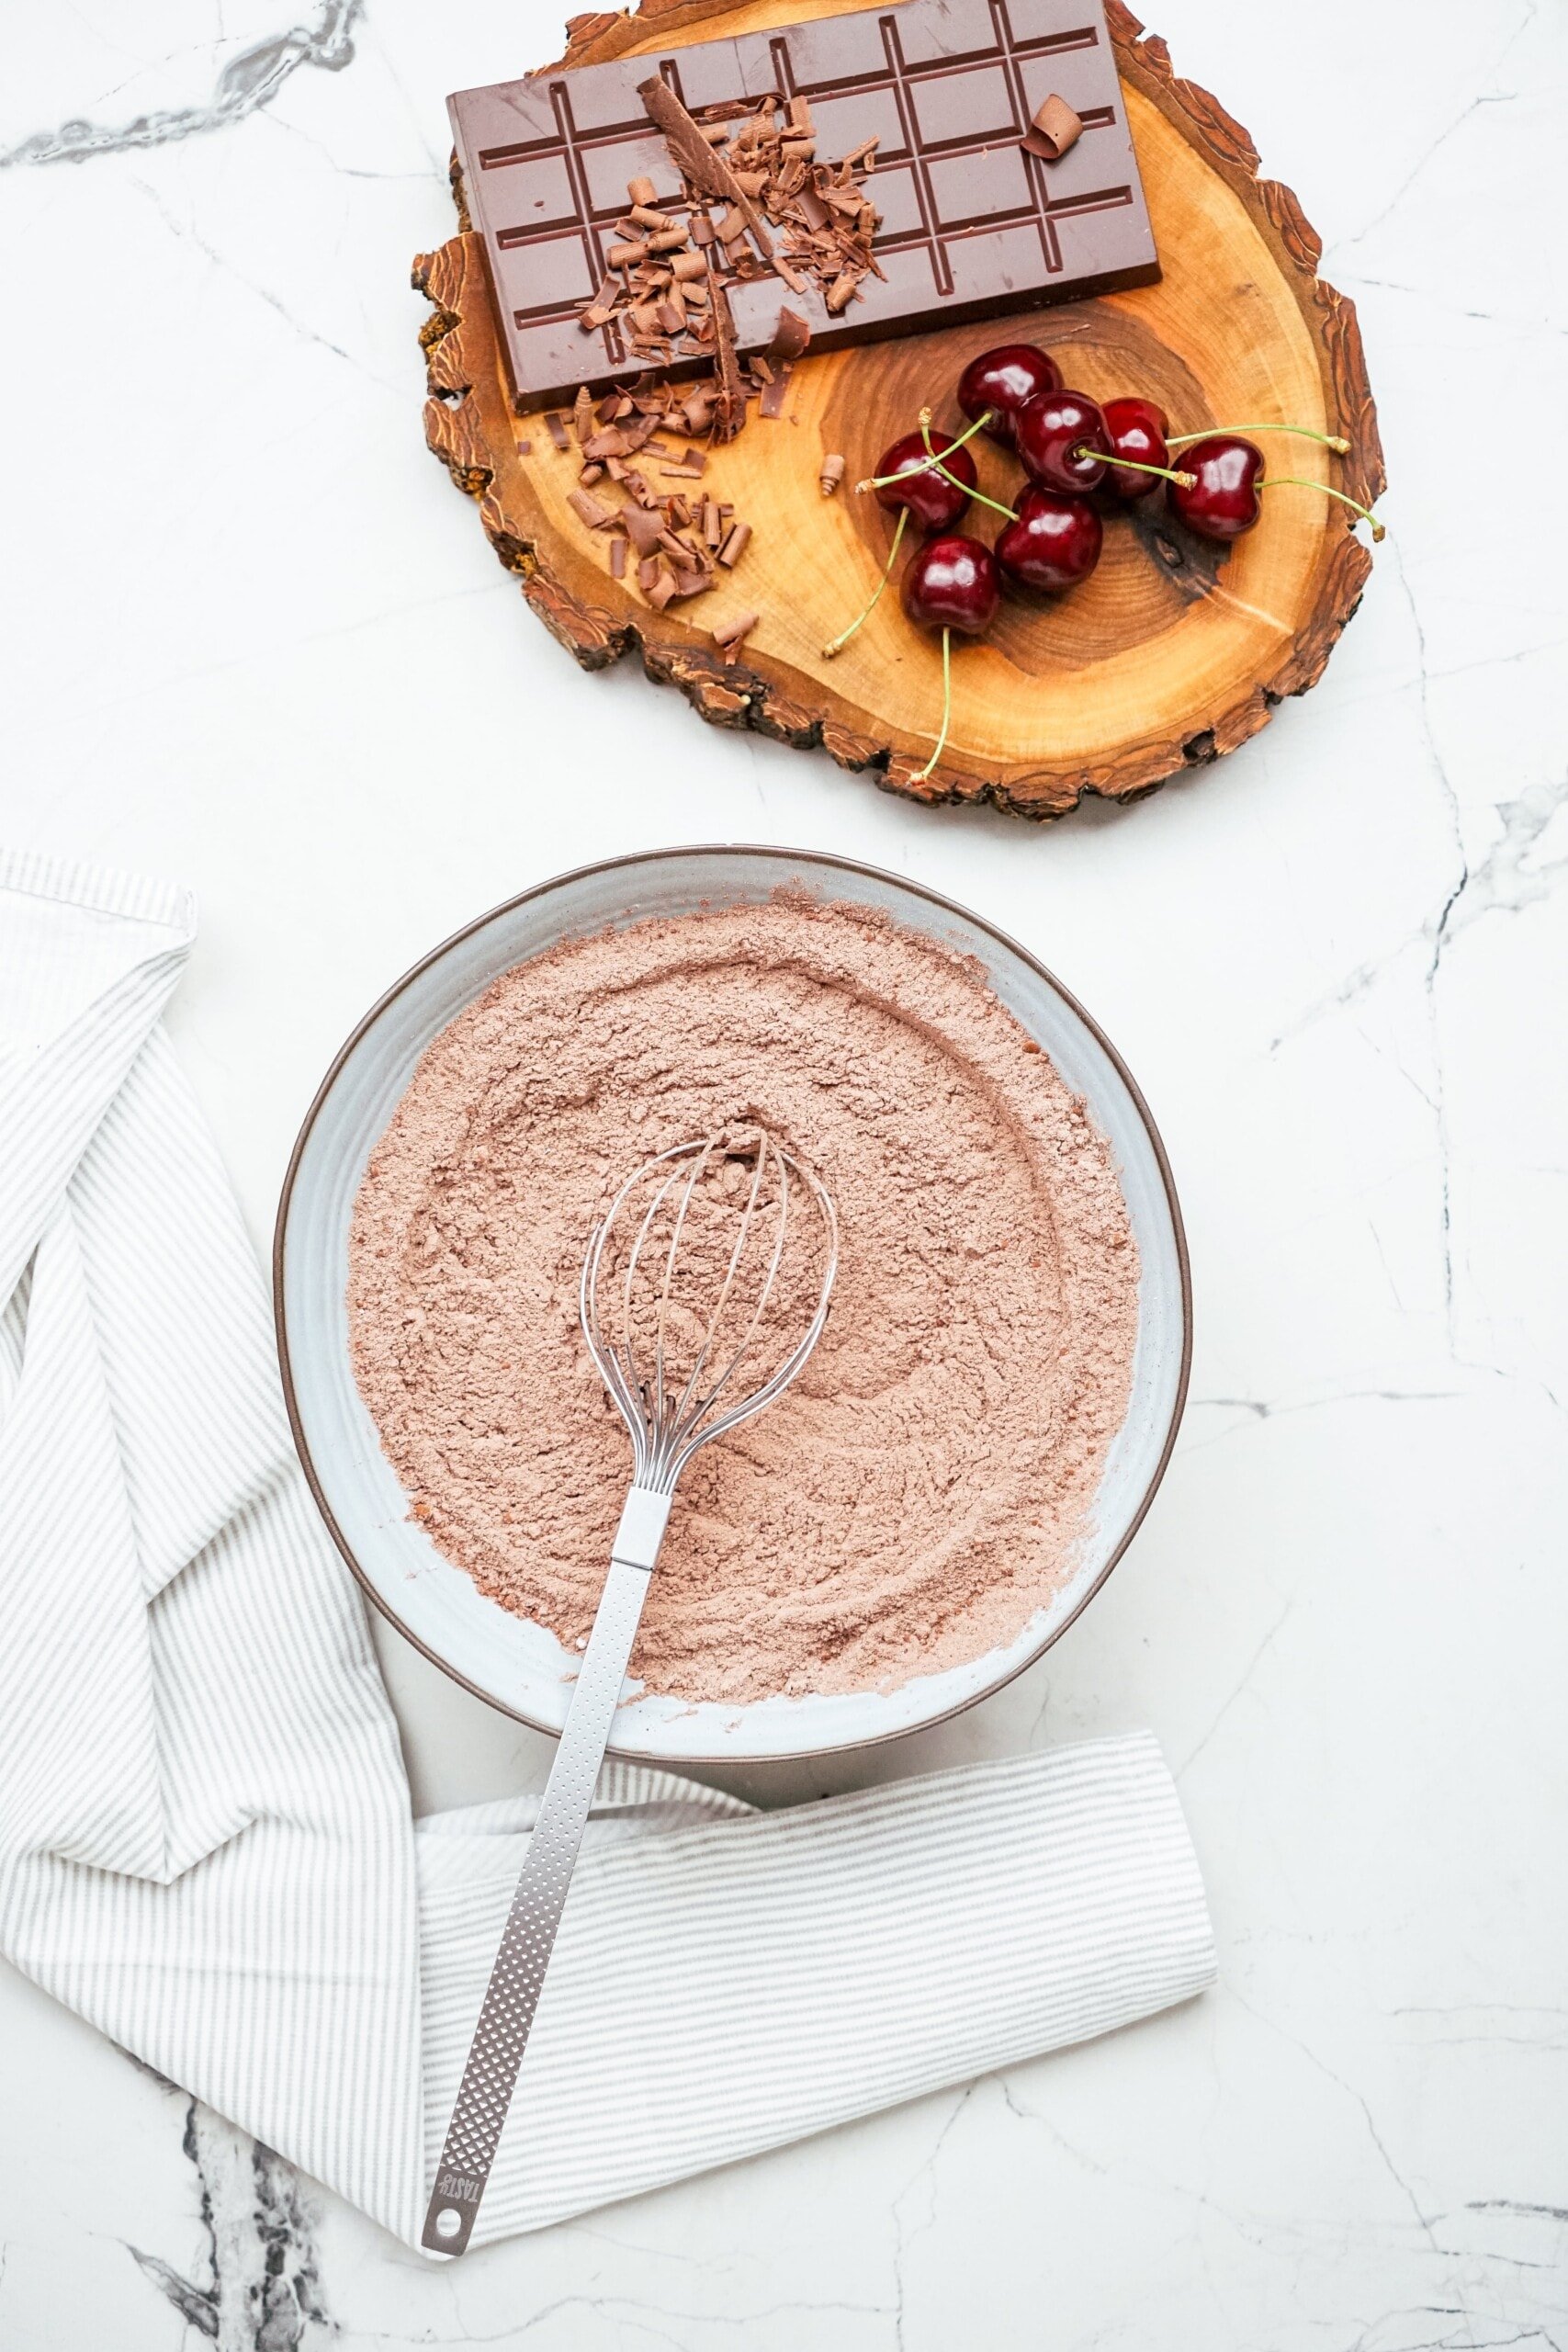
Prepare the Dry + Wet Ingredients
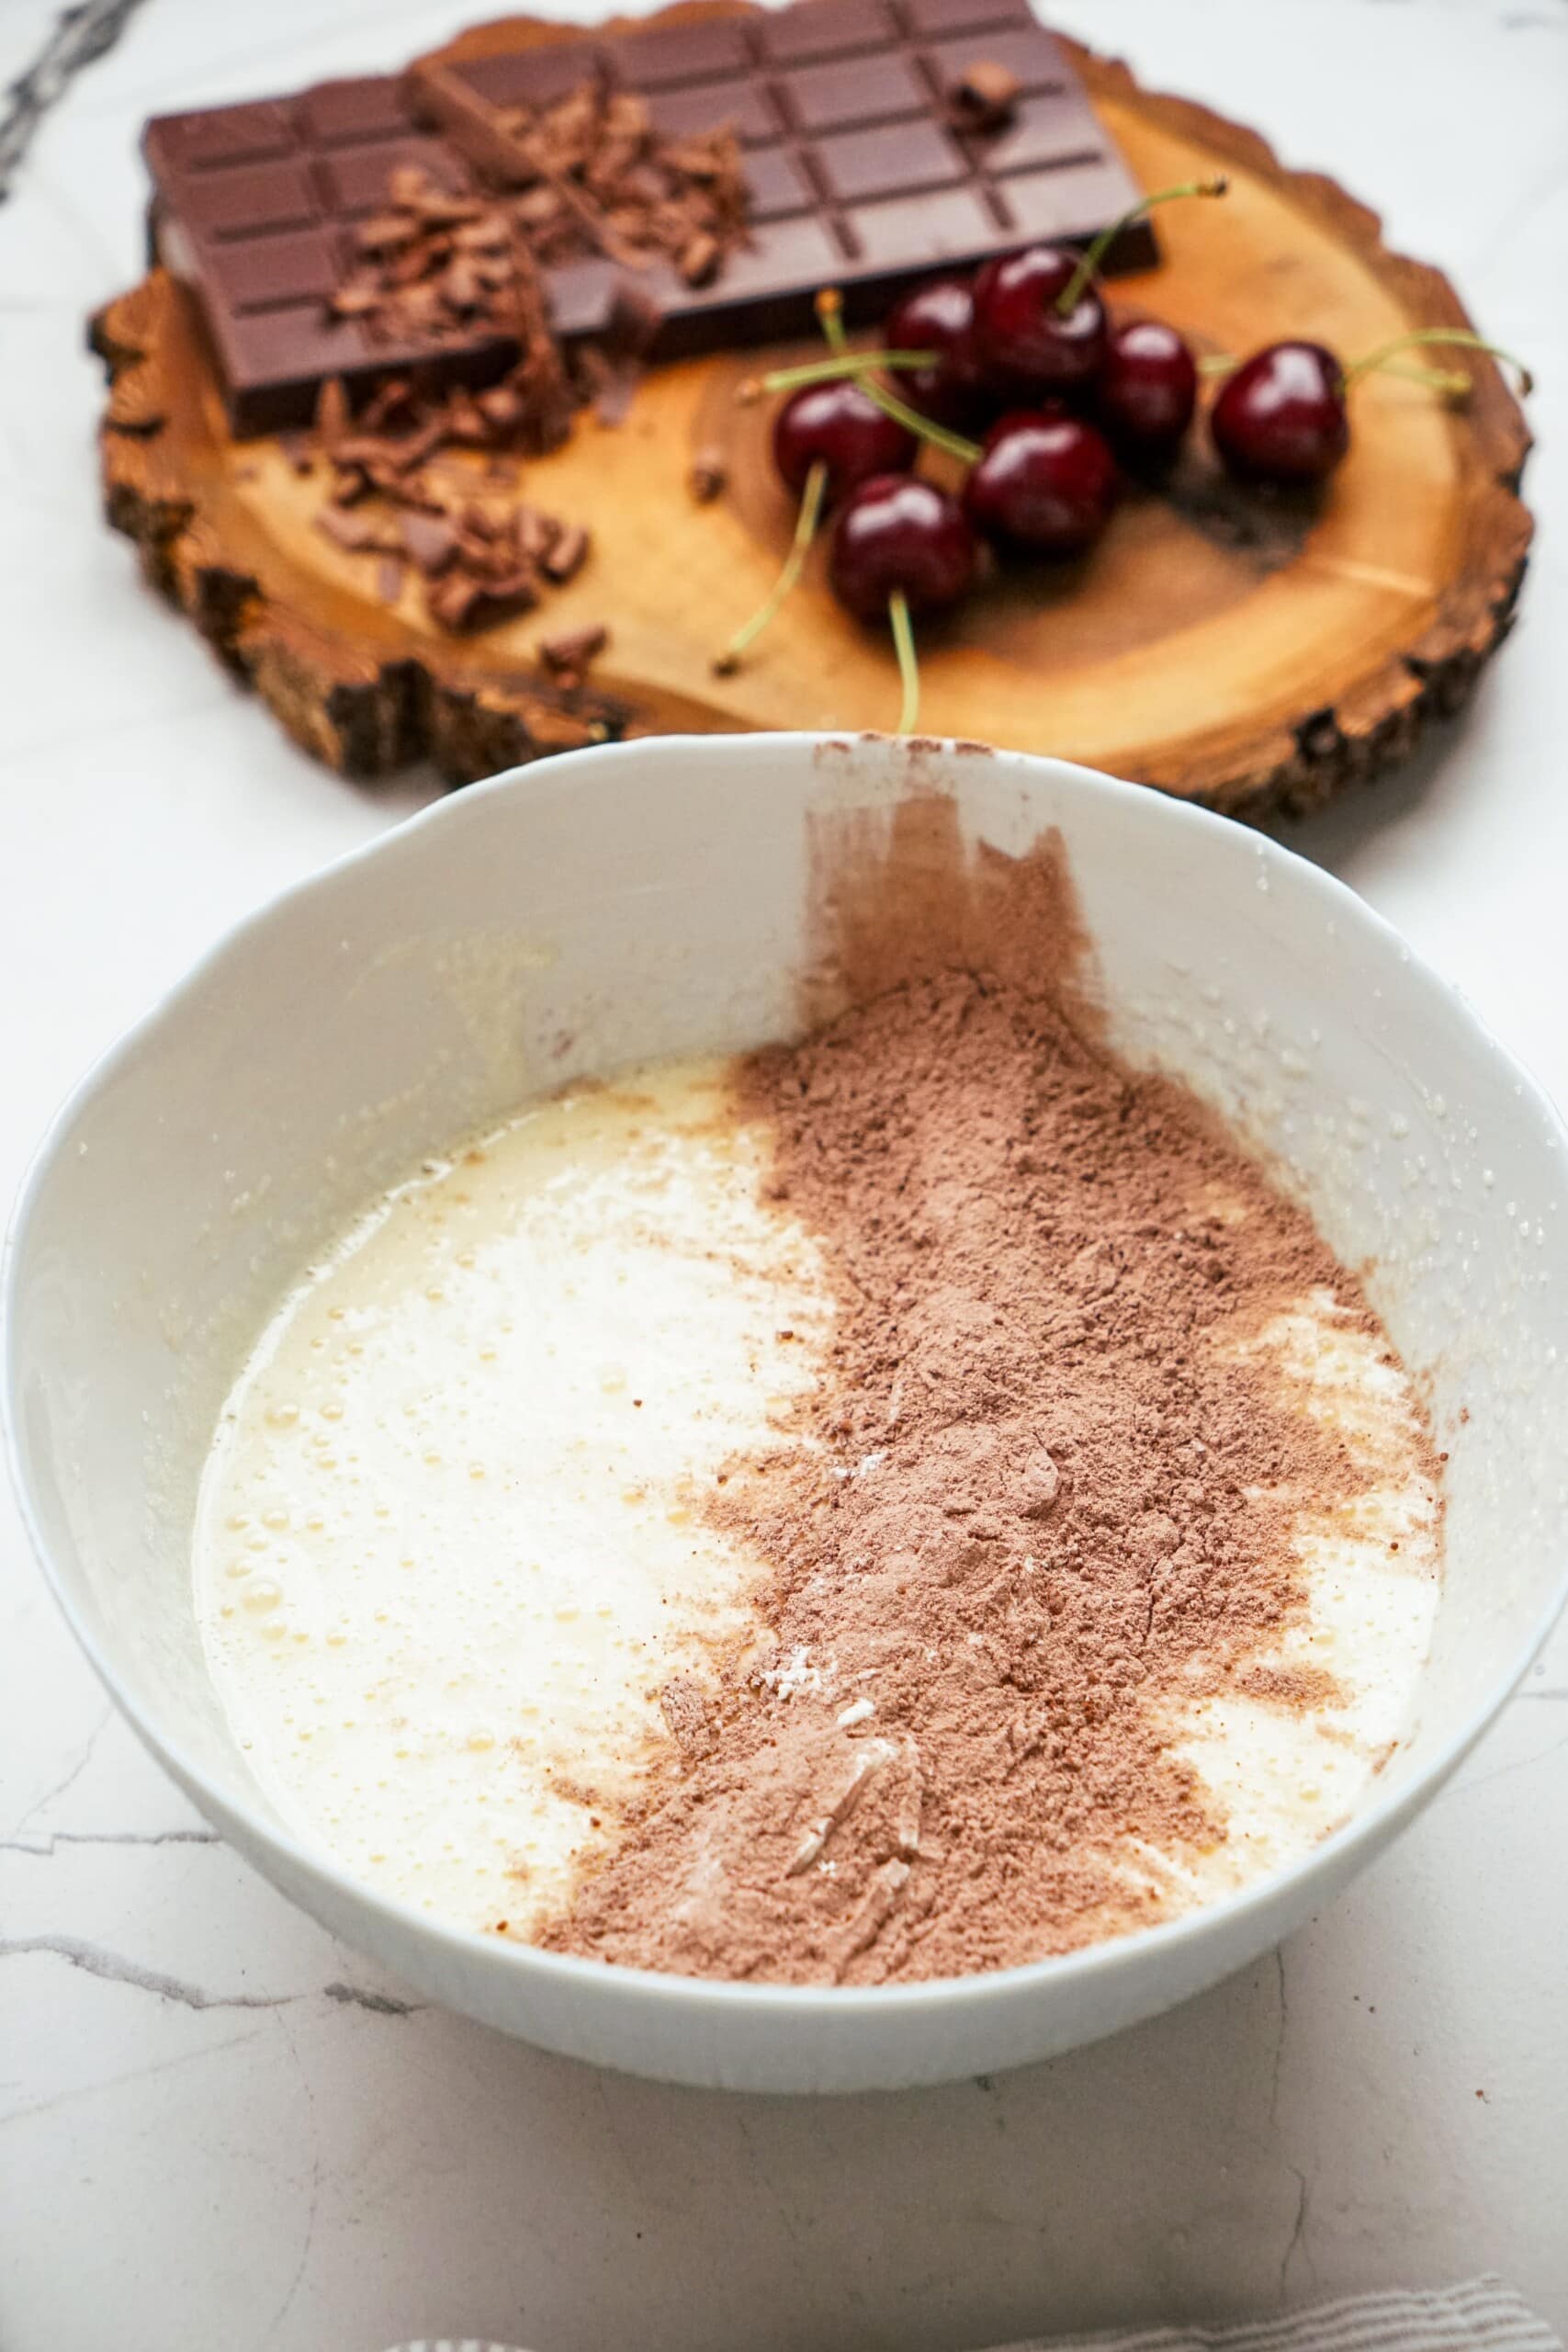
In a large bowl, whisk flour, cocoa powder, baking powder, baking soda and salt together to combine. Set aside.
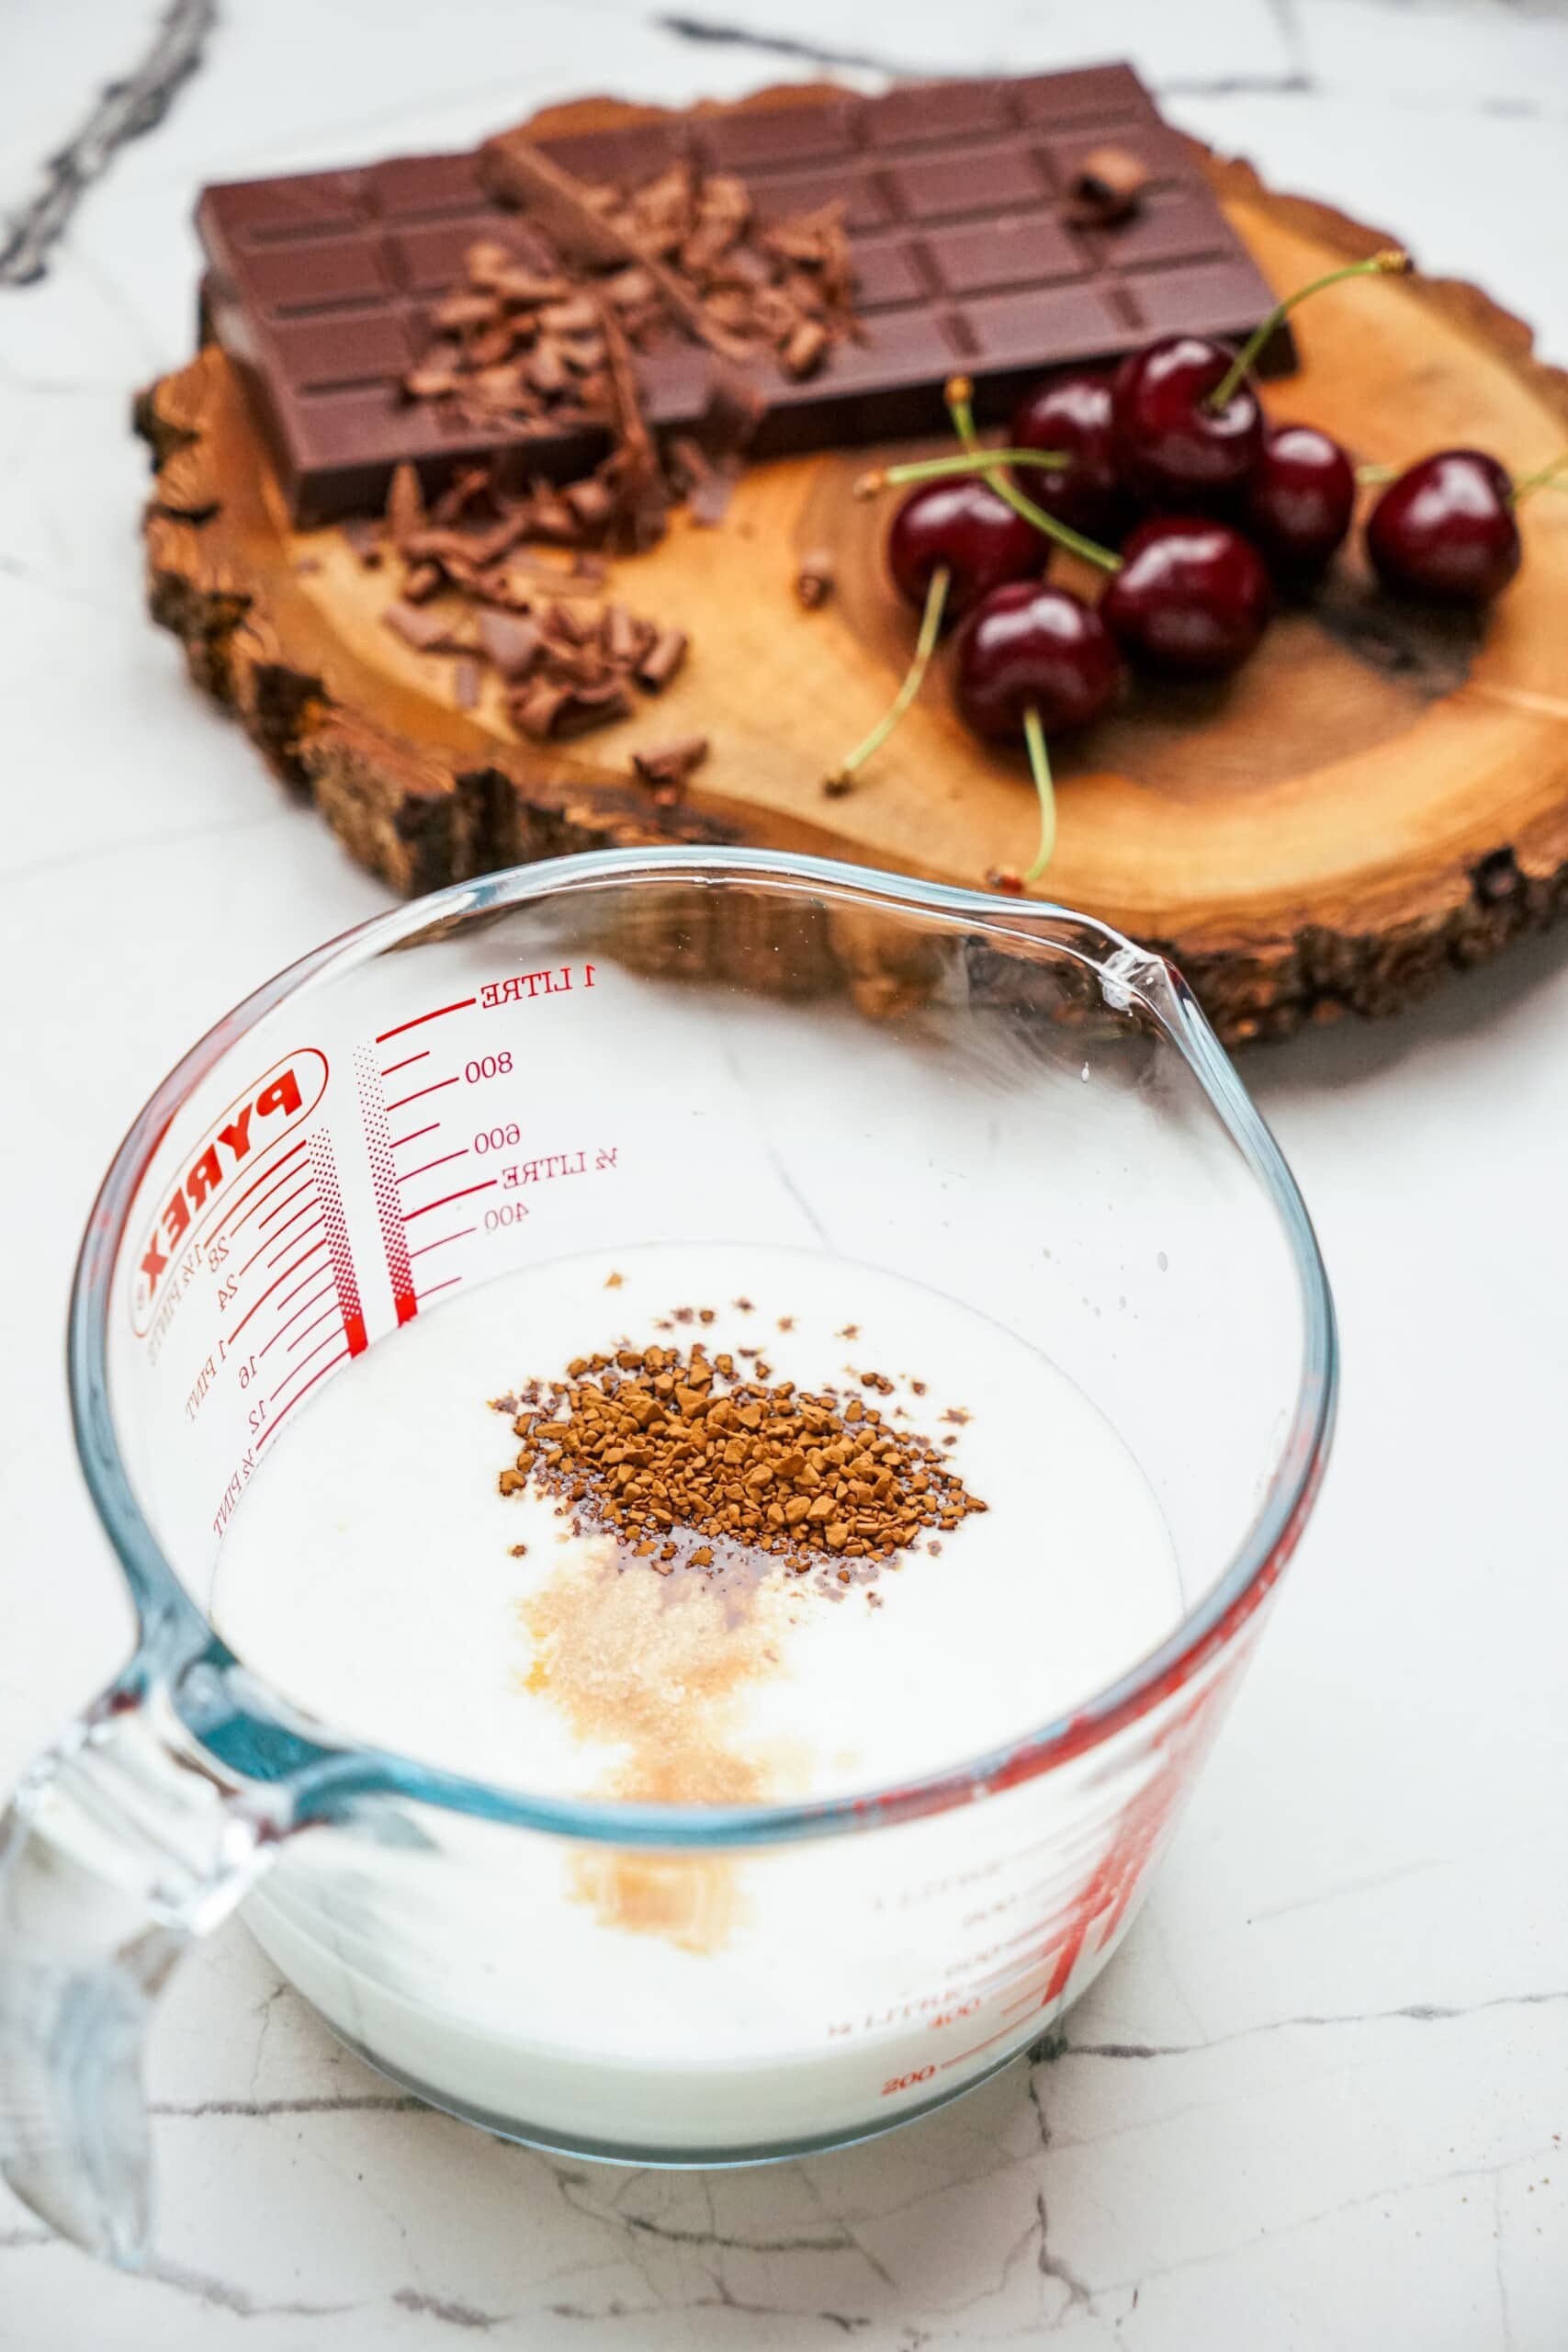
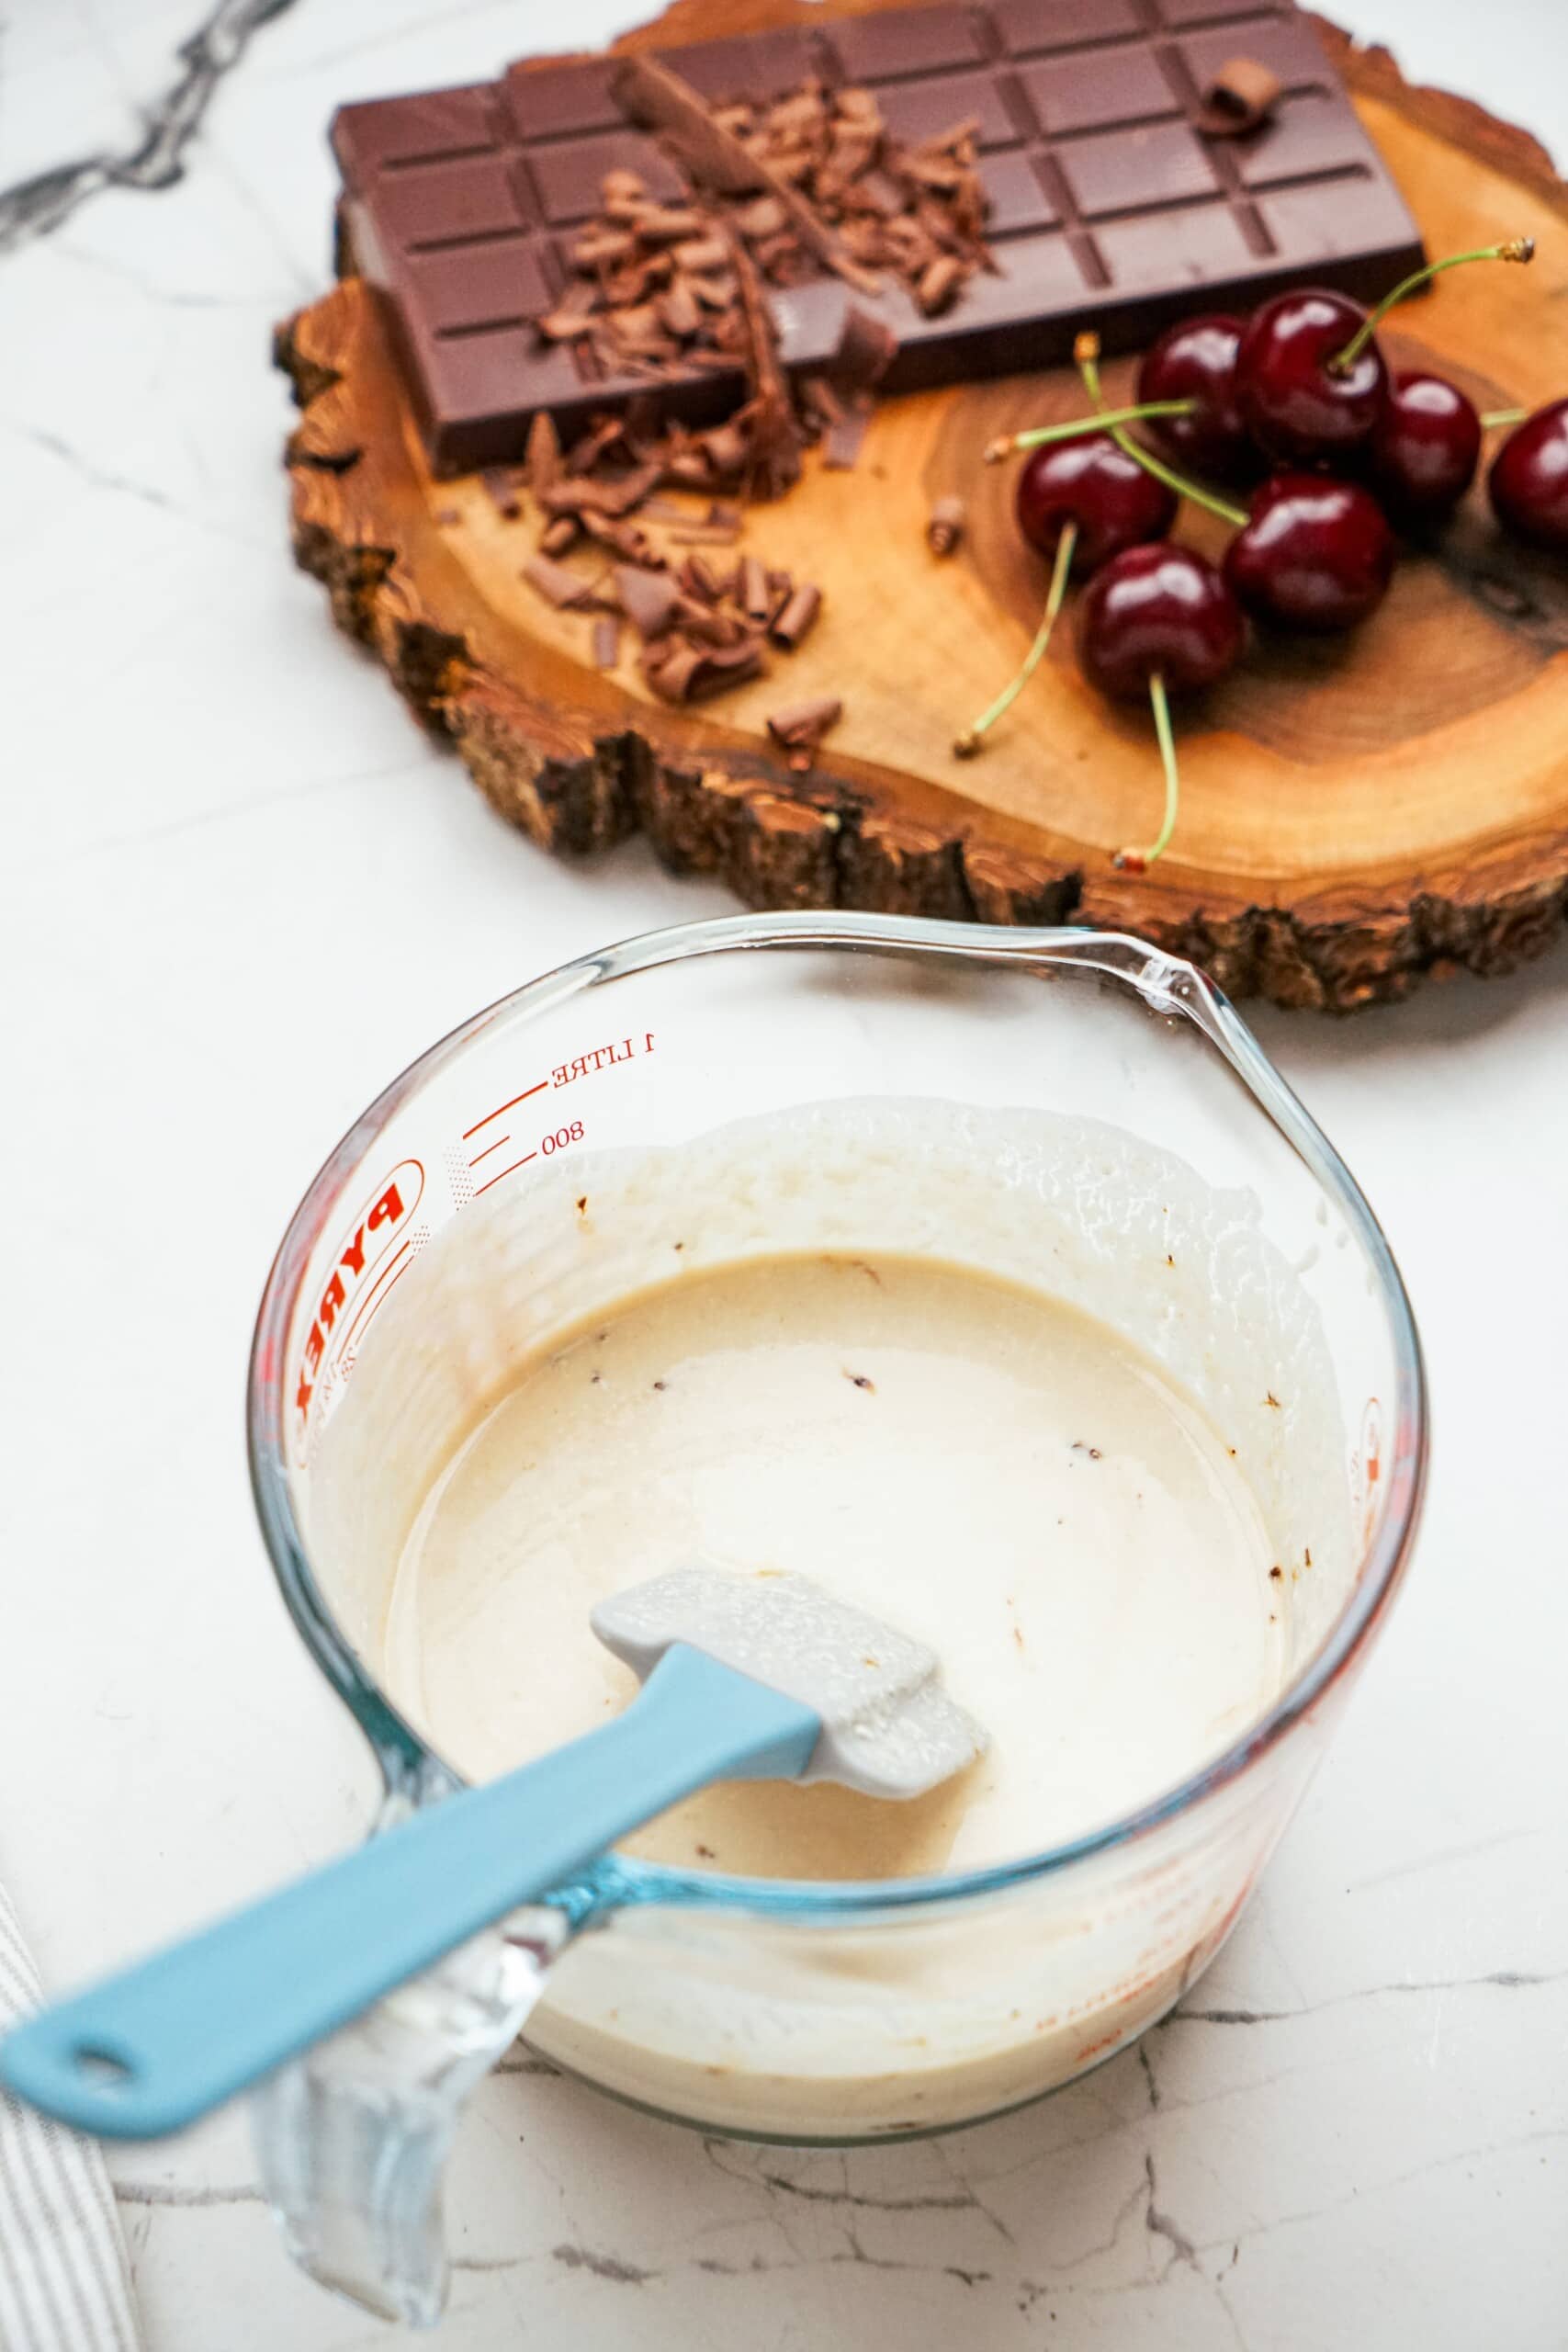
In a liquid measuring cup, stir buttermilk, instant coffee granules (if using) and vanilla together. You want to stir to dissolve the coffee granules. They will slowly dissolve over the course of 5-10 minutes as they sit in the buttermilk and as you add them into the chocolate cake batter. Set aside.
Make the Cake Batter
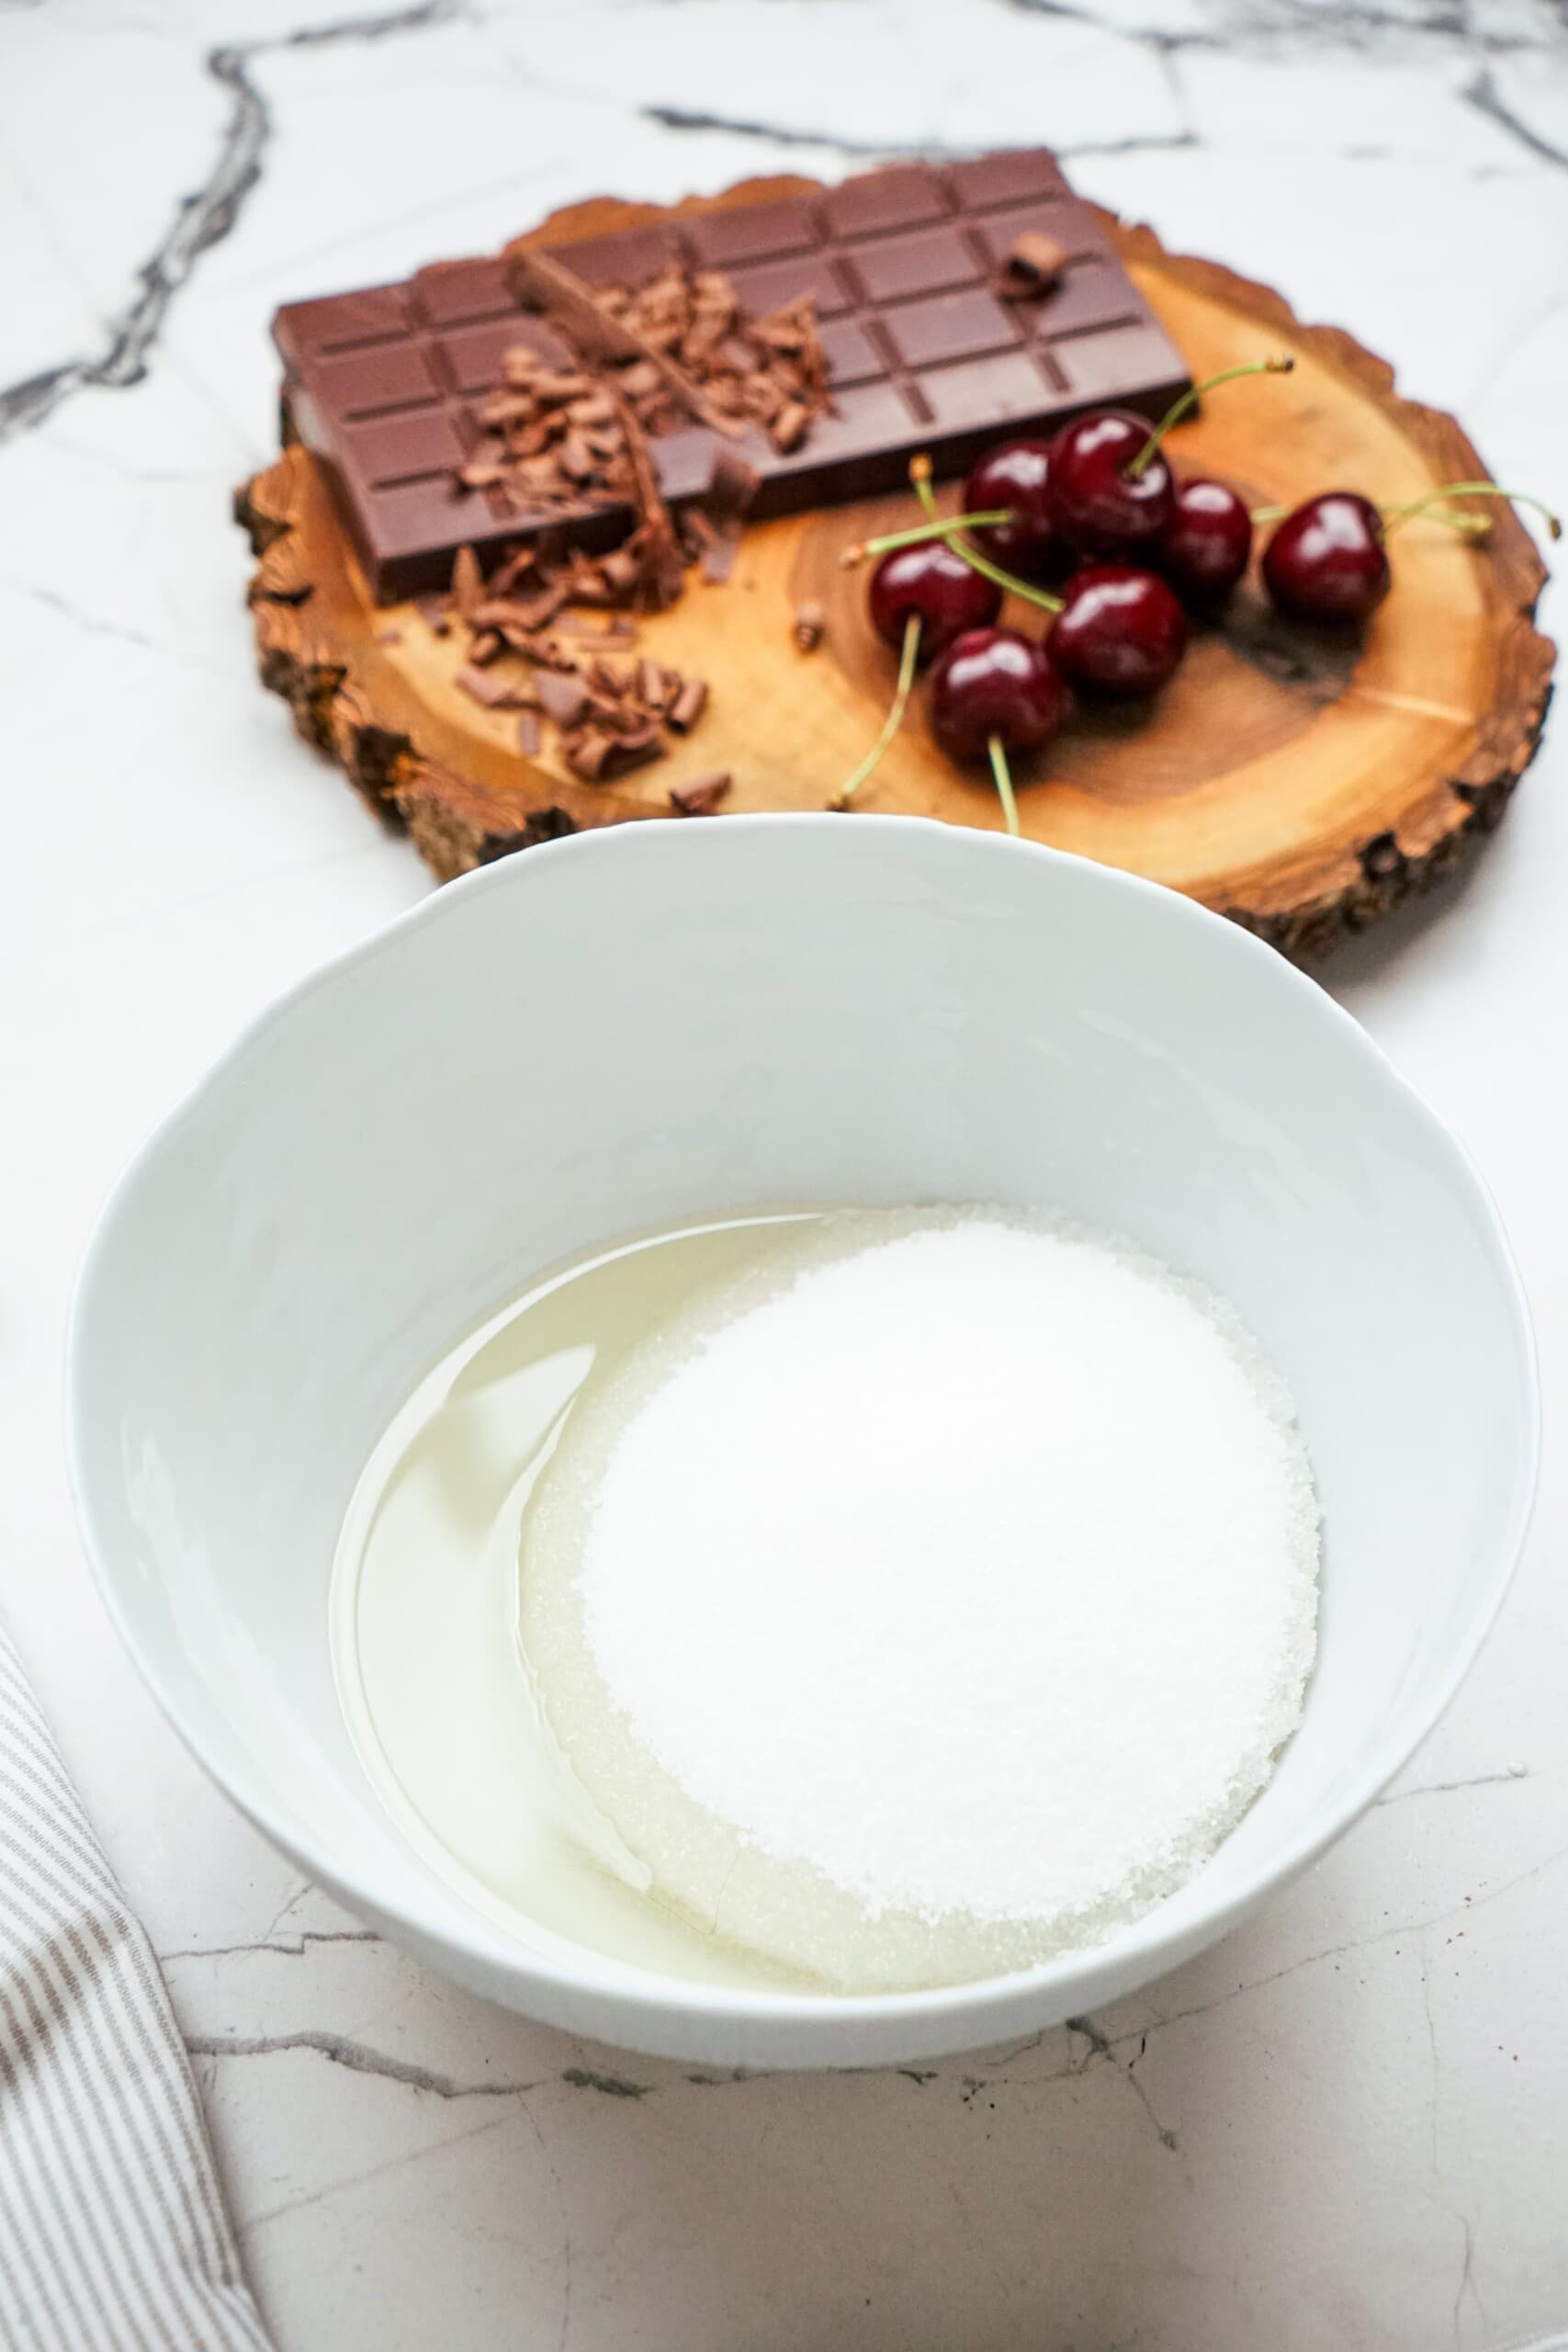
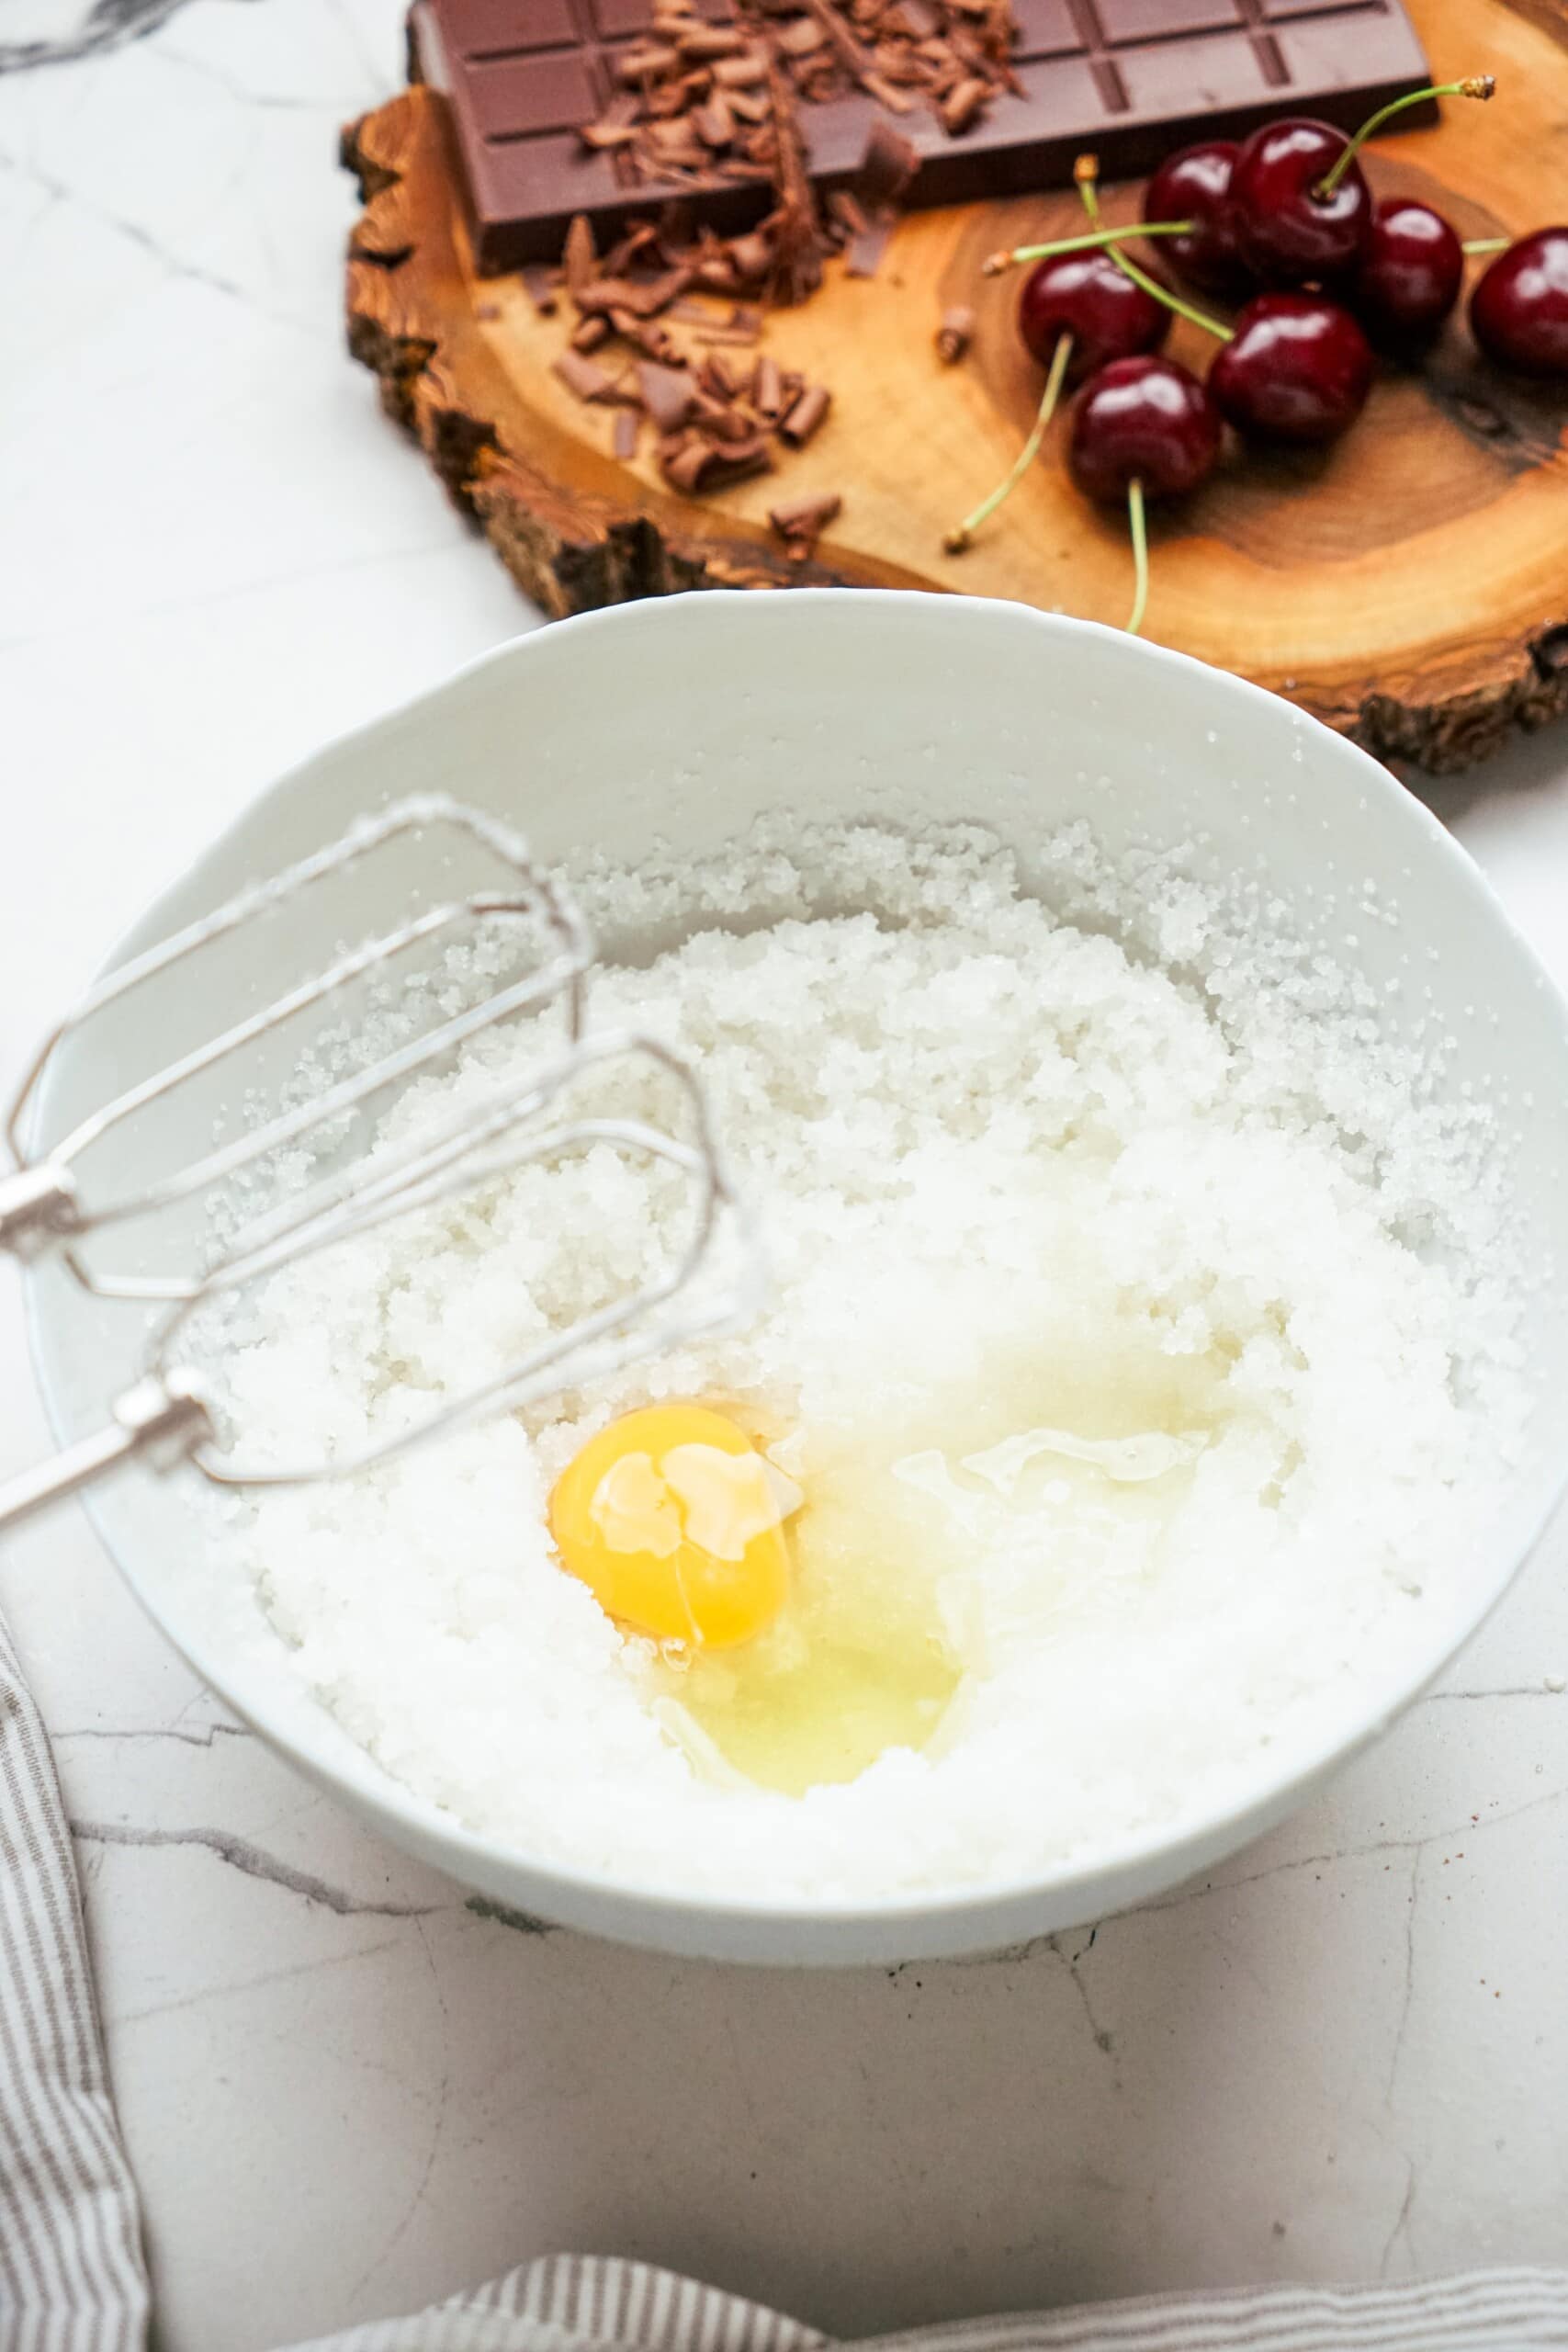
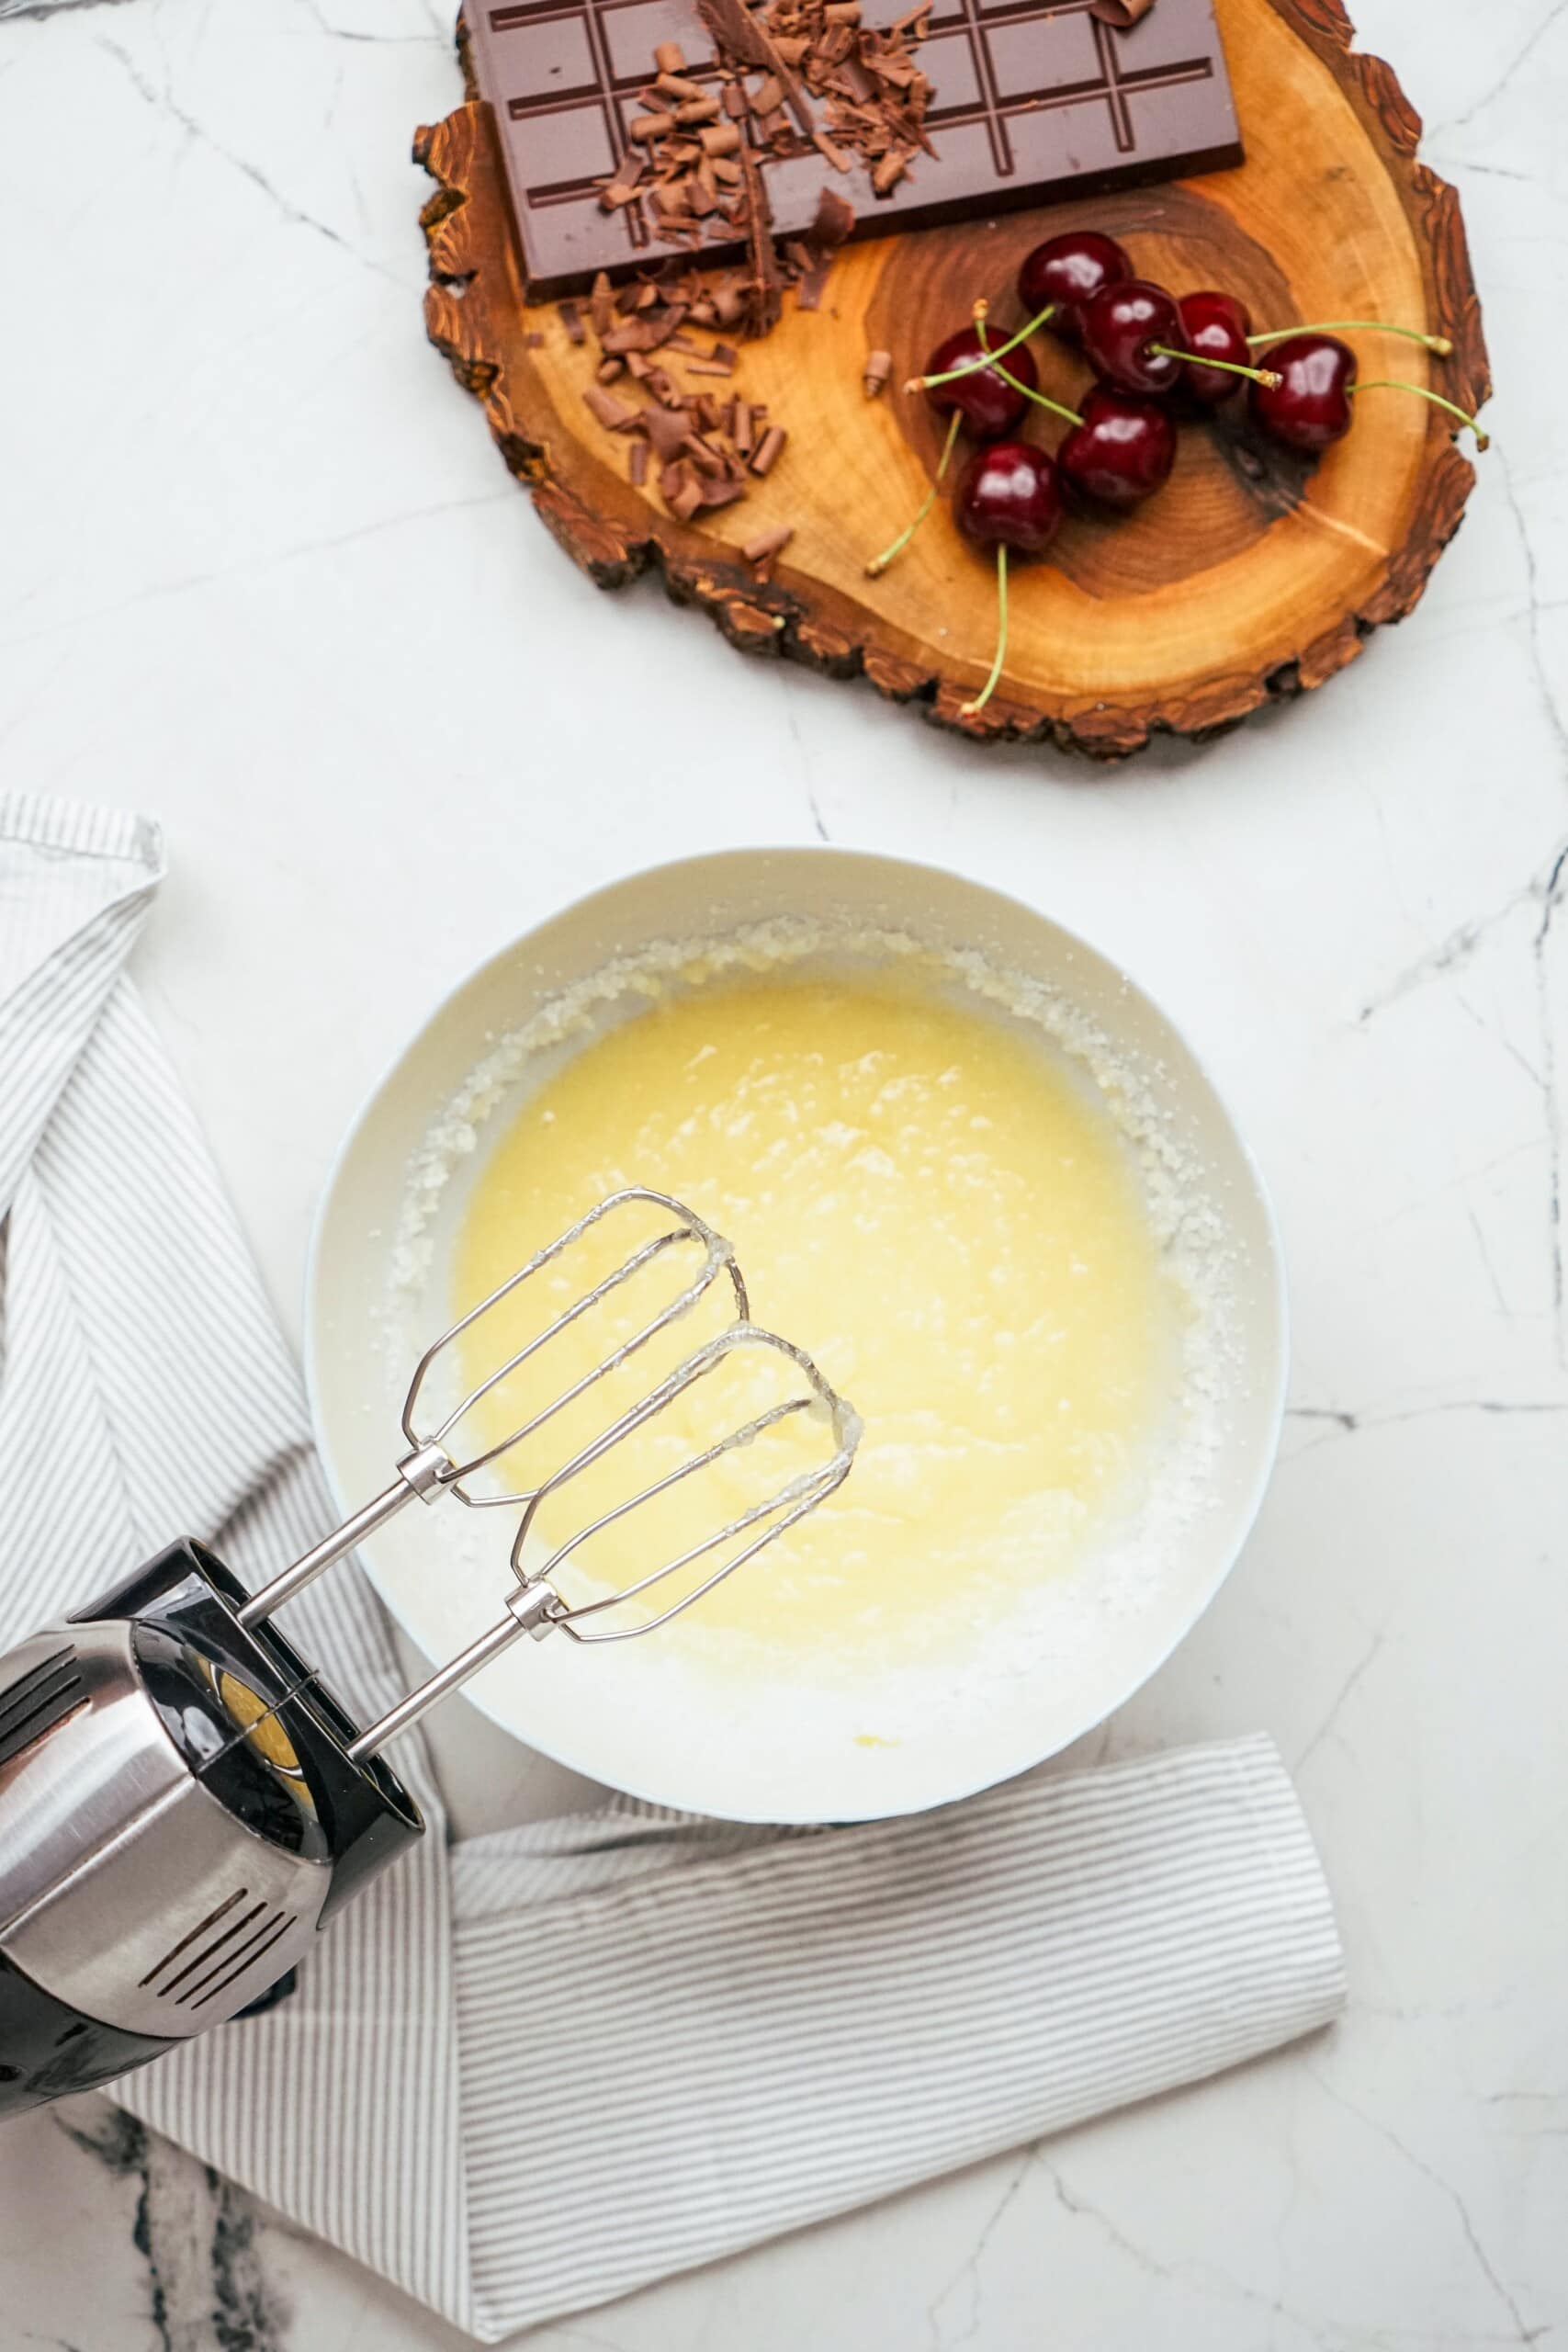
In a large bowl, mix oil and sugar together until combined. Add in the eggs and egg white, one at a time, until mixture becomes lighter in color. Scrape the sides of the bowl and mix again briefly.
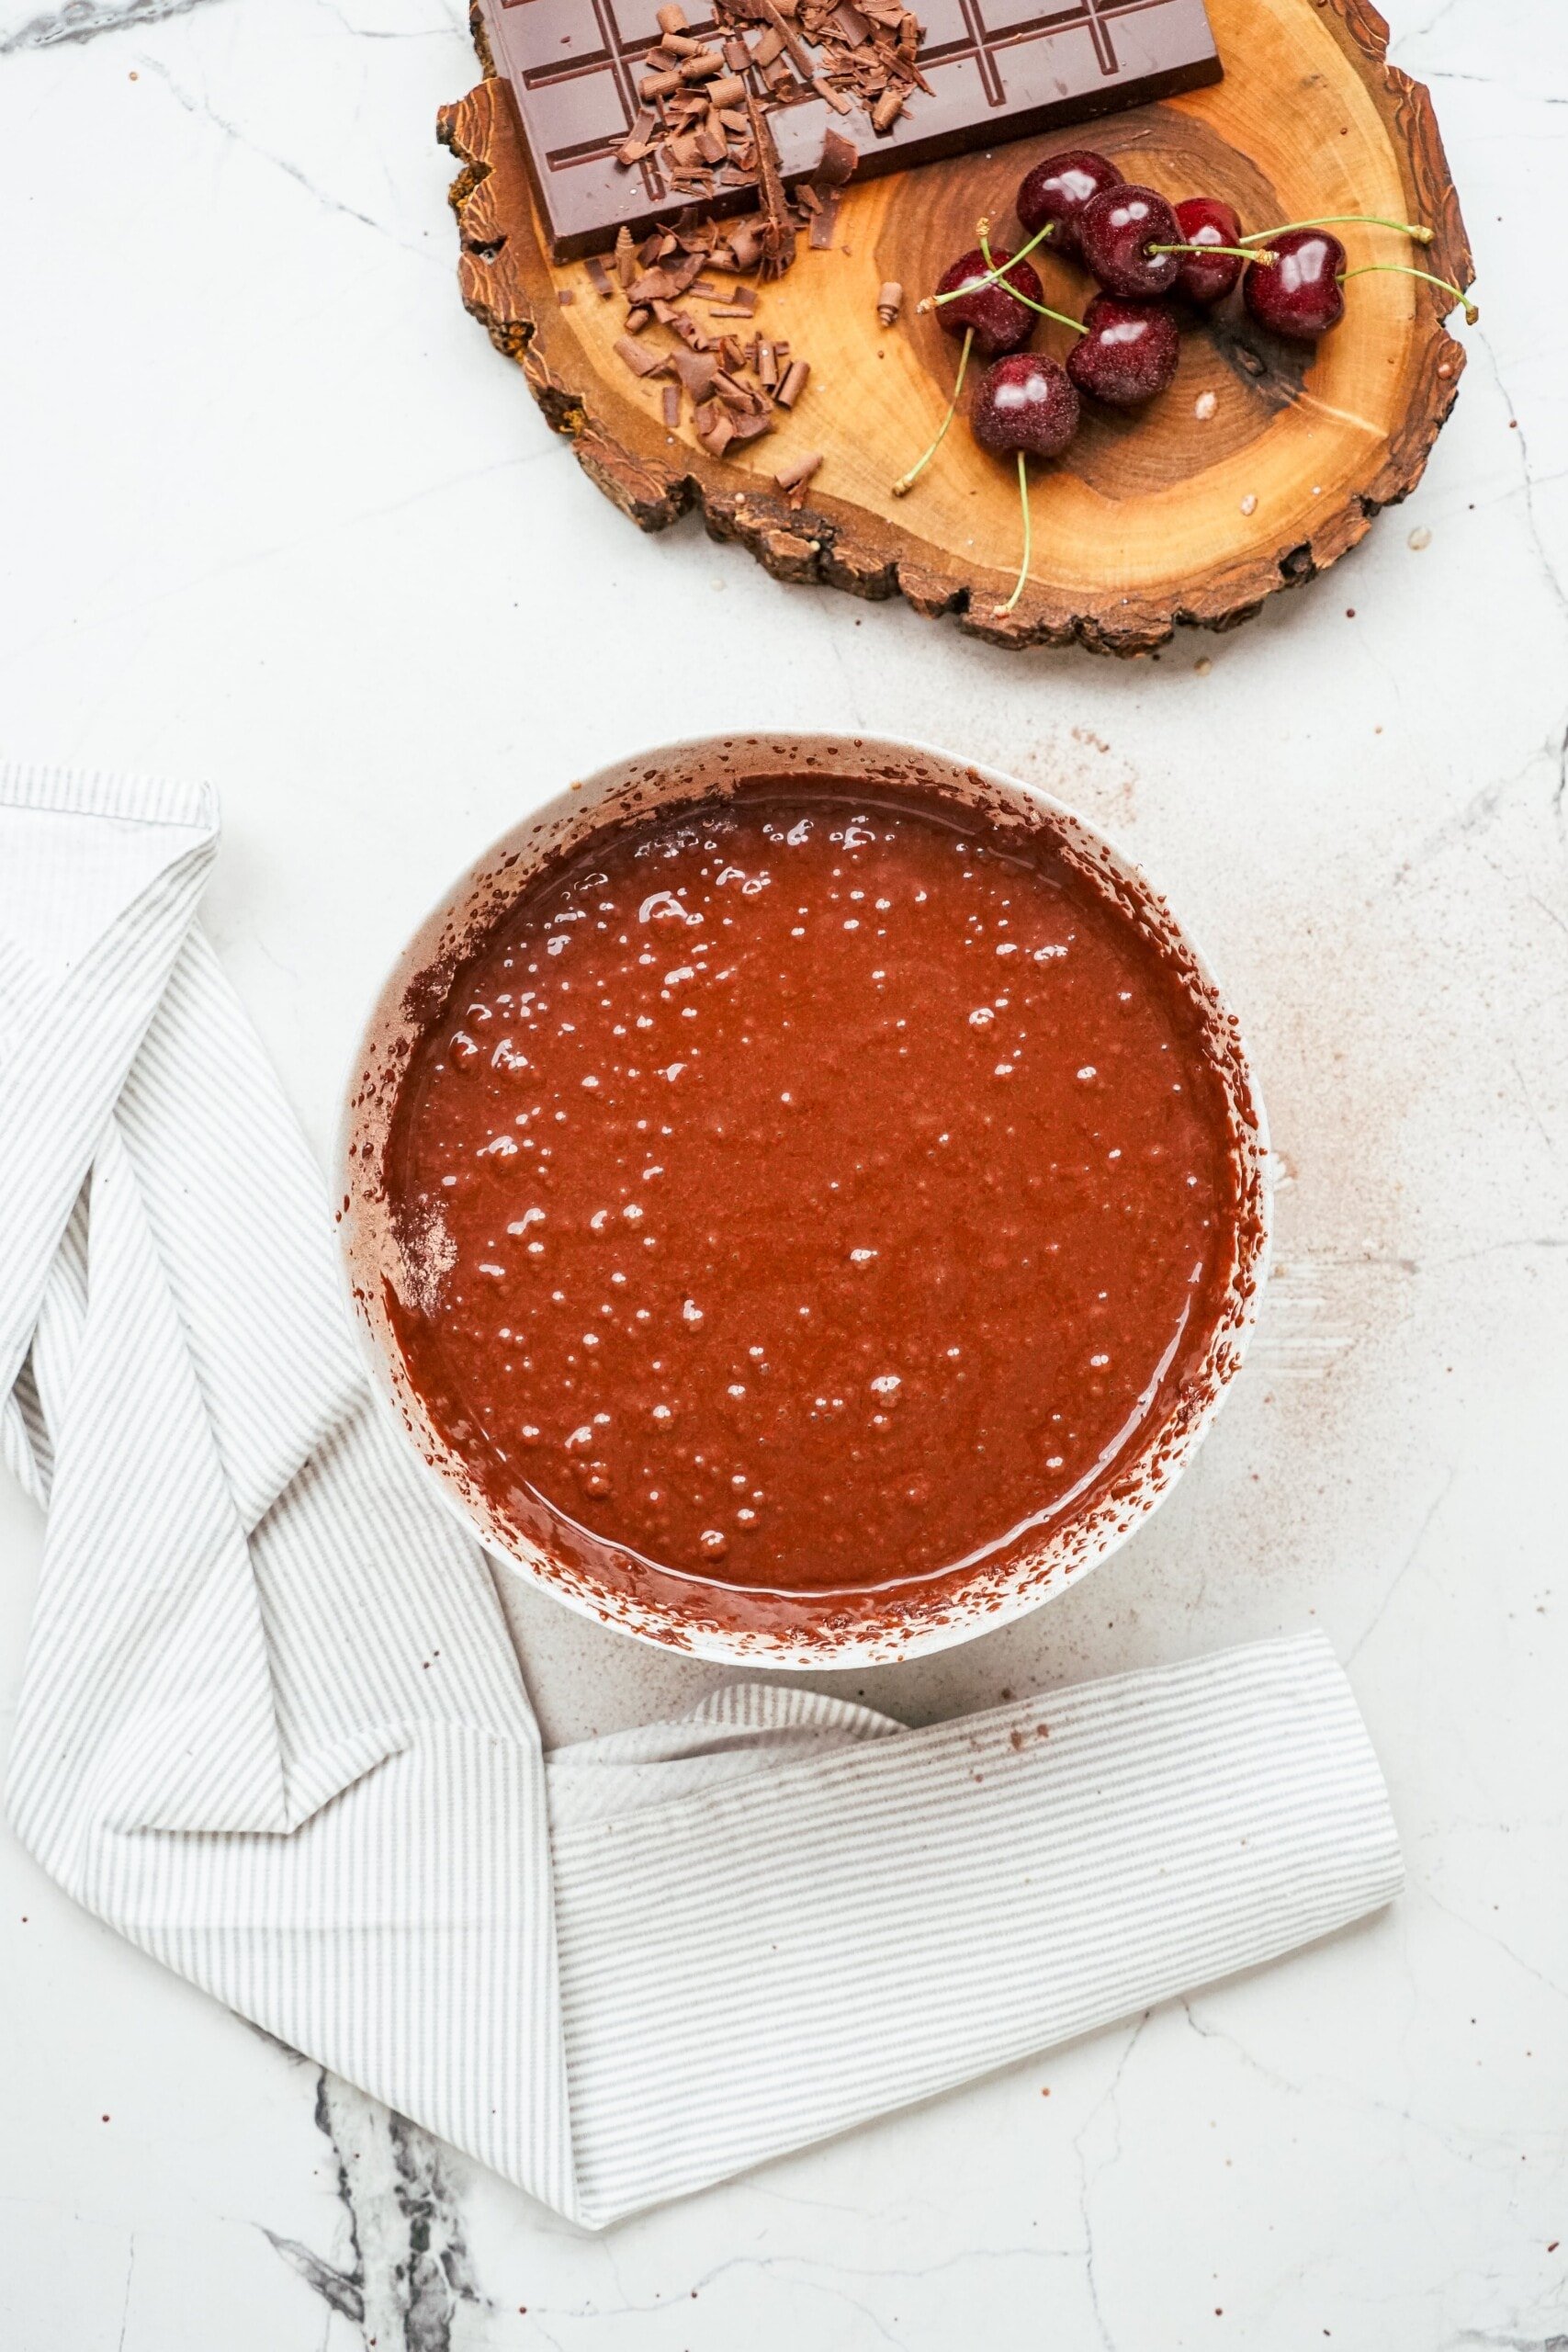
Alternate adding in flour mixture with milk mixture, being sure to start and end with flour. Scrape the sides and mix again to ensure a smooth batter.

Bake + Cool
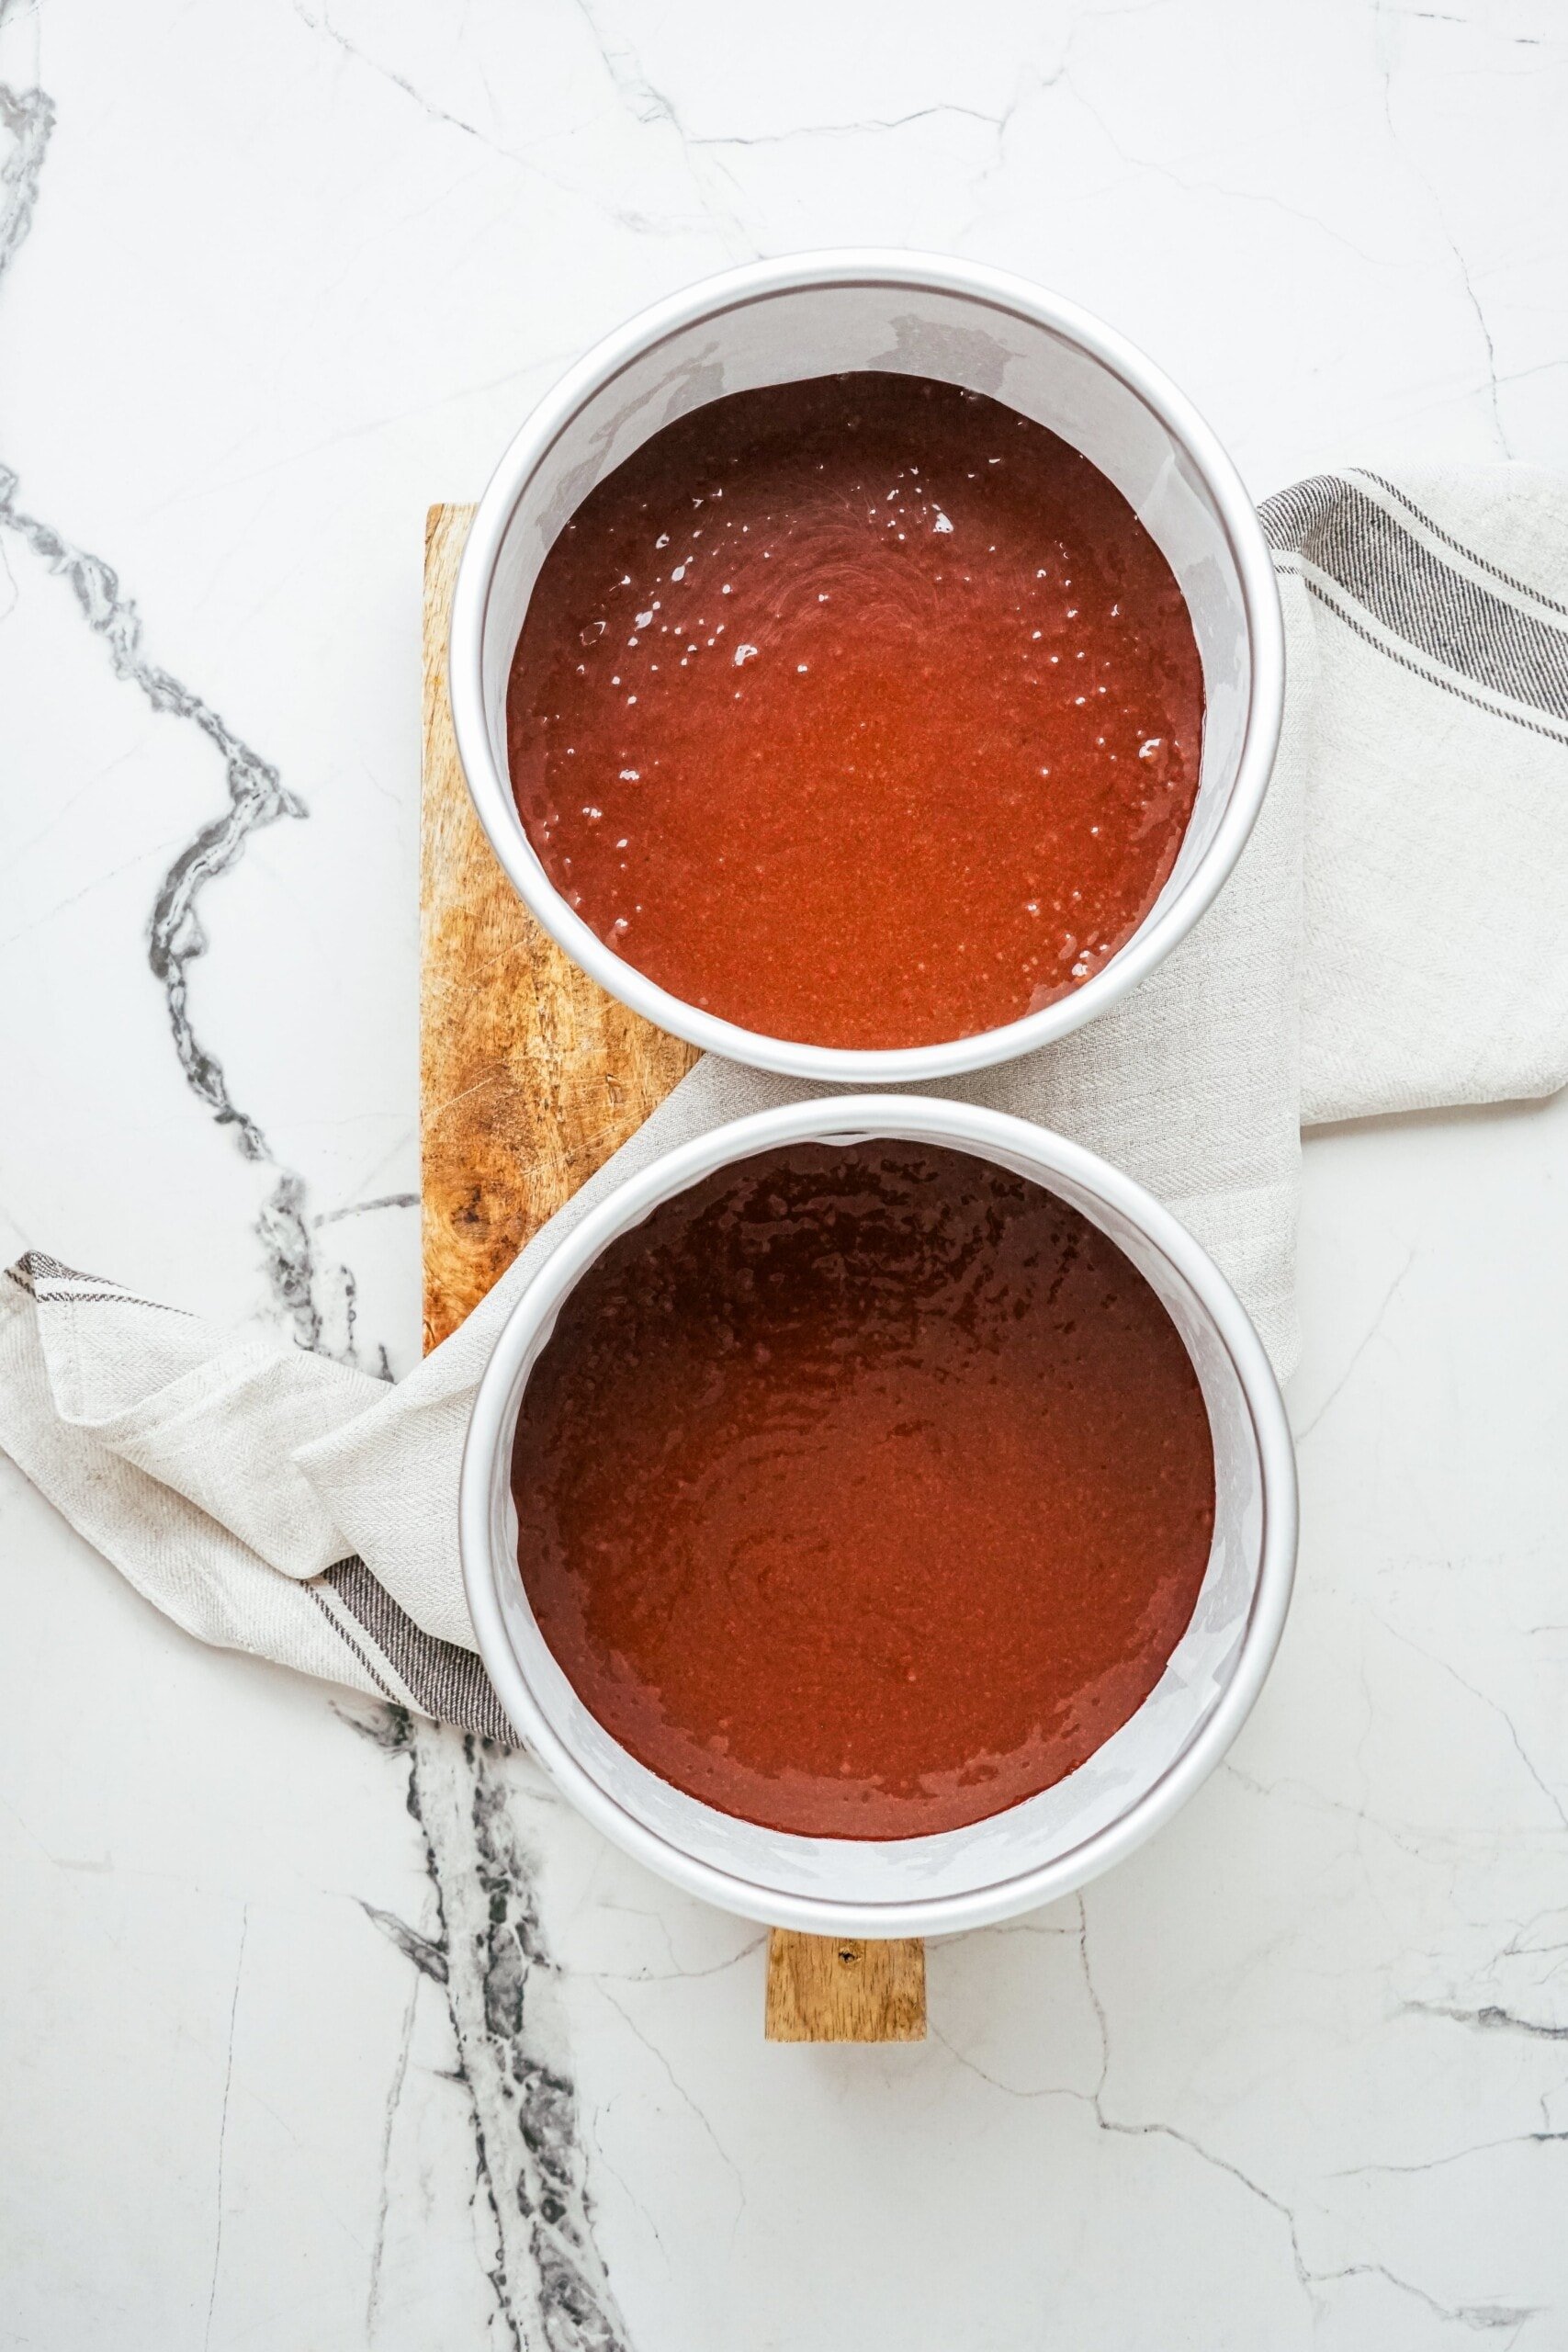
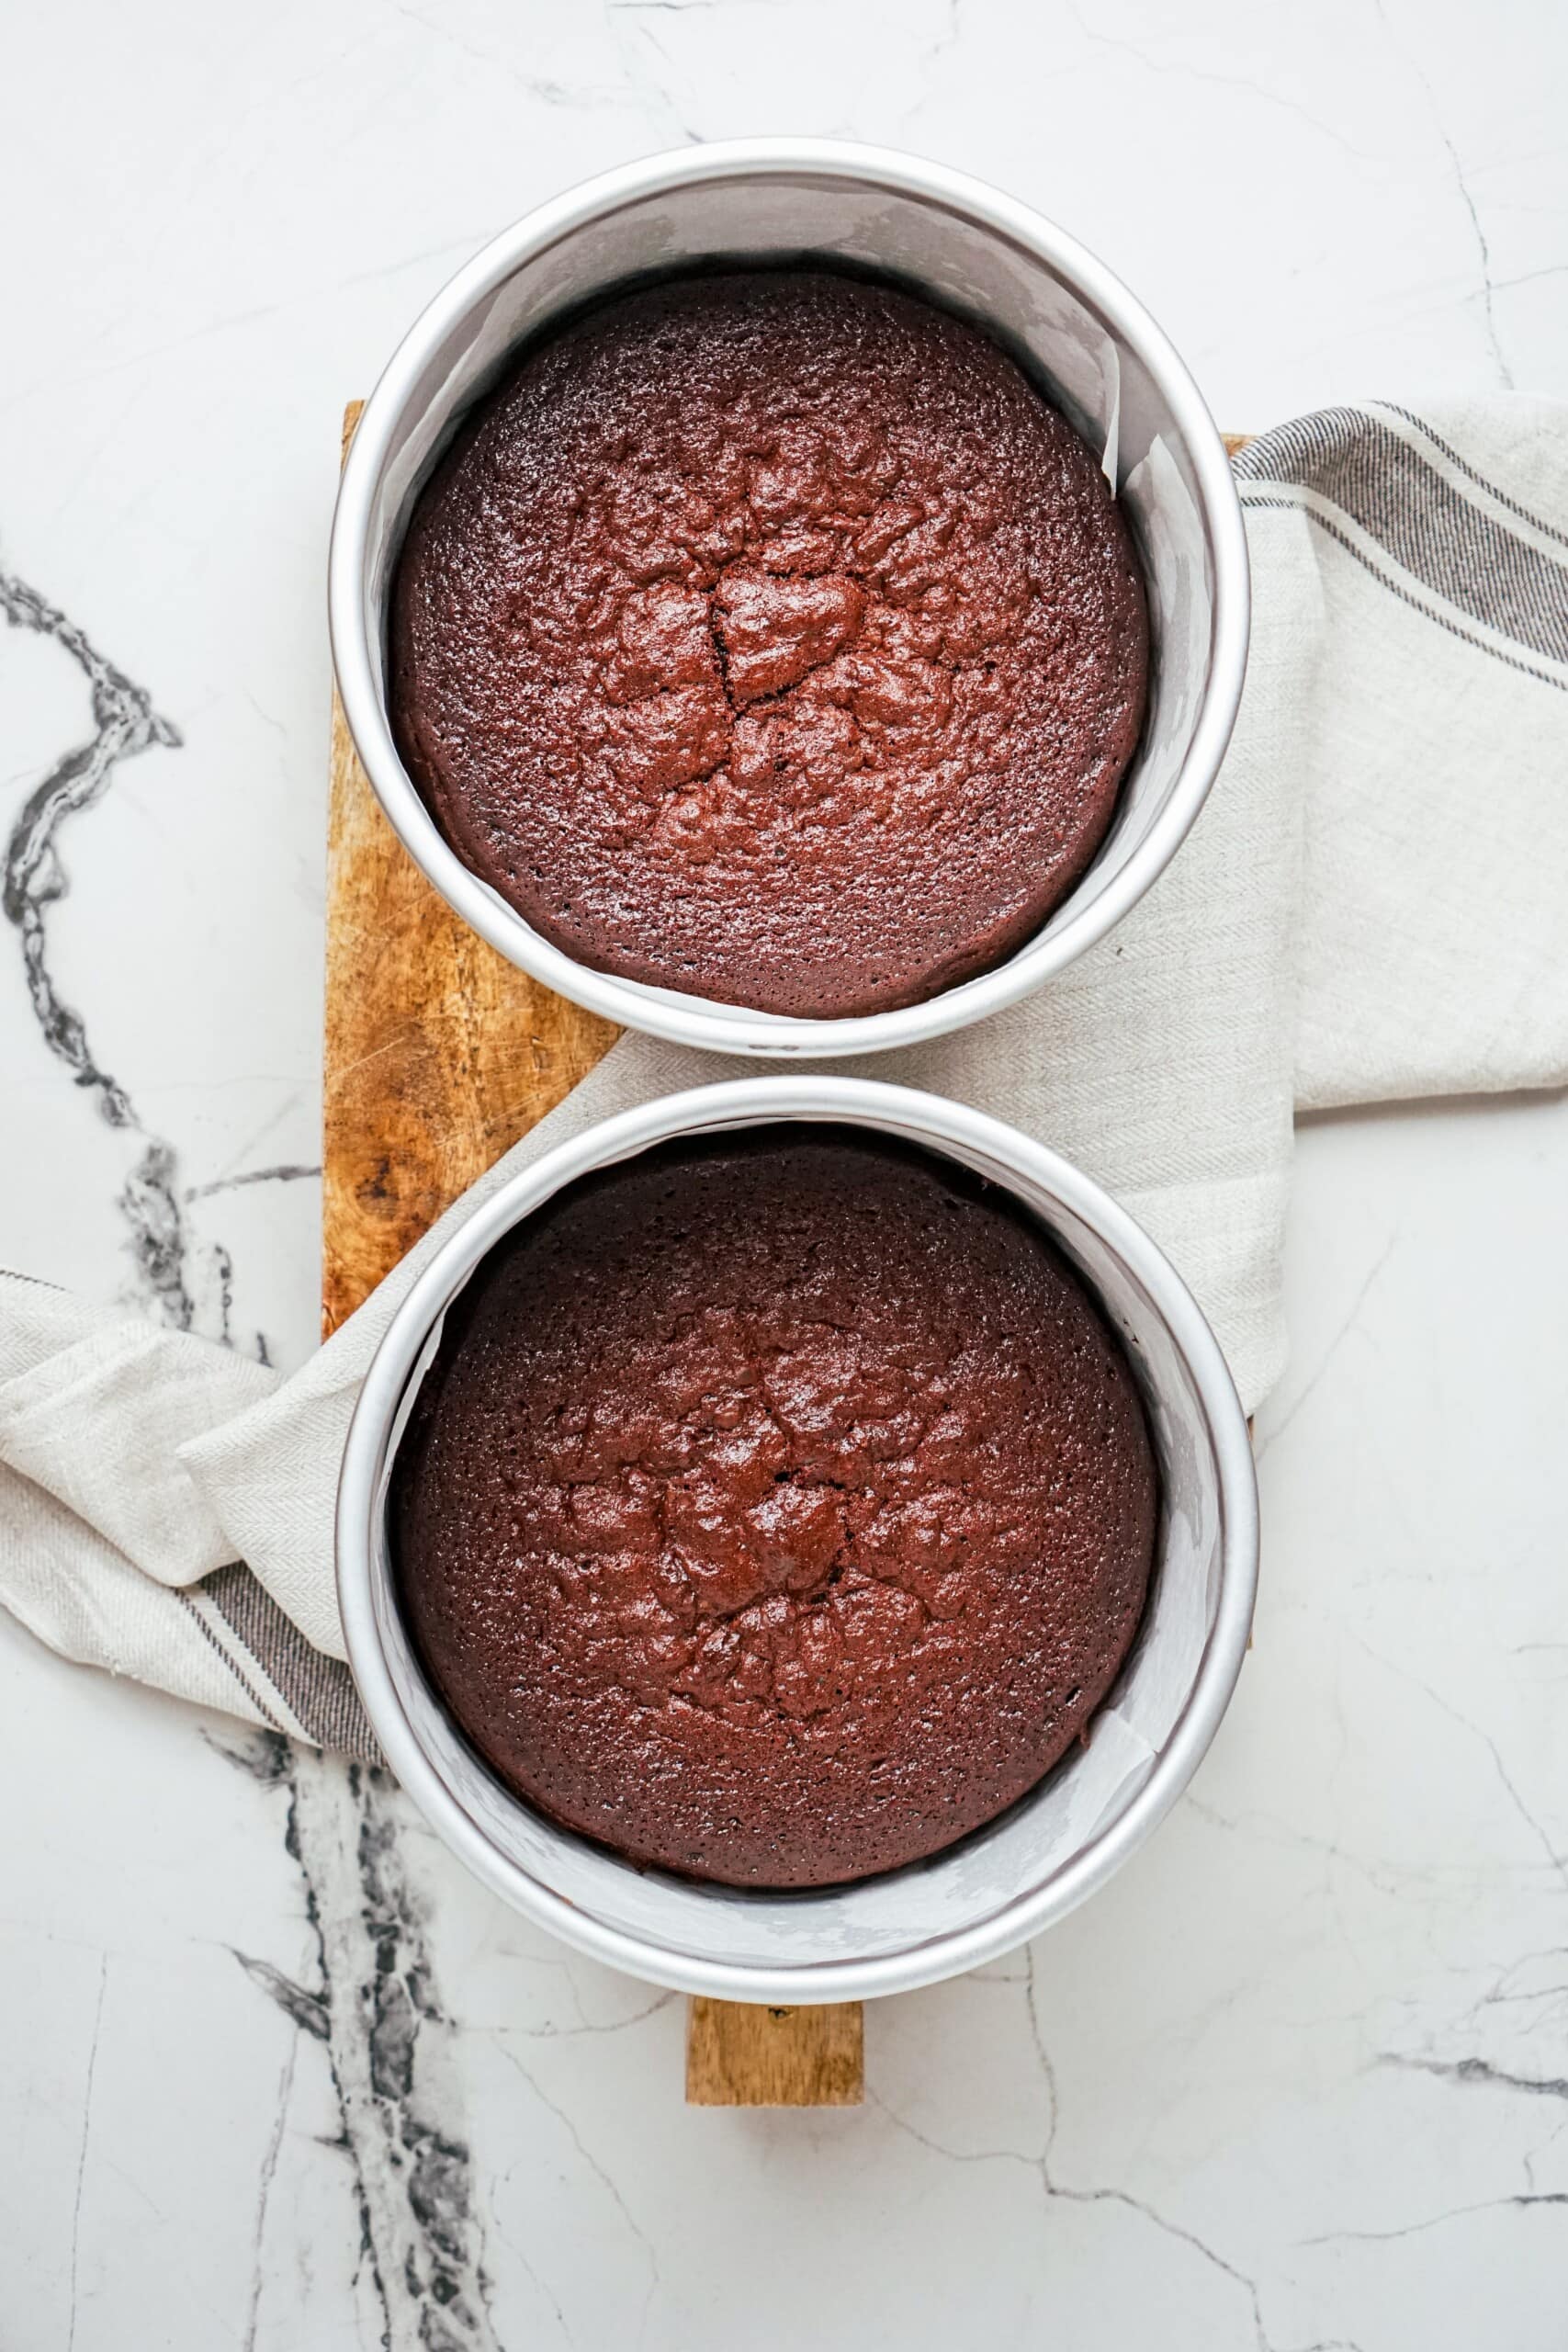
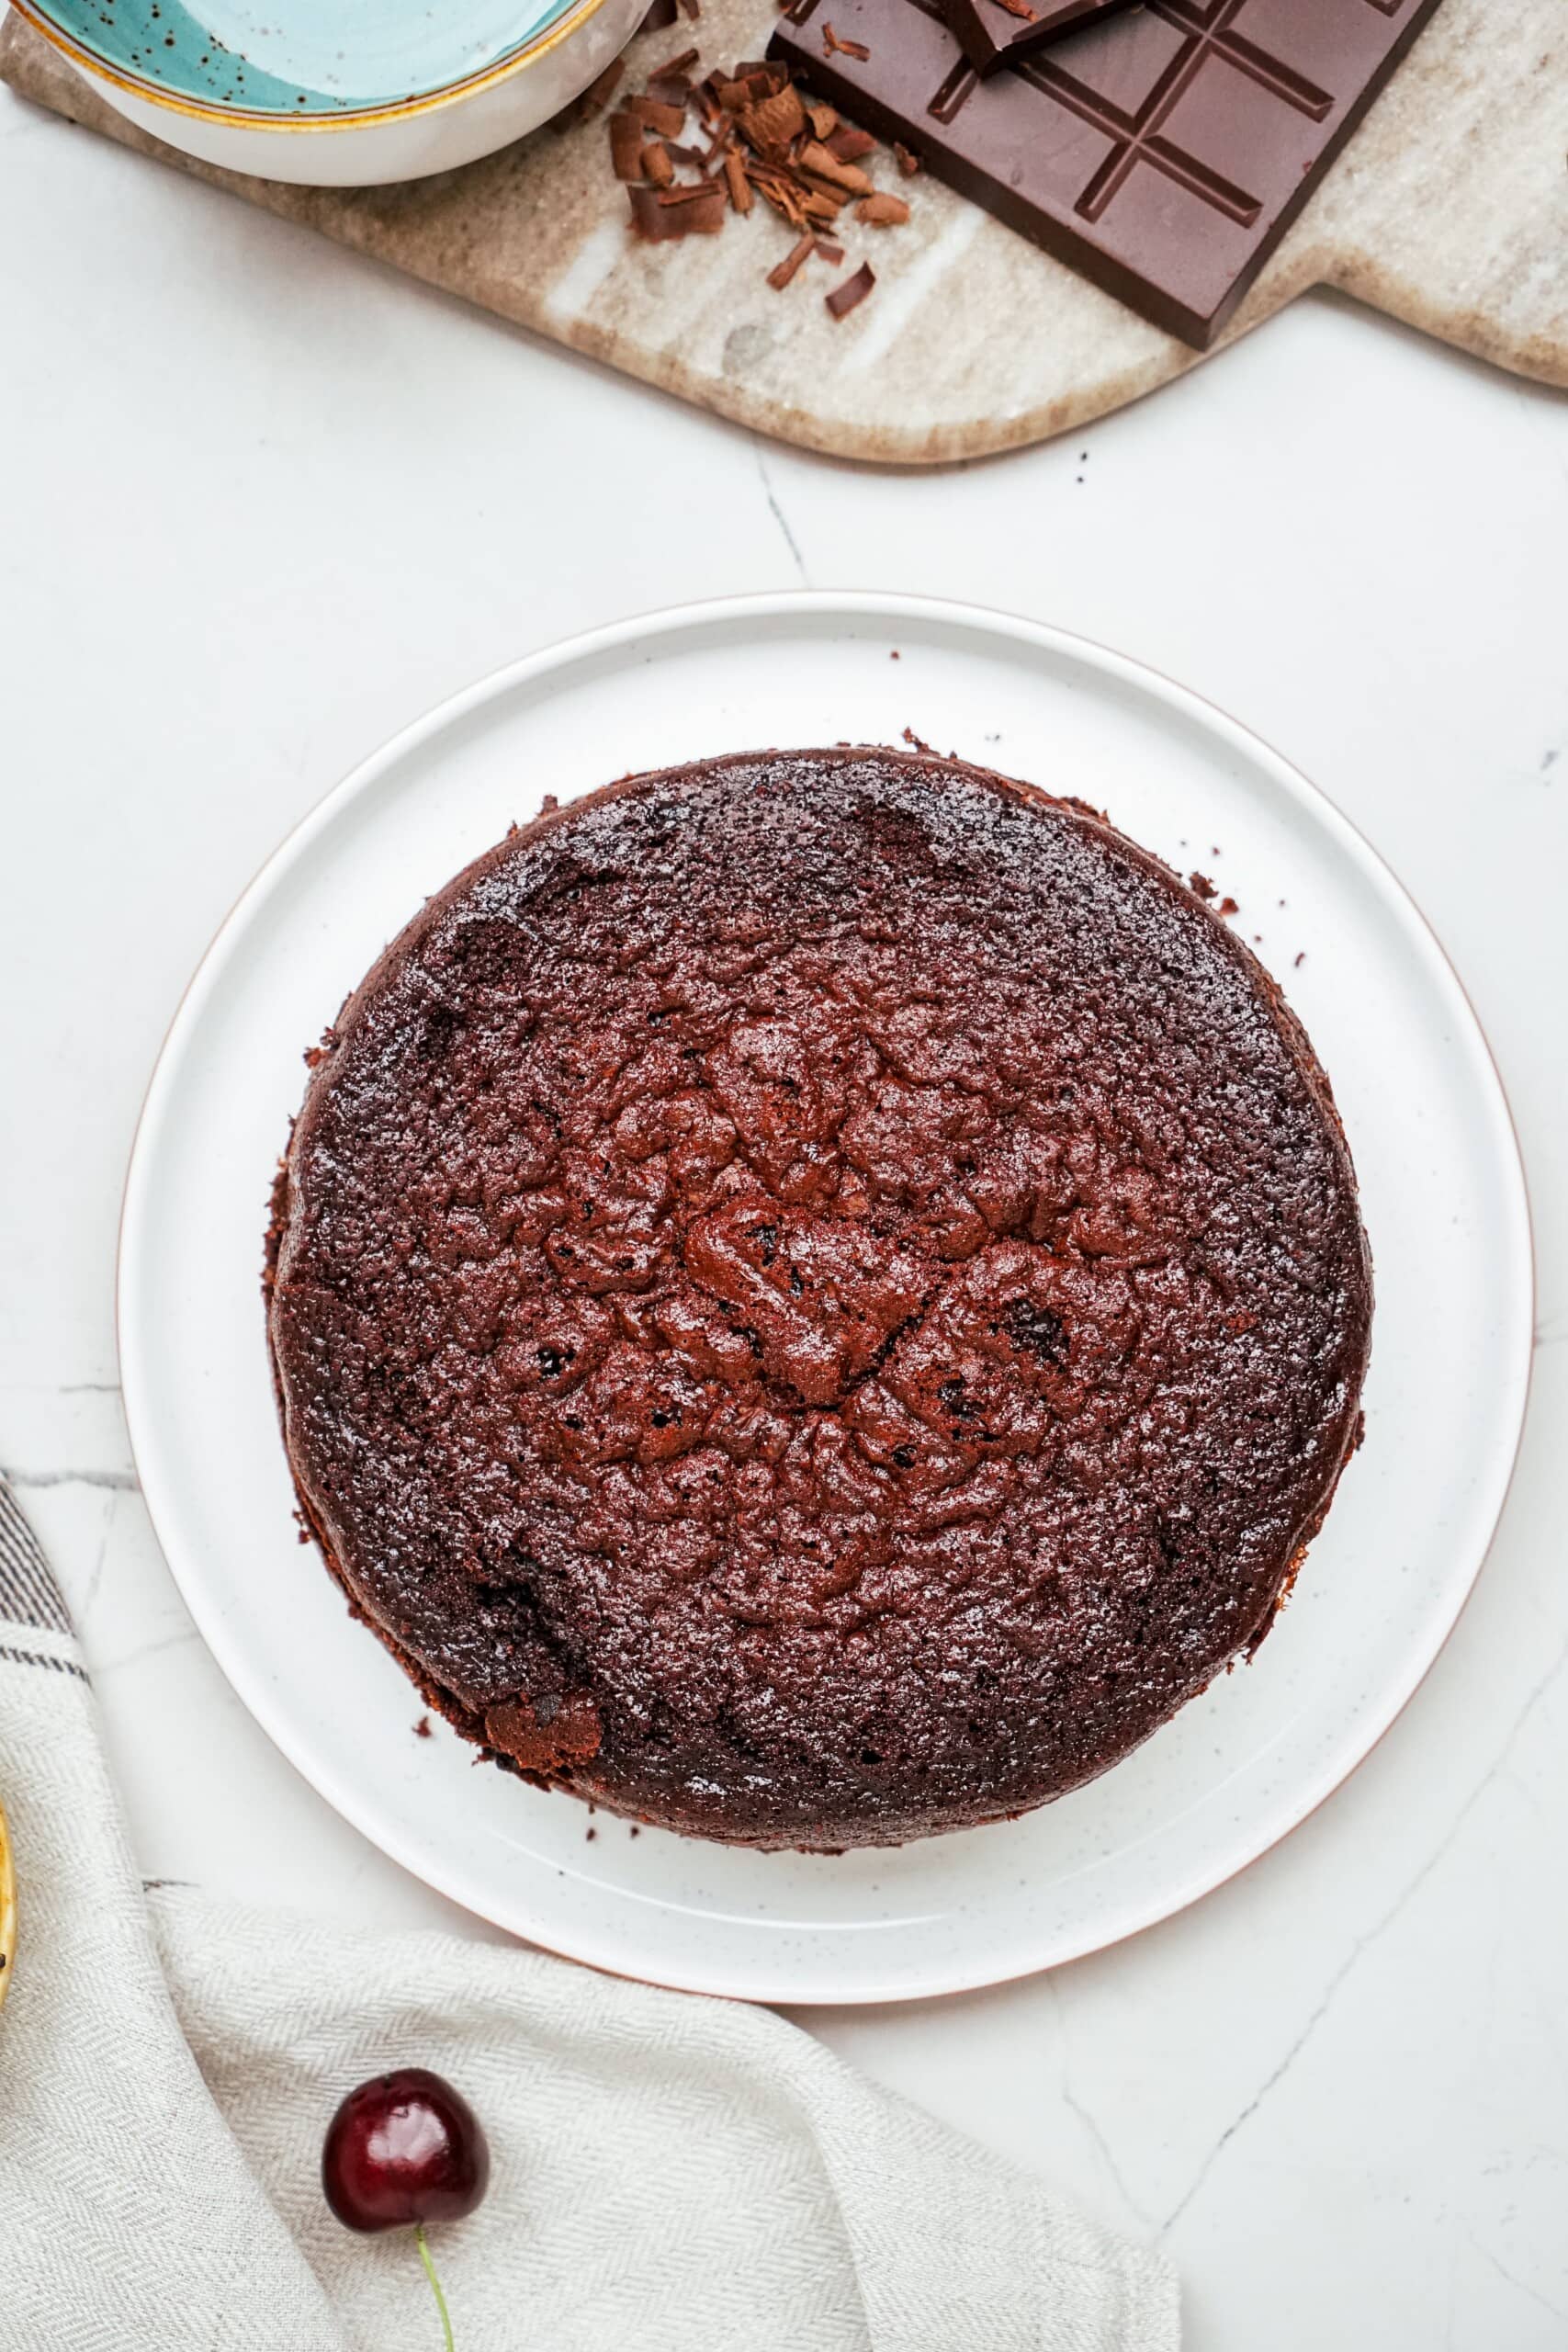
Using an ice cream scoop, divide chocolate cake batter evenly between 2 baking pans and smooth the tops. Bake 28-35 minutes in the lower two thirds of the oven. Cake will be done when a toothpick comes out clean or mostly clean with a few moist crumbs. (Keep a close eye on the cake around the 25 minute mark, as ovens vary!)
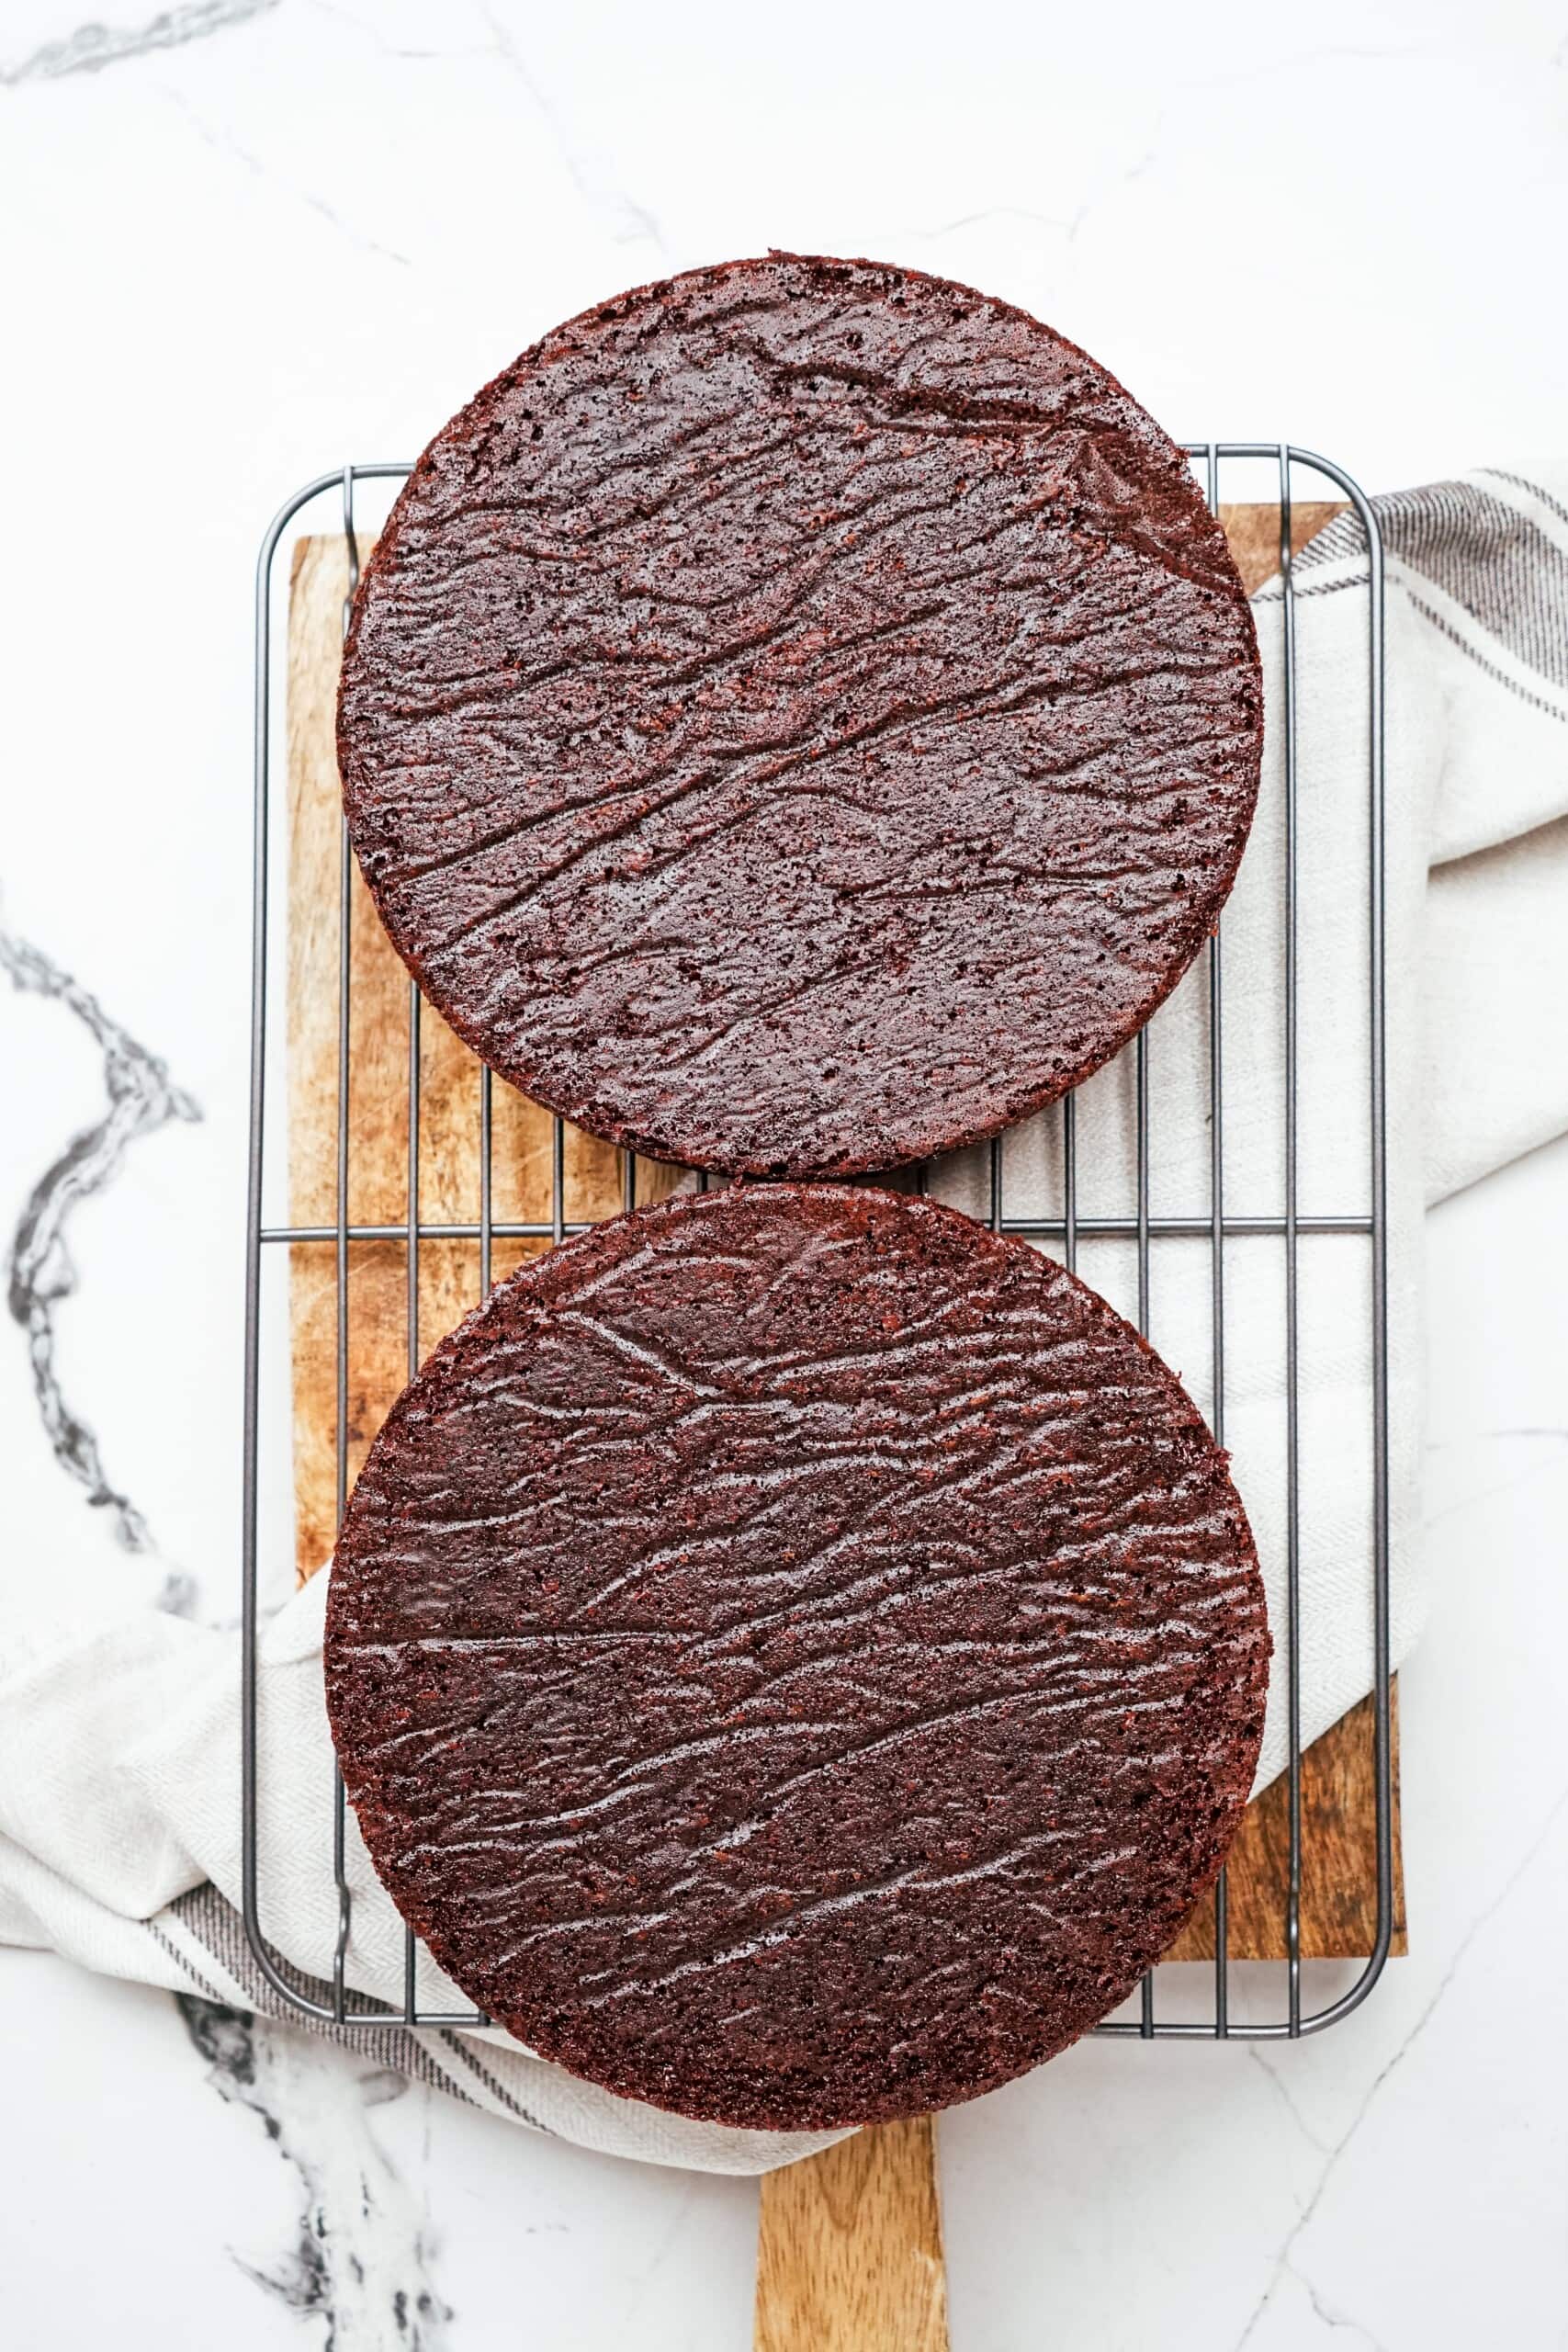
Cool 15-20 minutes in cake pans before trying to invert on cooling racks. Once you can handle the warm pans with your bare hands, you can flip them out. Cool completely before frosting and decorating.
Make Cherry Filling
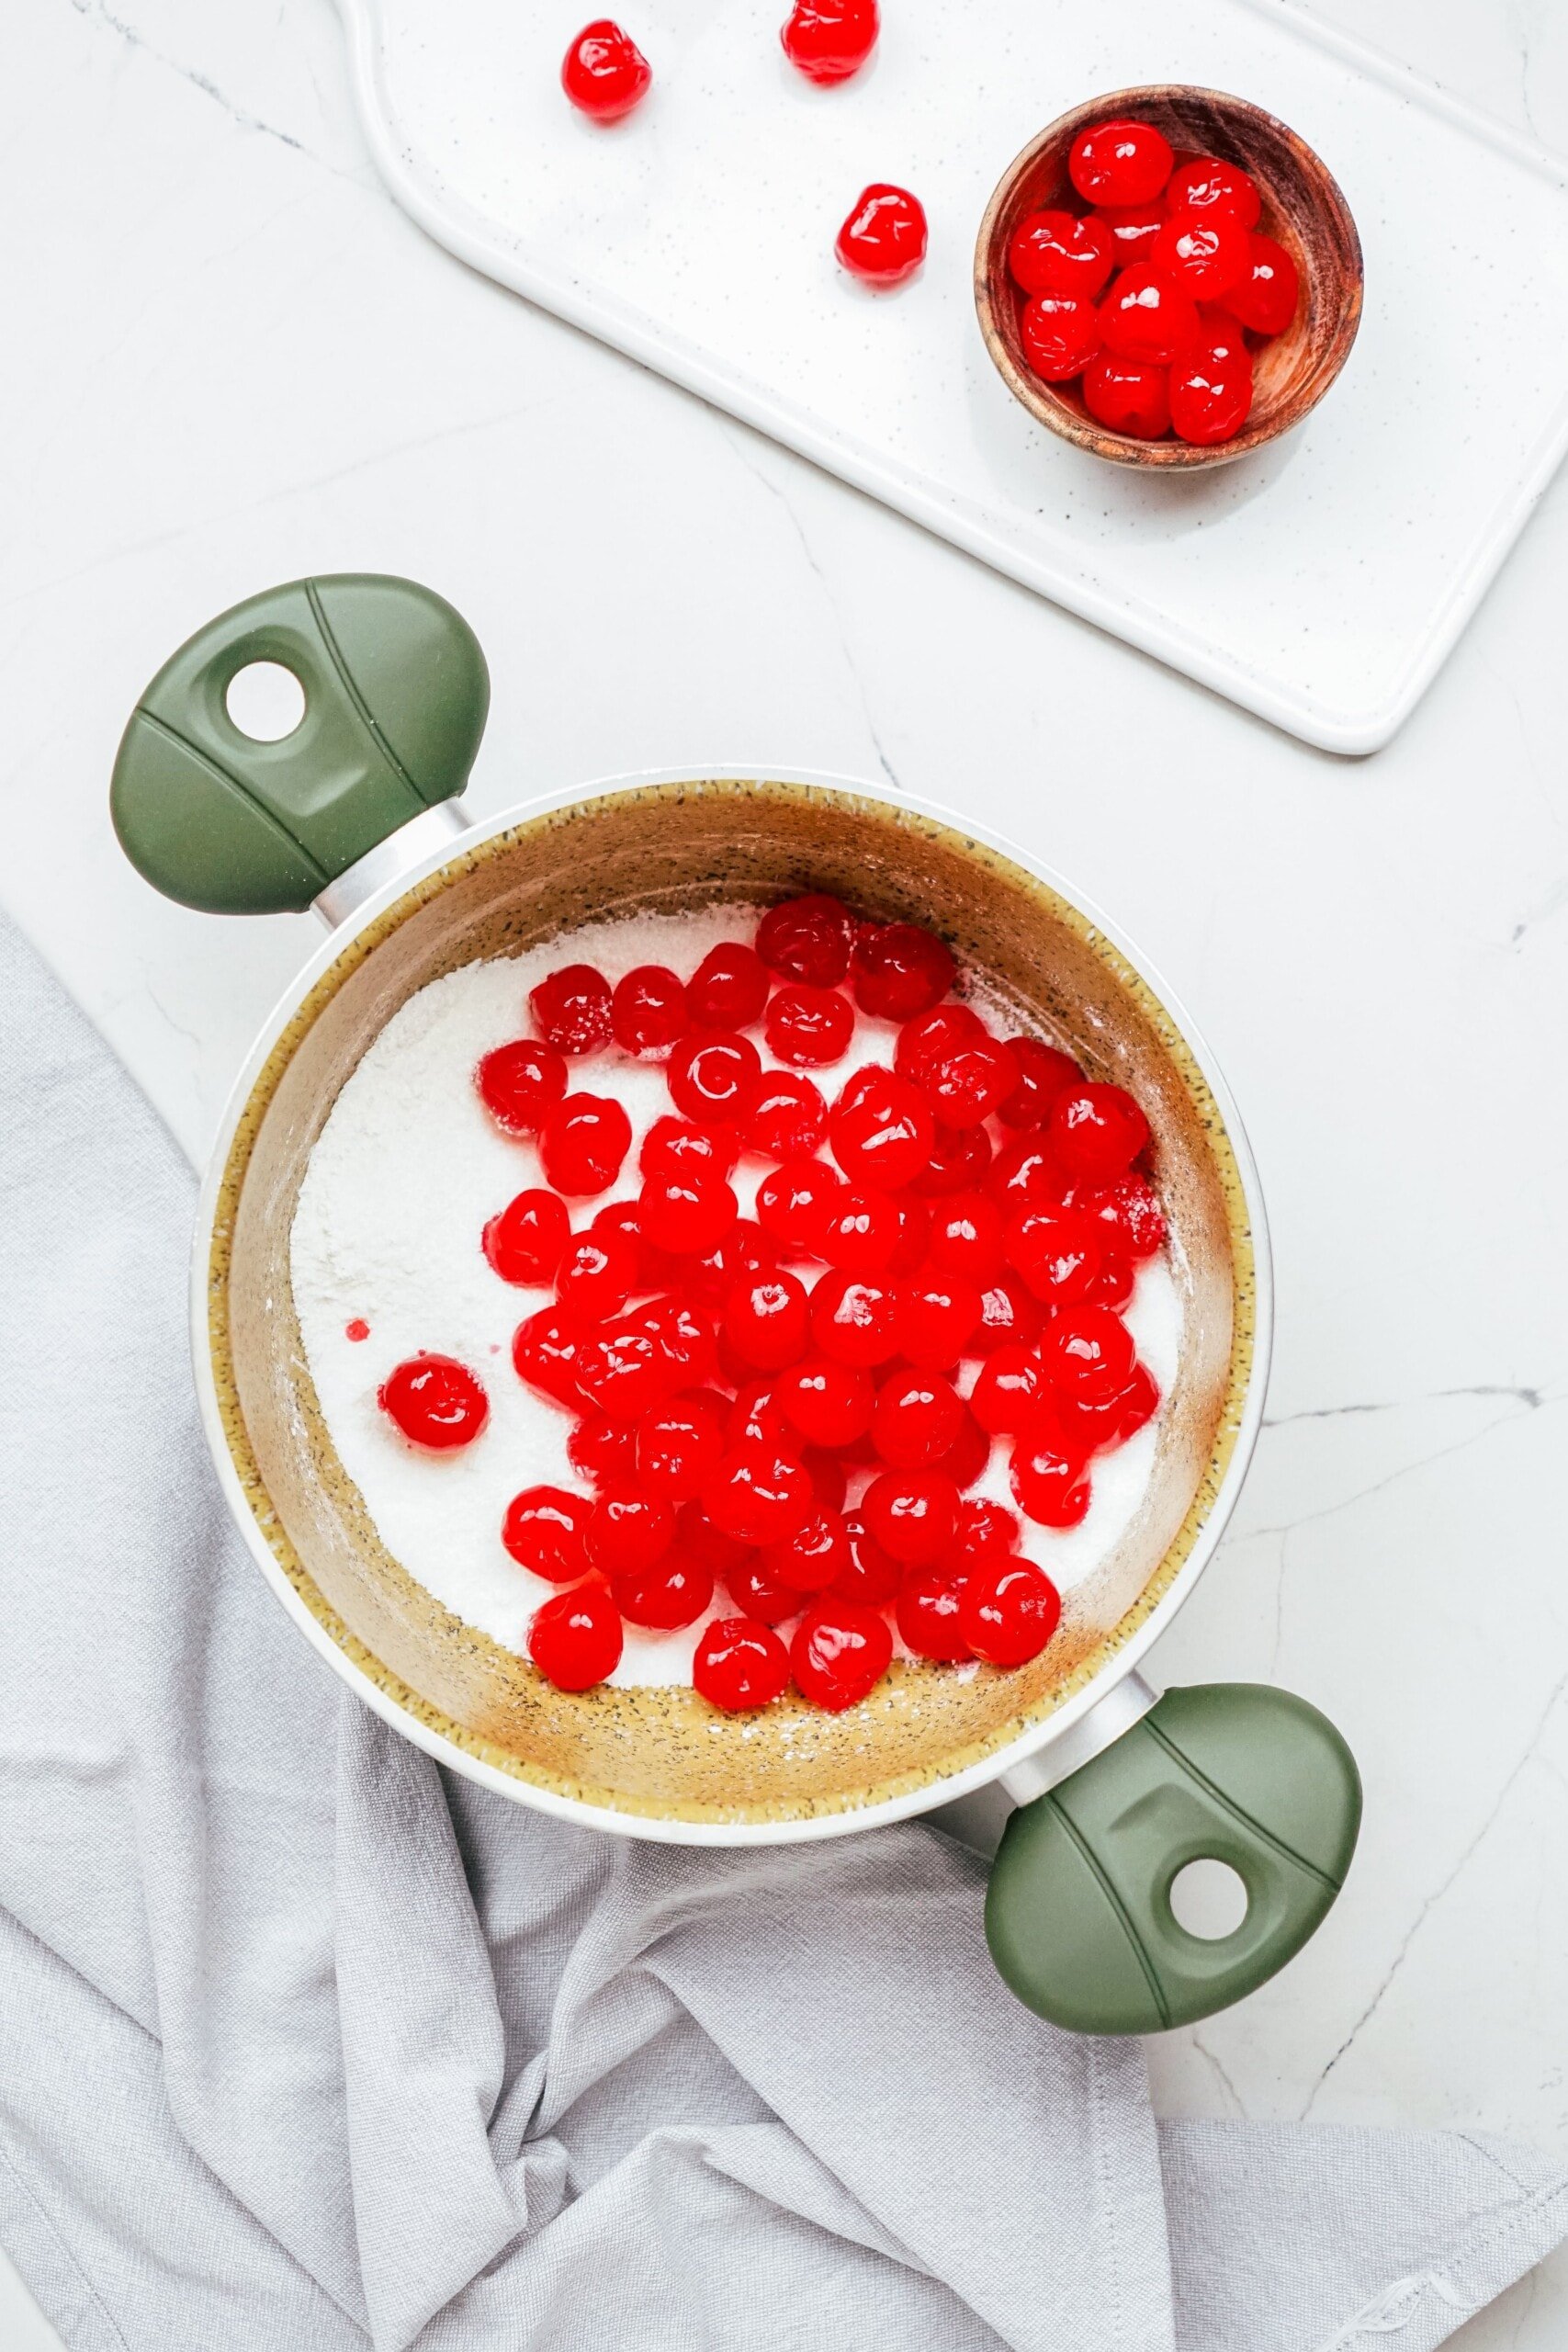
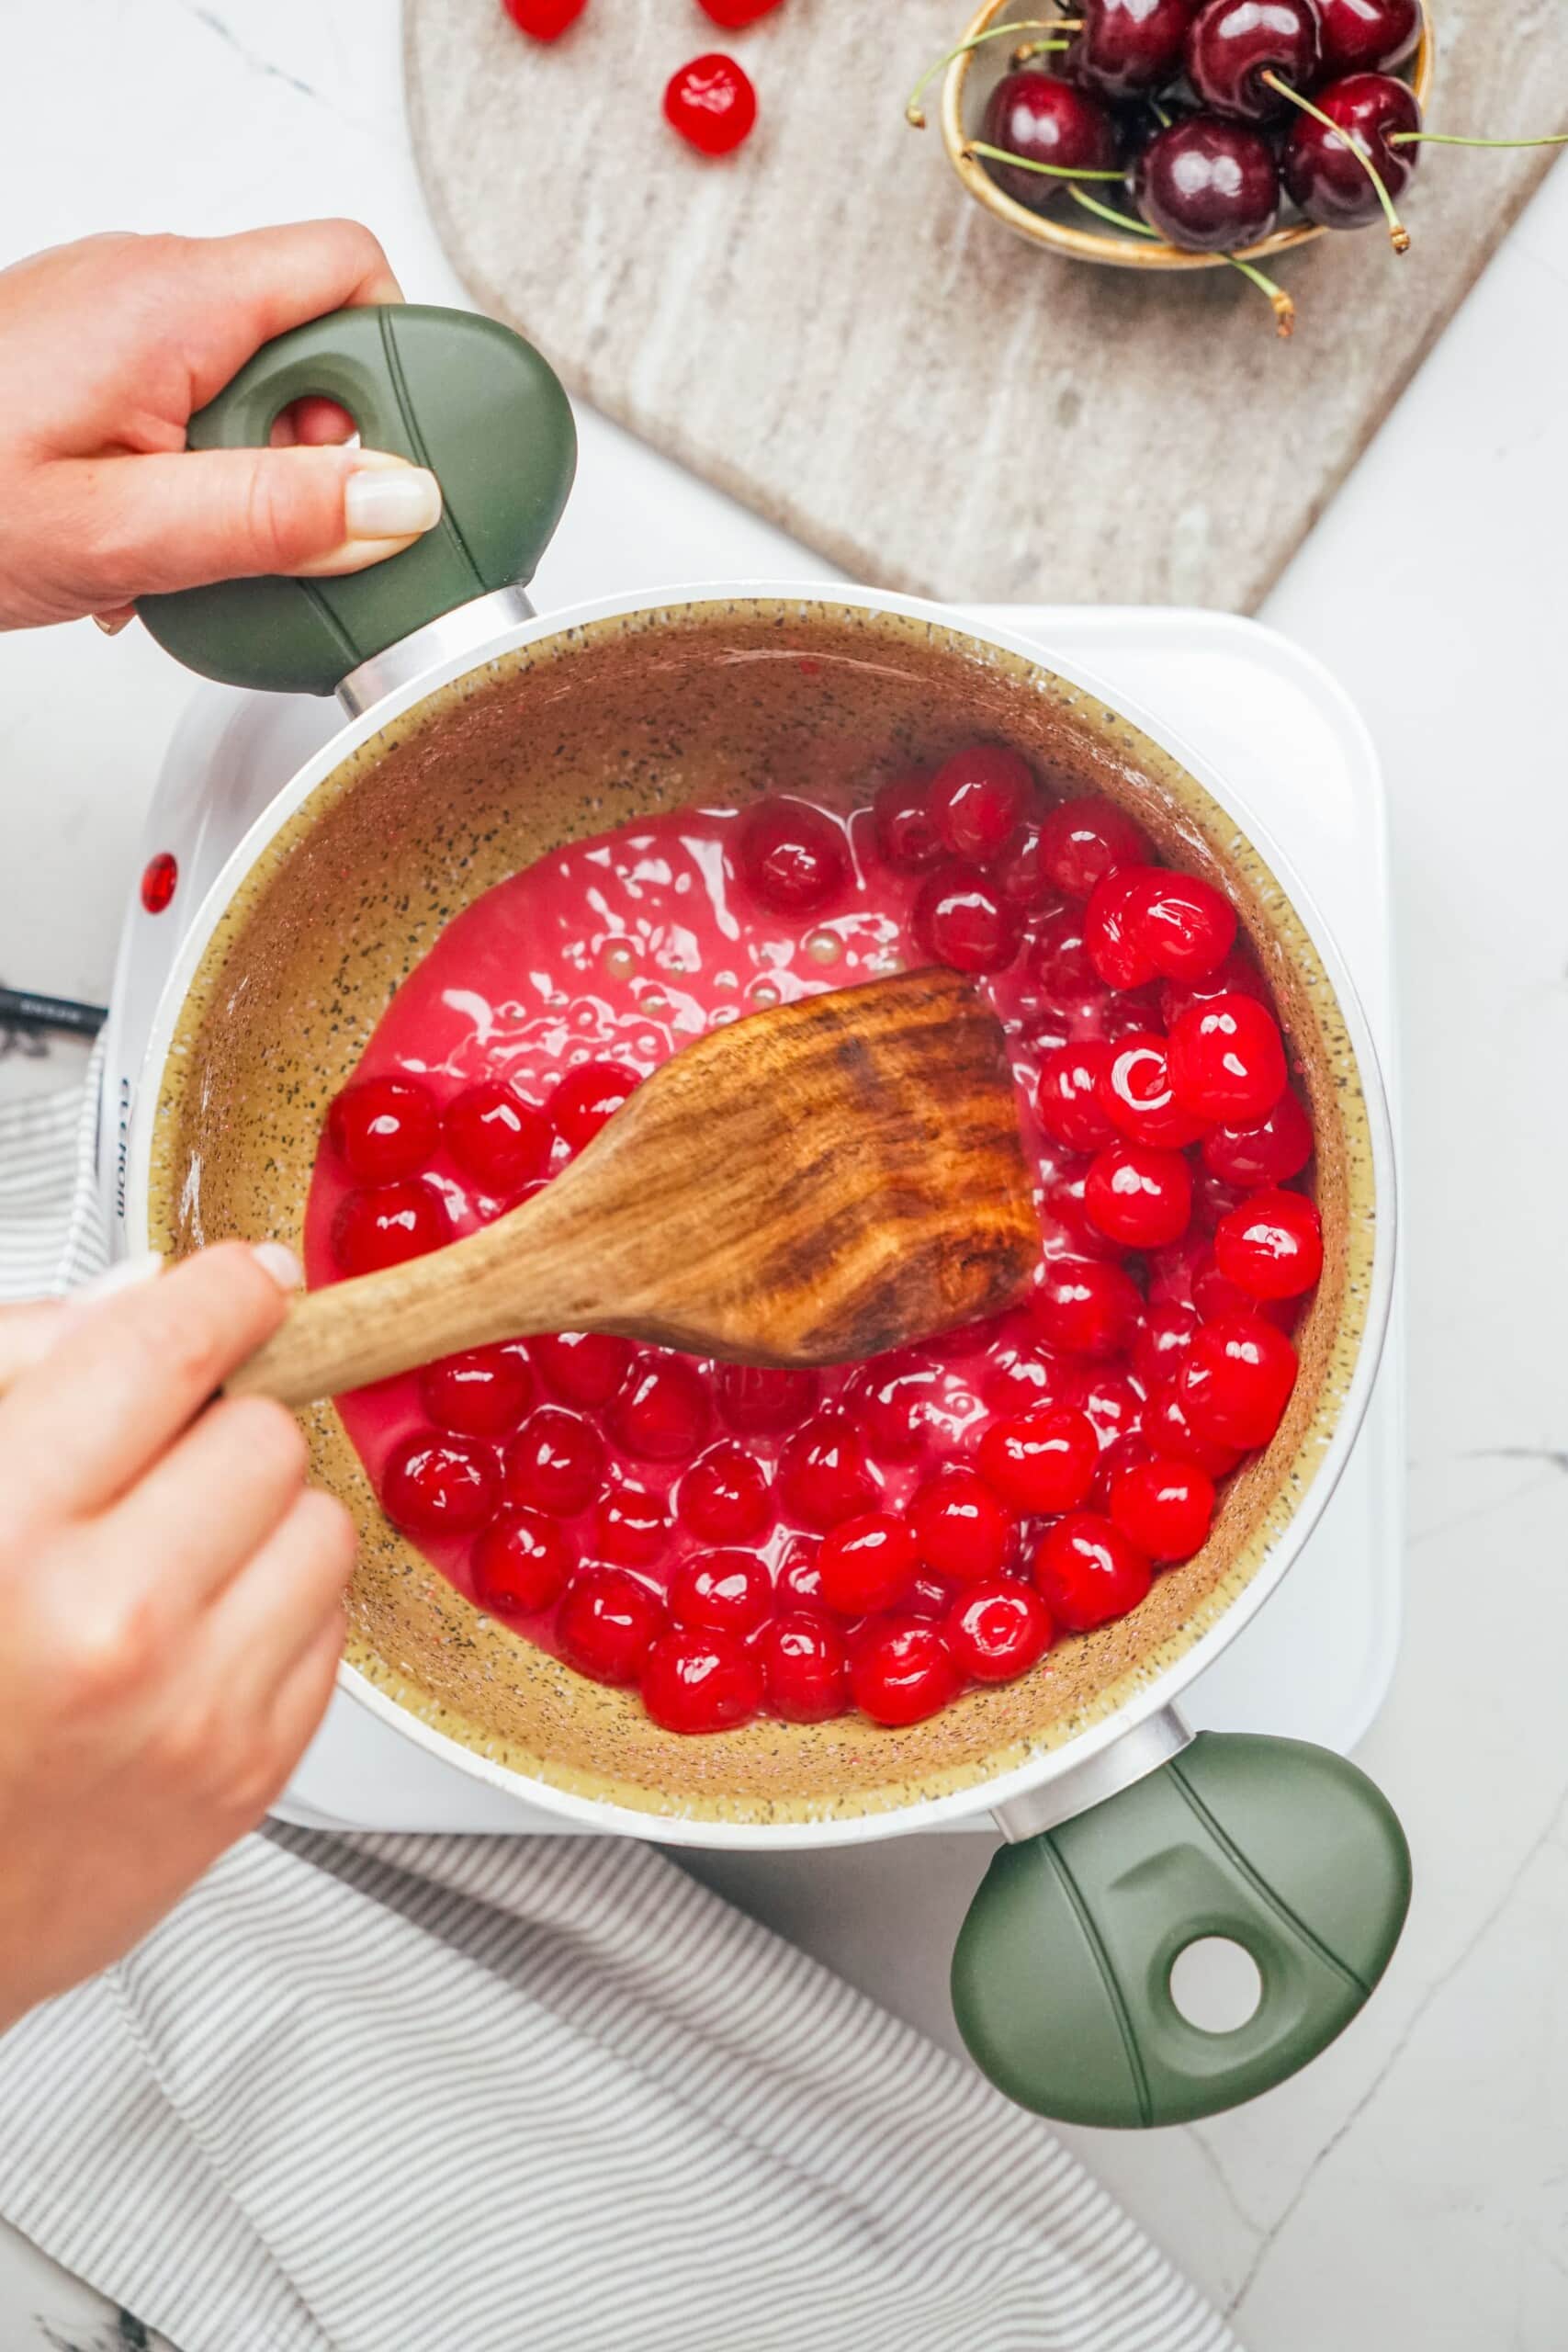
For the cherry filling, stir sugar and cornstarch together in a cold small pot until combined. Add in cherries and toss. Place over medium-low heat to melt frozen cherries. Once a paste has formed around the cherries, increase the heat to medium and keep stirring until all the liquid has come out of the cherries and the mixture is boiling. Continue to stir until it becomes very thick, about 4 minutes or boiling. Be careful to not walk away from this mixture because it can burn easily. Remove from heat and stir in butter and almond extract. Cool completely.

Make the Whipped Cream
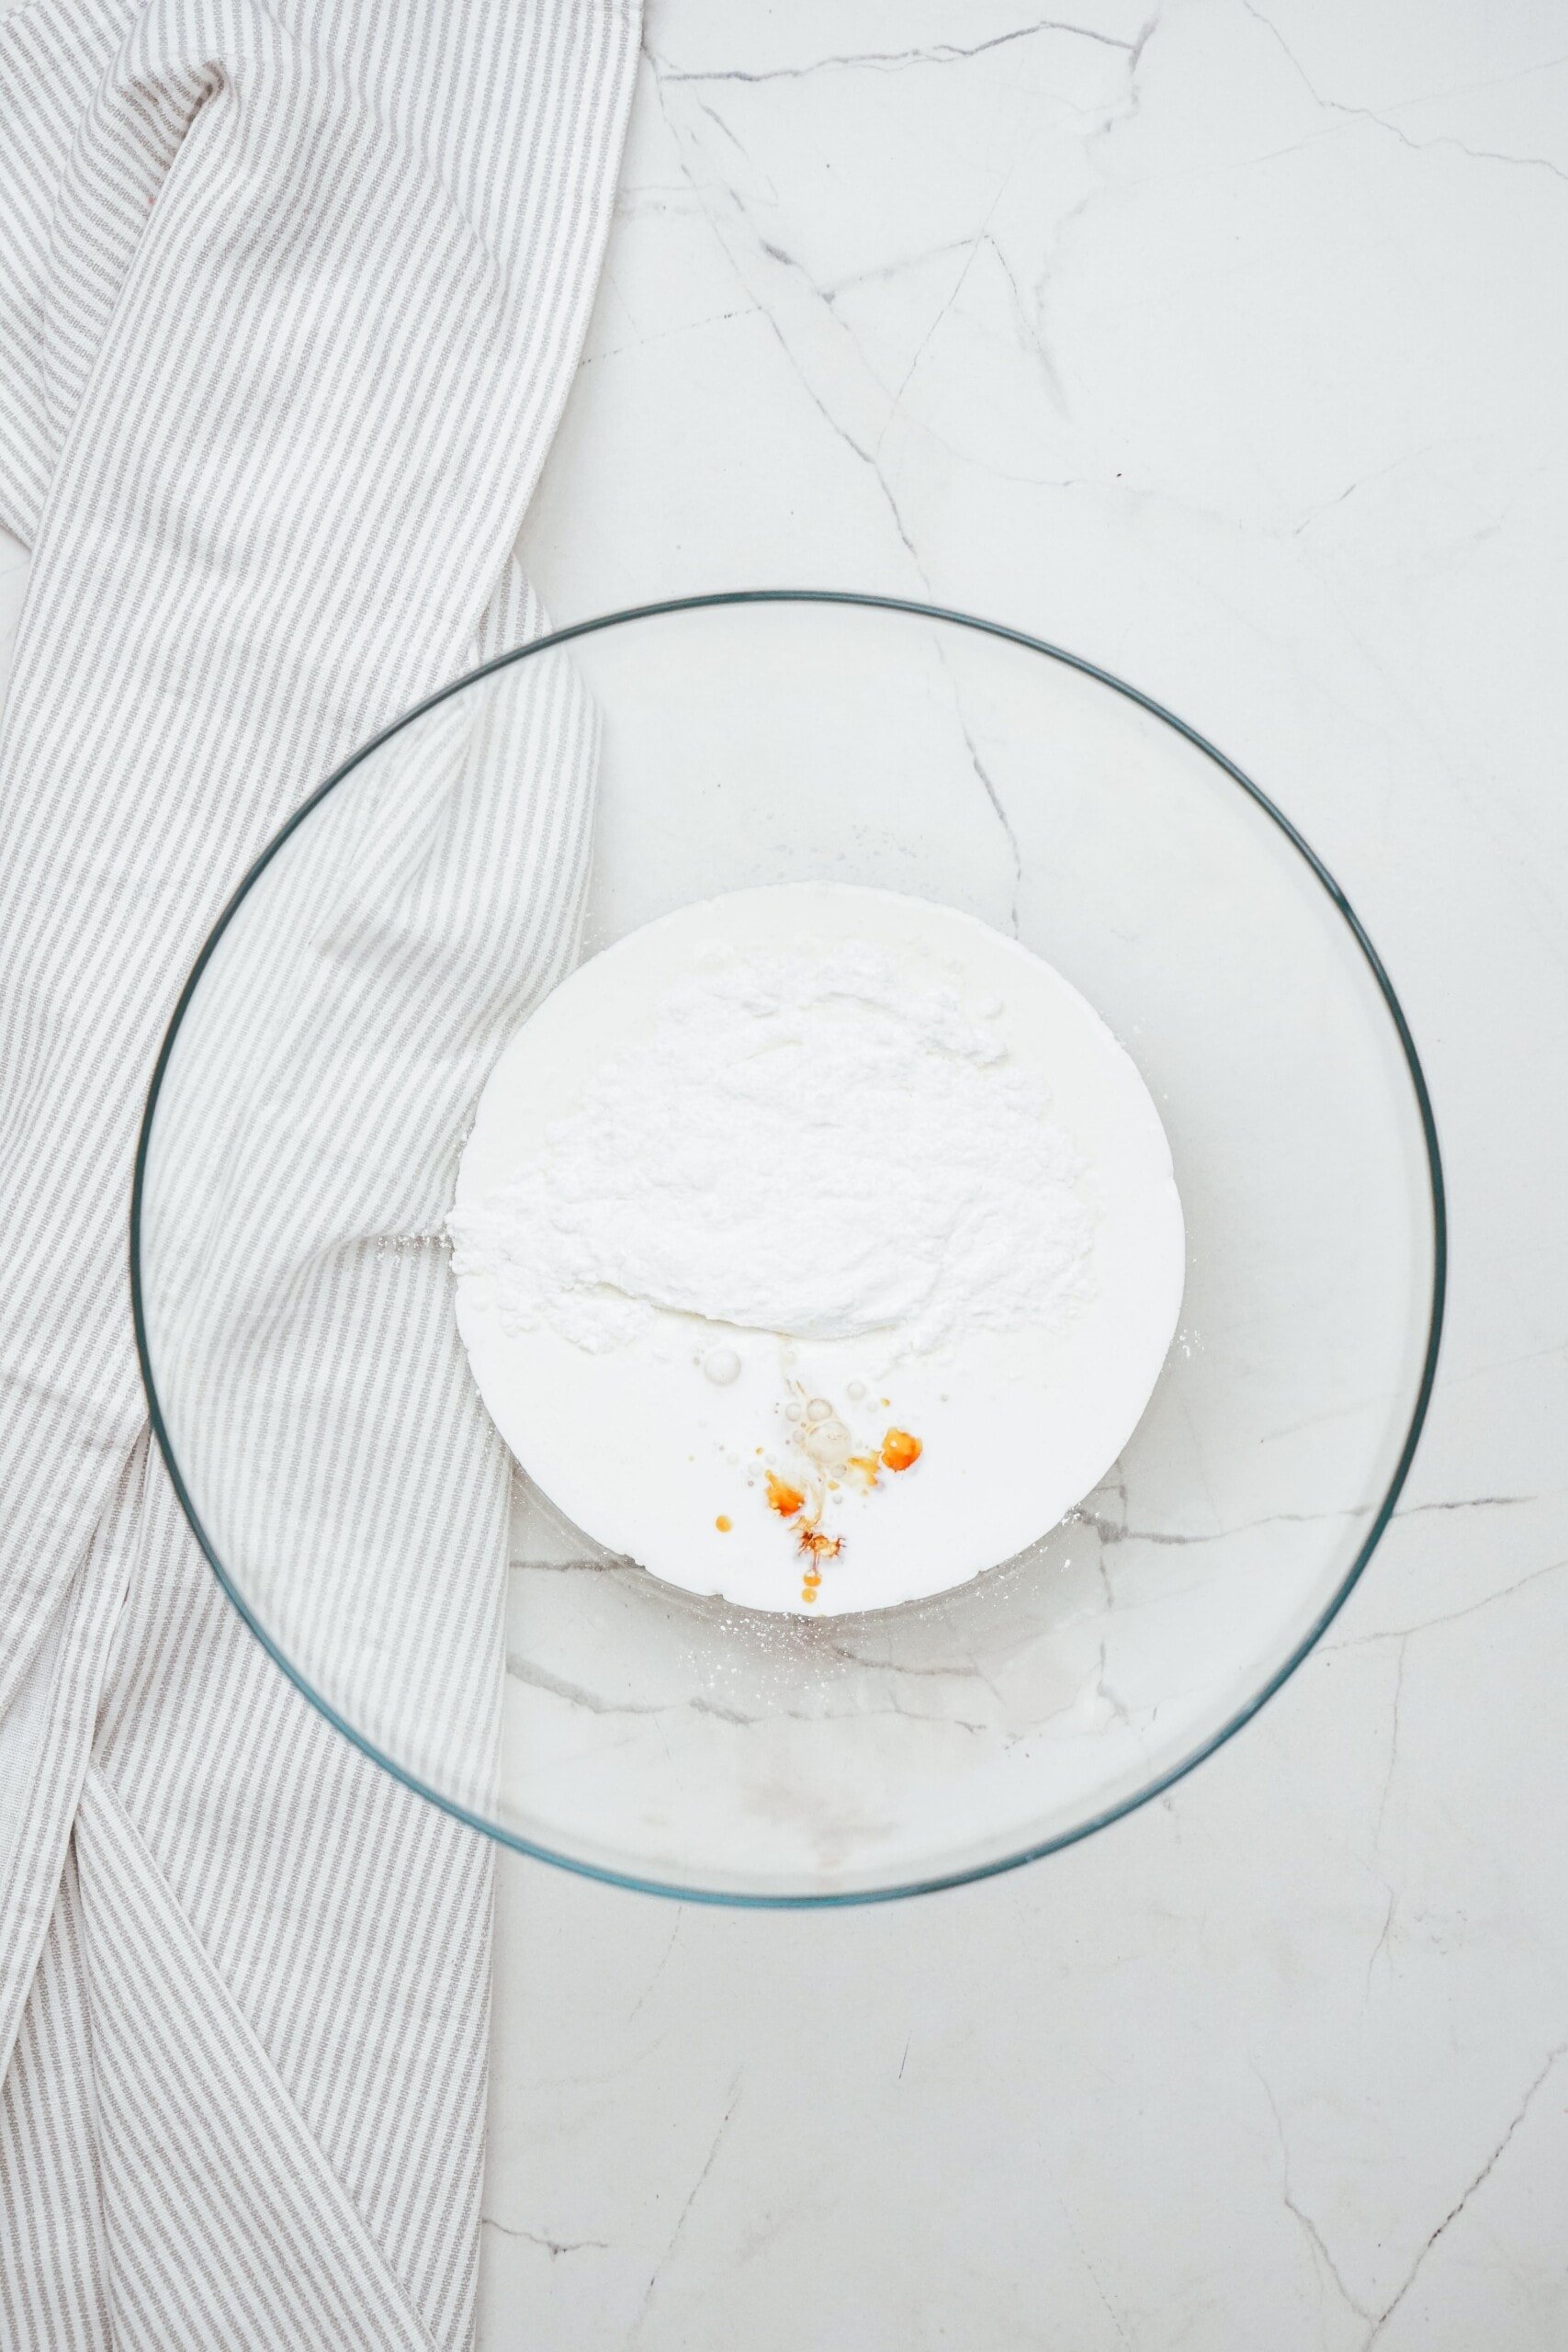
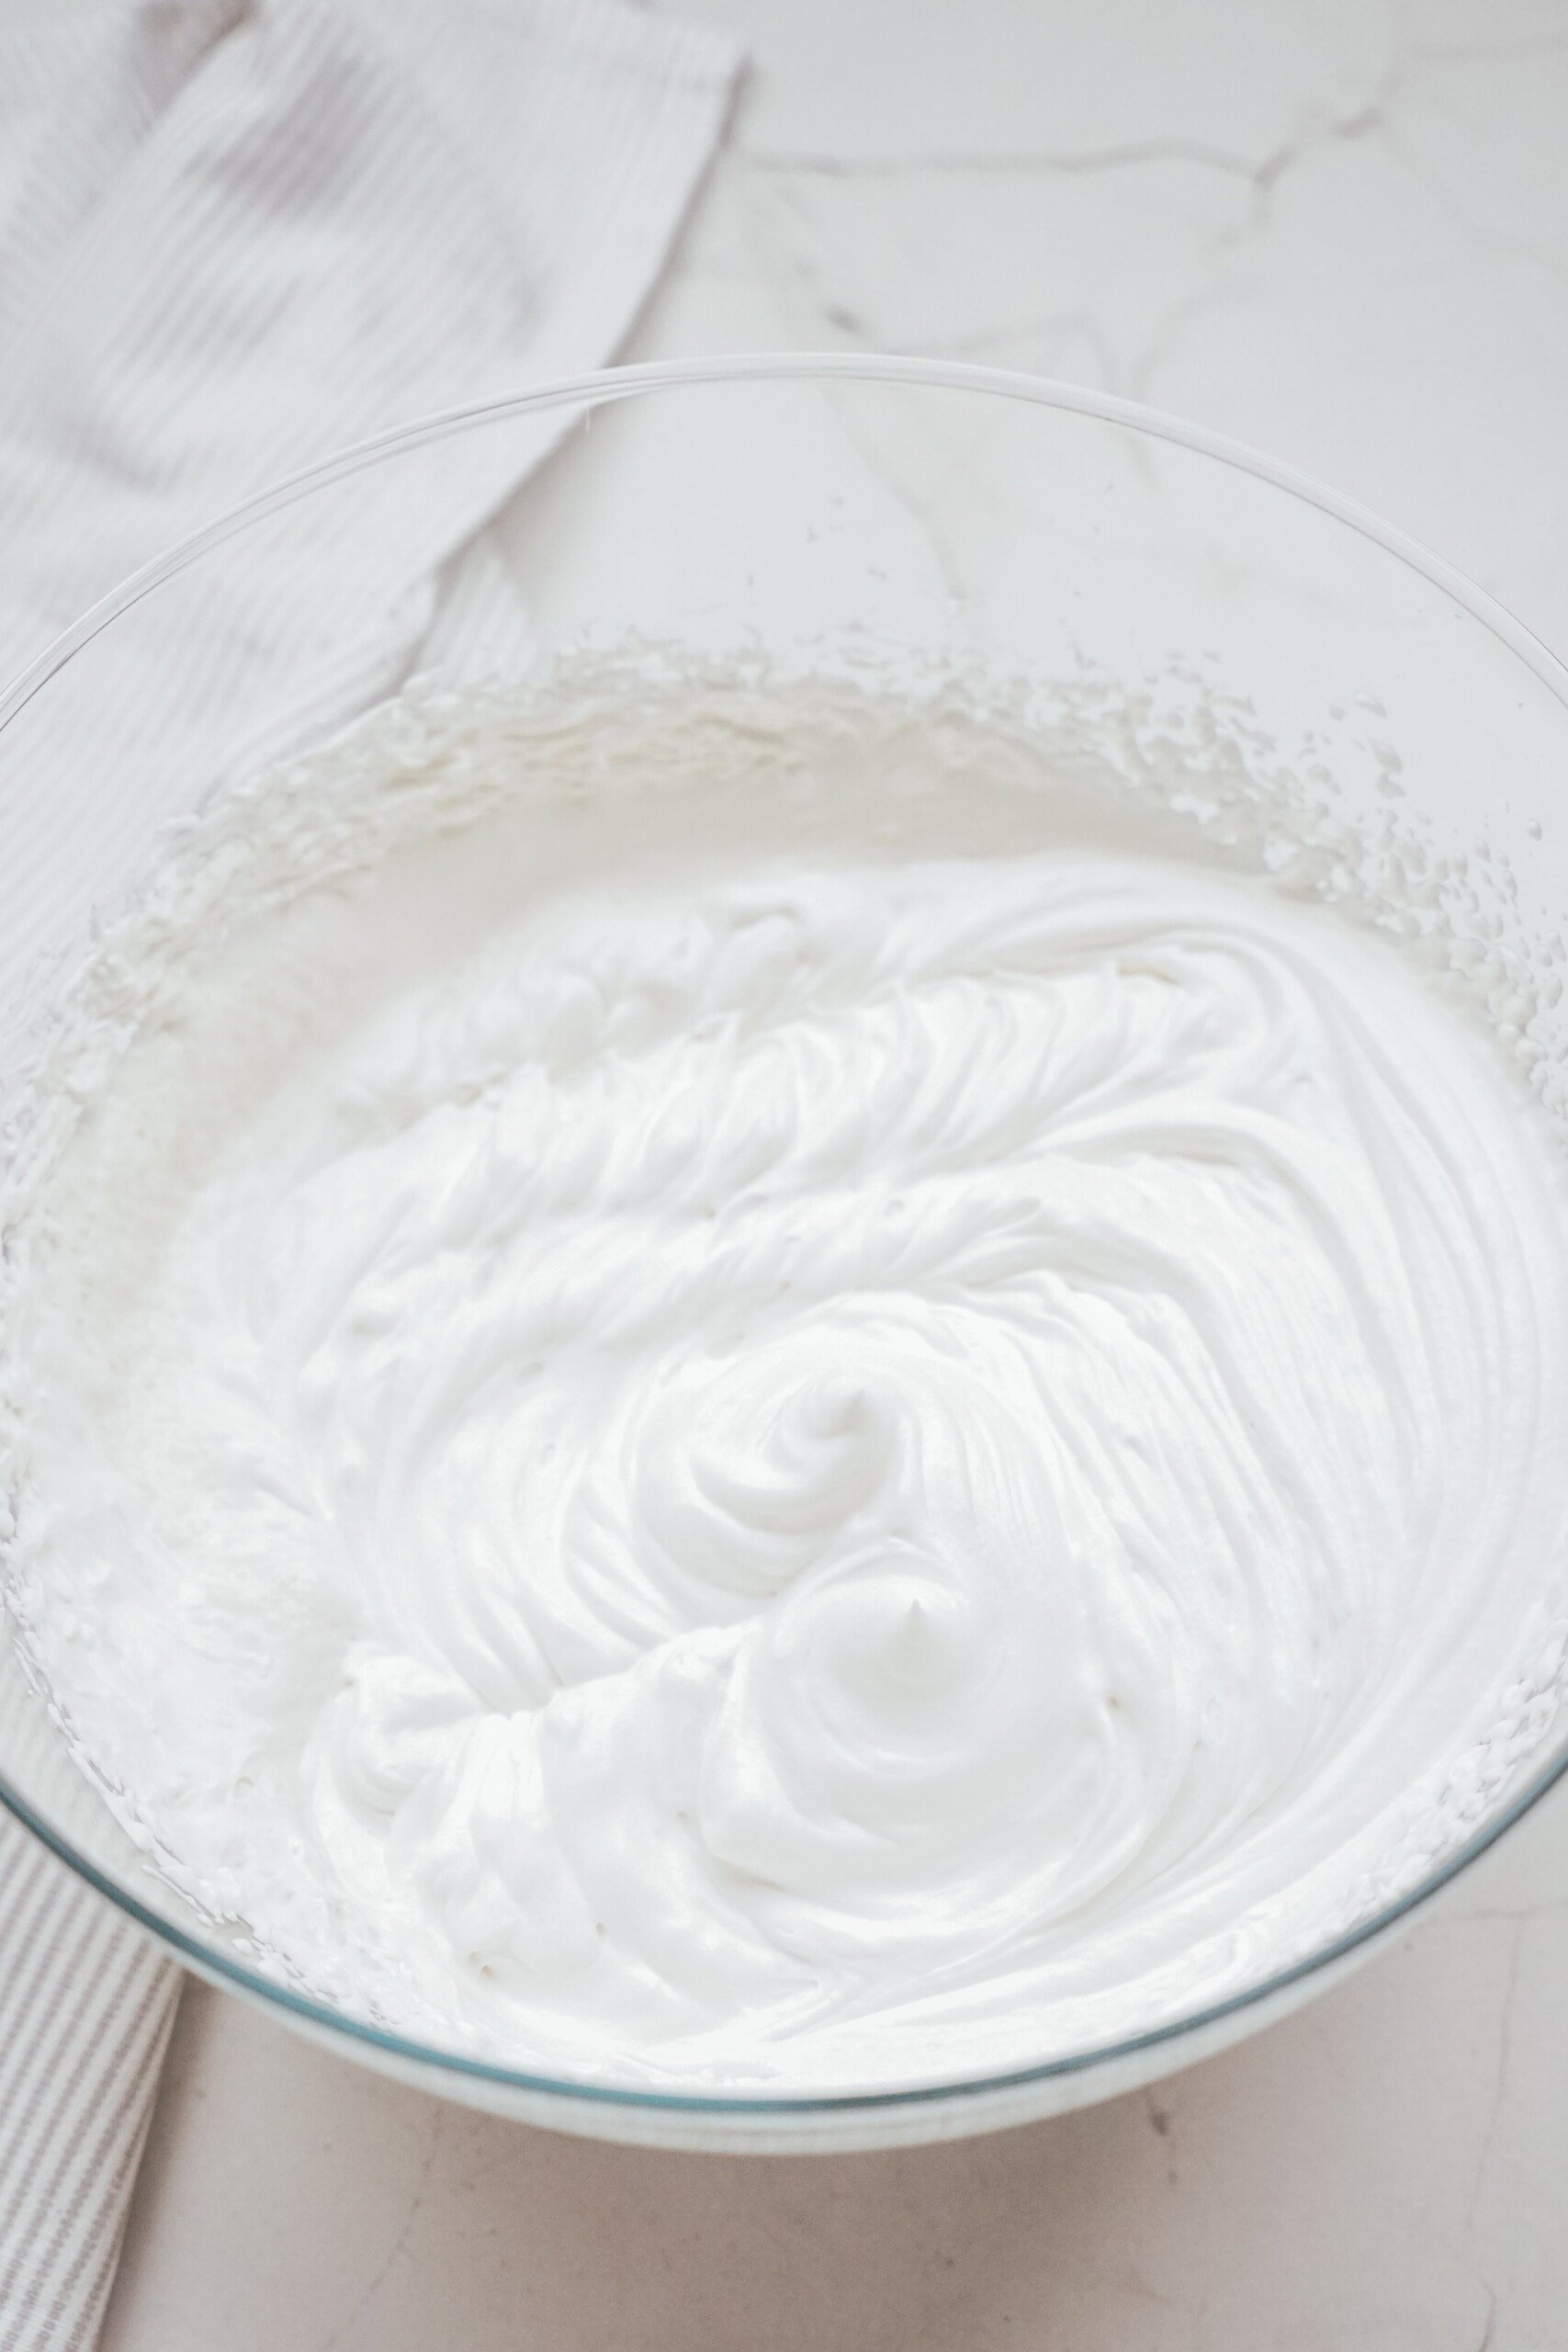
For the whipped cream, whip heavy whipping cream, sugar, and vanilla until stiff peaks form. Refrigerate until ready to use.
Time to Assemble the Cake!
Once everything is prepared, it’s time to stack and assemble the cake. This creates a total of seven layers: cake, chocolate syrup, cake, cherry filling, cake, chocolate syrup, and cake.
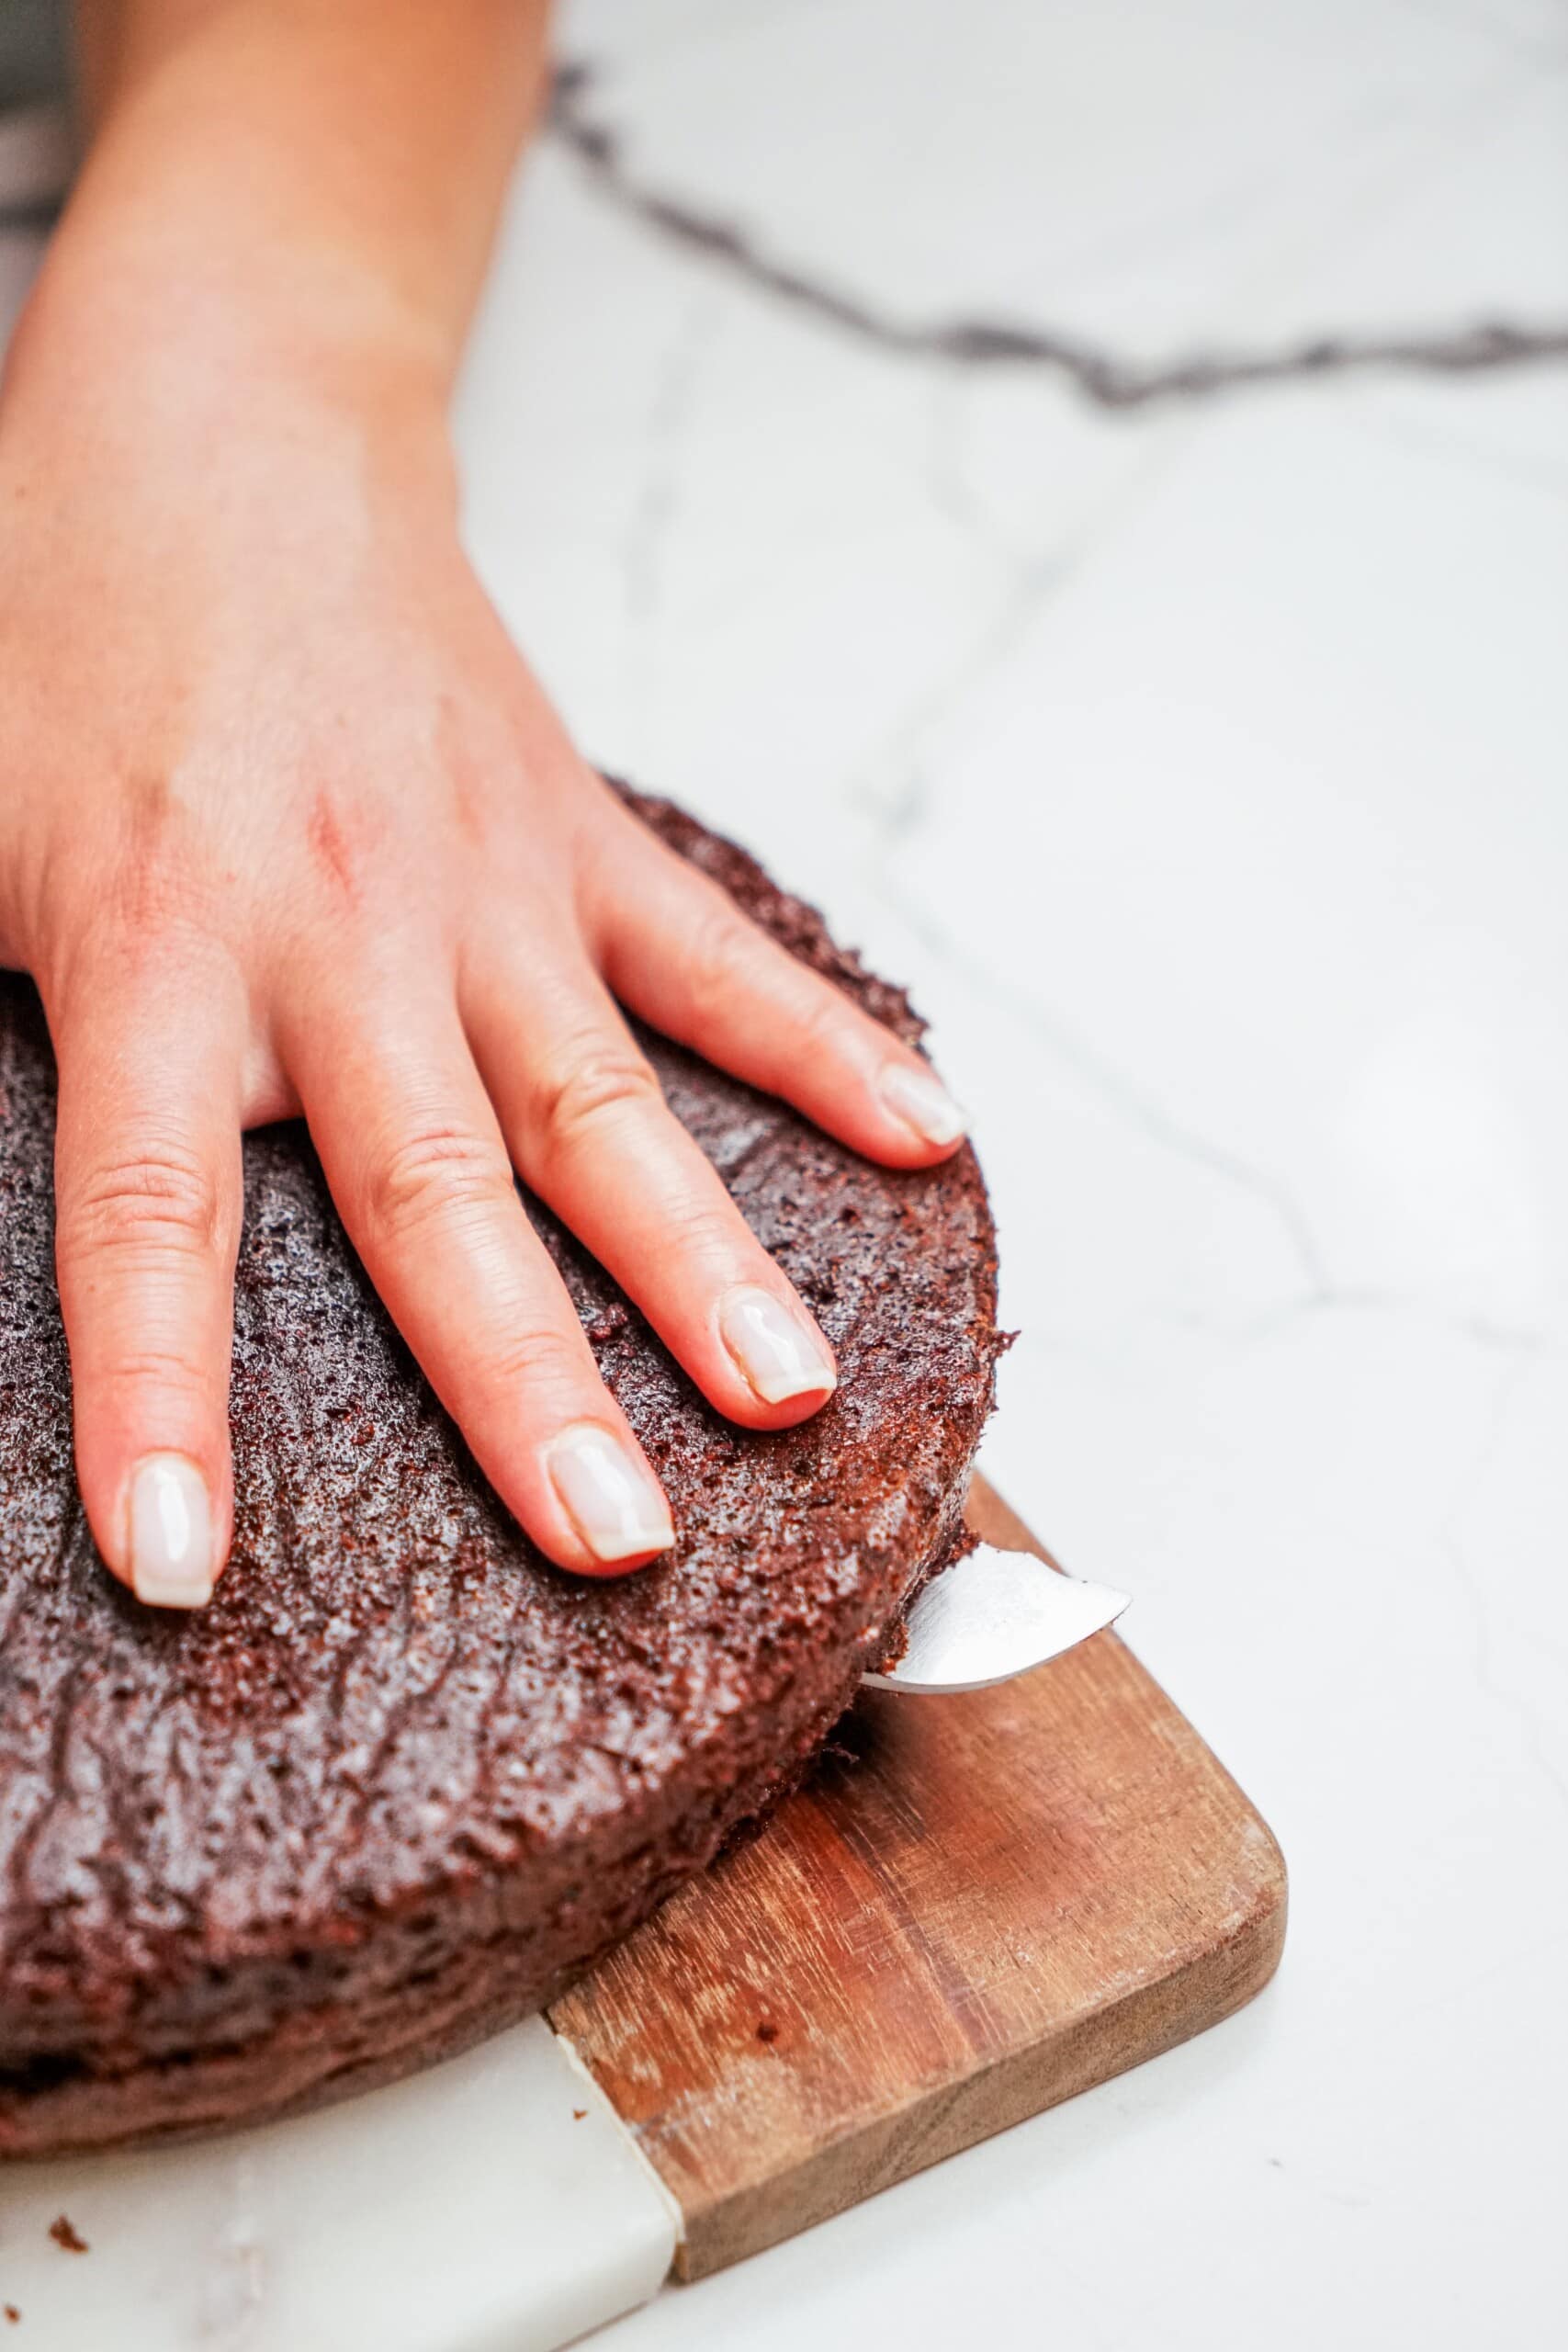
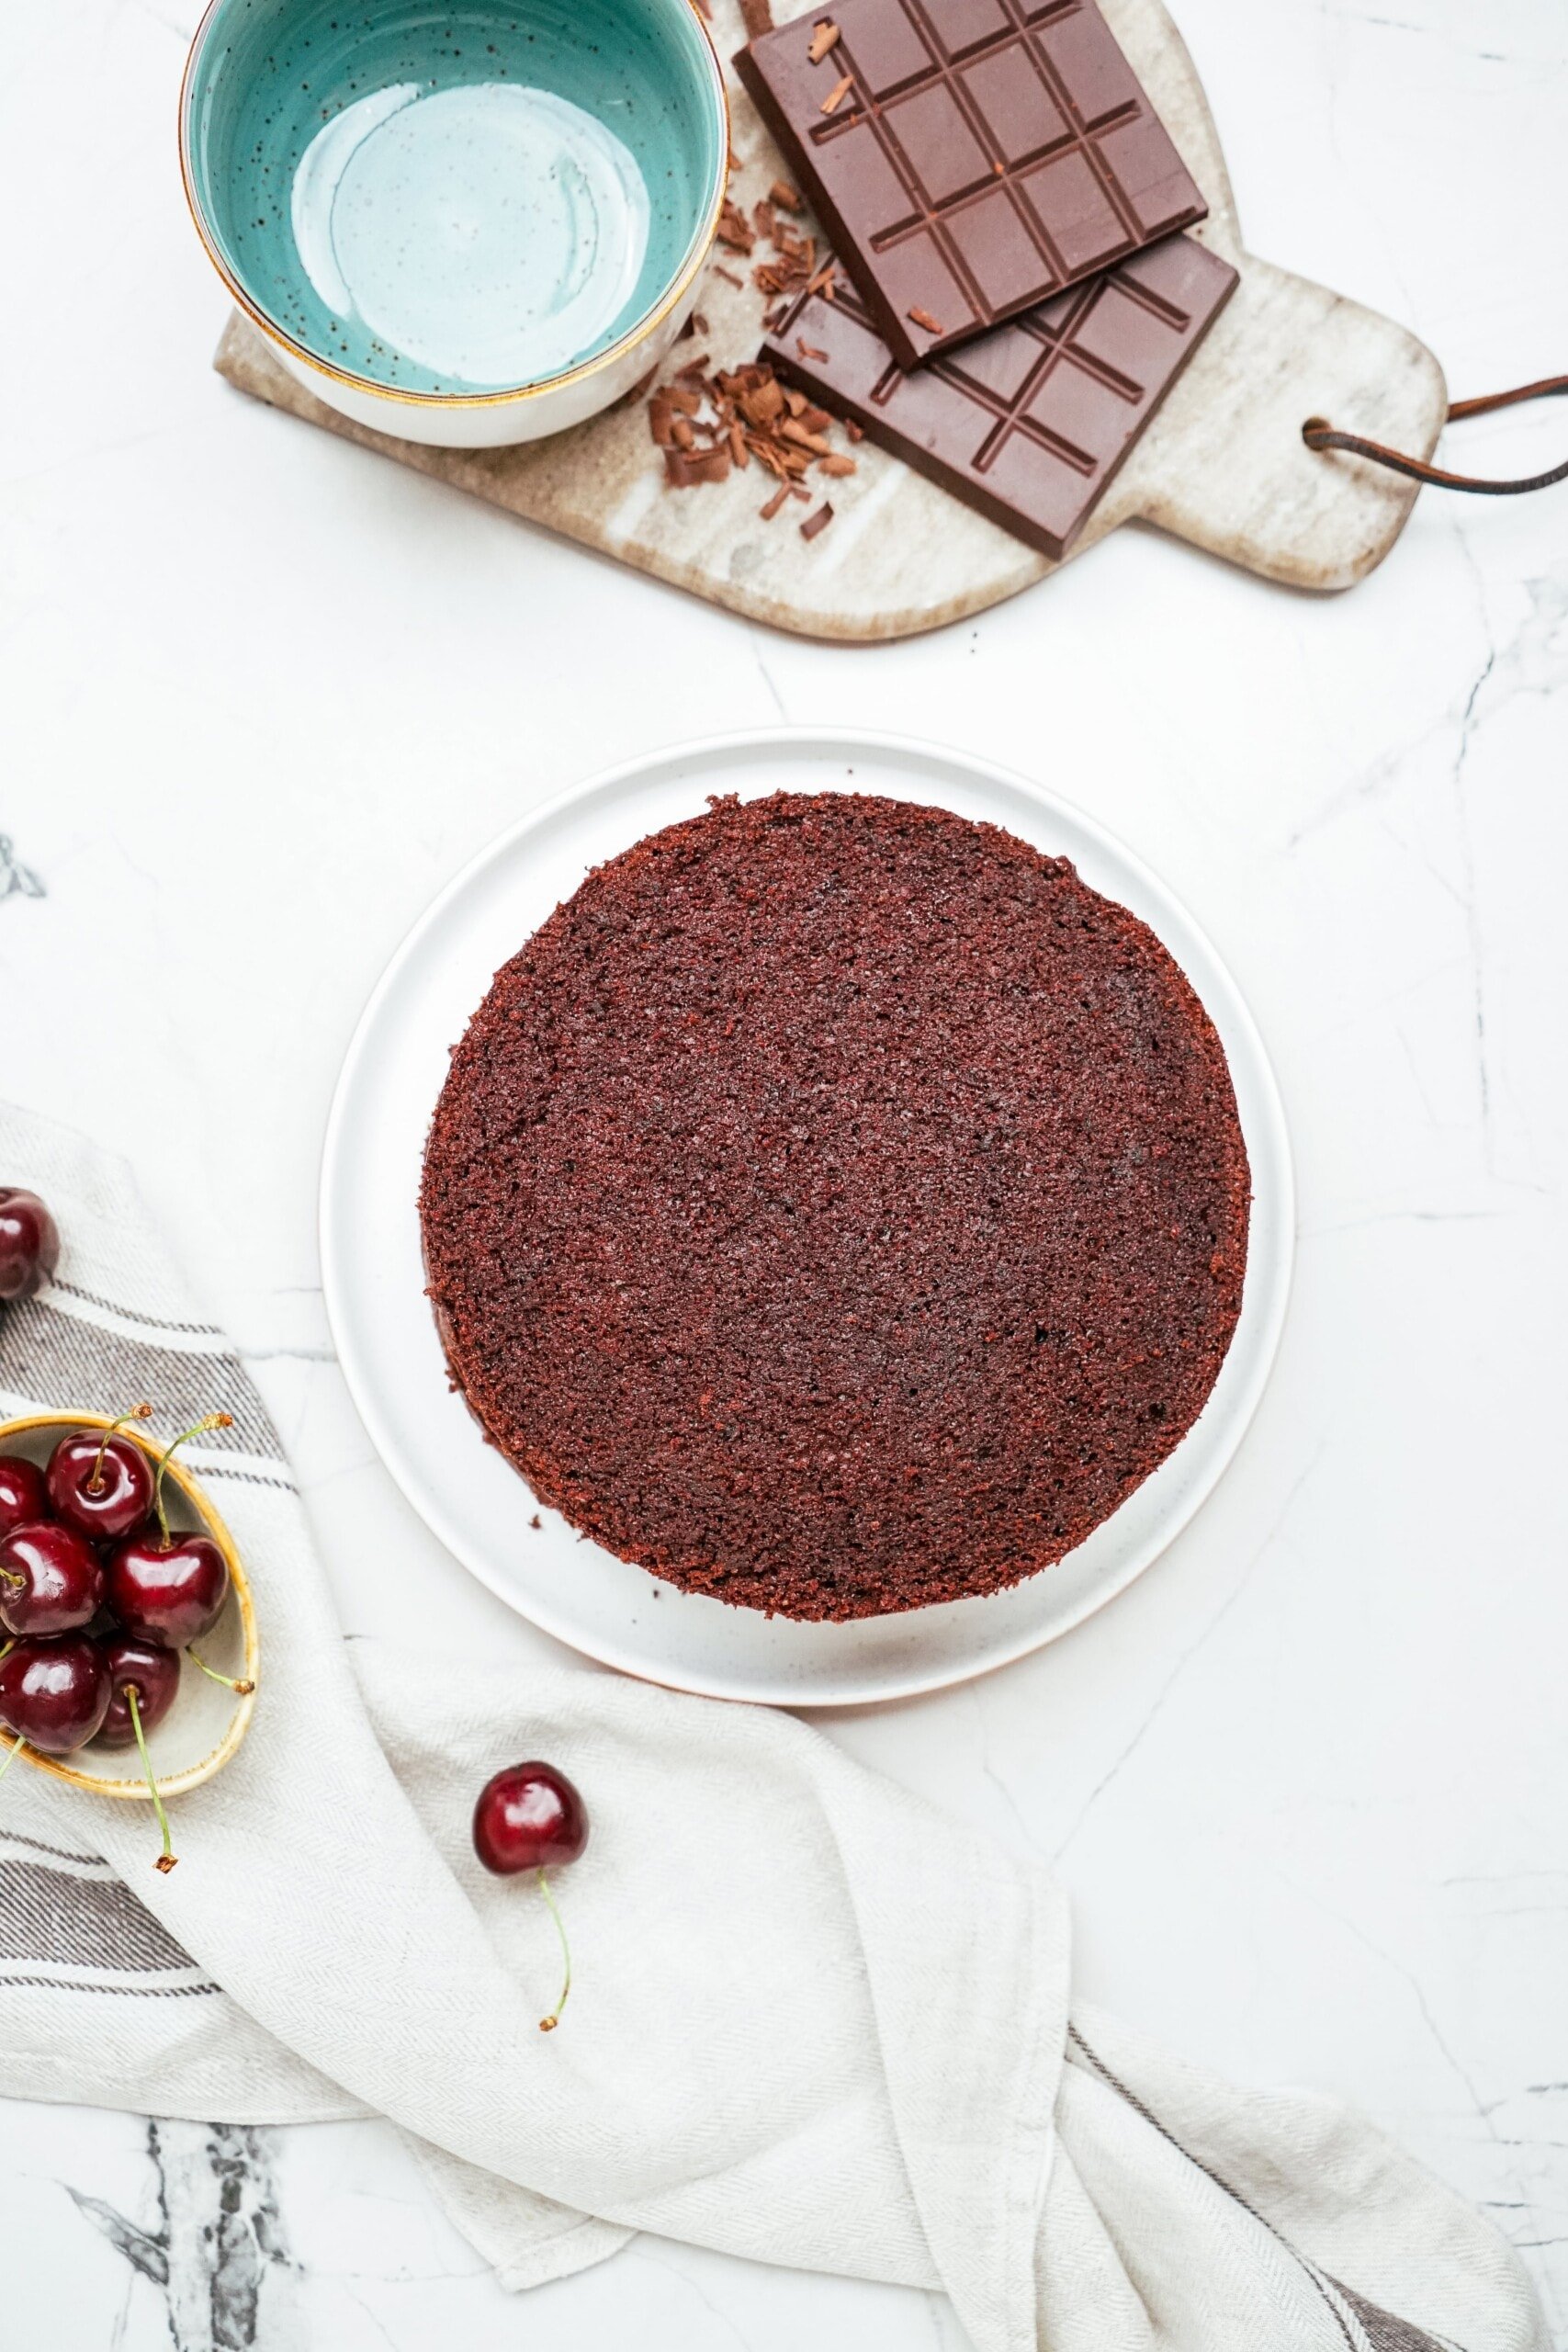
- Slice both 8-inch cake rounds in half horizontally (this leaves you with four 8-inch cake rounds).
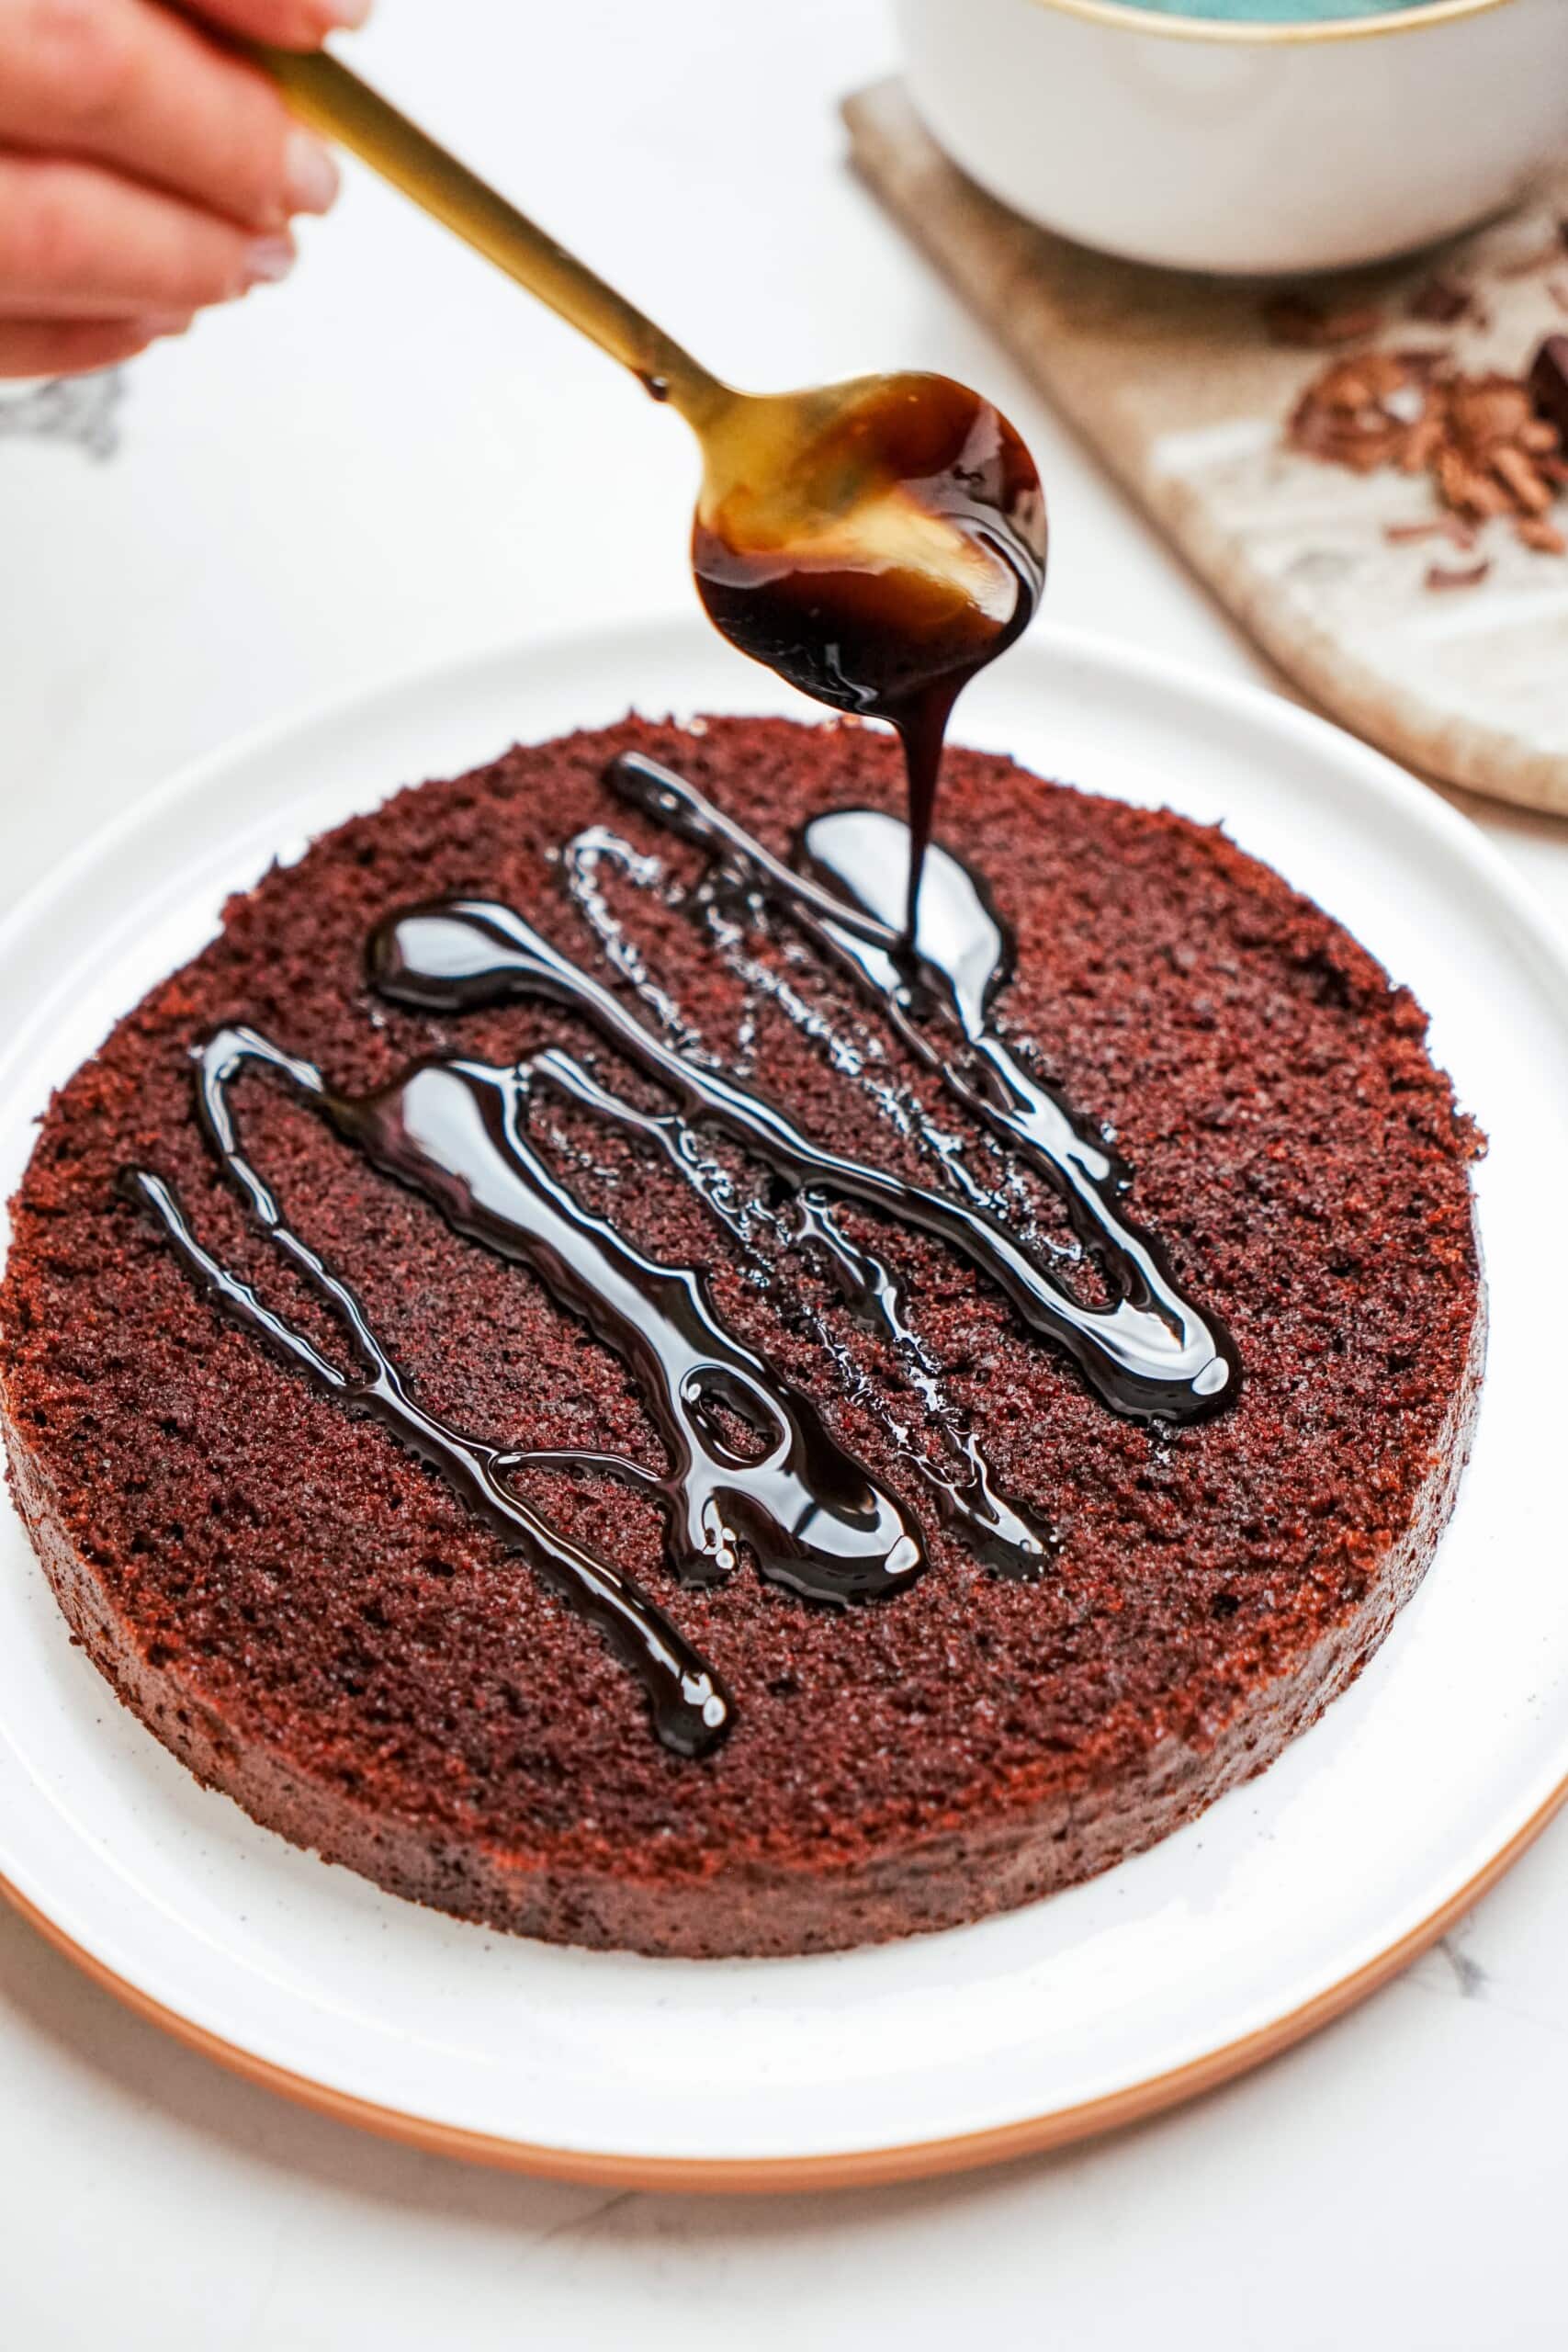
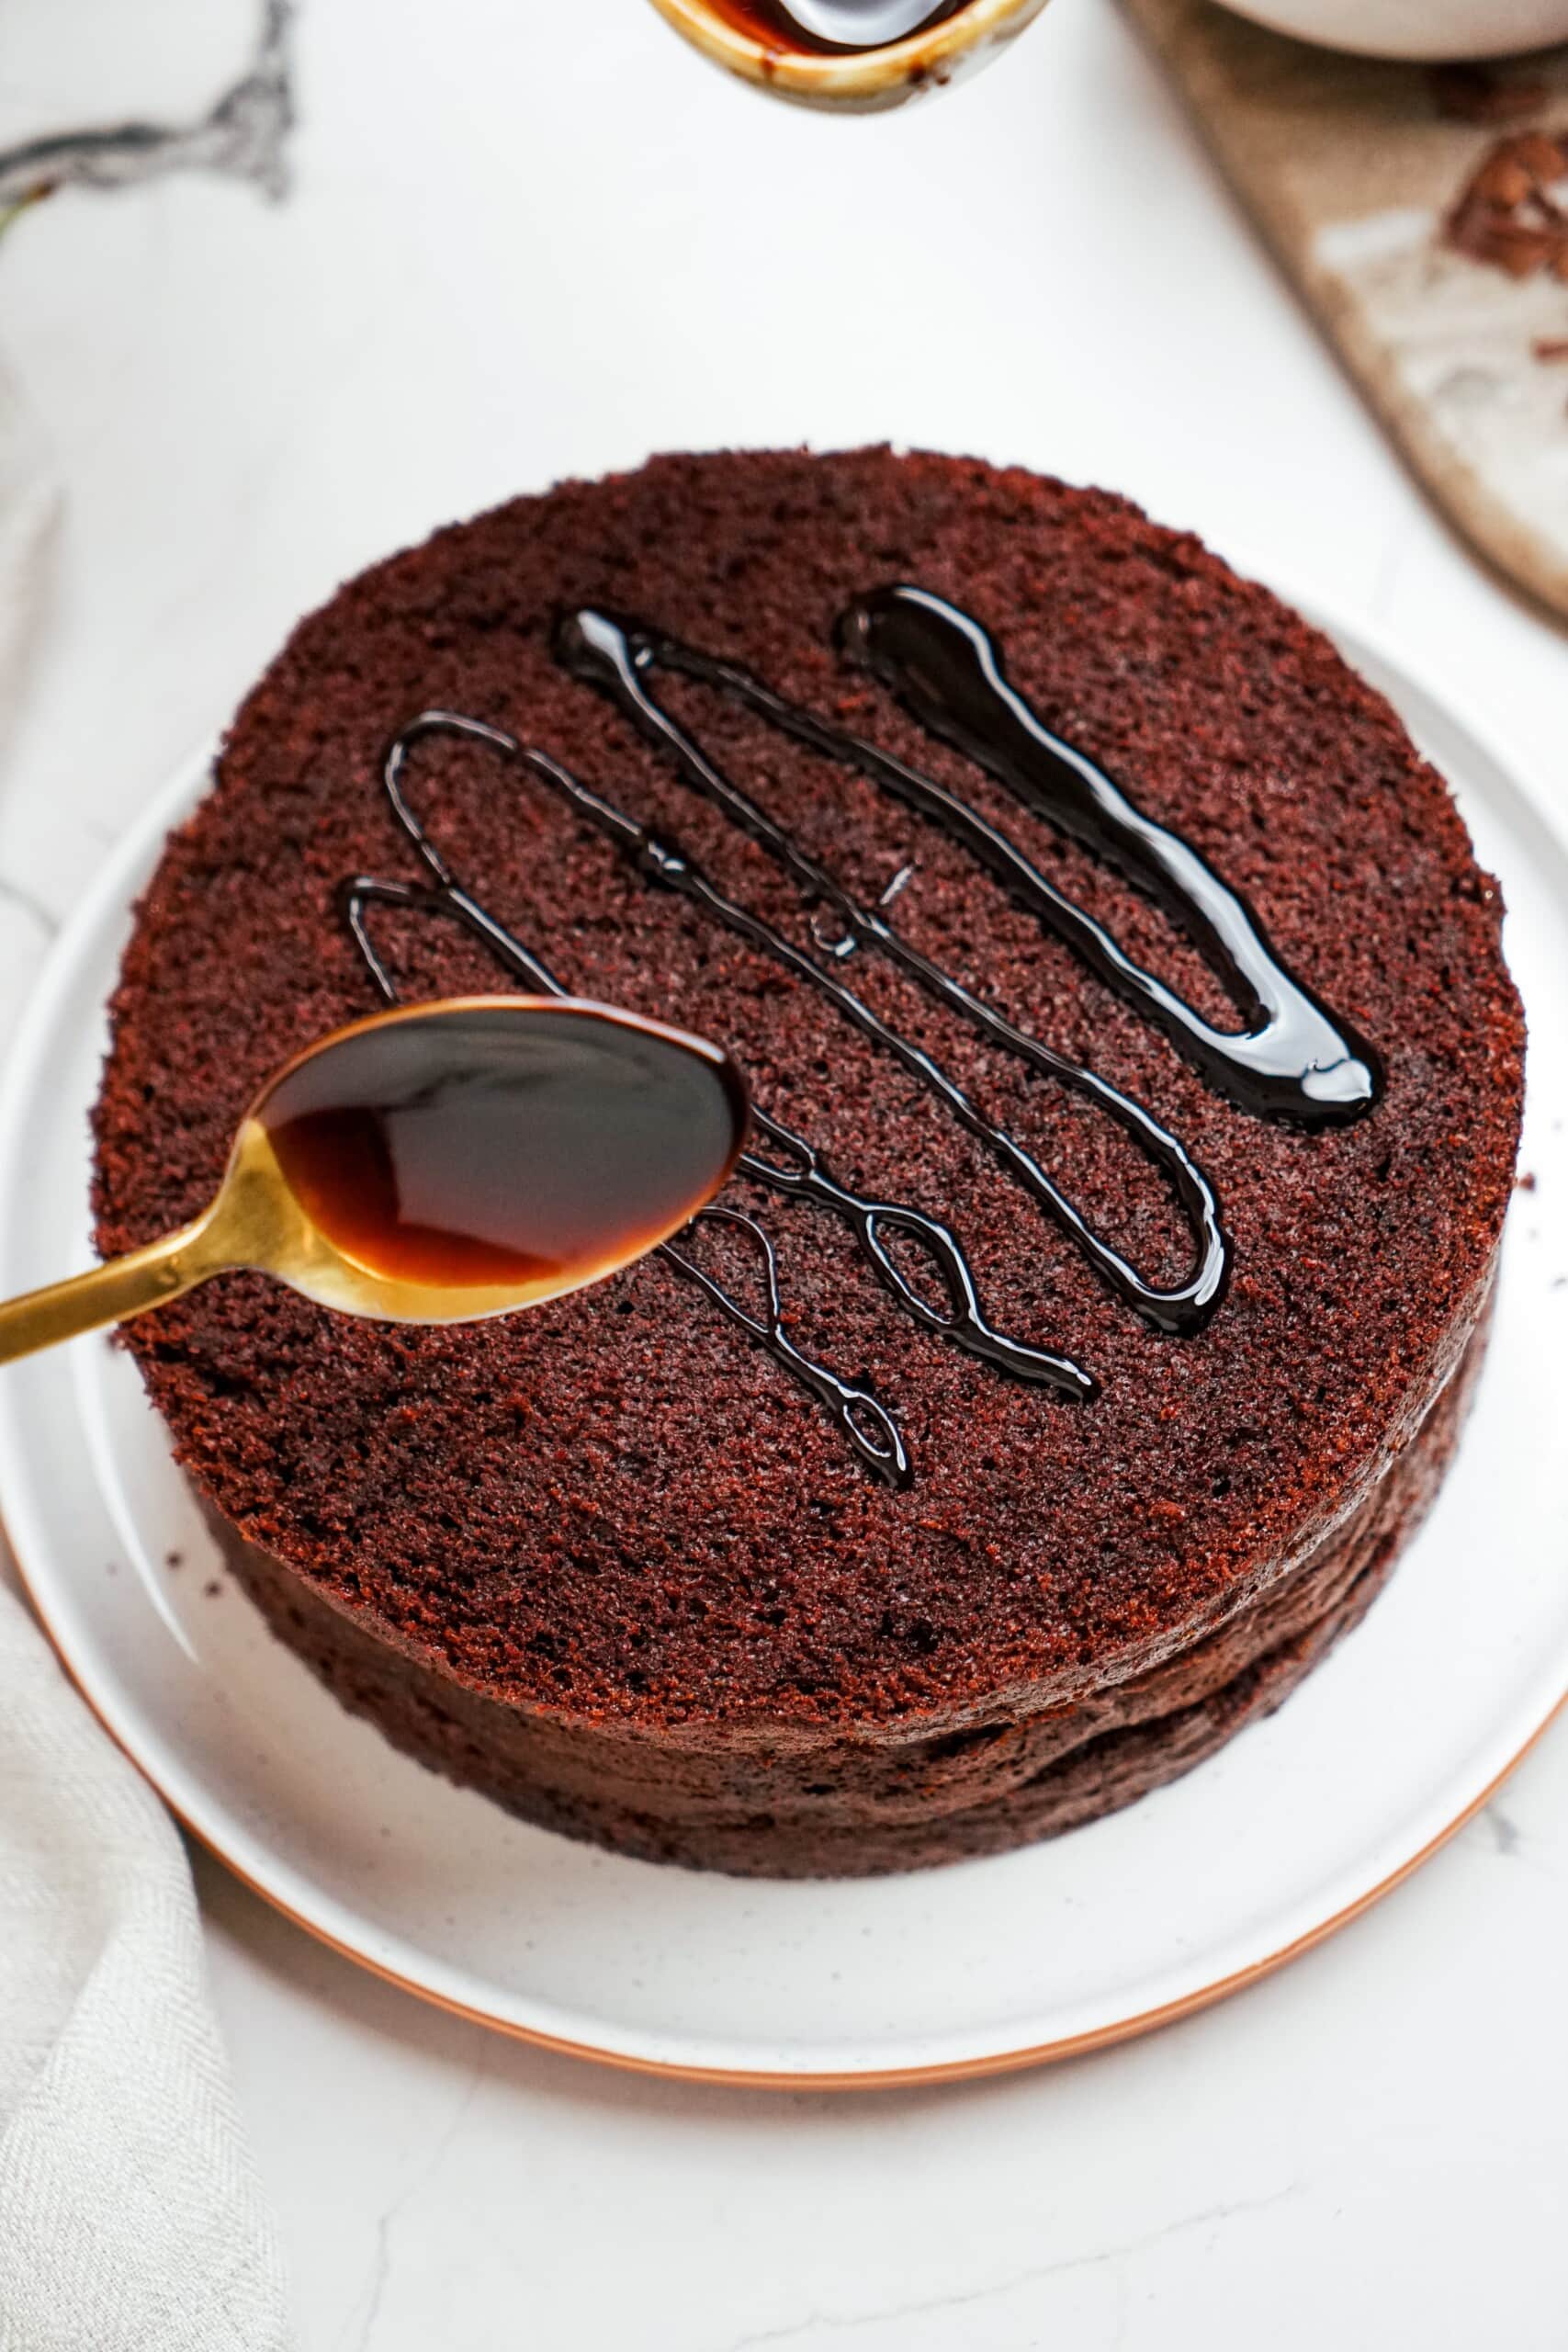
- Place one round onto a cake plate then drizzle the top of the cake with 3 tablespoons of chocolate syrup and spread using the back of a spoon. Top with the other half of the cake round.
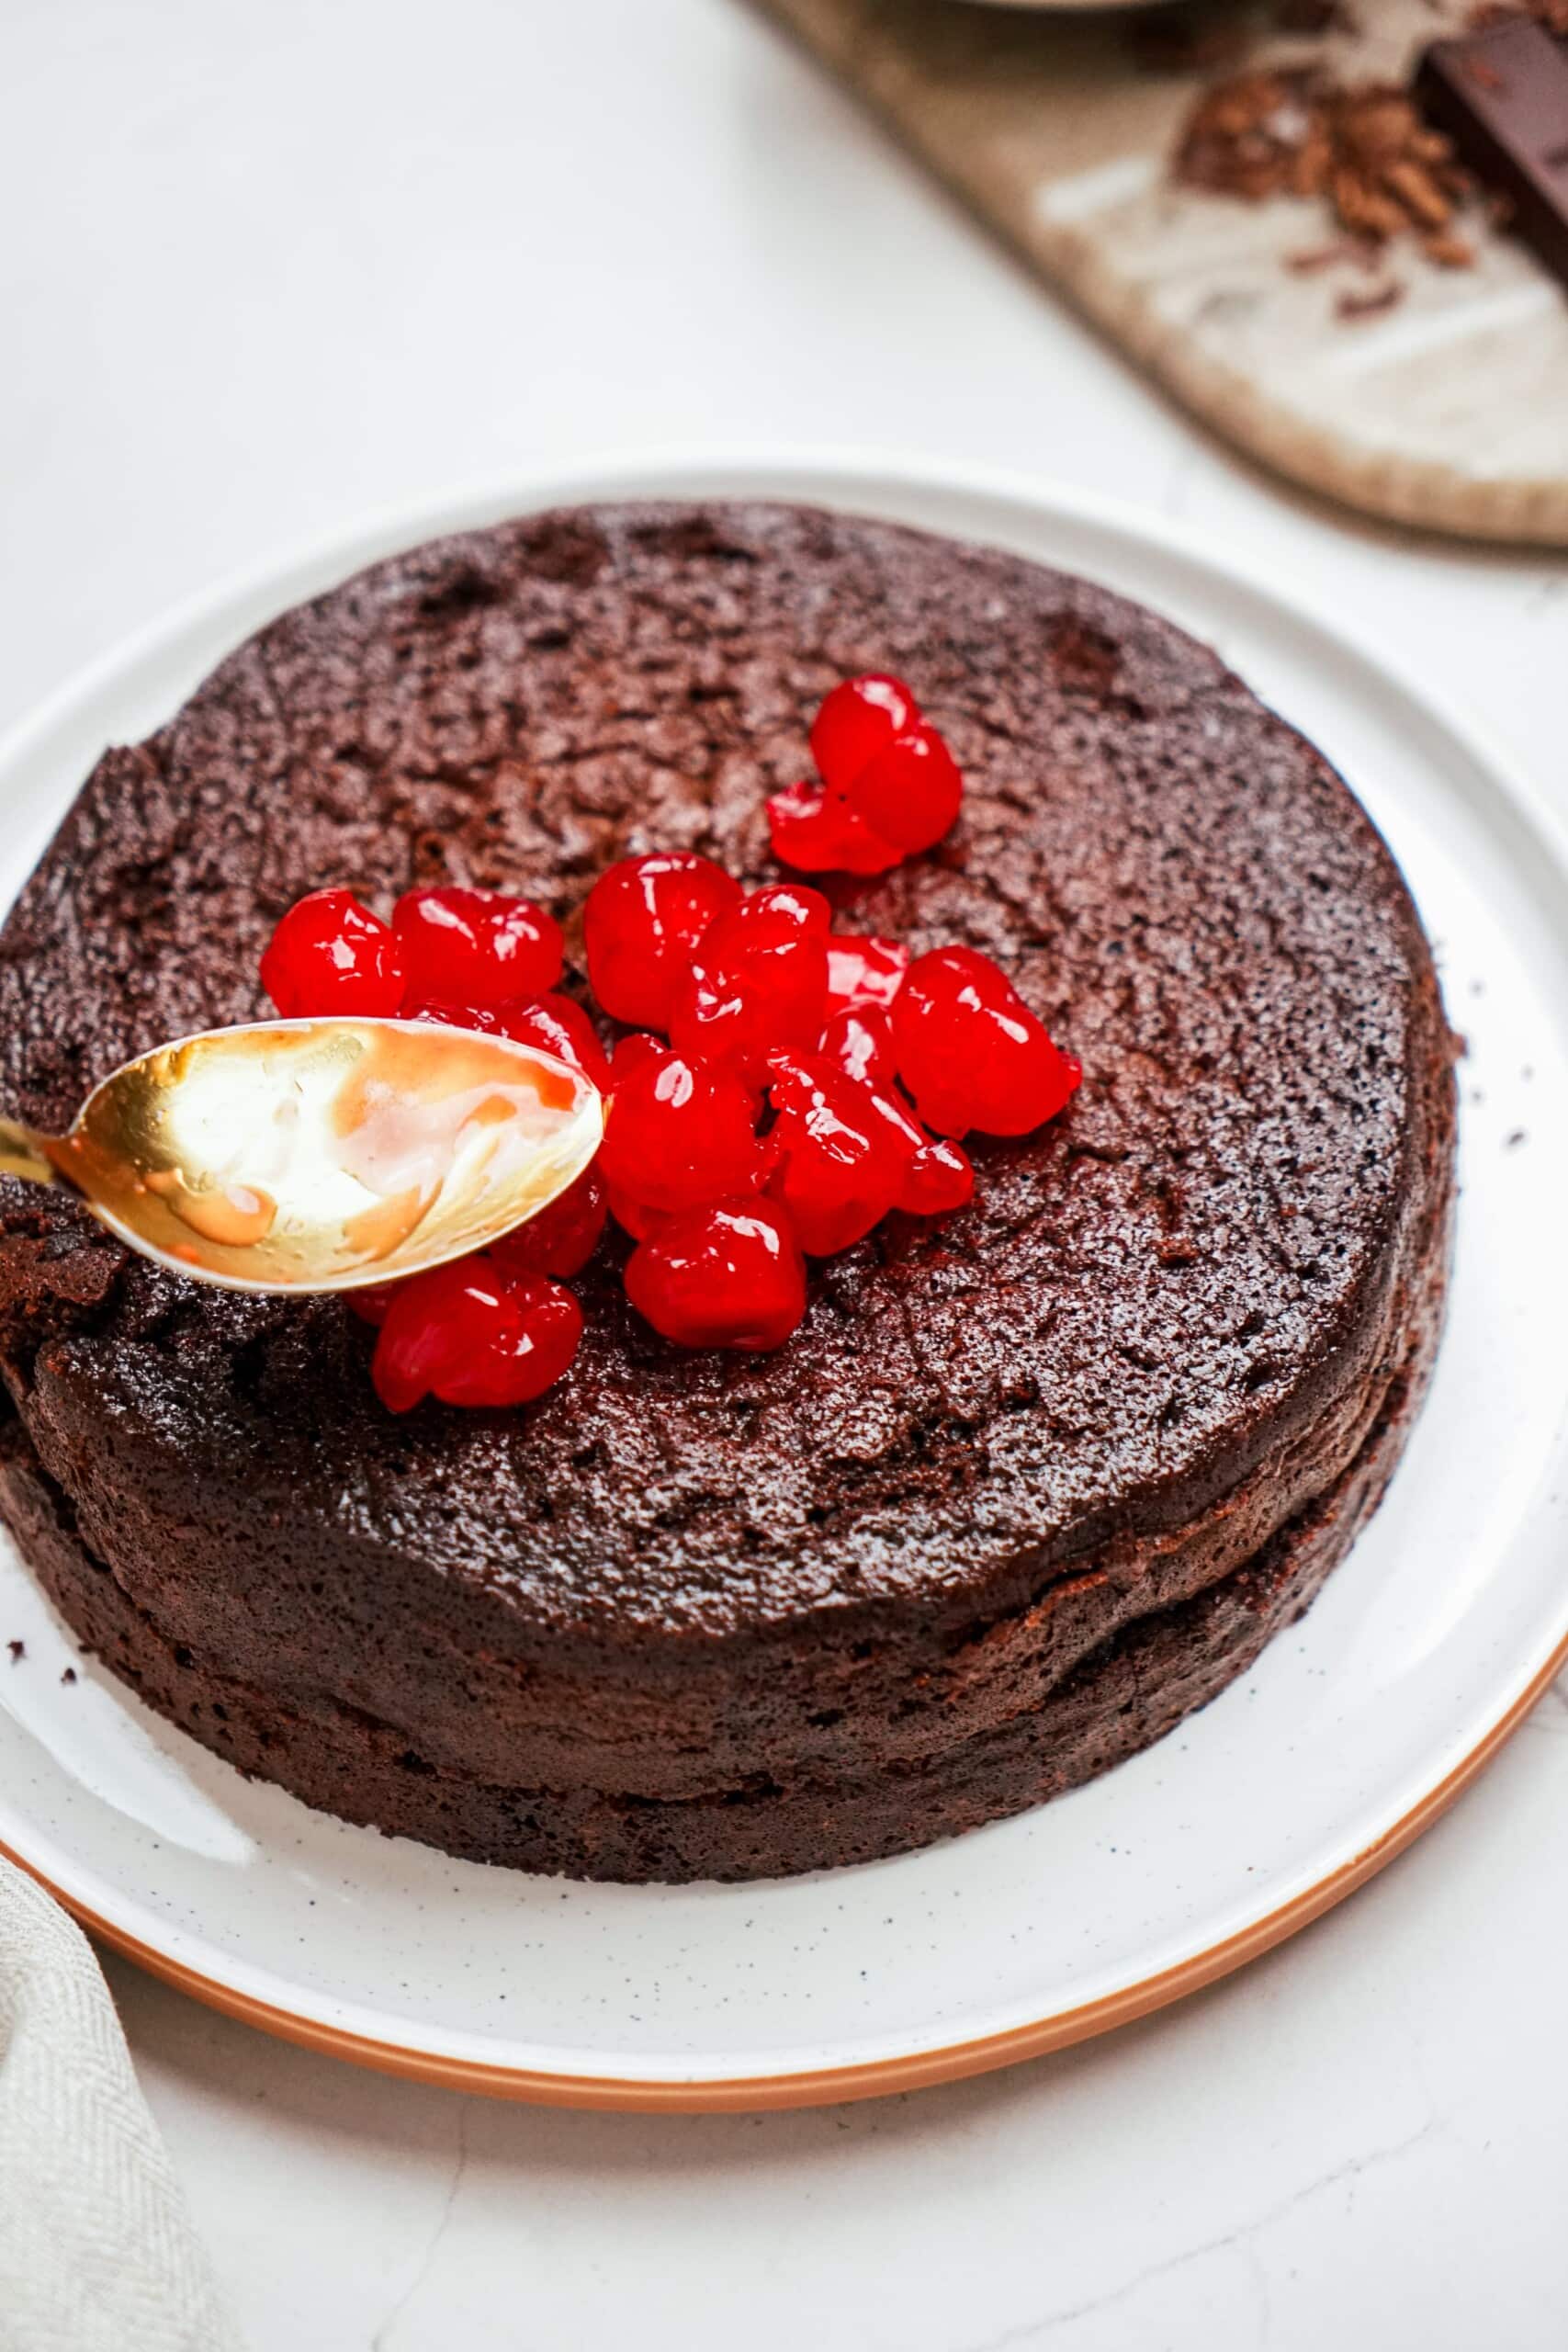
- Add on cooled cherry filling leaving a 1-inch border. (You will not use all of it…FYI! I had about 2 tablespoons left).
- Place another layer of cake on top of cherry filling. Drizzle with the remaining 3 tablespoons of chocolate syrup and spread. Top with the remaining cake layer.
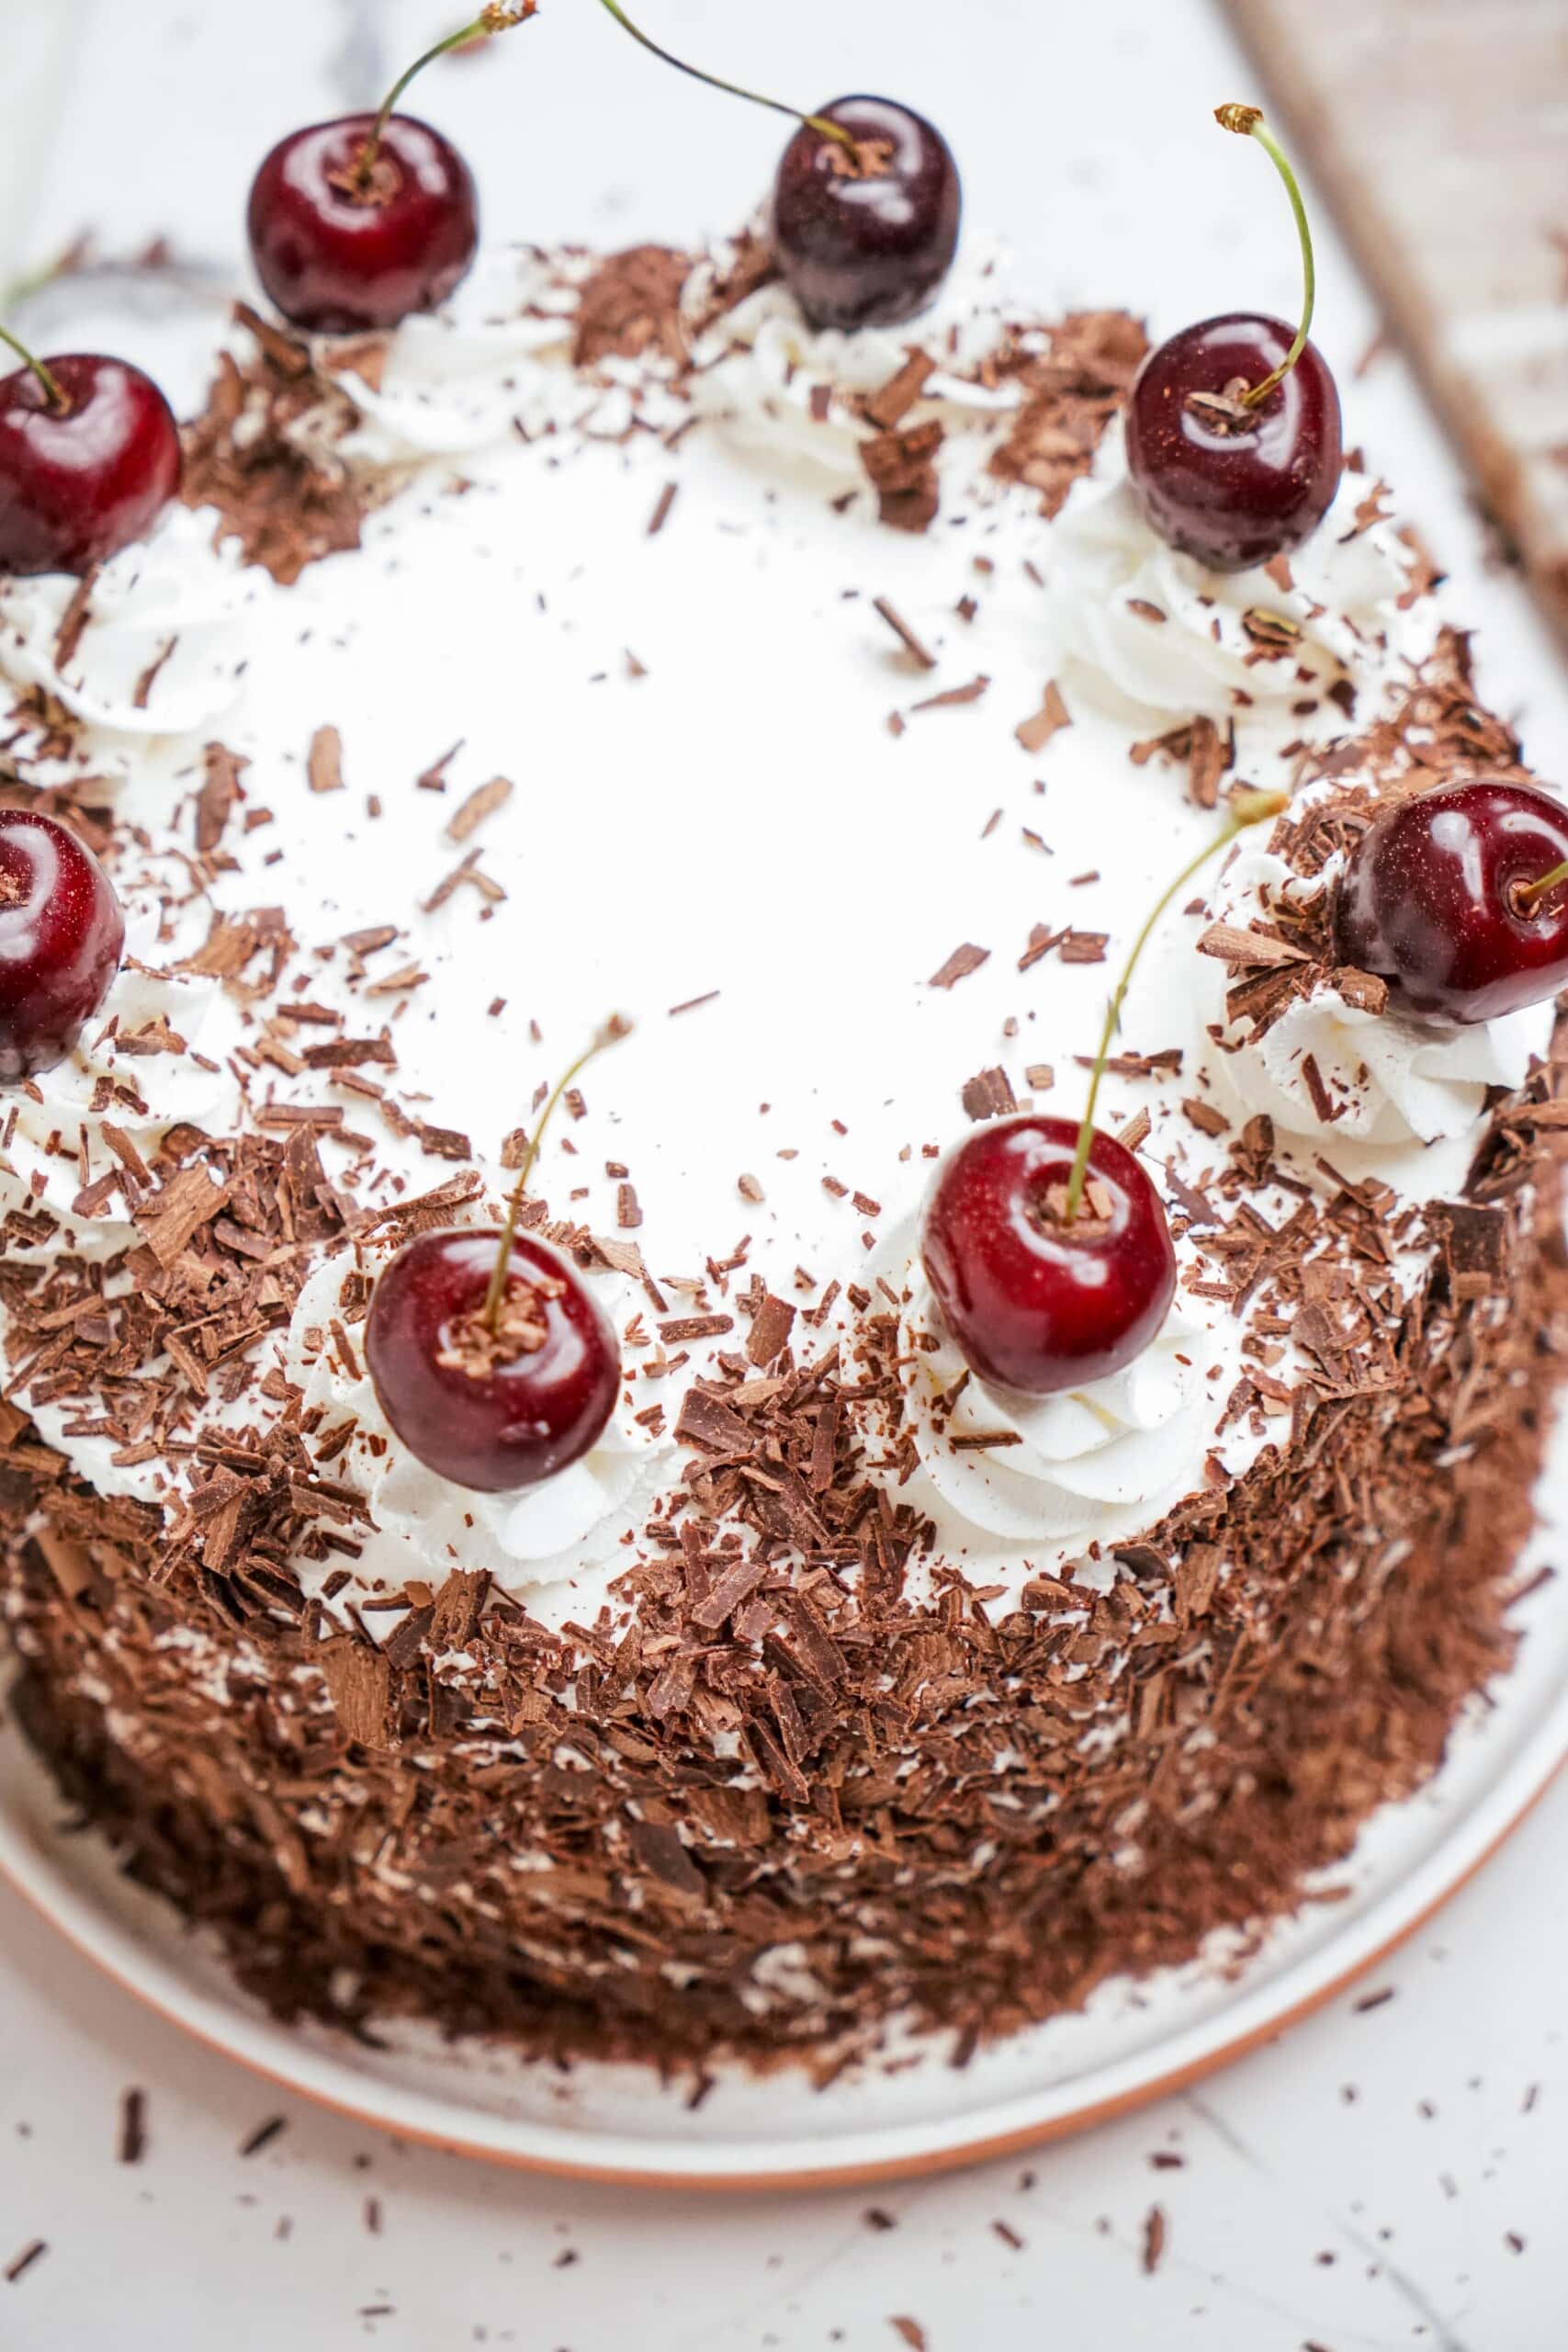
Decorate!
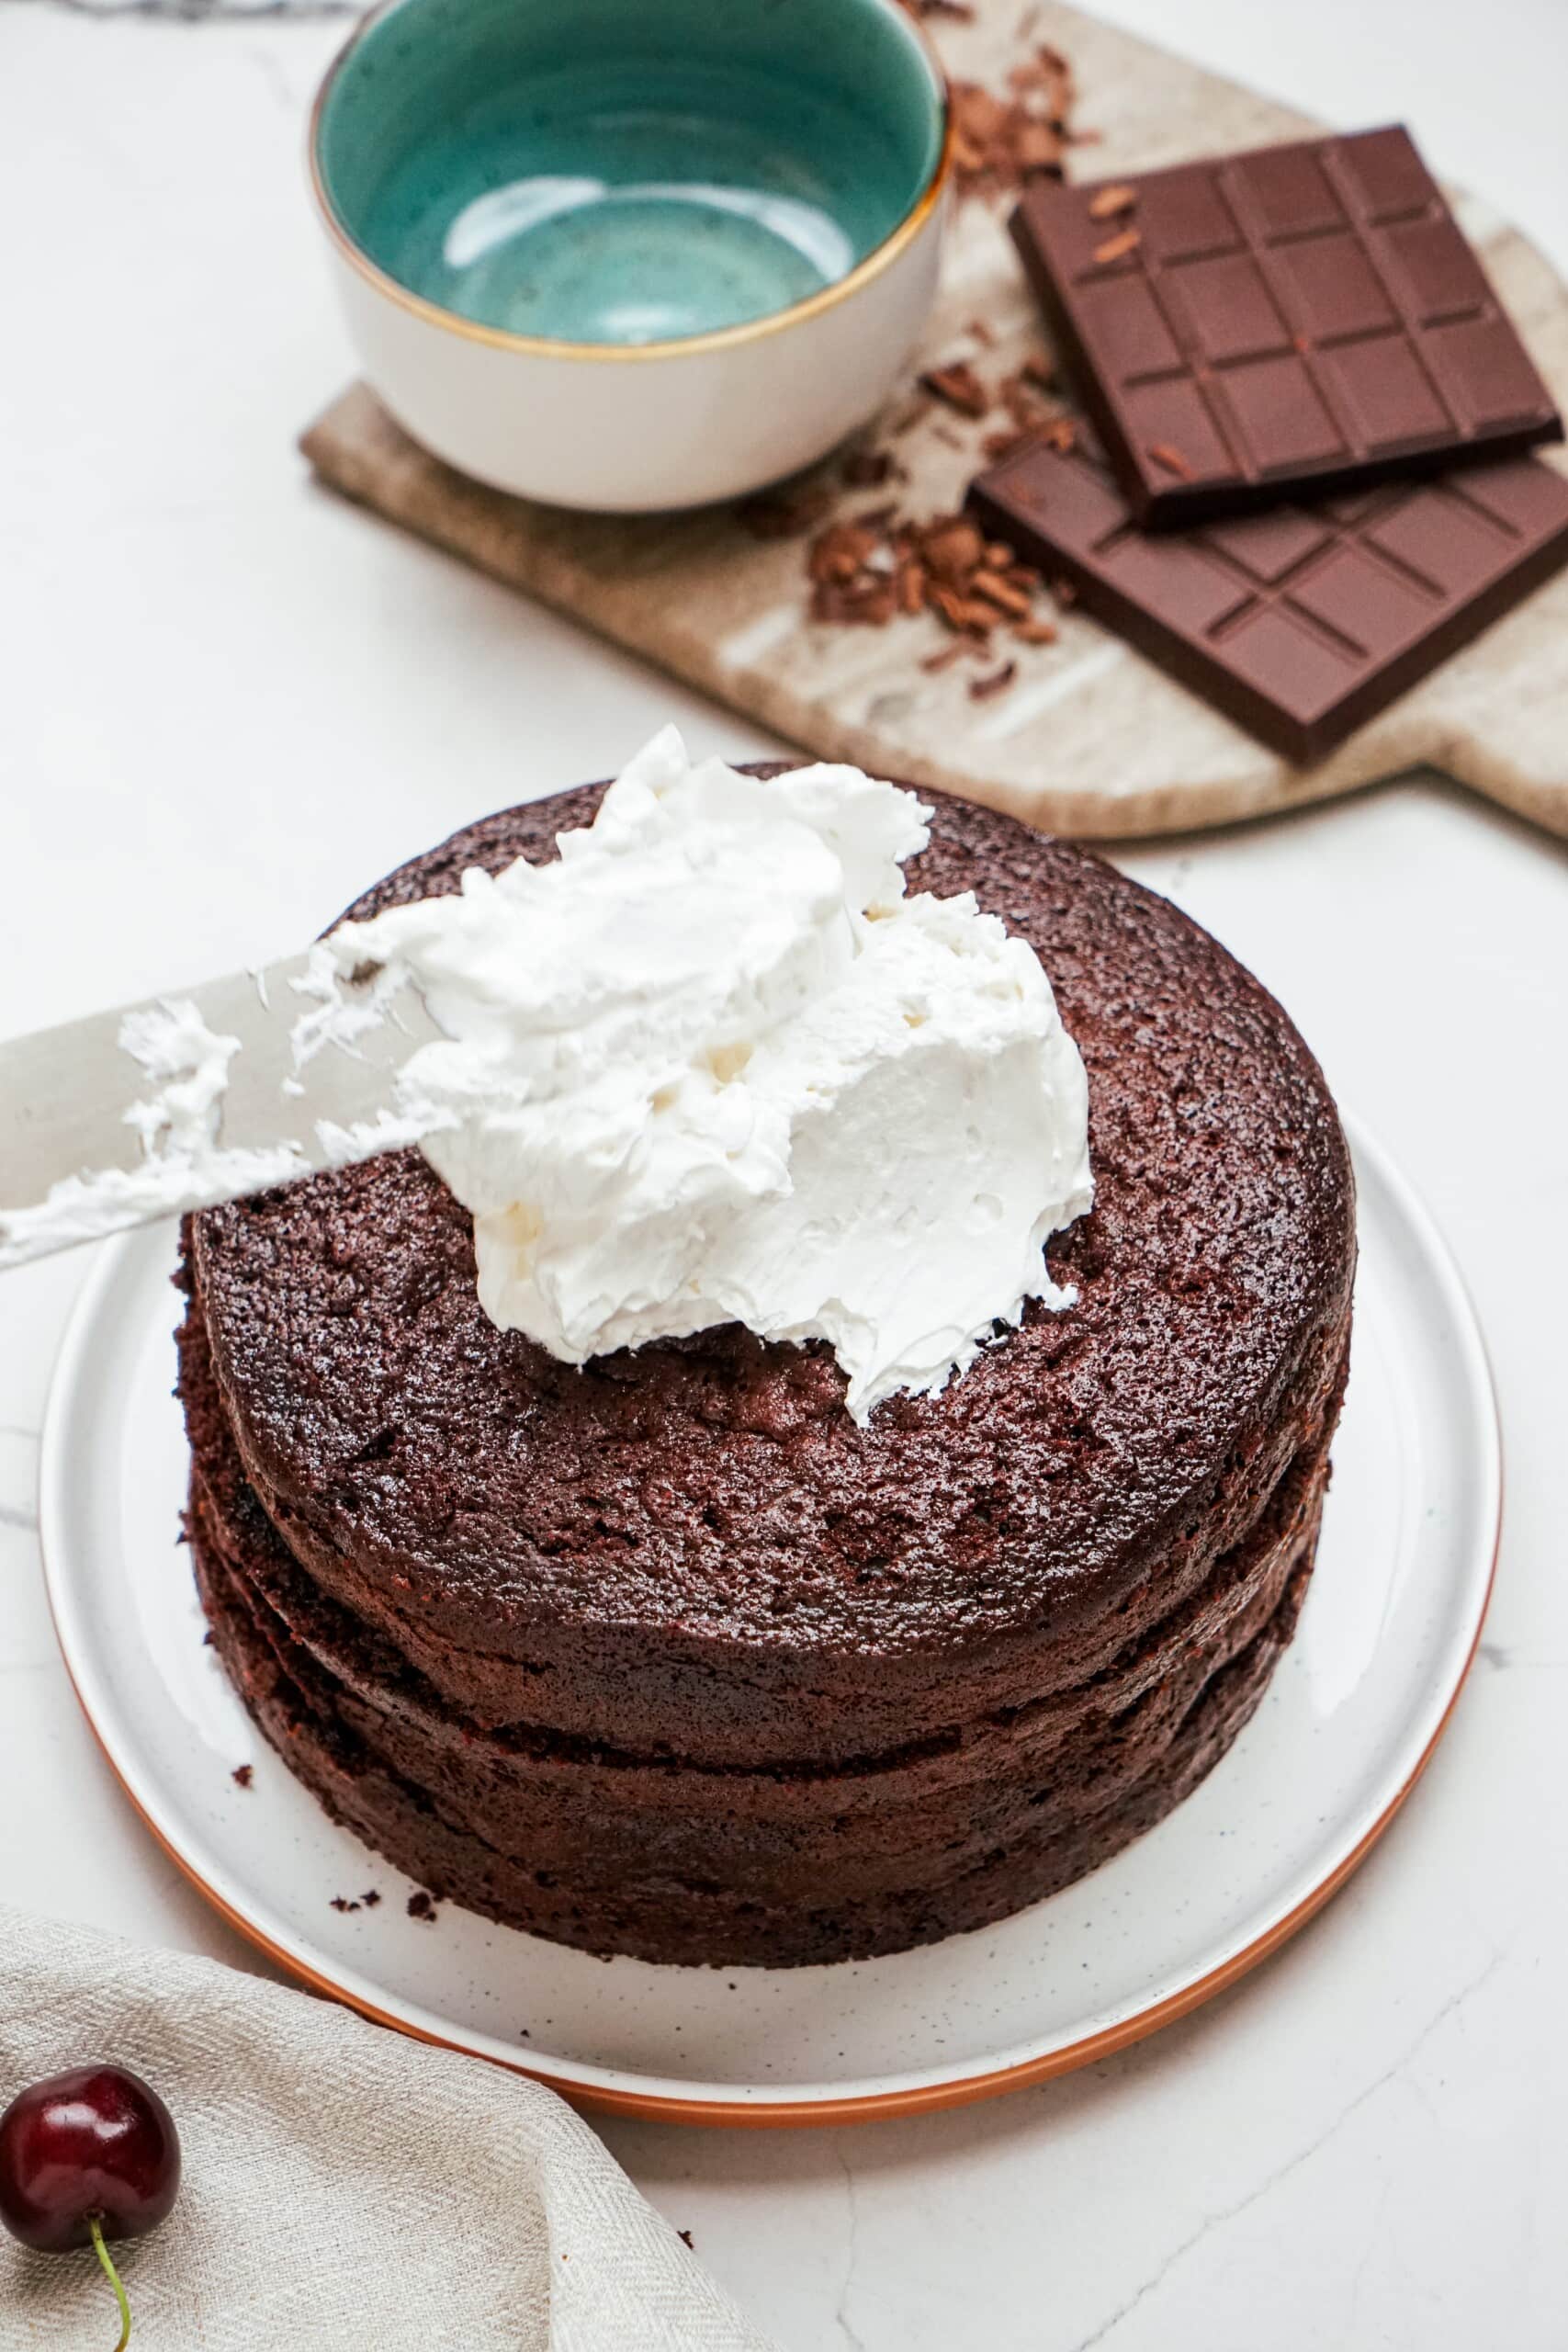
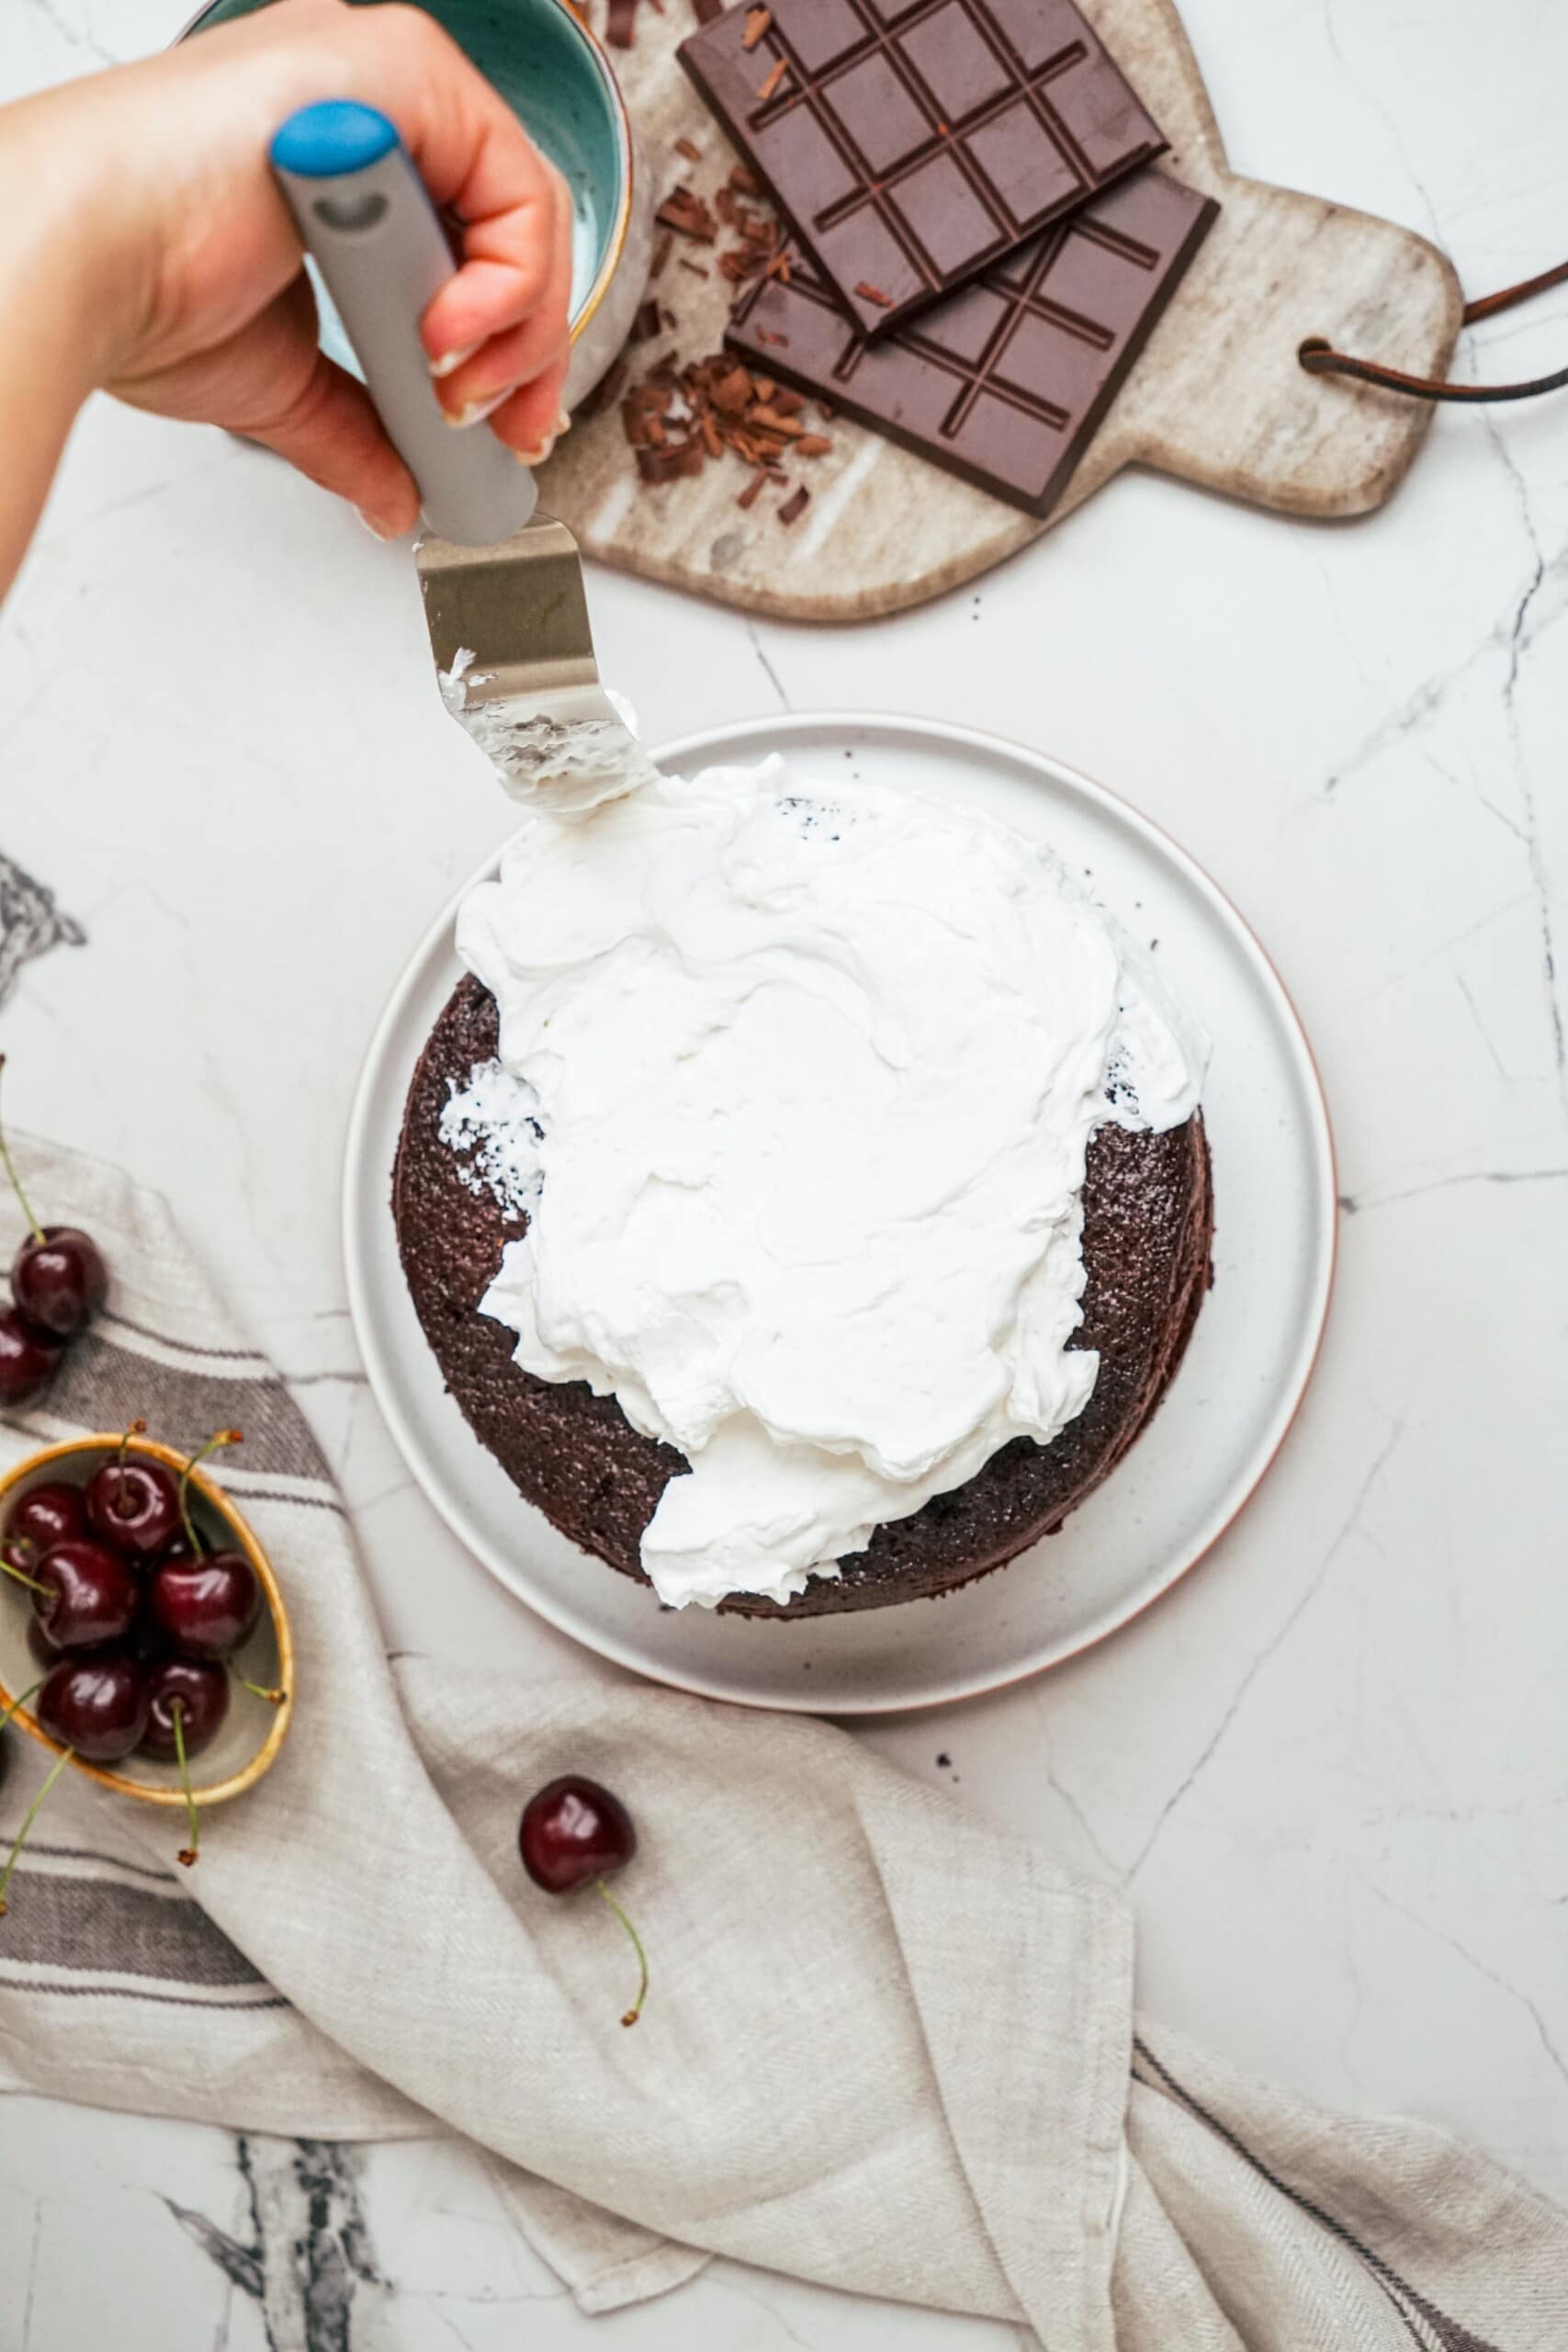
Spread whipped cream over the entire cake. I find it always better to add way too much and then as I clean up the cake, I remove the excess. This helps ensure not a ton of crumbs get into your cream.
If desired use a vegetable peeler to create chocolate shavings with the chocolate baking bar. Freeze 5 minutes before applying to the sides and top of the black forest cake. Garnish with cherries if desired. Serve!
Storage + Make Ahead Directions
Any cake leftovers can stay fresh in the fridge for up to 2 days (unfortunately Black Forest Cake doesn’t last very long). And yes, this cake does need to stay refrigerated because of the filling and the whipped cream “frosting”.
Can I make Black Forest Cake ahead of time?
To make this cake ahead of time, I wouldn’t recommend freezing it whole (once again, because of the whipped cream). To get around these hurdles, make the cake and filling ahead of time and frost the day you plan on serving. That way you can extend the life of this delicious treat.
Love Cherries? Try these recipes out:
More Chocolate Cake Recipes!
If you’ve never had Black Forest Cake or if you’re convinced that you don’t like it, give this recipe a try. If you do try this recipe, I’d absolutely love it if you would give it a star rating and let me know in the comments what you think.
The printable recipe card below. Have a great day, friends.
Black Forest Cake
This Black Forest Cake recipe is made from scratch with my perfect chocolate cake recipe, homemade cherry filling, and vanilla whipped cream!
Ingredients
for the cherry filling and chocolate syrup layer-
for the whipped cream and toppings-
Instructions
-
Preheat oven to 350° F. Line two 8-inch round baking pan with parchment paper and/or spray well with nonstick cooking spray and set aside.
-
In a large bowl, whisk flour, cocoa powder, baking powder, baking soda and salt together to combine. Set aside.
-
In a liquid measuring cup, stir buttermilk, instant coffee granules (if using) and vanilla together. You want to stir to dissolve the coffee granules. They will slowly dissolve over the course of 5-10 minutes as they sit in the buttermilk and as you add them into the chocolate cake batter. Set aside.
-
In a large bowl, mix oil and sugar together until combined. Add in the eggs and egg white, one at a time, until mixture becomes lighter in color. Scrape the sides of the bowl and mix again briefly.Alternate adding in flour mixture with milk mixture, being sure to start and end with flour. Scrape the sides and mix again to ensure a smooth batter.
-
Using an ice cream scoop, divide chocolate cake batter evenly between 2 baking pans and smooth the tops. Bake 28-35 minutes in the lower 2/3rds of the oven. Cake will be done when a toothpick comes out clean or mostly clean with a few moist crumbs. (Keep a close eye on the cake around the 25 minute mark, as ovens vary!)
-
Cool 15-20 minutes in cake pans before trying to invert on cooling racks. Once you can handle the warm pans with your bare hands, you can flip them out. Cool completely before frosting and decorating.
-
For the Cherry Filling:
-
For the cherry filling, stir sugar and cornstarch together in a cold small pot until combined. Add in cherries and toss. Place over medium-low heat to melt frozen cherries. Once a paste has formed around the cherries, increase the heat to medium and keep stirring until all the liquid has come out of the cherries and the mixture is boiling. Continue to stir until it becomes very thick, about 4 minutes or boiling. Be careful to not walk away from this mixture because it can burn easily. Remove from heat and stir in butter and almond extract. Cool completely.
-
Make the Whipped Cream
-
For the whipped cream, whip heavy whipping cream, sugar, and vanilla until stiff peaks form. Refrigerate until ready to use.
Decorate
-
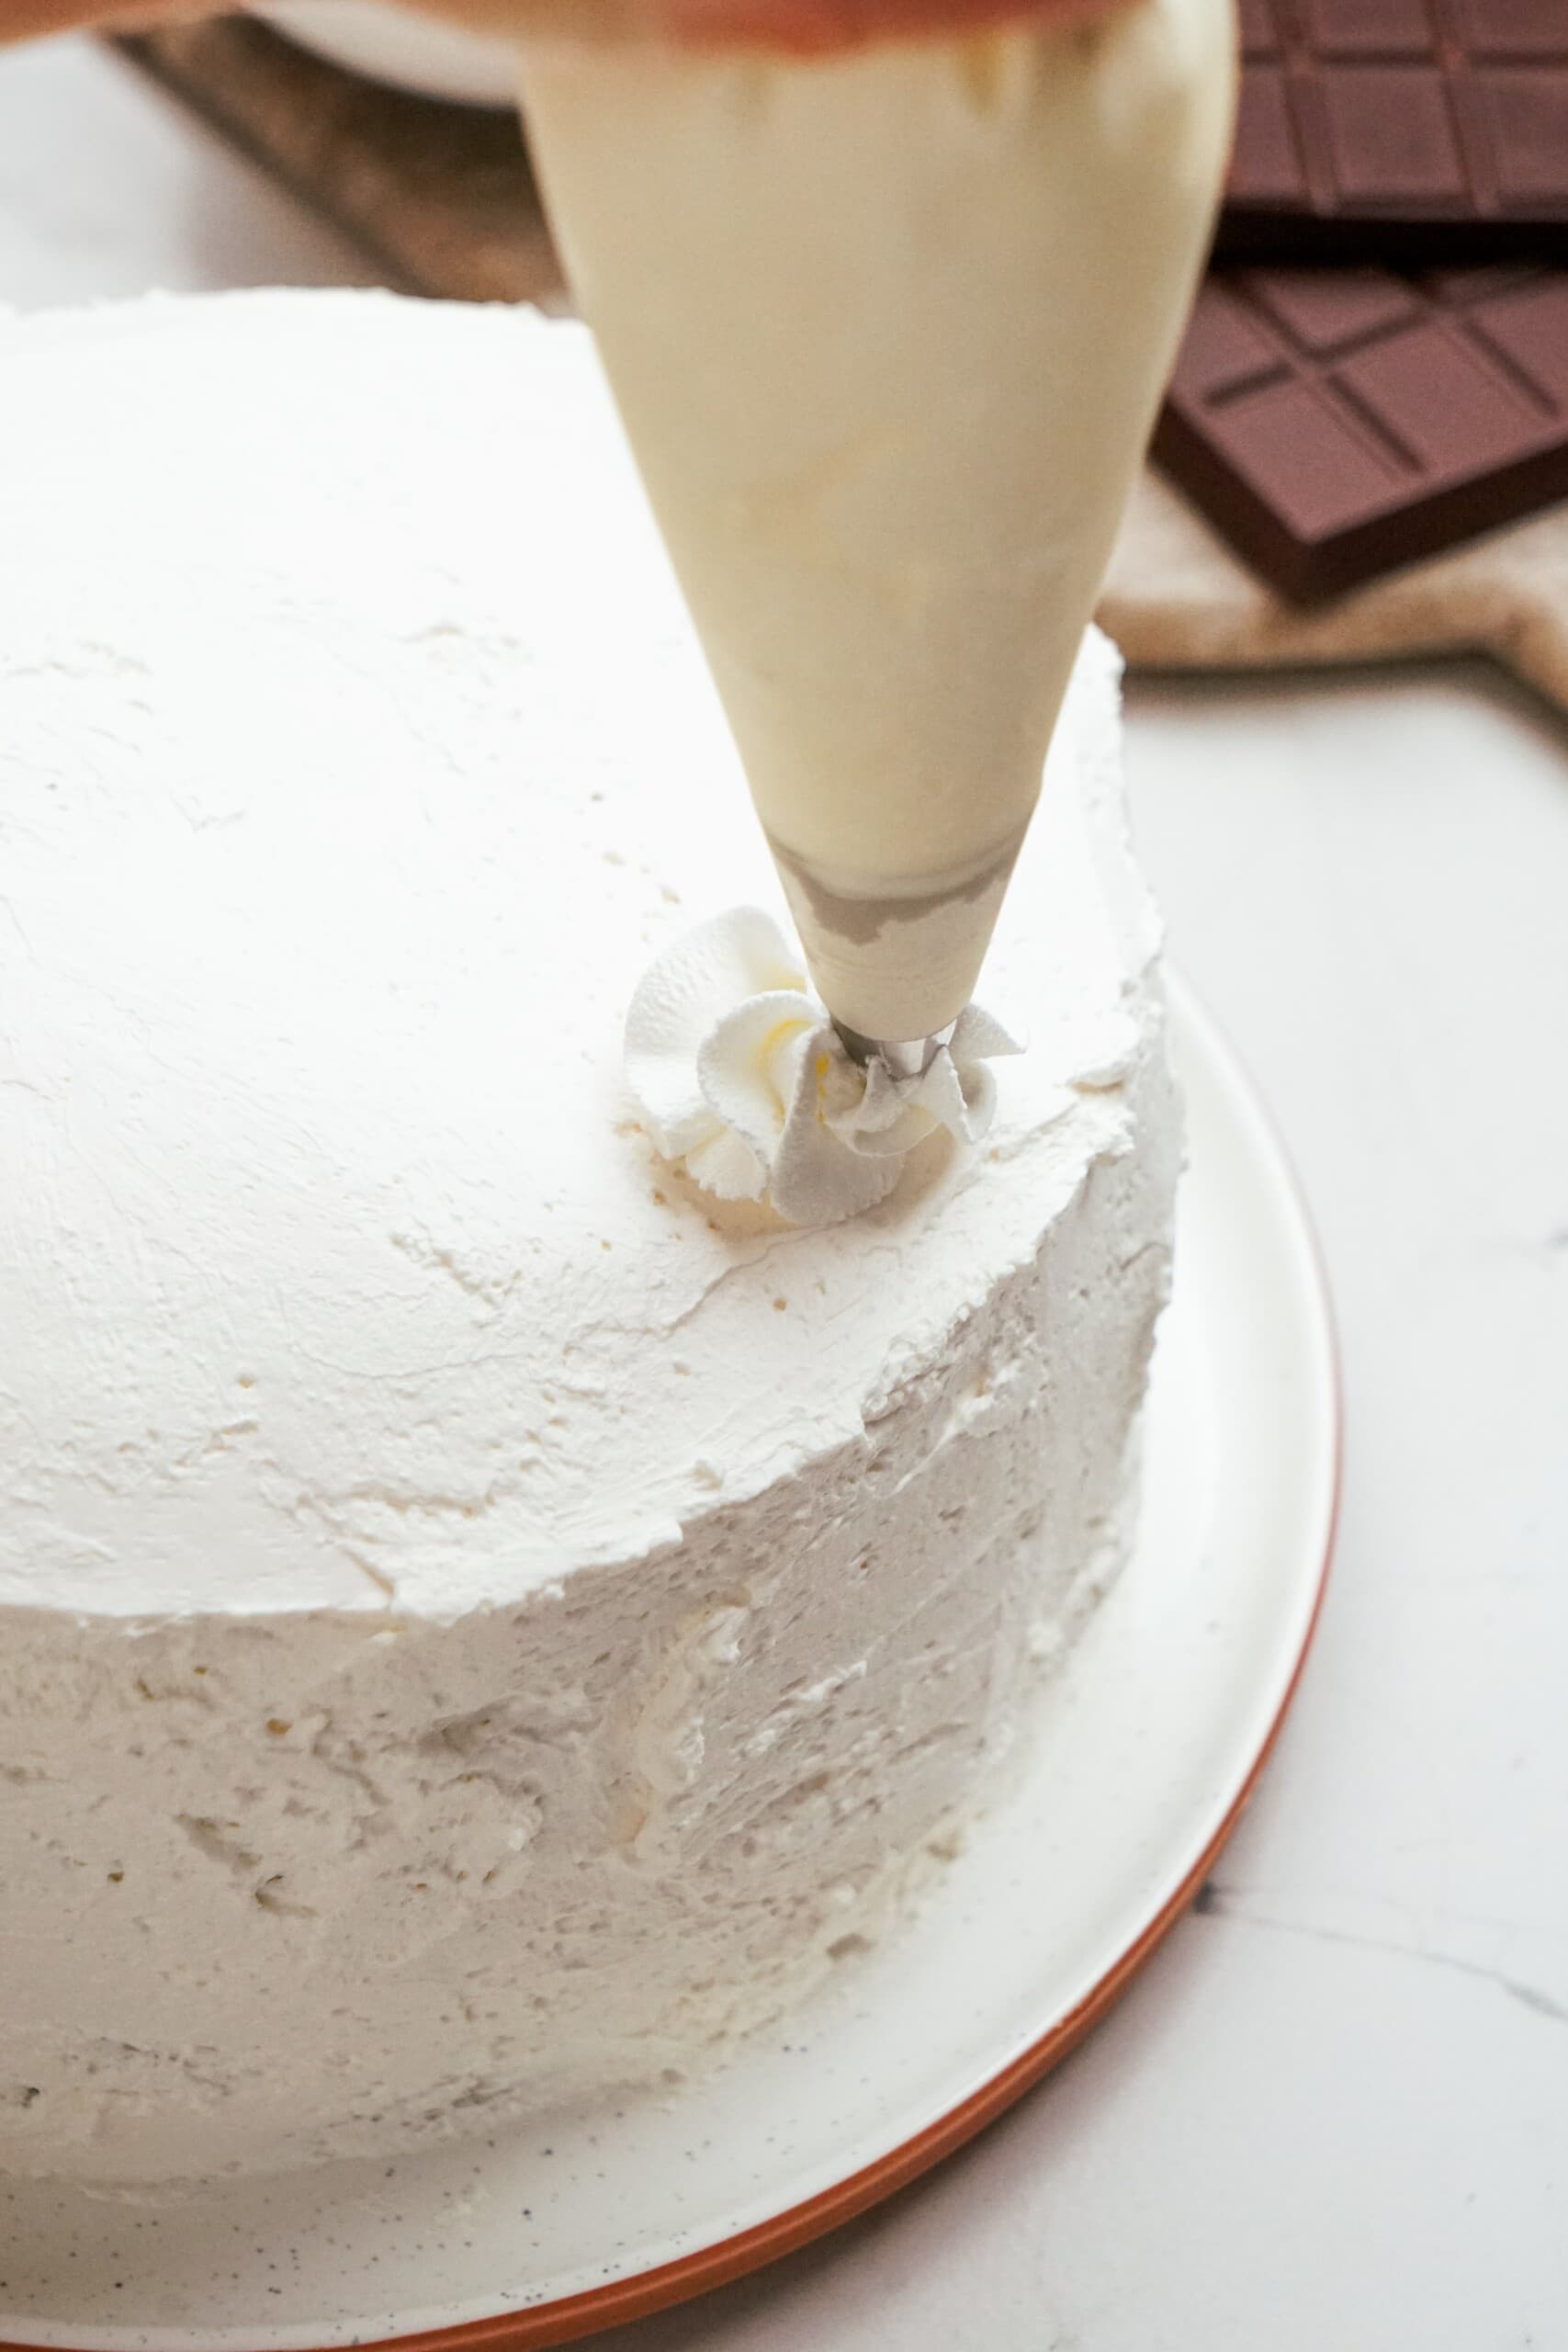
Spread whipped cream over the entire cake. I find it always better to add way too much and then as I clean up the cake, I remove the excess. This helps ensure not a ton of crumbs get into your cream. Get decorative on top with a few piped rosettes with a fresh cherry on top of each if desired.
-
If desired use a vegetable peeler to create chocolate shavings with the chocolate baking bar. Freeze 5 minutes before applying to the sides and top of the black forest cake.
Notes
*Regardless of how you bake this cake, be sure to use lighter-colored baking pans (or glass). Using a darker Teflon will make the edges cook a lot quicker than the center of the cake, giving you darker, crispier edges which isn’t what we’re going for with this chocolate cake recipe.
Nutrition
Calories: 481kcal | Carbohydrates: 78g | Protein: 7g | Fat: 19g | Saturated Fat: 12g | Polyunsaturated Fat: 1g | Monounsaturated Fat: 6g | Trans Fat: 1g | Cholesterol: 47mg | Sodium: 256mg | Potassium: 377mg | Fiber: 5g | Sugar: 54g | Vitamin A: 532IU | Vitamin C: 2mg | Calcium: 100mg | Iron: 4mg