
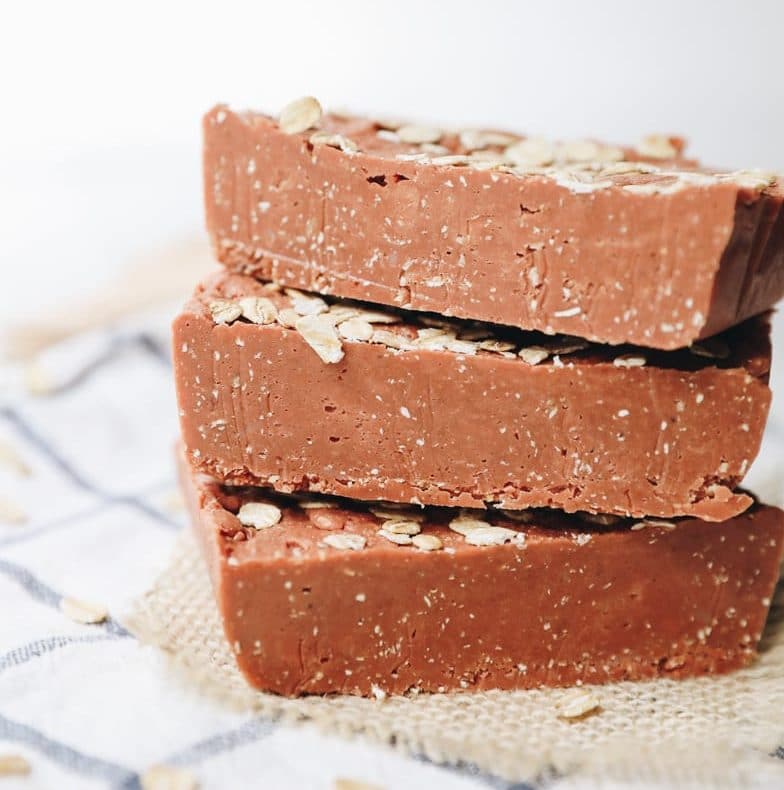
Would you like to learn how to make soap? It’s simpler than you think! In this step-by-step guide, I show you how to make homemade soap with a simple melt and pour of soap and ingredients that benefit all skin types but especially sensitive skin!
Well, I won’t lie, I’ve used a liquid shower gel for most of my life, but as you know I’ve spent the last few years trying (emphasis on trying!) to make more sustainable choices and one of these simple ones Swaps consisted of switching from liquid body wash to bar soap.
I got into soap making a few years ago to save budget and be creative. Some of you may remember that Lee and I used to run a DIY blog called SHEuncovered (RIP!) and I shared a lot of bar soap recipes there. Because despite popular belief, making homemade soap is actually VERY easy! That’s because of one key ingredient: melt and pour soap.
Simple Hack = Melt + Pour Soap
While I absolutely love the idea of making soap from scratch, I’m also completely intimidated by it. As far as I know, making soap requires a chemical reaction with lye. Well I don’t think it’s really that hard, anything that forces me to wear goggles and rubber gloves just isn’t my cup of tea. I prefer to use the easier melt and pour soap option as the soap base.
What is melt + pour soap? It’s basically soap that has already been premixed and hardened into a block. Of course you can use it as is, but it can also be melted back down and ingredients added to make the soap mix you want. In this case we added nourishing and moisturizing ingredients for sensitive skin.
There are MANY types of Melt + Pour Soap. Some things to look out for:
- Make sure it’s free from parabens, preservatives, and PEG
- SLS-free if you have sensitive skin (it’s a known skin irritant)
- NO added coloring
- Added fragrance oil (essential oils MAY be ok, but some people with sensitive skin may still react to their fragrances).
For sensitive skin, look for products with:
- shea butter
- goat milk
- cocoa butter
What you need to make bar soap
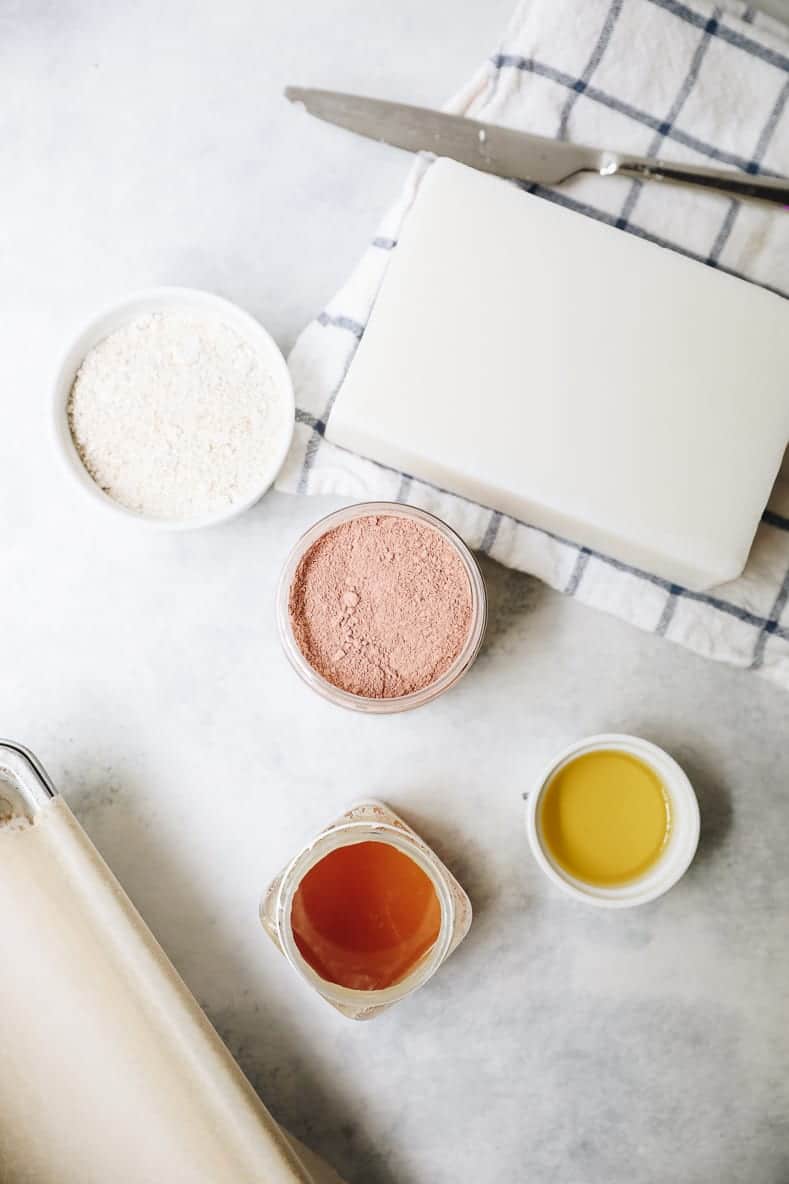
So let’s talk about what you need to make this homemade soap:
- Melt + Pour Soap: See above for things to look out for – I use goat milk soap.
- Oatmeal (colloidal oatmeal): Can buy pre-made oatmeal or puree oatmeal in your blender until a fine texture is achieved.
- Pink Clay: May help reduce inflammation and irritation on the skin. Also great for acne.
- Raw Honey: A natural exfoliant, but also super antibacterial, so great for acne prevention. Honey soap has long been used for sensitive skin.
- Jojoba Oil: Jojoba oil is a great moisturizing oil for sensitive skin. It’s moisturizing but non-comedogenic so won’t clog pores. Olive oil or almond oil works in place if you don’t have jojoba oil.
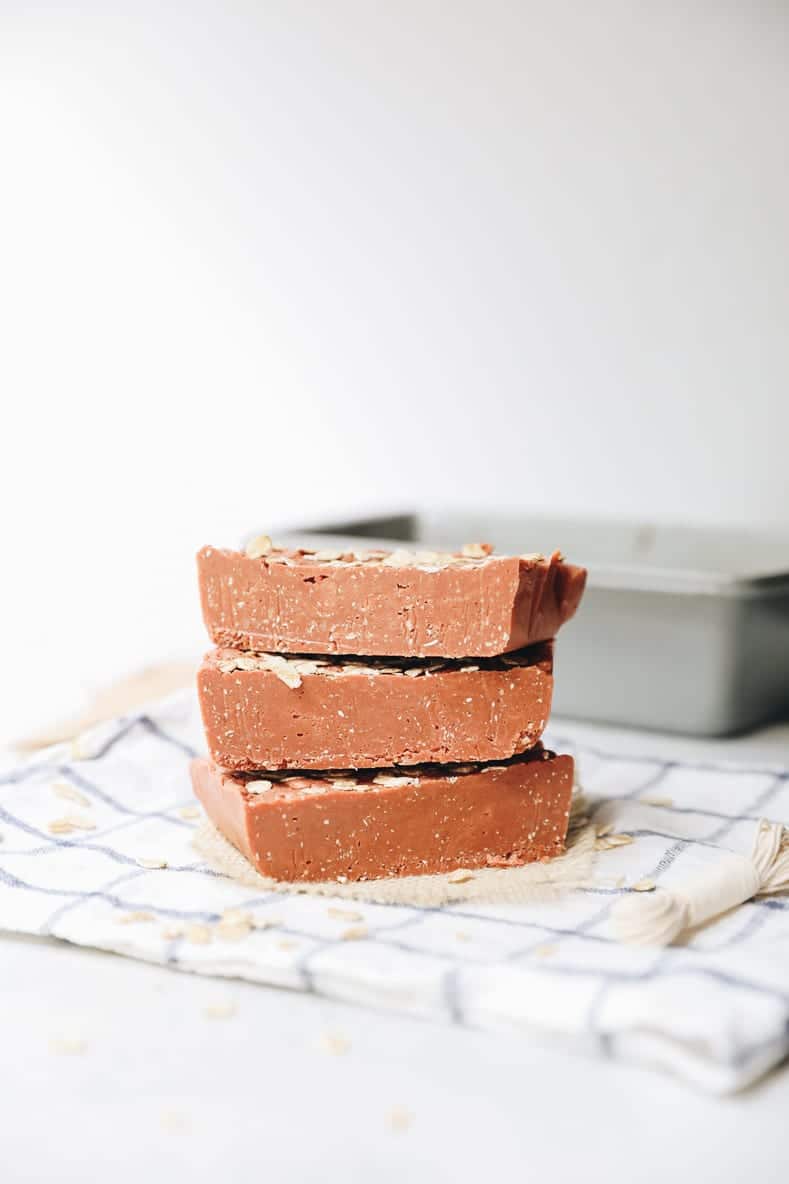
Using a soap mold (usually a silicone mold) makes the process a bit easier, but I lost mine somewhere when moving and a loaf mold will work just fine. Line it with parchment paper to prevent sticking.
How to make soap [Step-By-Step]
For those of you who have never made your own soap before, I will walk you through the process. I promise you it’s easier than you think!
STEP 1: PREPARE INGREDIENTS
Gather and measure all your ingredients. Cut your melt + pour soap into small cubes (recipe calls for 1lb, which is half a traditional 2lb block). No need to measure, just estimate half. If you don’t have a silicone soap mold, line a loaf tin with parchment paper.
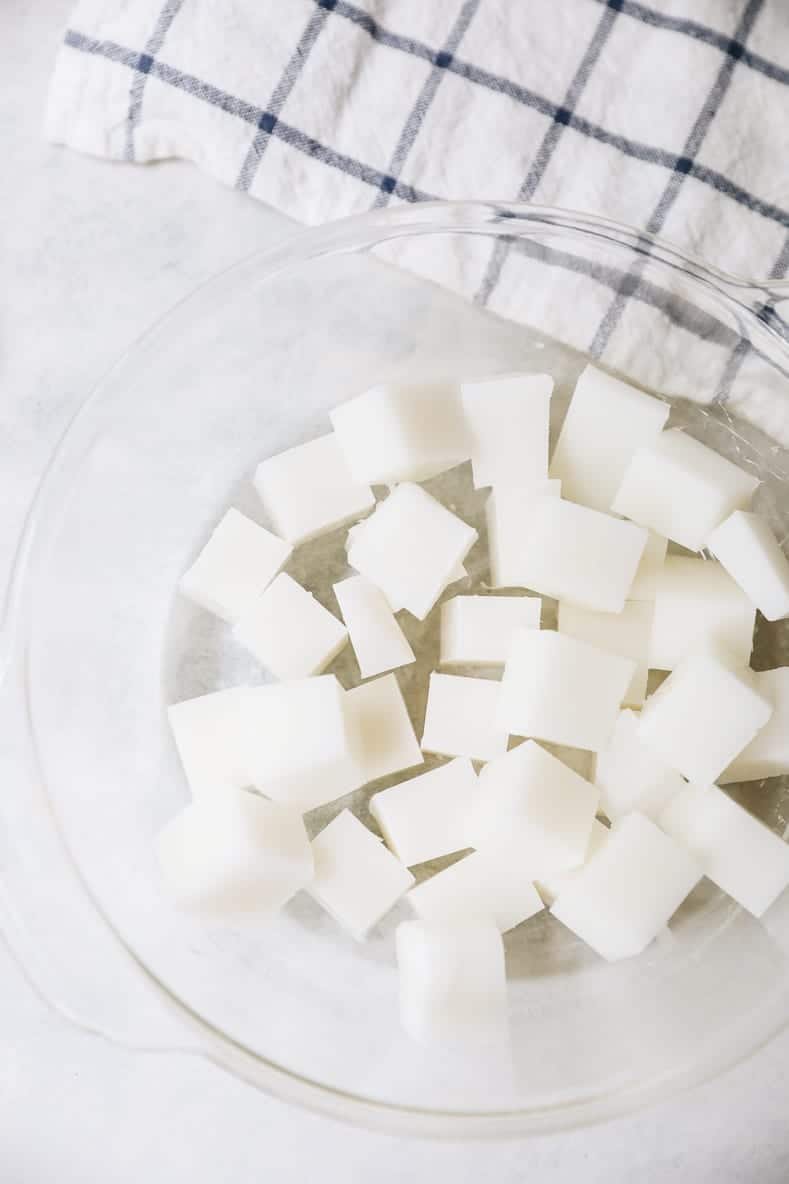
STEP 2: MELTING SOAP
In 30-second intervals, melt your soap in the microwave, stirring occasionally OR place in a double boiler in a saucepan on the stovetop. I use the water bath method and it takes about 10 minutes for your soap to melt. It’s a lot quicker to microwave, but make sure you don’t burn it.
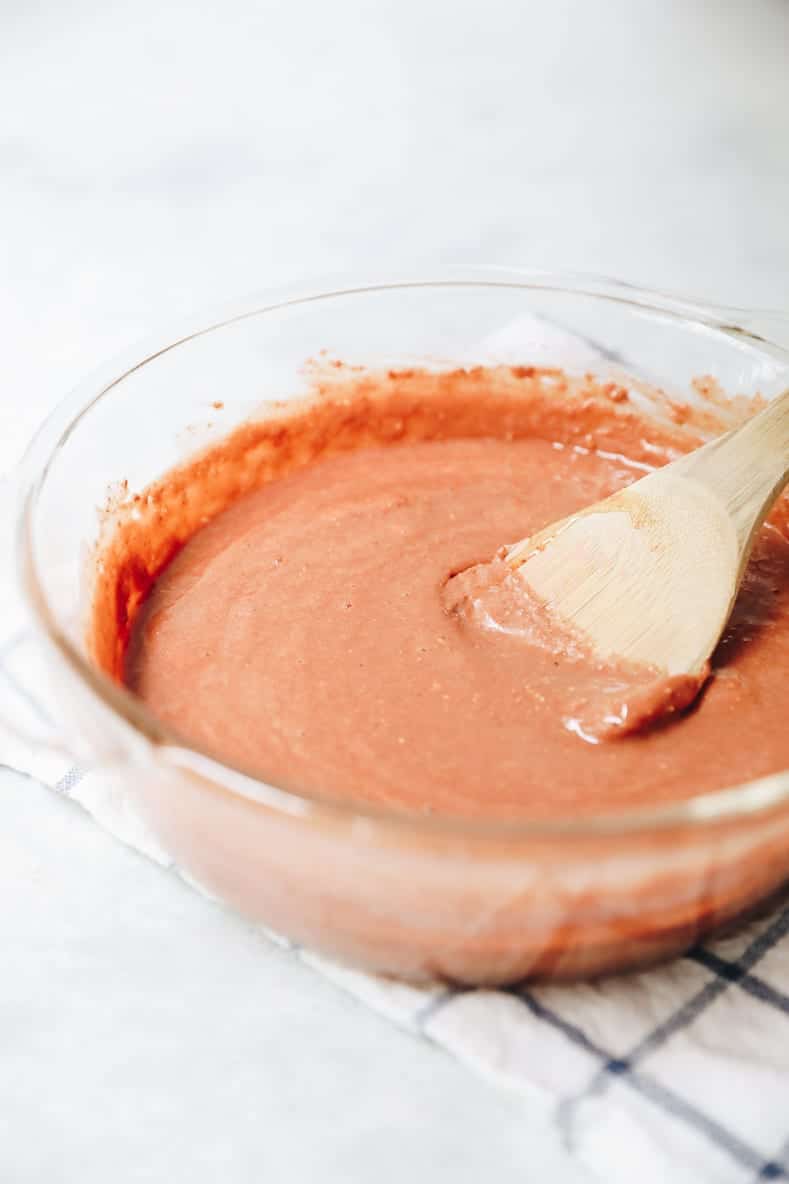
STEP 3: STIR IN ALL INGREDIENTS
Once the soap is completely melted, stir in all the ingredients (oats, clay, honey, and jojoba oil) and mix with a spoon or spatula until the soap mixture is well combined.
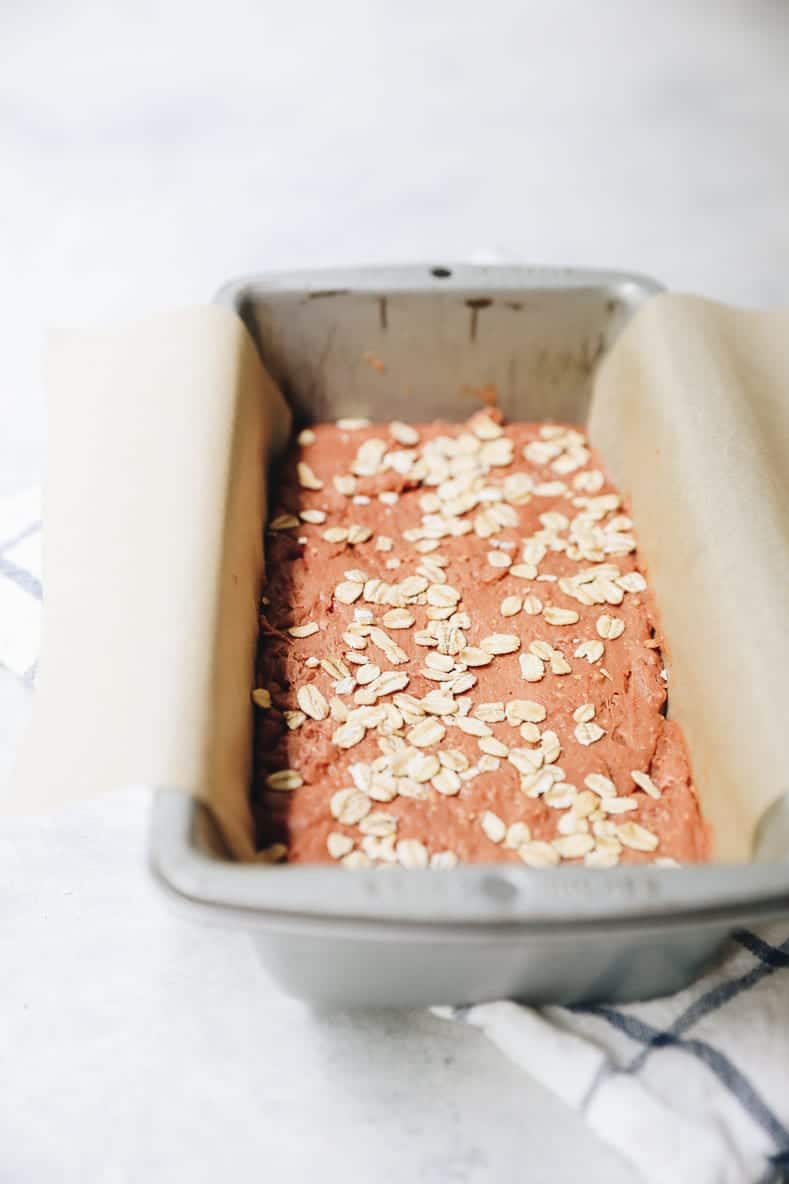
STEP 4: CASTING INTO SHAPE
Pour your soap batter into your mold and tap the counter a few times to release any air bubbles. Garnish with oatmeal, depending on personal preference. Let sit for a few hours to harden (or refrigerate for 1 hour if you’re in a hurry).
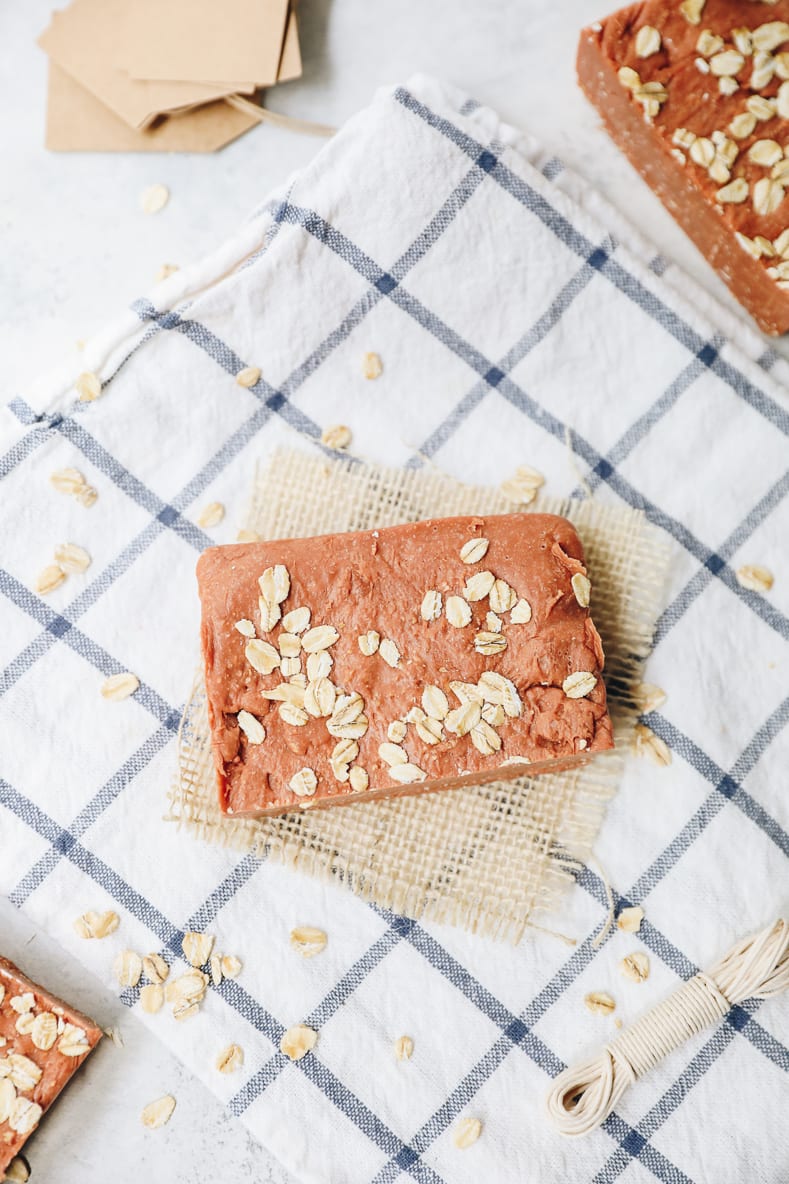
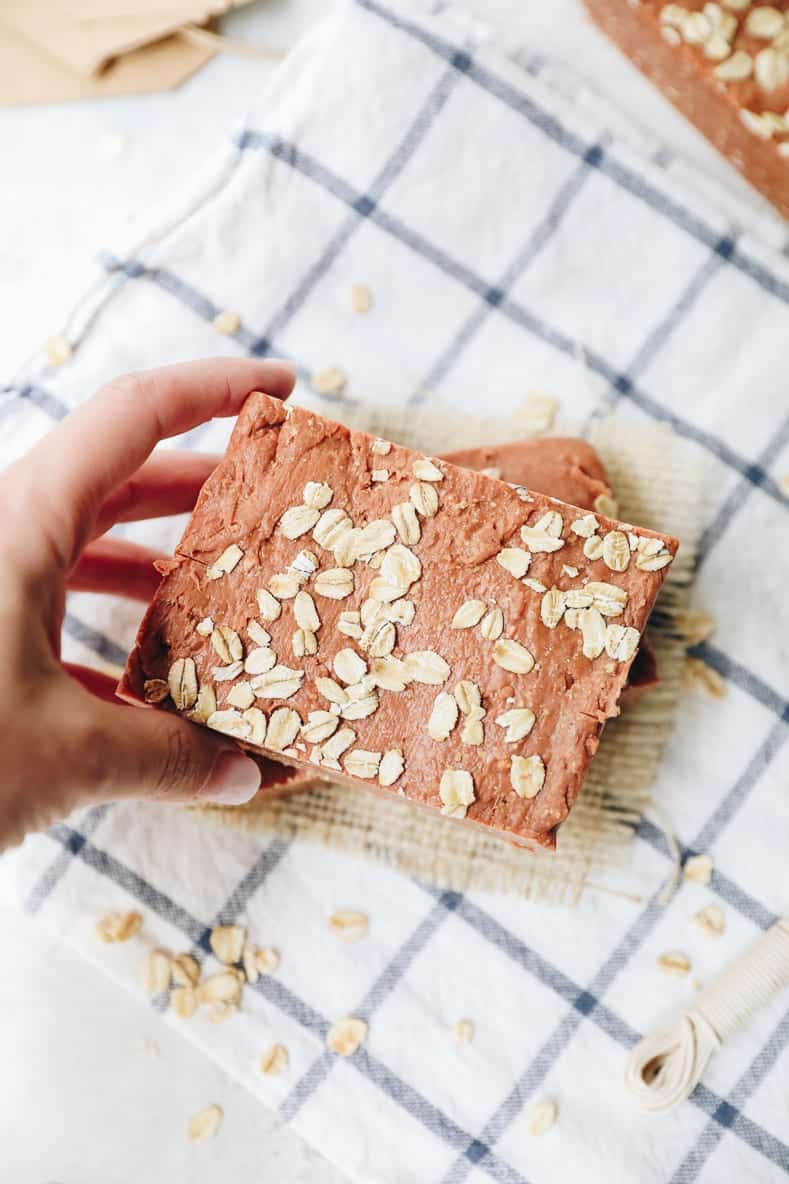
STEP 5: CUT INTO PIECES
Cut your soap into desired pieces. A soap mold can usually make about 6-8 small pieces or in a loaf pan you can usually get about 3-4 larger pieces. Store your soap in a paper bag in a dark place indefinitely. You won’t go bad.
How long does this soap last?
1 bar of soap usually lasts us several months (for 2 people in the shower) so this recipe can honestly make enough soap to last at least a year.
Is this soap antibacterial?
Yes, this soap is antibacterial (when using recommended melt and pour soap), although the CDC still recommends liquid pump soap for hand washing. Keep this bar of soap in the shower and lather up your body instead of liquid body wash.
Hopefully this can show you that making homemade bar soap isn’t that hard and can be both customizable and economical! Let me know when you make your first batch!
More Homemade DIYs You May Like:
Press
How to make soap

Would you like to learn how to make homemade soap? It’s simpler than you think! In this step-by-step guide, I show you how to make homemade soap with a simple melt and pour of soap and ingredients that benefit all skin types but especially sensitive skin!
- Preparation time: 2 minutes
- Cooking time: 10 mins
- Total time: 12 minutes
- Yield: 4–8th bars of soap 1X
- Gather and measure all your ingredients. If you don’t have a silicone soap mold, line a loaf tin with parchment paper.
- Melt your soap in the microwave in 30 second intervals, stirring occasionally OR place in a double boiler on the stovetop. If you use the water bath method, it will take about 10 minutes for your soap to melt. It’s a lot quicker to microwave, but make sure you don’t burn it.
- Once the soap is completely melted, stir in all the ingredients (oats, clay, honey, and jojoba oil) until well combined.
- Pour your soap batter into your mold and tap the counter a few times to release any air bubbles. Top with oatmeal if you like. Let sit for a few hours to harden (or refrigerate for 1 hour if you’re in a hurry).
- Cut your soap into desired pieces. A soap mold can usually make about 6-8 small pieces or in a loaf pan you can usually get about 3-4 larger pieces.
- Store your soap in a paper bag in a dark place indefinitely. You won’t go bad.
SUBSCRIBE TO THE THM NEWSLETTER
Join over 20,000 members of the THM community to get access to exclusive recipes, healthy lifestyle tips and behind-the-scenes news from our team!