
For the past few years, I have been documenting and recording my mom’s Lunar New Year recipes with the hope of preserving them for future generations in my family. Although they seemed complicated at first, I am much more confident in my ability to recreate these new year’s dishes, such as neen goh (年糕, Chinese new year cake) and fat goh (發糕, Chinese prosperity cake). Now, I am arriving at that stage where I feel comfortable enough to create dishes that add to the tapestry of my family’s Lunar New Year celebrations.
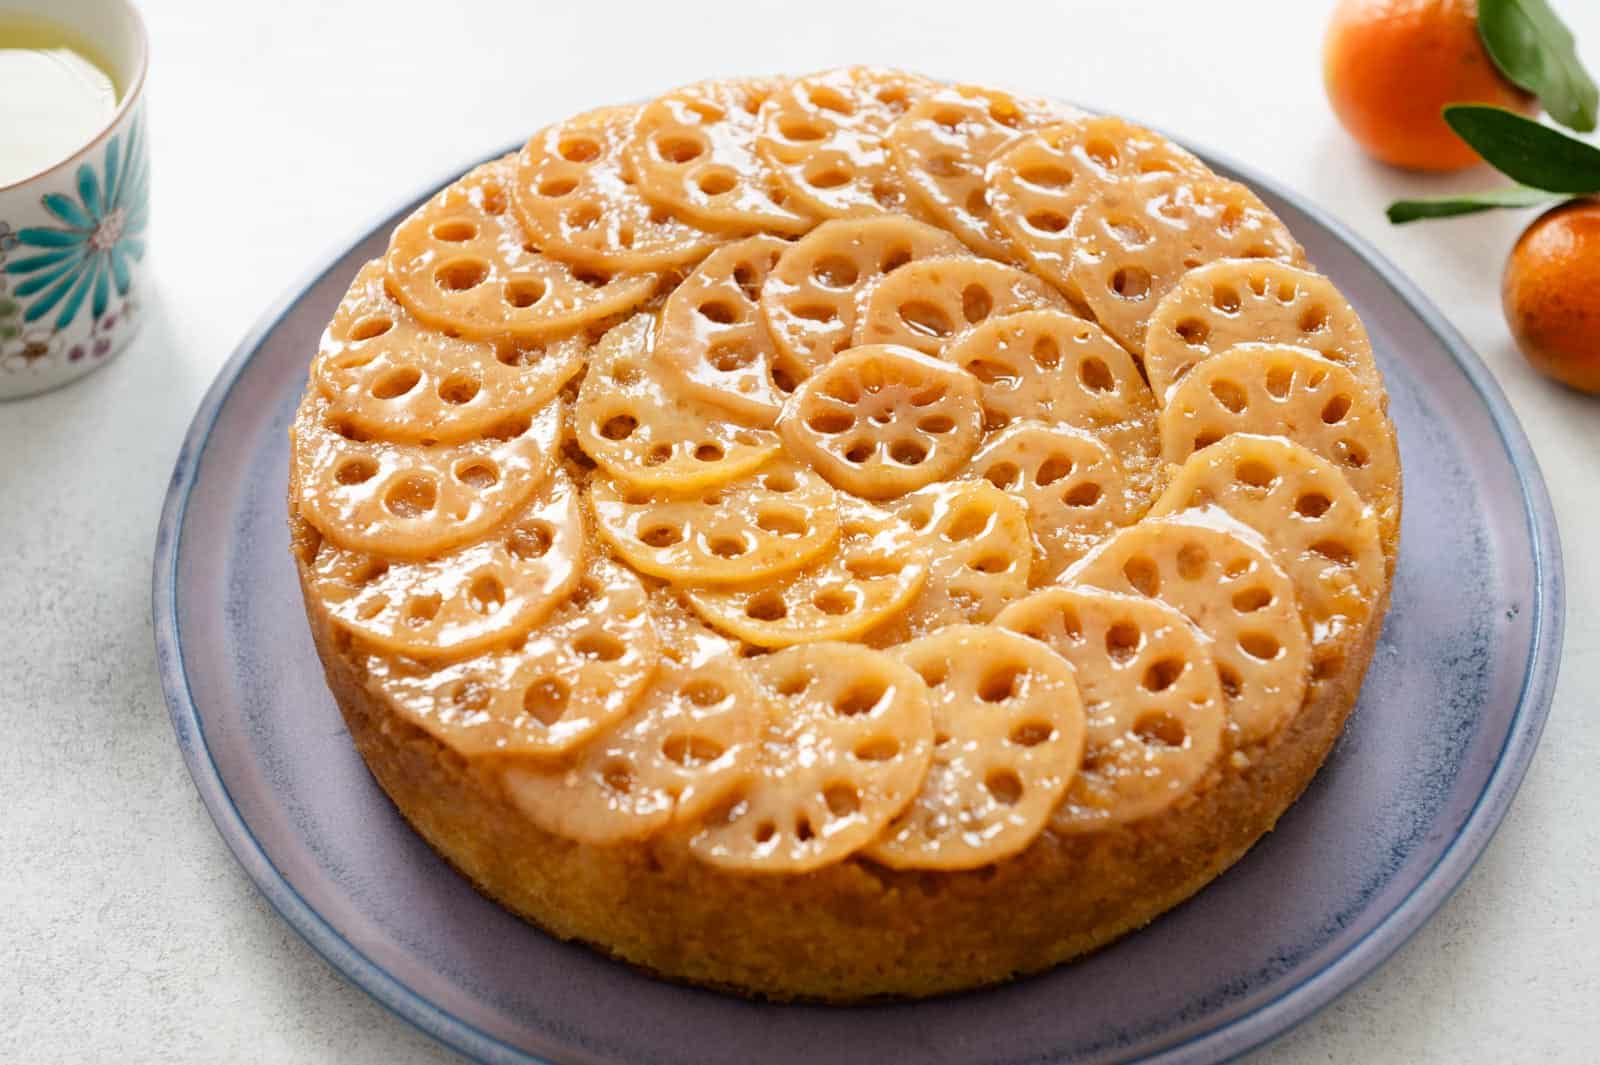
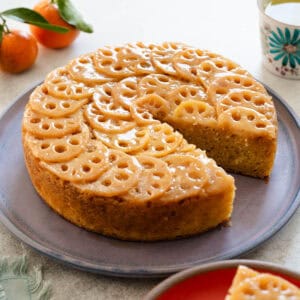
This year, I set out to make a lotus root upside down cake. Many Chinese families (particularly Southern Chinese, I believe) serve savory lotus root dishes during the new year for their auspicious meaning. I wanted to pay homage to those recipes but also do something a little different. Interestingly, some sources say not to eat lotus root during the reunion meal on the eve of the new year, 年晚飯 or 團圓飯). The holes present inside the lotus root can symbolize fortune seeping away during the new year.
Although this lotus root upside down cake is not difficult to make, there are quite a few steps. The most time consuming part is preparing the lotus root. Fortunately, you can break up some of the work into 2 days, which I specify in the recipe below.
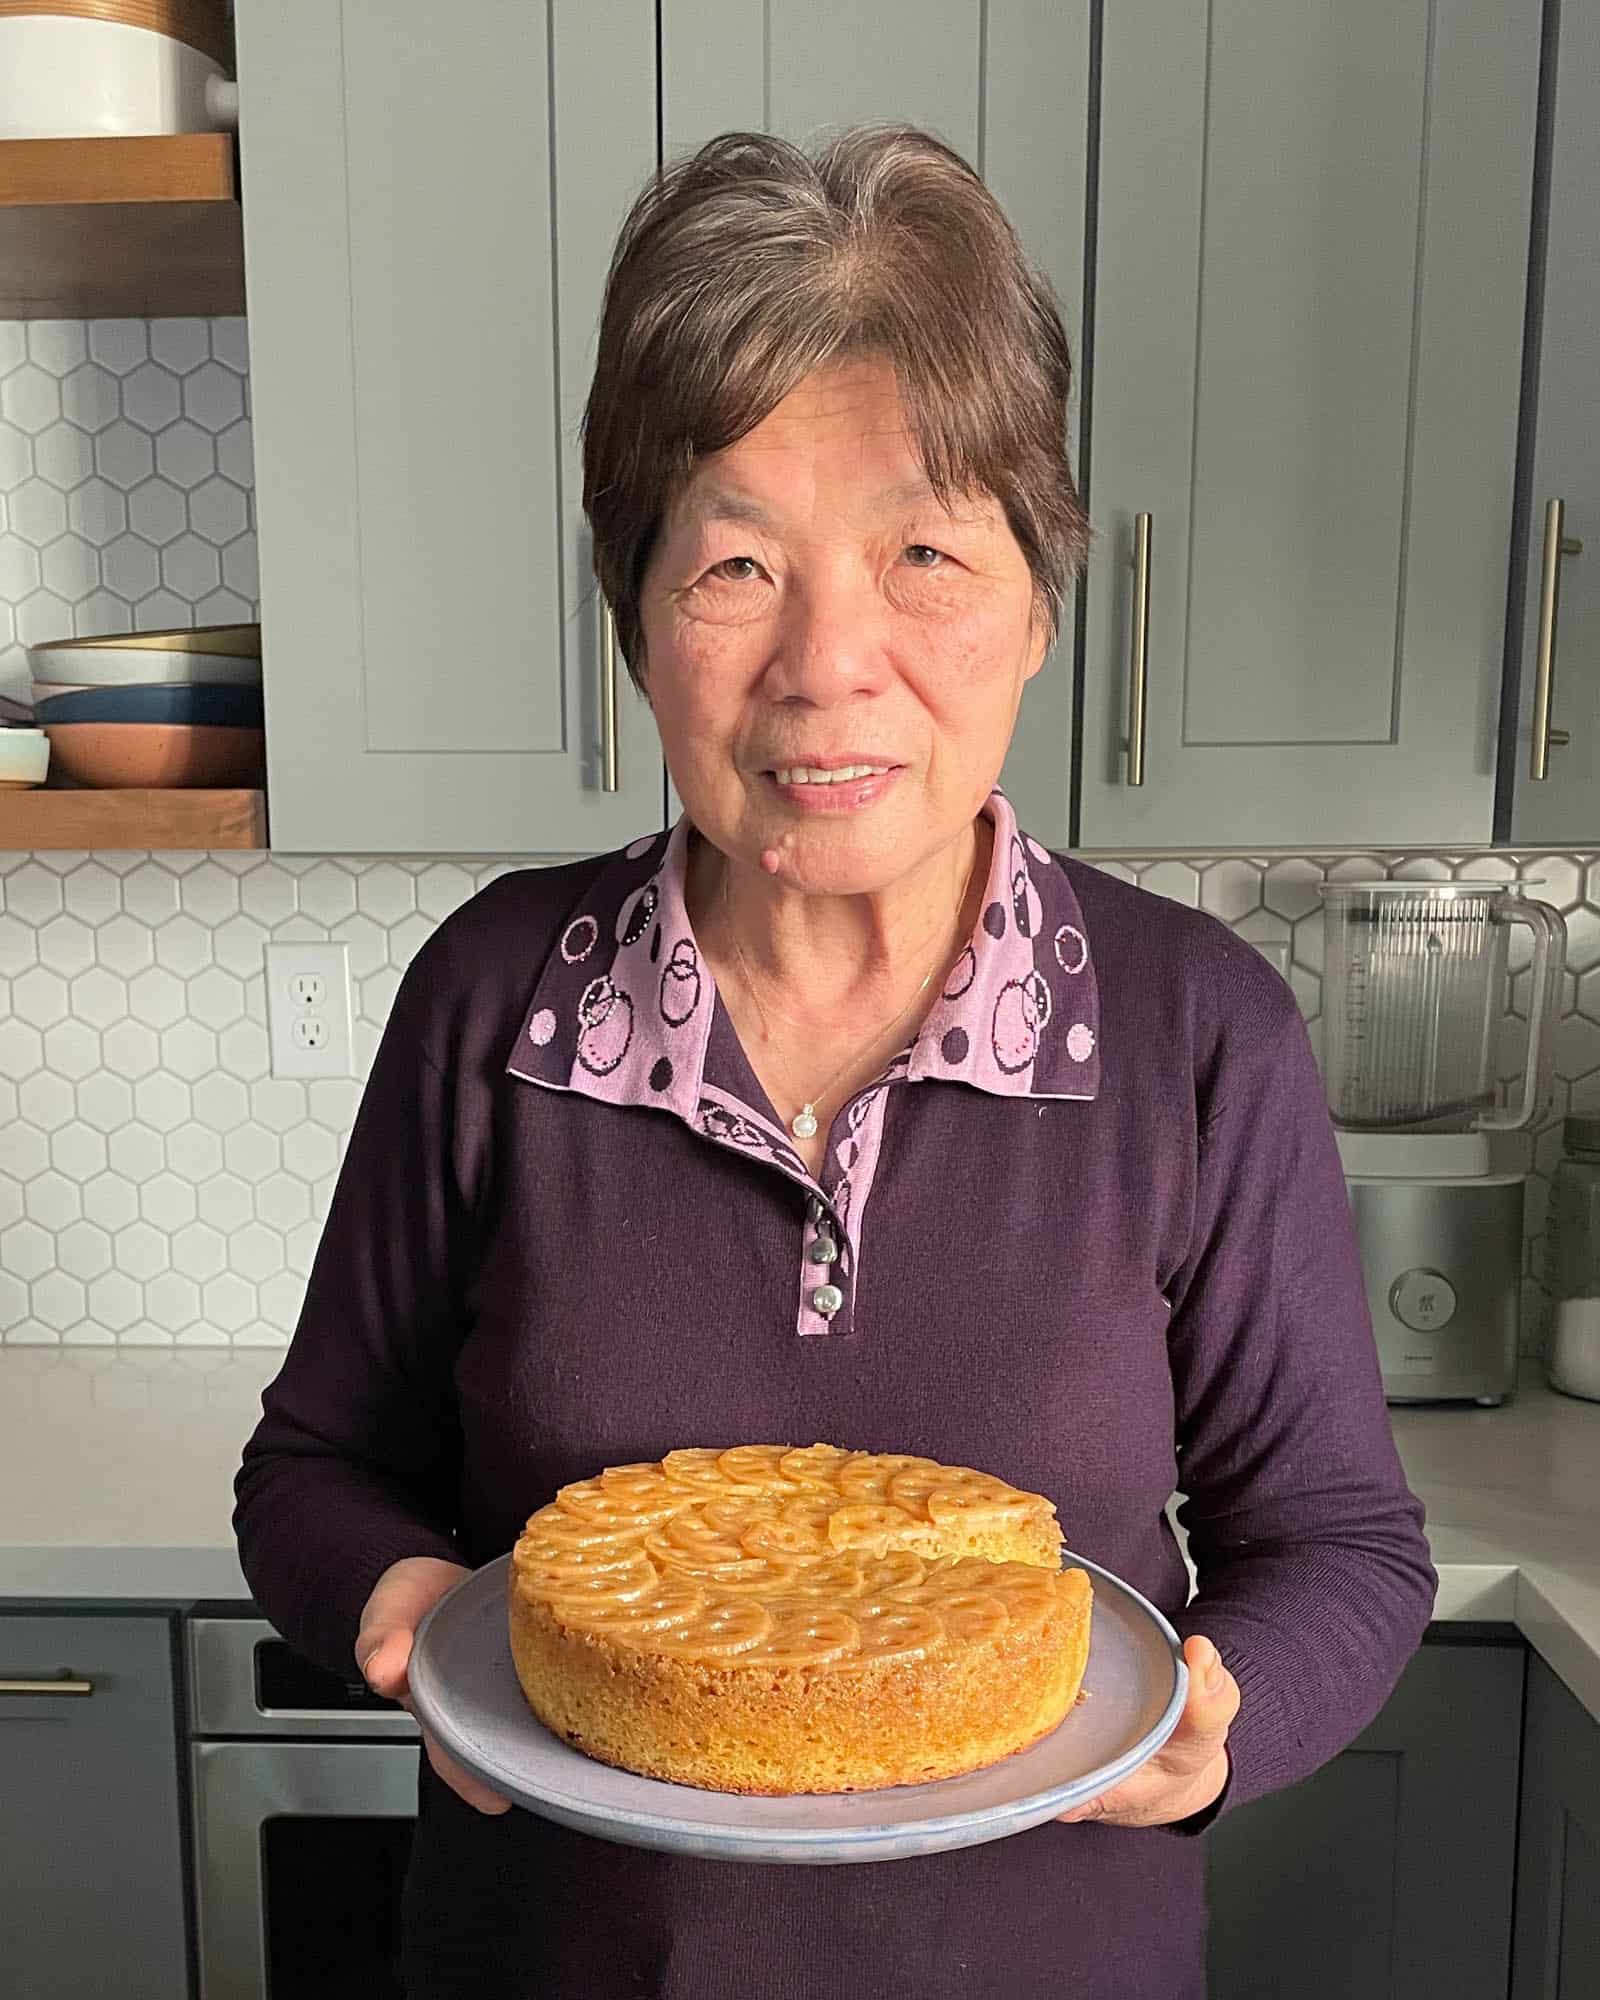
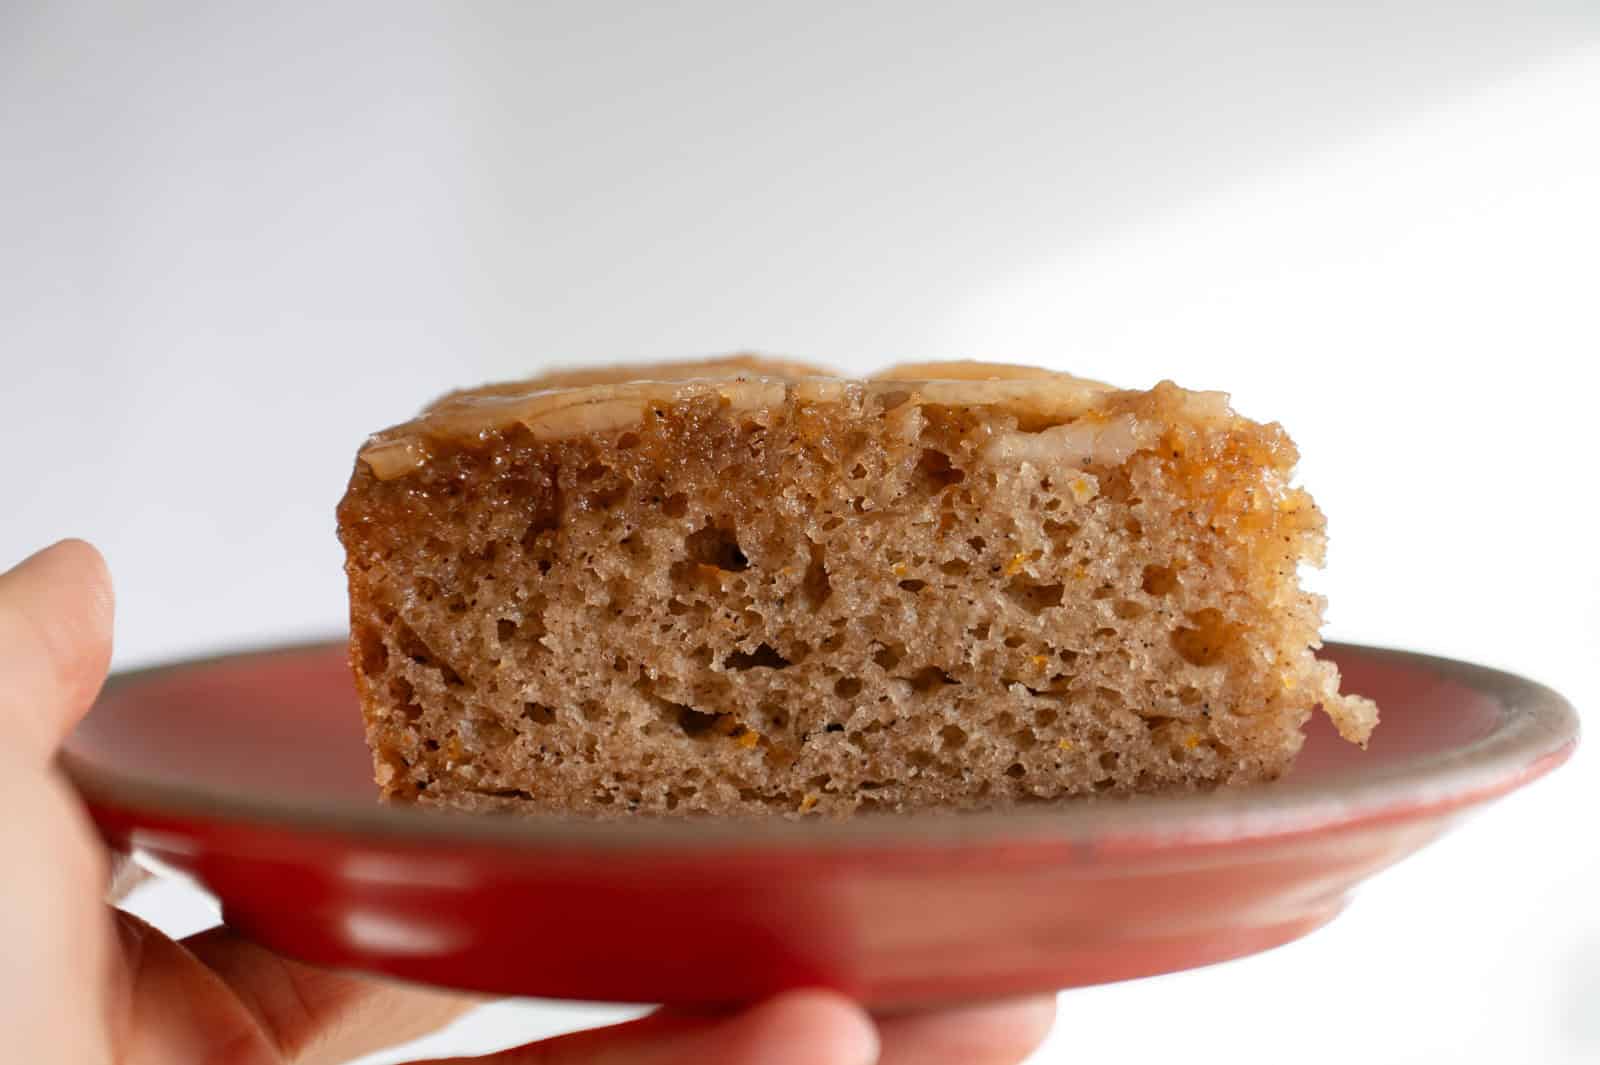
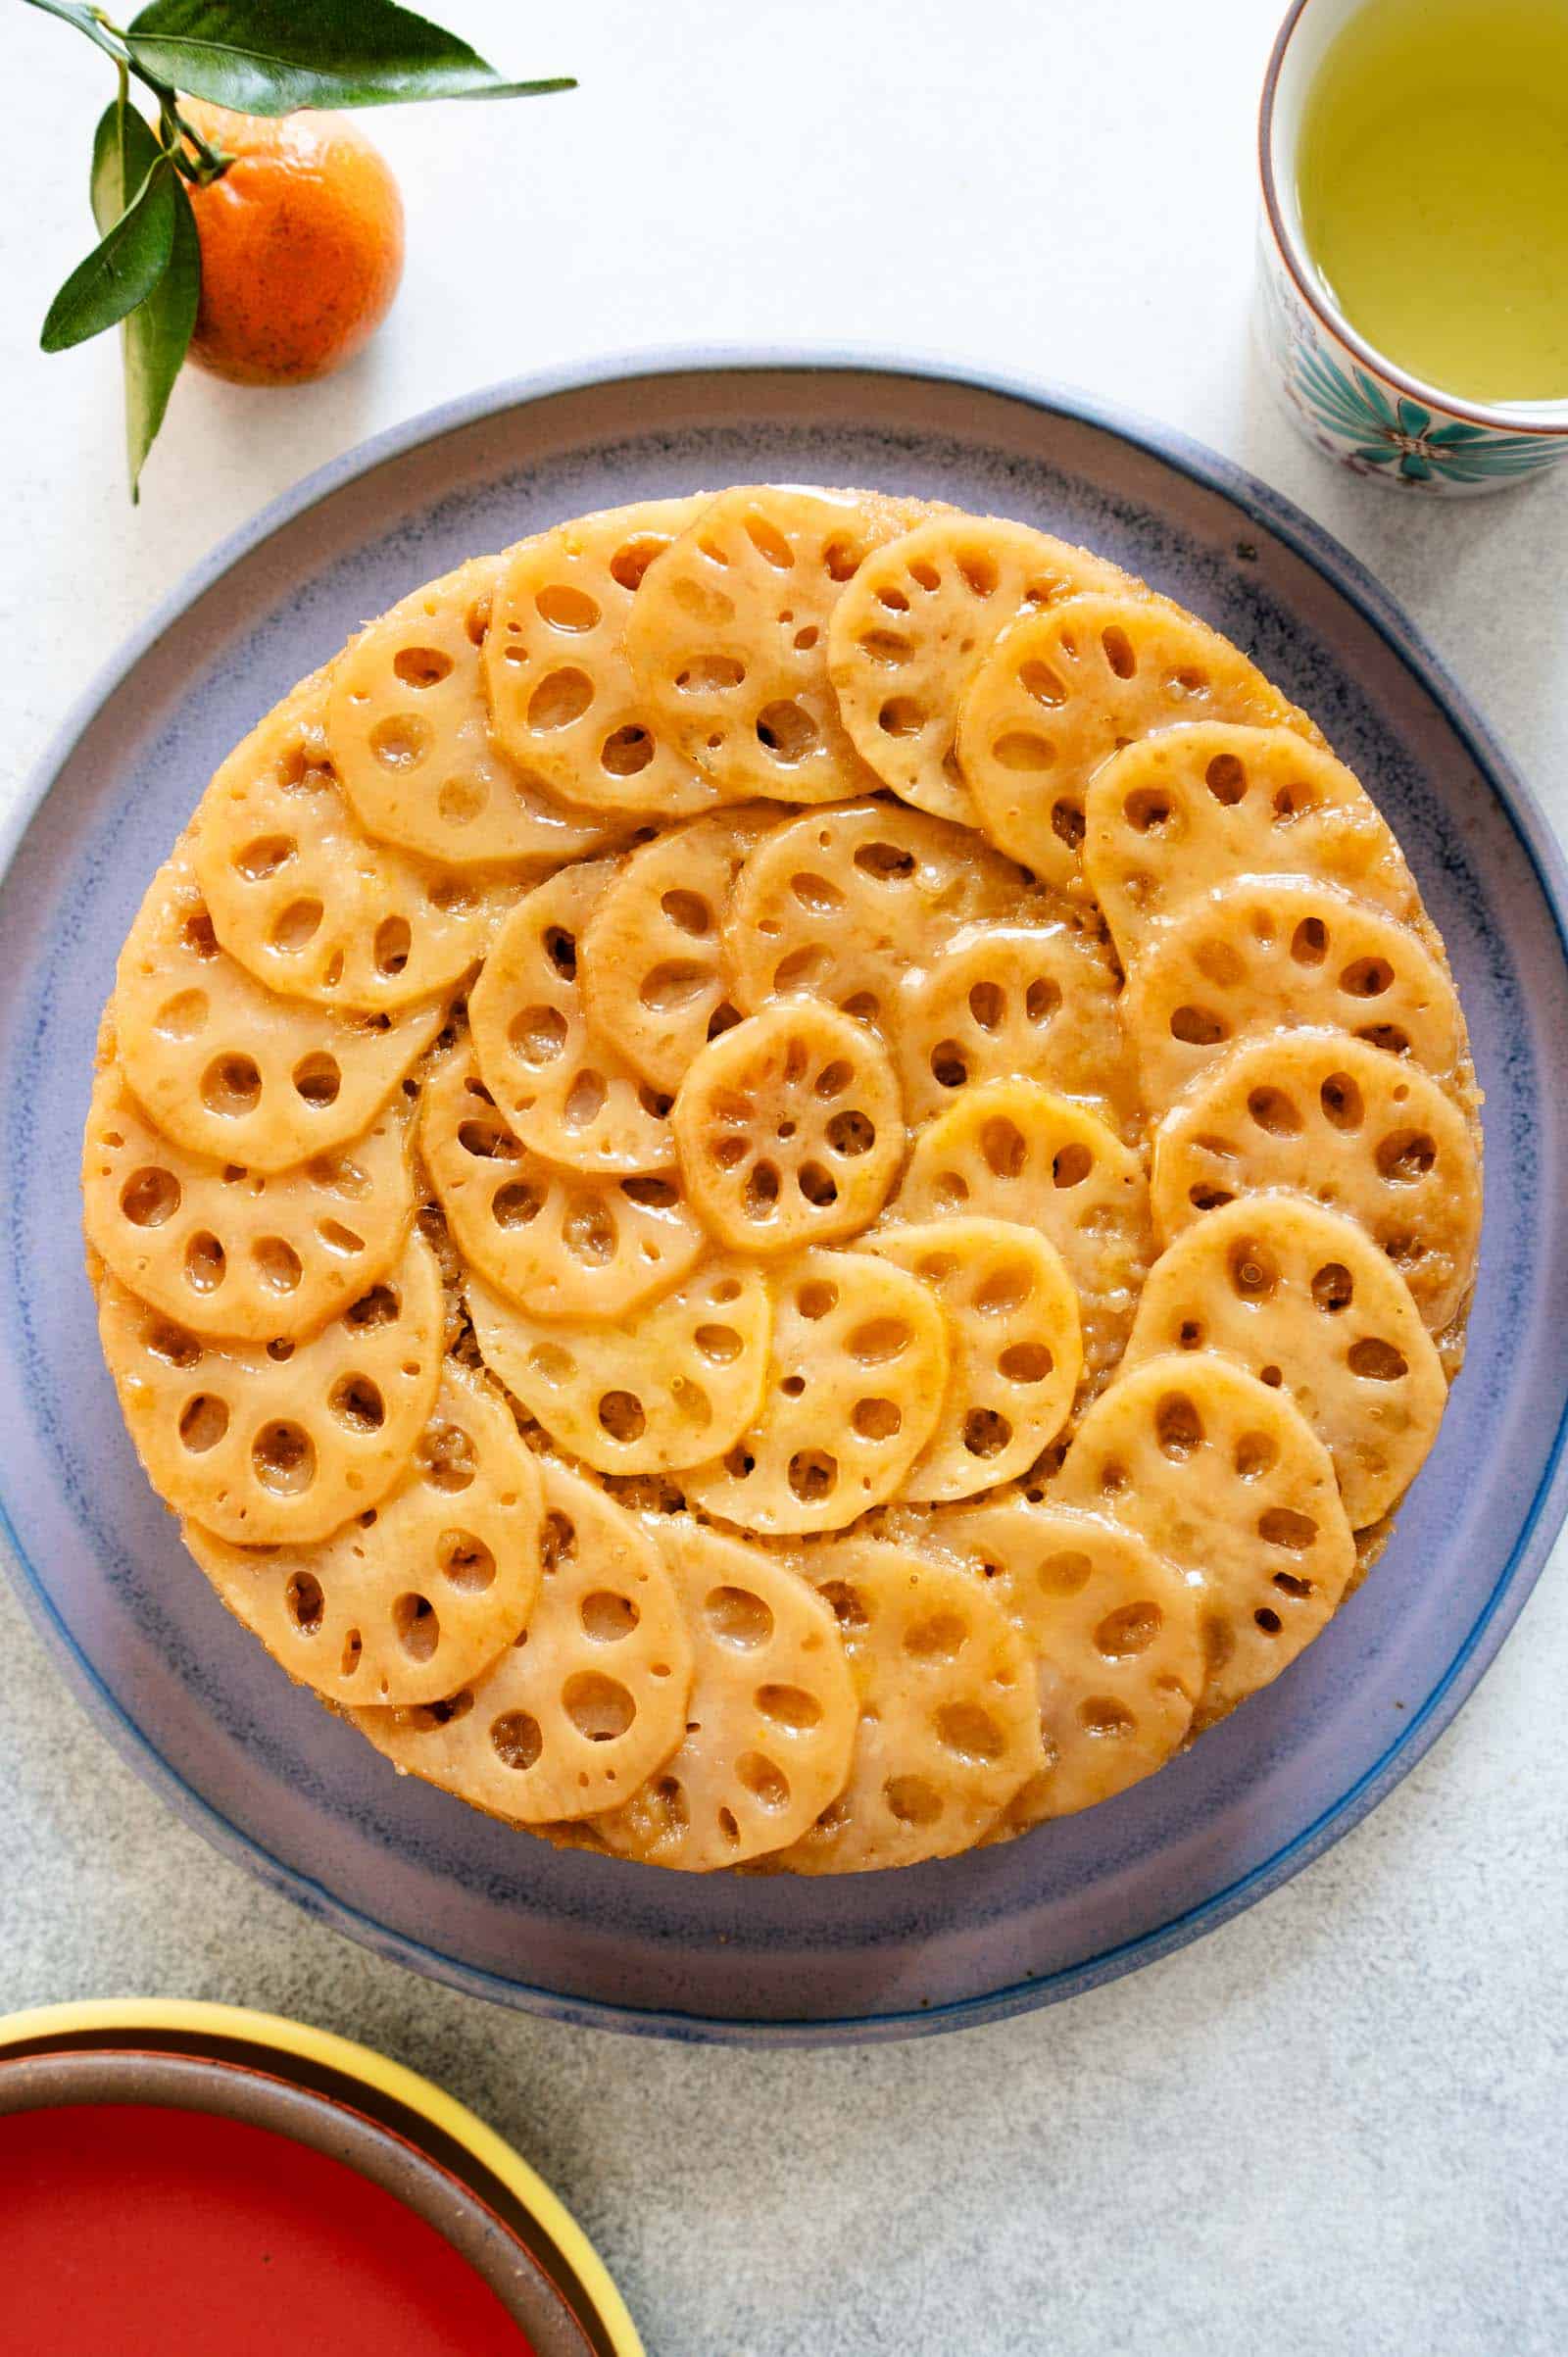
Of course, the cake had to pass my family’s taste test. When I presented the lotus root cake to them, everyone was impressed by the intricate pattern of the lotus root slices. When it came to the actual tasting, my family enjoyed the delicate orange and subtle ginger flavors infused in the cake. Moreover, Mama Lin kept remarking how the texture of the cake was light and moist. It was well received by my family, and I hope this lotus root cake will be a part of your Lunar New Year celebrations!
COOKING NOTES FOR LOTUS ROOT UPSIDE DOWN CAKE
INSPIRATION & RECIPE TESTING
I cannot claim to have come up with the idea for this cake on my own. A few years ago, I saw a chrysanthemum and ginger infused lotus root upside down cake recipe in Pamelia Chia’s Wet Market to Table (affiliate link). That recipe planted a seed in my head, but I wasn’t mentally prepared to experiment with it until this year. The batter for the cake is adapted from Asha Loupy’s Stone Fruit Upside Down Cake recipe. Asha’s recipe is fantastic and very approachable. It also encouraged me to try using coriander and orange blossom water in cake recipes.
When recipe testing, I played with many variations. I tried adding cinnamon to the cake, using vanilla, and adding brown sugar to the cake batter (instead of using granulated sugar only). In the end, I wanted to pair the lotus root with more delicate flavors. So I added orange zest, ground ginger, and orange blossom water to the cake batter and only used granulated sugar. I’ve purchased orange blossom water on Amazon (affiliate link). If you’d rather not buy that for this cake, feel free to substitute it with vanilla.
PICKING LOTUS ROOT
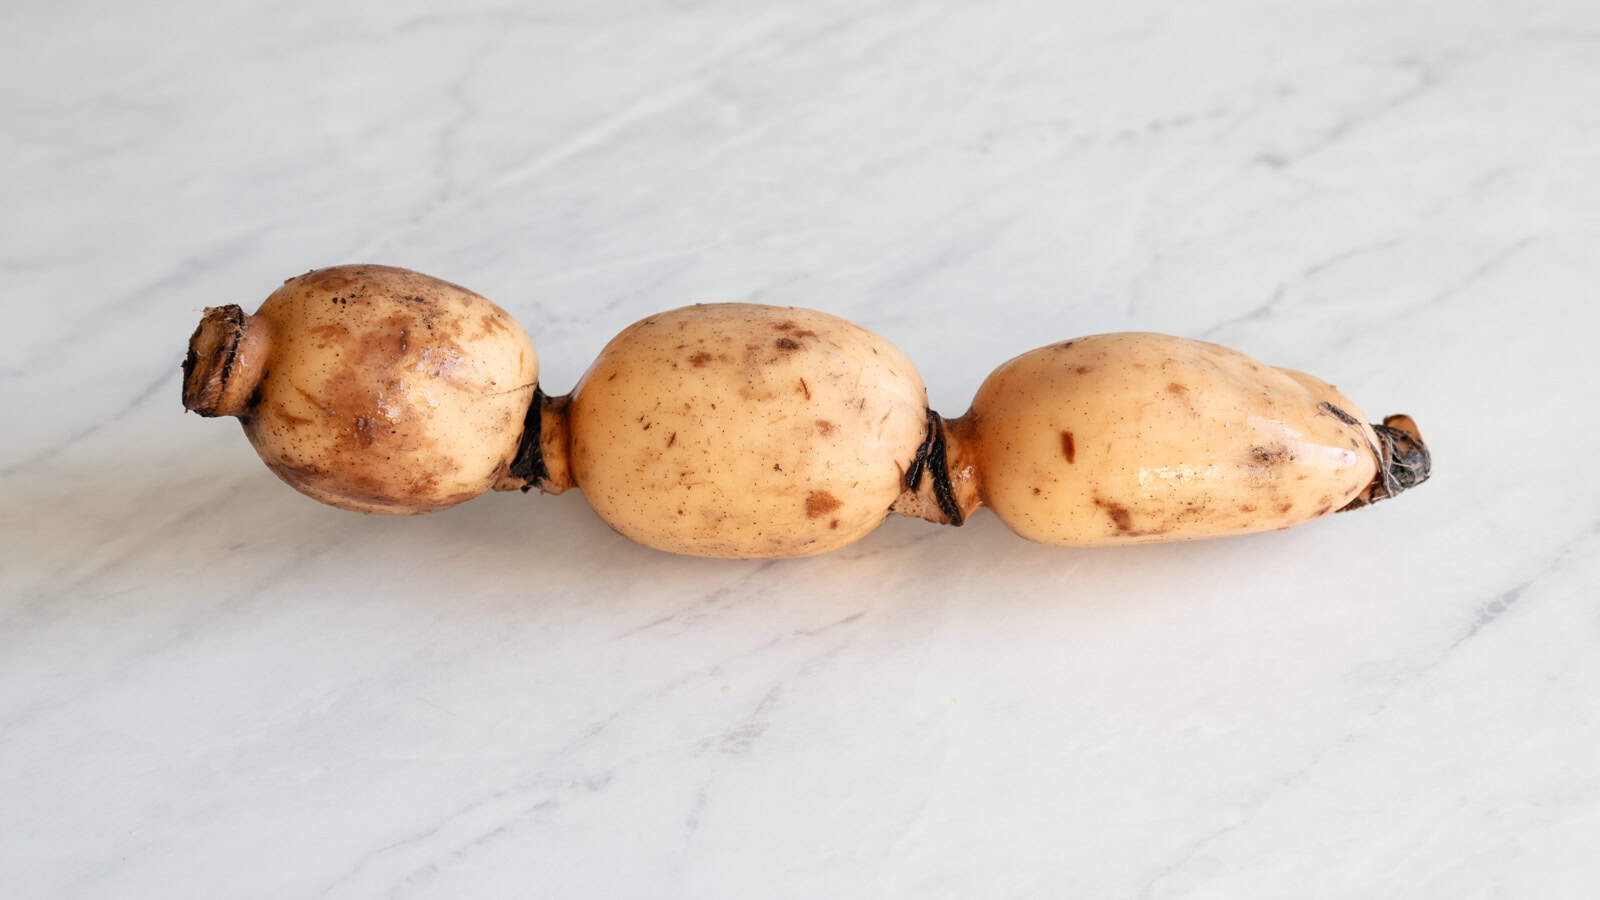
Ideally, you want to use fresh lotus root for this recipe and not pre-sliced lotus root that’s packaged. I’ve had the most luck finding fresh lotus root in Asian grocery stores that mainly carry Chinese groceries. In Sacramento, I also have luck finding them at the Sunday Asian farmers market on 5th Street (between X Street & Broadway Street).
To make the most visually appealing cake, you want to choose round lotus root that’s on the thinner side (about 2 to 2 1/4 inches in diameter). A smaller root will allow you to fit more rings of lotus root onto the cake. Aim to pick lotus root with peach skin and minimal black or brown patches. Refer to this post for more tips on how to pick lotus root.
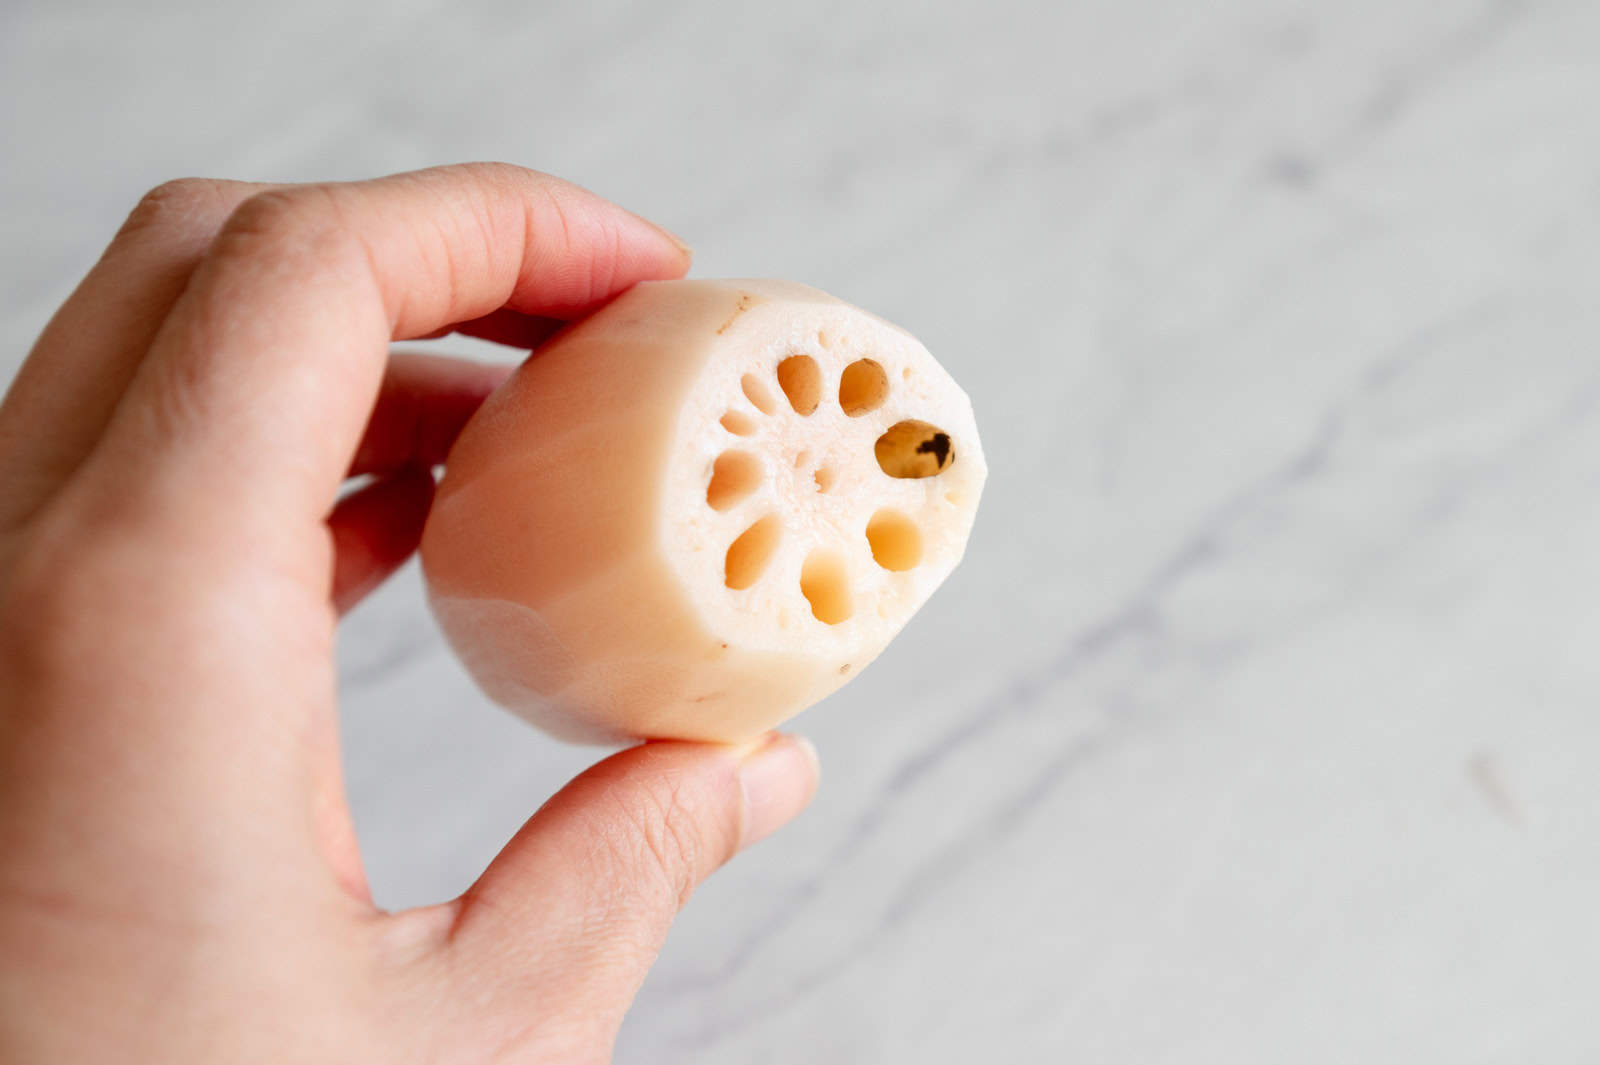
CHECK LOTUS ROOT FOR DIRT
Unfortunately, dirt can occasionally get into the interior cavities of lotus root. This usually happens if one of the joints (also known as necks) breaks off during the growing or handling process, exposing the inside to dirt. When you slice off the joints, take a look inside the lotus root. If you see any dirt, use a straw cleaner to clean it out.
USING A MANDOLINE SLICER
To get the most evenly cut slices of lotus root, use a mandoline slicer. I have been using this Benriner mandoline for years and it’s very reliable (affiliate link). When using a mandoline, I highly recommend that you wear cut-resistant gloves on the hand that is holding the food to be sliced (affiliate link). Also, when you get down to about 1 1/2 inches of lotus root left to be sliced and getting it through the blade becomes difficult, stop there. There is no point trying to force the last section of lotus root through the blade and risk cutting yourself, even with gloves on.
After cutting the first few slices of lotus root, check to see if they are the correct thickness. If not, adjust the height of the blade.
Finally, you can slice the lotus root by hand with a sharp knife. However, you might not be able to slice the lotus root as evenly or as thinly.
CAKE PANS FOR THIS CAKE
You can make this cake with an 8-inch or 9-inch cake pan. I chose an 8-inch cake pan so that the cake has more height once baked. Coincidentally, the added height and the number 8 are auspicious for Lunar New Year. The cake may rise a little higher than the edge of the pan as it’s baking. Once it is out of the oven, the cake will drop slightly. If you use a 9-inch cake, reduce the total baking time slightly, as specified in the recipe notes.
HOW LONG DOES THE LOTUS ROOT CAKE LAST?
You can store the cake at room temperature overnight in an airtight container. I like to lay a piece of parchment or wax paper over the cake to protect the cake even more. For longer storage, refrigerate the cake for up to 4 days. Before serving, I like to reheat the cake. If you store the cake at room temperature, reheat the cake at 350ºF (175ºC) for about 6 or 8 minutes. For refrigerated cakes, leave the cake in the oven for a minute or two longer.
You can also freeze the cake for a few months. I’ve only frozen 1/4 sections of the cake and reheated it at 350ºF (175ºC) for about 18 minutes. The cake, unfortunately, was drier once reheated.
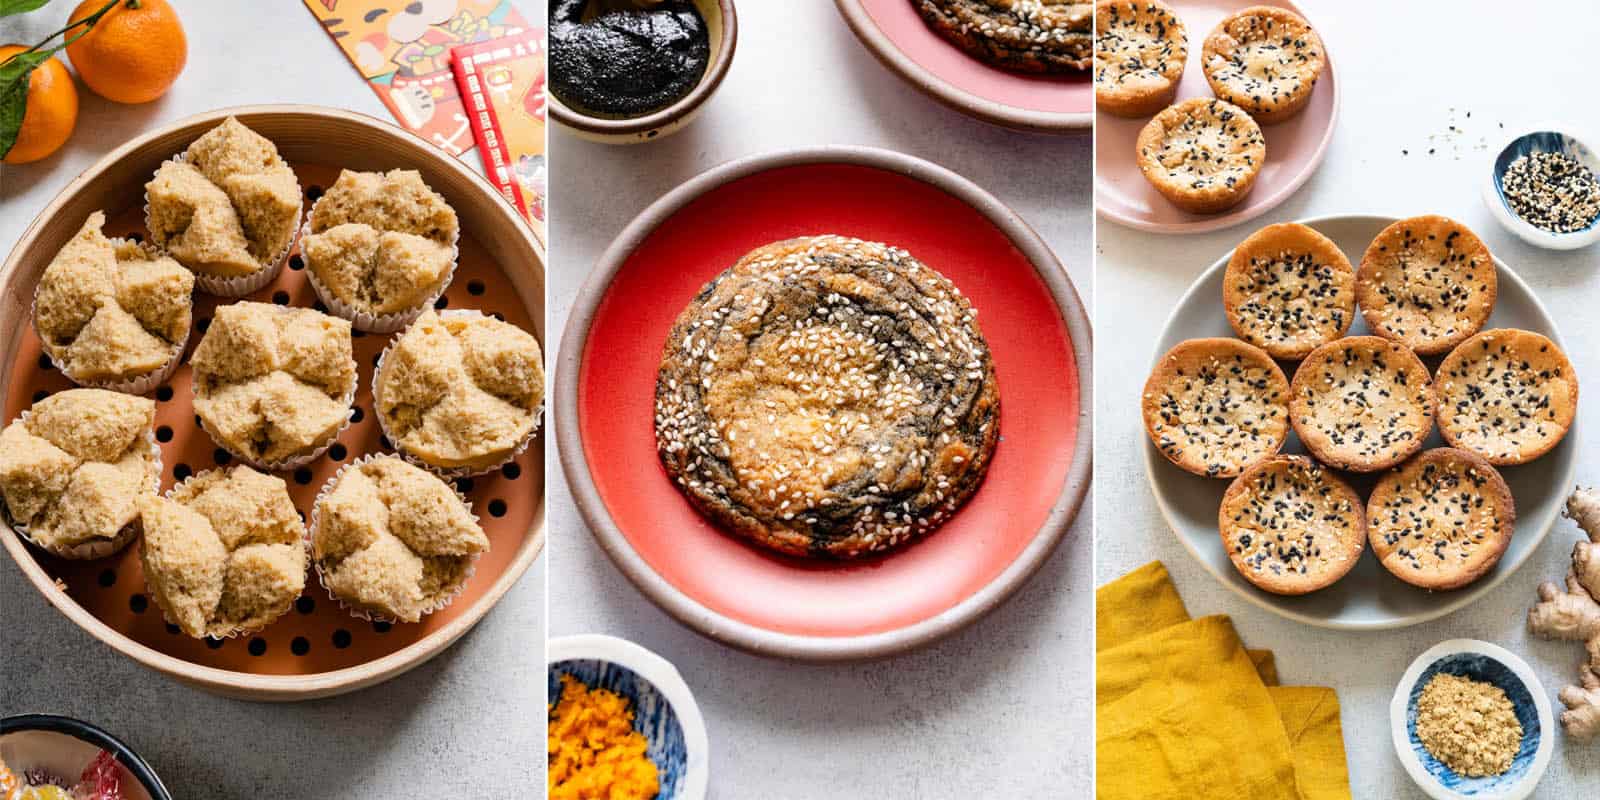
OTHER SWEET LUNAR NEW YEAR RECIPES
PRINT
EMAIL
PIN
Servings: 10
Lotus Root Upside Down Cake
Ingredients
Lotus Root & Glaze
- 2 large oranges, rinsed and dried
- 7.75 to 9.75 ounces (220 to 275g) lotus root, about 2 to 2 1/4-inches in diameter, (see note 1)
- 2/3 cup (155ml) water
- 3/4 cup (150g) granulated sugar
- 3 1/8-inch (4mm) thick slices of ginger
Caramel
- 1/4 cup (56g) unsalted butter
- 1/2 cup + 2 tablespoons (75g) light brown sugar
- 3/4 teaspoon (3g) Diamond Crystal kosher salt, or 3/8 teaspoon fine sea salt
Cake
- 1 1/2 cups (180g) all-purpose flour, plus more for dusting
- 1 tablespoon ground ginger
- 1 1/2 teaspoons baking powder
- 1/2 teaspoon baking soda
- 1 teaspoon (4g) Diamond Crystal kosher salt, or 1/2 teaspoon fine sea salt
- zest from 1 orange
- 2/3 cup (132g) granulated sugar
- 2 large eggs
- 1/3 cup (75ml) safflower, canola, or any neutral-flavored oil
- 1/4 cup (56g) unsalted butter, melted
- 3/4 cup (185g) full-fat (or whole) Greek yogurt, (see note 2)
- 2 teaspoons orange blossom water or vanilla extract, (see note 3)
Instructions
Preheat Oven & Prepare Pan
-
Preheat the oven to 350ºF (175ºC). Position oven rack to the center.
-
Grease an 8-inch or 9-inch cake pan and lightly flour it (see note 4 for tips on baking with a 9-inch pan). Flip the cake pan over and tap out any excess flour. Then set aside the pan.
Prepare Oranges
-
Use a microplane zester to zest one of the oranges and put the orange zest aside. You should have about 1 tablespoon (6 to 7 grams) of orange zest. With the other orange, use a sharp knife to carefully cut off 4 strips of orange peel. Try your best not to cut off too much of the white pith. Set the strips of peel aside.
-
Juice both oranges. You should have about 2/3 to 3/4 cup (155 to 175ml) of orange juice. Strain the juice to remove the pulp and set aside. You don’t want orange pulp all over the lotus root slices, so it’s best to strain the orange juice.
Prepare Lotus Root
-
Cut off the joints (or the knobby ends) of the lotus root and peel the skin with a vegetable peeler. Take a look inside the cavities. If you see any dirt, use a straw cleaner to clean out the cavities.
-
Use a mandoline slicer to slice the lotus root into 1/8-inch (4mm) thick slices. When using a mandoline, I always wear cut-resistant gloves to be safe. When you get down to about 1 1/2 inches of lotus root left to be sliced and getting it through the blade gets difficult, stop there. There is no point trying to force the last section of lotus root through the blade and risk cutting yourself, even with gloves on. You can also slice the lotus root into thin slices using a sharp knife.
-
Let the lotus root soak in water for 5 to 10 minutes to remove some of the starch.
-
Drain the lotus root. In a large saucepan, add the freshly squeezed orange juice, water, 3/4 cup sugar, ginger slices, strips of orange peel, and lotus root. Bring the liquid to boil. Reduce the heat to medium and let the lotus root simmer for 10 minutes. Turn off the heat, and let the lotus root cool for 5 to 10 minutes.
-
Use a fork to transfer the lotus root slices to large plates or a small sheet pan. Do not pour out the poaching liquid. I like to group lotus root slices of similar size. This organization will come in handy when you arrange the lotus root in the pan. (See note 5 about preparing the lotus root ahead.)
Make Caramel
-
Melt the butter, brown sugar, and salt in a saucepan over medium-high heat. Once the butter is nearly done melting, start whisking everything together, until you get a relatively cohesive caramel in the saucepan. It’s fine if there’s a tiny bit of excess butter around the edges.
-
Turn off the heat and immediately pour the caramel into the prepared cake pan. Using a flexible spatula, scrape out all the caramel from the saucepan. Tilt the cake pan around so that the caramel covers the entire surface. If you are struggling, use the spatula to help you spread out the caramel. This caramel hardens pretty quickly, so it is important to work quickly at this stage.
Finish Preparing Cake
-
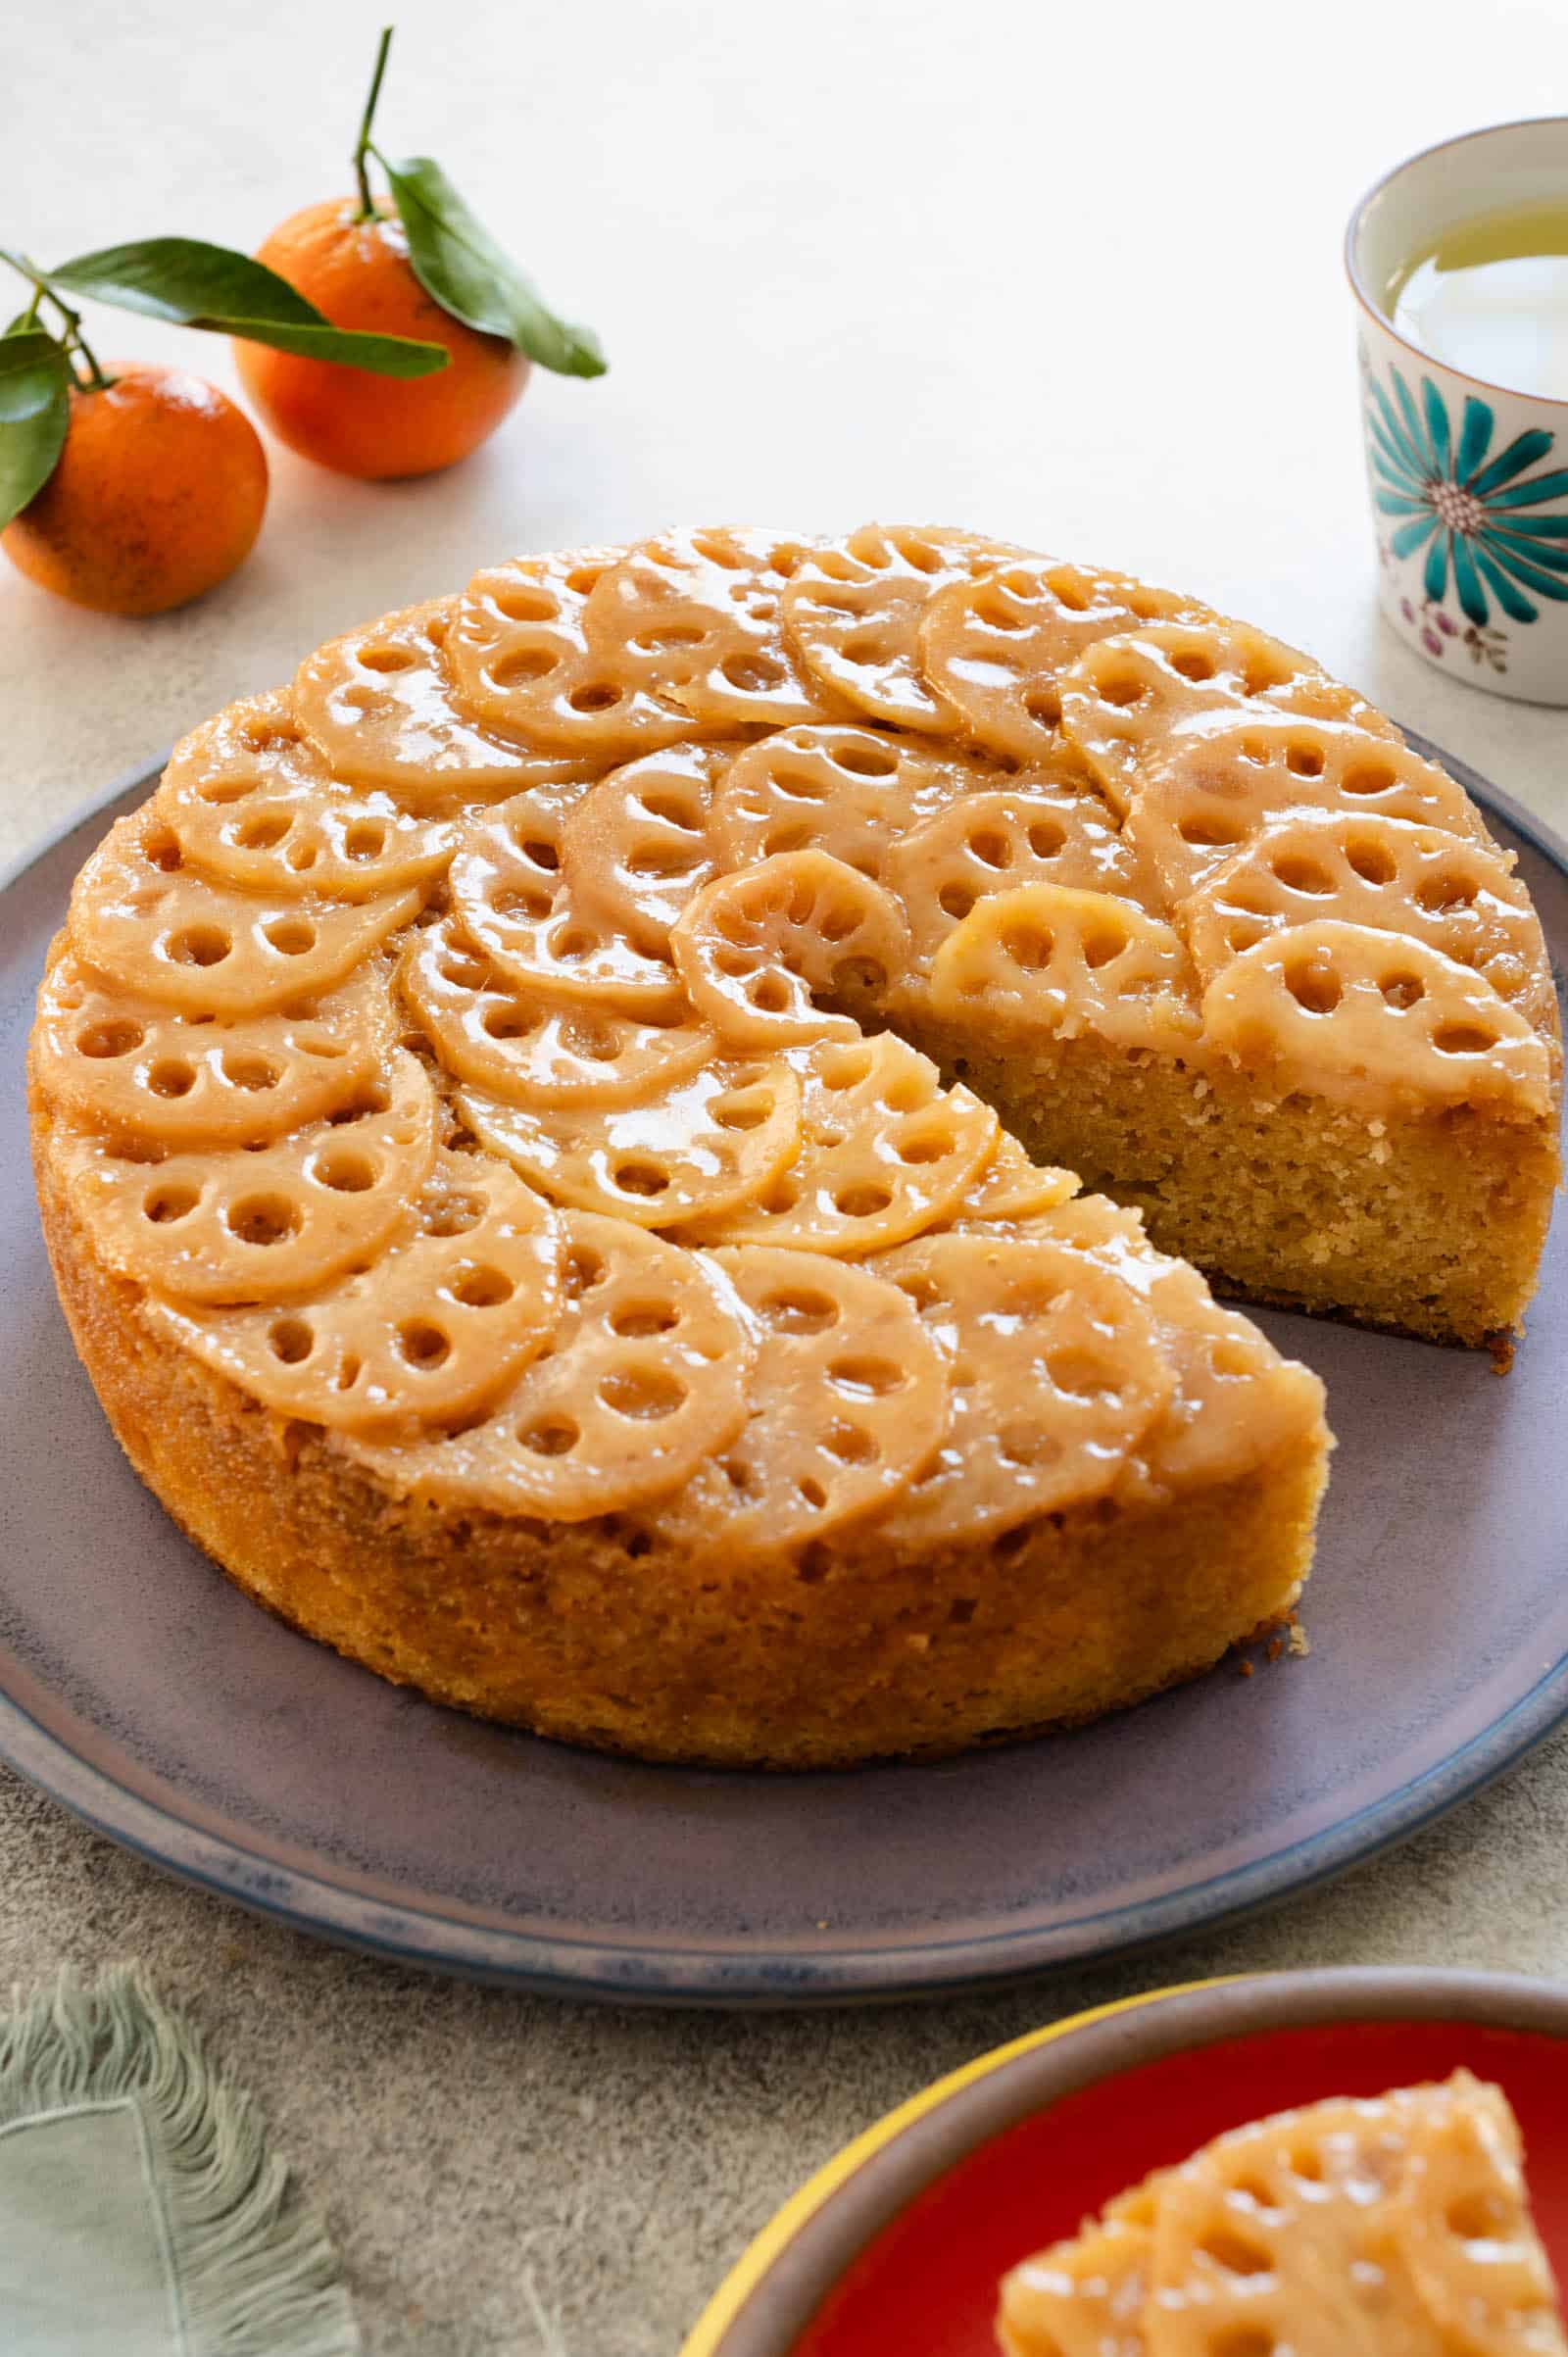
Arrange Lotus Root in Pan: When the lotus root is cool enough to handle, Start fanning out the lotus root slices over the caramel, starting from the outer perimeter of the cake pan and working your way in. Make sure the lotus root slices overlap each other at the halfway point of each slice to ensure a tight pattern. I like using the largest lotus root slices for the outer ringer and slightly smaller slices for the inner ring(s). Finally, I place the smallest slice of lotus root (usually the one closest to the joint) at the center. For reference, I usually use 29 to 32 slices of lotus root to cover an 8-inch pan. (See note 6 if you have any torn or ripped lotus root.)
-
Whisk together the all-purpose flour, ground ginger, baking powder, baking soda, and salt.
-
In a small bowl, rub the orange zest with the 2/3 cup of sugar, until there are no longer any large clumps of zest and the sugar has turned orange.
-
In a large bowl, whisk together the eggs, oil, and 1/4 cup of melted butter. Then, whisk in the Greek yogurt and orange blossom water (or vanilla). Finally, mix in the sugar with orange zest, until smooth. Add the dry flours to the wet ingredients all at once. Use a wooden spoon to mix everything together, until just combined and you don’t see streaks of dry flour.
-
Carefully scoop the batter into the cake pan, over the lotus root slices. Use an offset spatula or a spoon to smooth over the batter until it is an even layer.
-
Bake the cake for 40 to 43 minutes, until a skewer inserted into the center of the cake comes clean. Start checking the cake at 38 minutes for a 9-inch cake. The top of the cake should be a rich golden brown color. I like to rotate the cake after 25 minutes of baking and then bake for 15 minutes more.
Reduce Poaching Liquid
-
While the cake is baking, bring the leftover poaching liquid to a boil and simmer on medium-low for about 6 to 8 minutes, until the liquid thickens to a light syrup texture (like maple syrup). When you dip a spoon into the liquid, it should lightly coat the spoon.
Serve Cake
-
Let the cake cool in the pan for 10 minutes. Run a butter knife around the edge of the pan to ensure the cake has loosened. Then, place a large plate over the cake. The cake pan is still quite hot, so wear oven mitts or use a tea towel to help you flip the cake over and onto the plate. Use the knife to help pry the lid off the cake.
-
You now have the option to glaze the cake with the syrup or not. If you plan to serve this to people who prefer desserts that aren’t too sweet (like my mom), leave the cake unglazed. Otherwise, brush a thin layer of glaze over the cake. The glaze gives the lotus root extra shine. If you let the cake cool to room temperature, and the lotus root pattern is looking a bit dull, brush a thin layer of glaze on top to refresh it. I wouldn’t do more than 2 thin layers. See note 7 for ideas on how to use the leftover glaze.
-
Serve the cake immediately or at room temperature. I’ve made this cake 4 hours ahead, and it was fine when I was ready to serve it. If desired, serve the cake with lightly sweetened whipped cream.
Notes
- Selecting Lotus Root: To make the most visually appealing cake, you want to choose round lotus root that’s on the thinner side (about 2 to 2 1/4 inches in diameter). A smaller root will allow you to create more rings of lotus root on the cake. You also want to pick lotus root with peach skin and minimal black or brown patches. Refer to this post for more tips on how to pick lotus root. I did not test this recipe with packaged, poached lotus root.
- Using plain whole yogurt (not Greek yogurt): I tested a batch of the cake using plain whole yogurt out of curiosity. Because plain yogurt isn’t strained, there’s less fat content compared to the same volume of whole Greek yogurt. As a result, the cake was a little drier, but still good. You can replace plain whole yogurt for the Greek yogurt in a pinch, but expect a cake that is less moist. Similarly, you can use low-fat Greek yogurt, but the cake may be drier.
- Orange blossom water: I love the delicate, floral flavor of orange blossom water and how it complements the orange zest and ginger in the cake. If this is difficult for you to source, feel free to use vanilla instead.
- Baking with a 9-inch pan: If you’re baking with a 9-inch pan, the cooking directions are basically the same, but there are a few things to look out for: A) Make sure you have at least 250 to 300 grams of lotus root to begin with. You want to make sure you have enough lotus root to cover the surface of the cake. B) The cake should finish baking about 2 to 3 minutes sooner than when you bake with an 8-inch pan.
- Breaking up the work: You can easily break up the baking process into 2 days. On the first day, you’ll prepare and poach the lotus root and make the orange and ginger glaze. Follow the steps up to the point where you take the lotus root slices out of the poaching liquid. Let the lotus root cool completely on plates or a sheet pan. Then, transfer the lotus root to a container and place a small sheet of parchment, wax paper, or plastic wrap over the lotus root. Refrigerate the lotus root until you are ready to bake the cake. The lotus root should be fine in the fridge for up to 2 days. Next, reduce the poaching liquid into a syrup, as directed above. Let the syrup cool in the saucepan and transfer to a jar and refrigerate.
- Ripped lotus root slices: The lotus root can be delicate and you may accidentally rip a slice as you prepare the cake. When arranging the slices inside the cake pan, I like to overlap any ripped portions of lotus root over another slice. When you flip the fully baked cake over at the end, any ripped portions should be hidden.
- Leftover glaze: I’ve used the glaze in place of maple syrup when making granola. I also made a quick dipping sauce with the glaze by mixing 1/4 cup of glaze, 3/4 teaspoon kosher salt, 2 tablespoon rice vinegar, and 1/4 teaspoon granulated garlic. Feel free to adjust these ingredients to your taste. The glaze should keep in the fridge for 3 to 4 weeks.
Nutrition
Serving: 1slice | Calories: 337kcal | Carbohydrates: 38g | Protein: 5.8g | Fat: 18.7g | Saturated Fat: 7.2g | Cholesterol: 64mg | Sodium: 271mg | Fiber: 1.8g | Sugar: 19g