
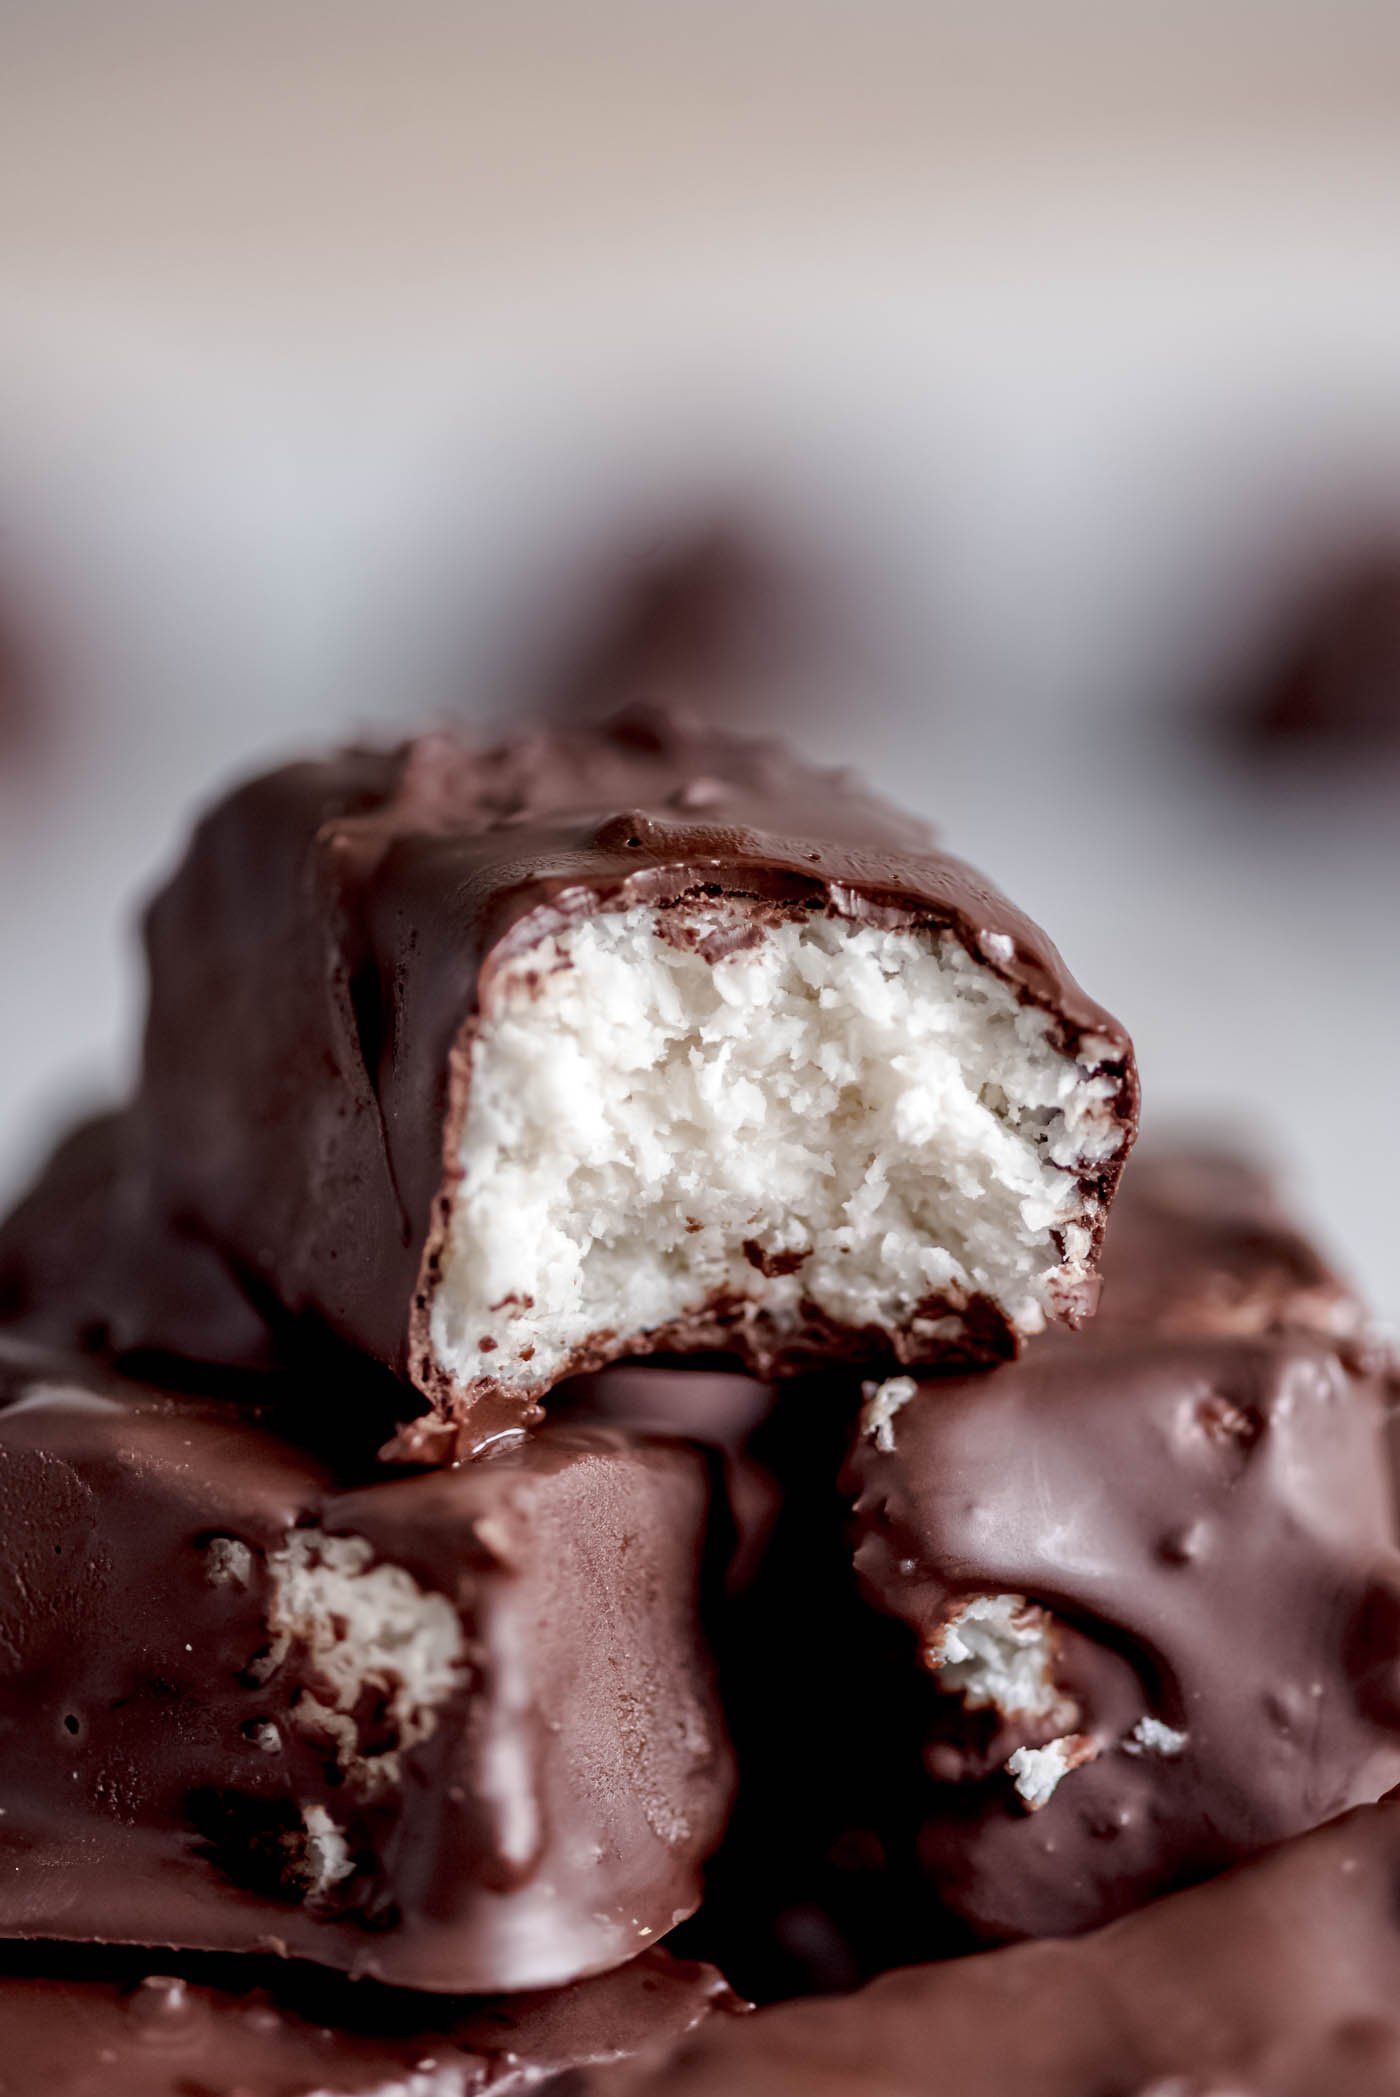
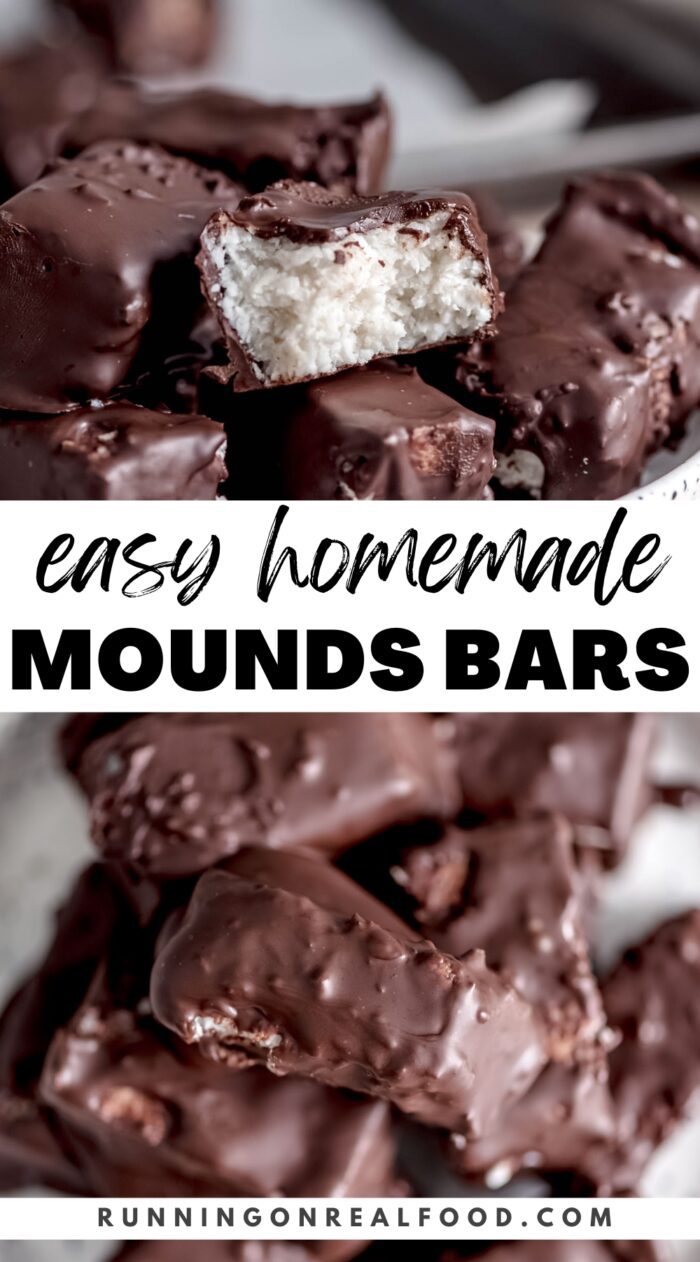
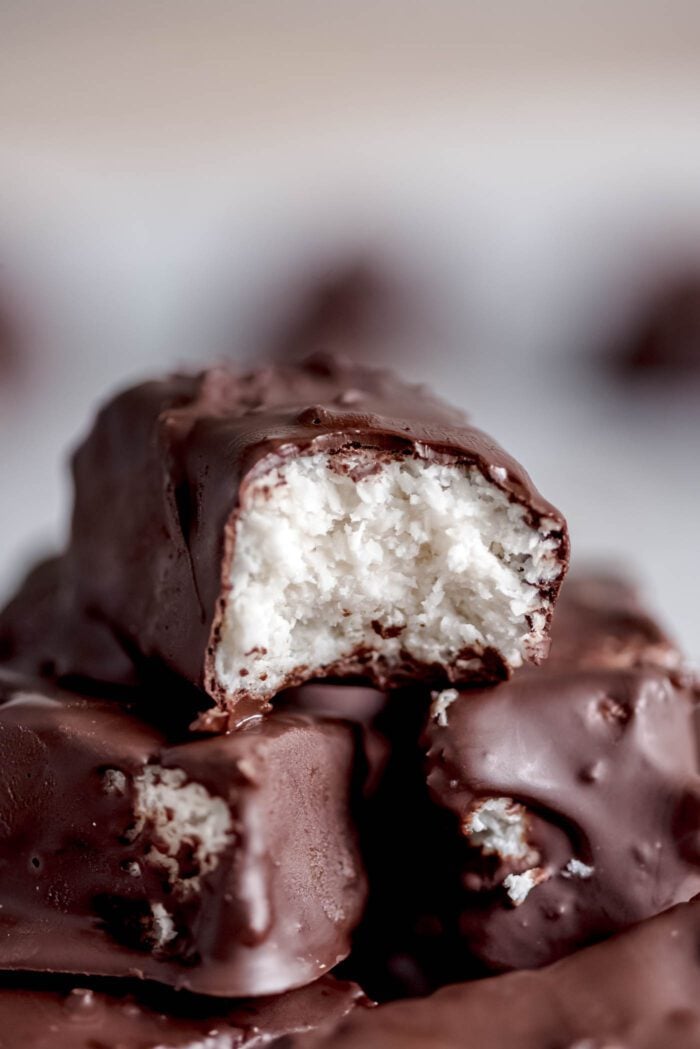
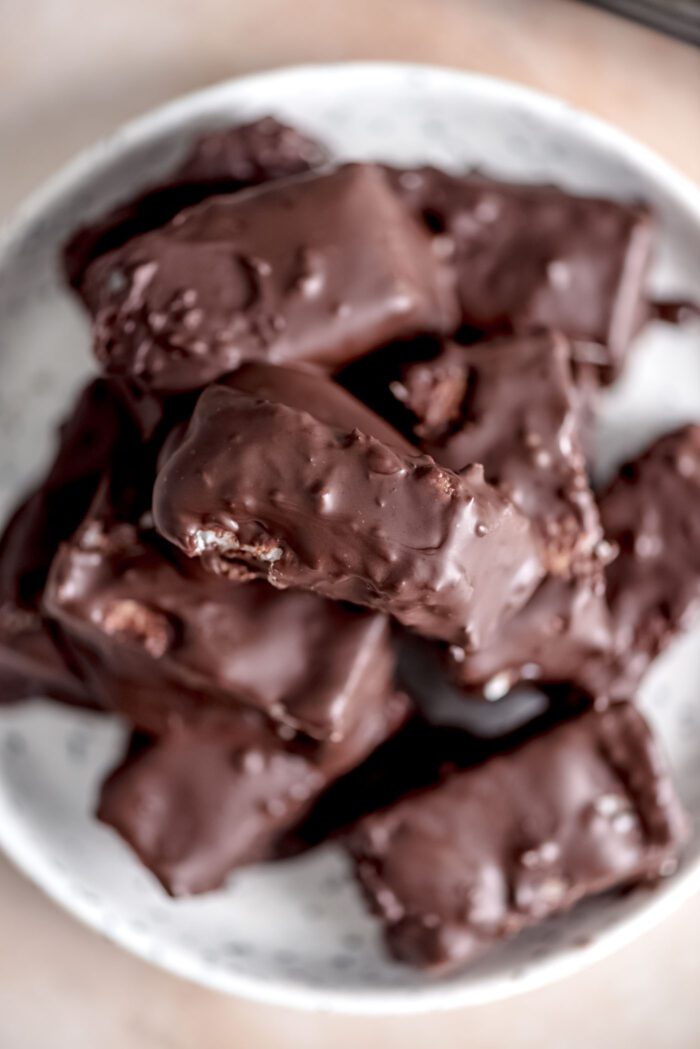
Enjoy this easy delicious combination of dark chocolate and creamy coconut Homemade Mounds Bar Recipe.
About the recipe
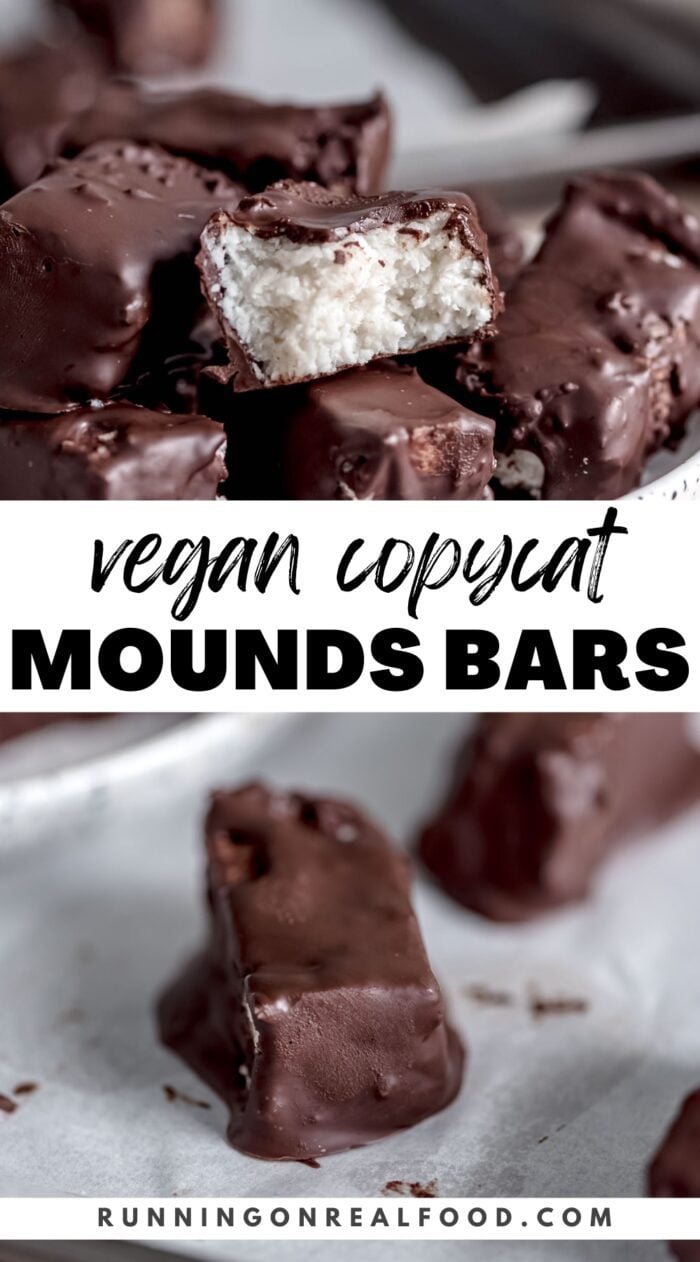
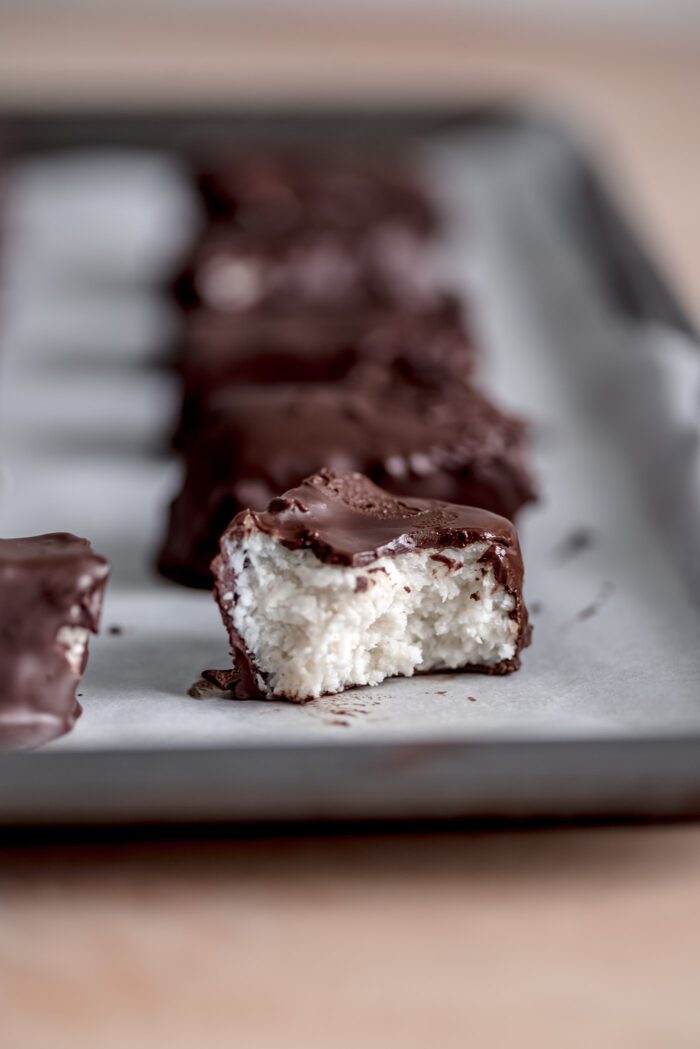
Are you a fan of Mounds Bar? Or maybe you’re more familiar with bounty bars? This is homemade Mondays Bar Recipe A copycat version of these two popular candy bars, with a creamy coconut filling dark chocolateJust like the original.
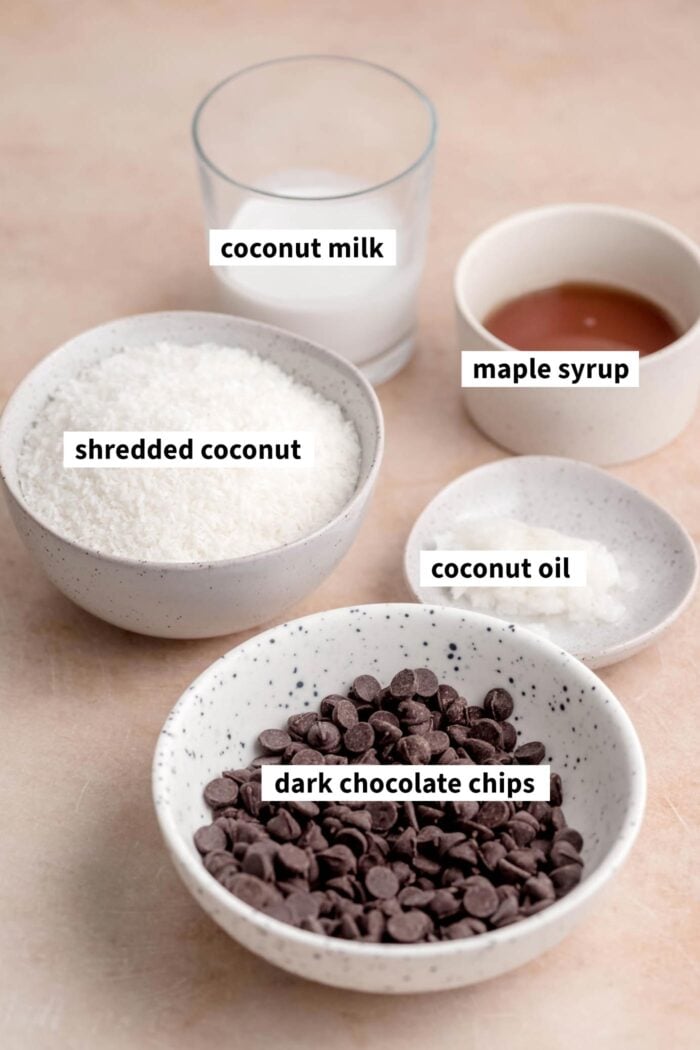
Here is the recipe Made with just 5 simple ingredients – Coconut, coconut milk, Maple syrup, coconut oil and chocolate. Although Simple, the bars are rich, decadent And sure to hit the spot.
to follow Below are step-by-step instructions and tips for making these sweet chocolate coconut treats with success!
Material notes
The complete ingredient list with measurements is located on the recipe card at the end of the post. Use it when you are ready to proceed with the recipe.
- Shredded coconut: The recipe calls for unsweetened coconut (dessicated coconut). You can use sweetened coconut, which will be just as good as the original bars, but the bars will be much sweeter and of course have more added sugar.
- Coconut milk: You will need canned full-fat (regular) coconut milk. Shake well before opening! Do not use carton or light coconut milk. Canned coconut cream will also work.
- coconut oil: I used refined coconut oil But suitable refined or unrefined.
- Maple syrup: You can substitute another liquid sweetener such as agave syrup or honey.
- Chocolate chip: darkness Chocolate chip Recommended but you can also use dairy-free milk chocolate chips or any semi-sweet chocolate.
variety
- Win Nuts: Add whole almonds on top of each bar before coating in chocolate.
- mint: Add a few drops of peppermint extract to the coconut mixture.
- Toasted Coconut: Before blending the coconut, toast on a baking sheet at 350 F for 5-10 minutes until lightly golden.
- Nut Butter: Add 2 tablespoons of peanut butter (or almond butter) to the coconut mixture.
Step by step guide
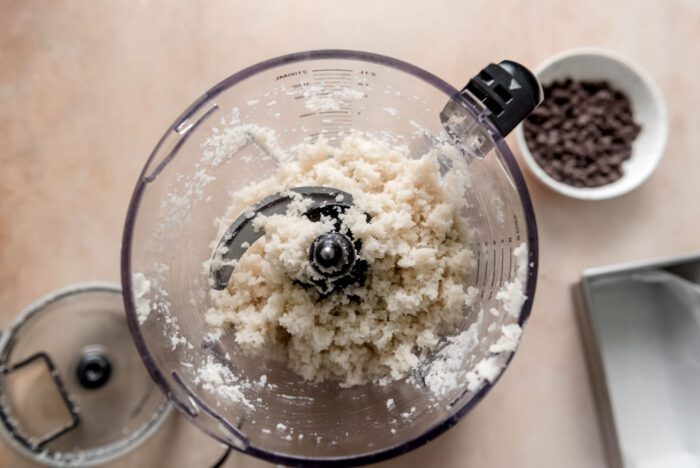
Step 1: Mix the coconut filling
Add coconut, coconut milk, coconut oil And Maple syrup at a high speed blender or food processor And blend until the mixture becomes a paste.
You want the fat to start coming out of the shredded coconut so this may take a few minutes. You may need to stop and scrape the sides every 20-30 seconds.
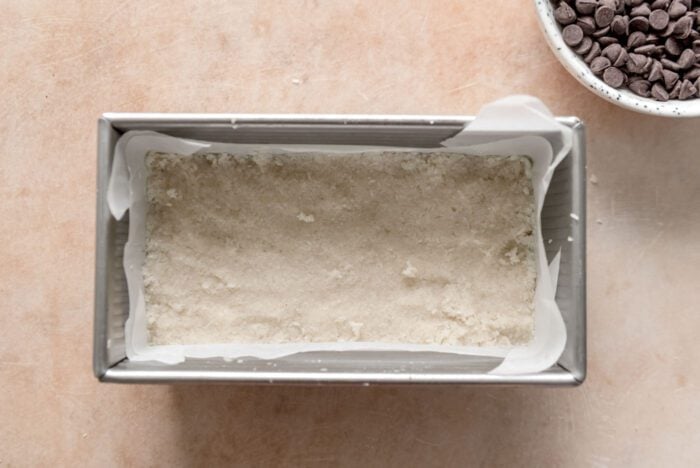
Step 2: Freeze the bars
A 9×5-inch line Bread making pan with Parchment paper So you should be able to lift the bars from the pan, then firmly press the coconut mixture into the pan. You can also use an 8×8-inch pan, but the bars will be quite thin.
Refrigerate the bars for at least 1 hour.
Step 3: Melt the chocolate
when you are The bars are almost ready to pull from the freezer, melting the chocolate Microwave in 20-second increments or using a double boiler, until completely smooth.
When melting the chocolate for the coating, I like to use ad libitumouble boiler or a heatproof bowl set over a small pot of boiling water on the stove. This gentle heating method helps melt the chocolate evenly and prevents it from burning.
Quick Instructions: I added 2 tablespoons of melted coconut oil to the chocolate to thin it out and make it easier to coat the bars. This is optional. After you melt the chocolate, determine if it might help. It will depend on the brand of chocolate and cacao ingredients.
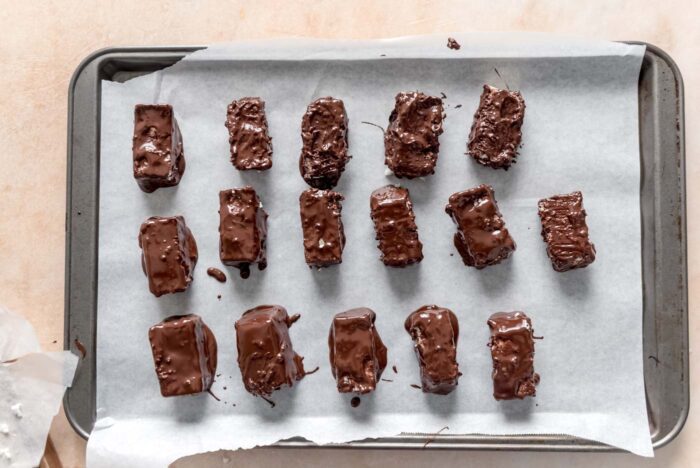
Step 4: Coat bars in chocolate
Line a baking sheet with Parchment paper. Lift the bars from the pan using its edges Parchment paper and cut into 16 parts.

Use two forks to dip the bars in the chocolate, coating all sides.
You can also sprinkle chocolate over each bar which is a little quicker and easier but won’t coat the bottoms.
Quick Instructions: After coating the bars with chocolate, gently tap the baking sheet on a flat surface to release any air bubbles trapped in the chocolate for a smoother, more polished look.
Step 5: Chill Bar
Refrigerate the pan for 30 minutes or until the chocolate is set, about an hour.
Recipe FAQs
You will only need 10-15 minutes to make the bars, however, you will also need about 90 minutes of cooling time. Total time required is around 1:45 hours.
Yes, you can use sweetened coconut flakes for homemade mound bars. However, you may need to adjust the amount of maple syrup for added sweetness, or you may not need it at all.
It depends on your healthy version, but making your own can be a healthier option because you have control over the ingredients used. This recipe uses maple syrup as a natural sweetener and dark chocolate for a low-sugar alternative. It is dairy-free, vegetarian and gluten-free.
Ingredients in store-bought Mounds bars are corn syrup, semi-sweet chocolate, lecithin, milk, coconut sugar, salt, hydrolyzed milk protein and sodium metabisulfite (not vegan-friendly or dairy-free).
Expert tips
- If you want to skip coating the bars in chocolate, I recommend making them in an 8×8-inch pan. You don’t need to chill the bars, then add the chocolate. Simply press the coconut mixture firmly into the pan, top with melted chocolate then freeze until firm. Once set, remove from pan and cut into squares.
- You have a few options for coating the chocolate:
- Just press the coconut into the pan and top with the melted chocolate as mentioned in the above point.
- Drizzle each bar with chocolate in the pan. It’s easier and will use less chocolate, but the bottoms won’t be coated.
- Dip each bar directly into the melted chocolate and flip over to coat completely. I like this method, it just takes a little longer and you may need some extra chocolate. I like to add 1-2 tablespoons of melted coconut oil or plant-based butter to the chocolate to thin it out and make it more spreadable.
- measurement: This is not required but I always recommend using a digital scale to measure your ingredients accurately.

Storage instructions
- The bars must be kept cold, Either in the fridge or freezer.
- You can store them in a sealed container in the fridge for up to 2 weeks. I would recommend freezing if you will be eating them in less than a week.
- You can store them in a sealed container in the fridge for up to 3 months. If frozen, let sit at room temperature for 5-10 minutes before eating. They will soften quickly if it is hot.
Have you tried this recipe?
⭐⭐⭐⭐⭐
I’d love to hear about it! Click here to leave a review and be sure to tag me @runningonrealfood if you post it on social media.
printed
description
Indulge in this homemade copycat version of the classic Mounds bar, featuring a creamy coconut filling wrapped in rich dark chocolate.
- to prepare: Line a 9×5-inch baking pan with parchment paper.
- Blend the coconut mixture: In a food processor or high-speed blender, combine all ingredients except chocolate chips. Pulse until the coconut breaks down well and the mixture starts to resemble a paste. This may take a few minutes.
- Press the bar in the pane: Spread coconut mixture on lined baking pan and press firmly into an even layer. Refrigerate for at least 1 hour to harden.
- Melt the chocolate: After at least 1 hour, remove the baking pan from the freezer and let it thaw for a few minutes while the chocolate chips melt. To melt the chocolate chips, place in a microwave-safe bowl and microwave in 20-second increments until all the chips are melted, stirring between increments. Alternatively, use a double boiler or heatproof bowl set over a small pot of simmering water to melt the chocolate.
- Slice Bar: Remove the parchment paper with the coconut mixture inside from the baking pan. Cut the sheet into 16 bars and place on a baking sheet lined with parchment paper.
- Coat Bars in Chocolate: Drizzle melted chocolate over each bar or dip each bar in chocolate using a spoon and fork. You may need a little more melted chocolate chips to fully dip each bar.
- Chill Bar: Refrigerate the chocolate-covered bars for at least 30 minutes or at least one hour to harden. enjoy
Comment
Store the bars in a sealed container in the refrigerator for up to two weeks or in the freezer for up to 3 months. If frozen, thaw at room temperature for a few minutes before eating.
If you find that your melted chocolate is quite thick and difficult to drizzle or dip the bars into, add 1-2 tablespoons of melted coconut oil to thin it out.
Keywords: Homemade Bounty Bar