


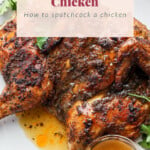
Learn how to arrange a spatchcock chicken and then cook it to perfection. The Spatchcock chicken recipe You get the juiciest herbed chicken meat and super crispy skin.
There are so many different ways to cook chicken. We have so many delicious chicken recipes on FFF. We love chicken thigh recipes, easy chicken breast recipes, chicken casserole recipes and everything in between.
What is a spatchcock chicken?
A spatchcock chicken is a method of cooking a whole chicken that involves removing the spine to allow the chicken to shape and cook faster. Spatchcock chickens are sometimes called butterfly chickens; they are one and the same.
Even when it comes to making a whole chicken, we’re big fans of spatchcock chickens! Why Spatchcock Chicken?
- Spatchcock chicken is the best way to get crispy chicken AND juicy meat.
- With the spatchcock, you get an even roast because everything is laid out flat.
- Because the chicken lies flat on a baking sheet or refrigerated rack, the cooking time is shorter.
- Because the chicken is already flat, it’s easier to carve after it’s cooked.
PS Check out our Spatchcock Turkey Recipe for similar flavors!
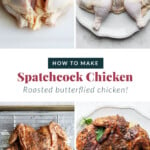
How to spatchcock a chicken
Don’t be afraid to puree your chicken. It’s SO much easier than you think! It’s actually just two steps to flatten your spatchcock chicken.
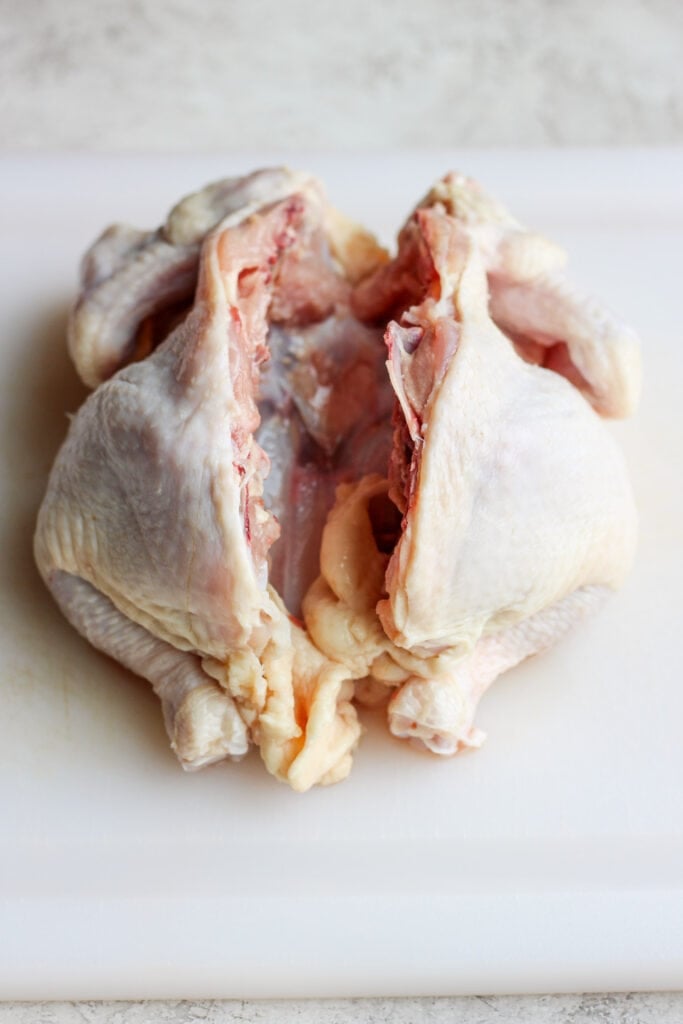
Cut out the back
Before you remove the chicken’s backbone, make sure you have a pair of them very sharp kitchen scissors or poultry shears. This makes the whole process easier than using a knife.
If you have sharp kitchen shears, lay the chicken flat on its breast. Start at the back of the bird and cut along one side of the bird’s spine. Then repeat on the other side of the spine.
Once the spine is completely removed, the bird should stand out.
internal temperature of the chicken
According to the USDA, the safe cooking temperature for poultry is 165°F.
Let yourself rest: Remember to let the chicken rest for 5 minutes after cooking to allow the internal temperature to rise by about 1.5°C.
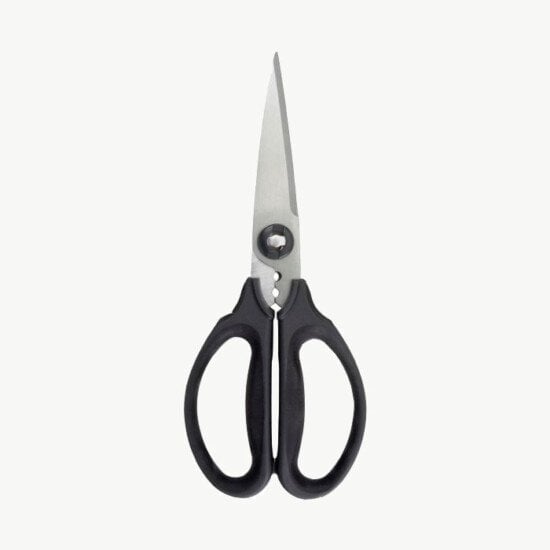
The best
kitchen scissors
Theseu003ca href=u0022https://rstyle.me/+s9YbYtB4SbQkHqdKH2CZWQu0022 rel=u0022nofollow sponsoredu0022u003e OXO Kitchen Shearsu003c/au003e are the sharpest and most affordable kitchen shears on the market! Stock up on a pair for easy slicing in the kitchen.
Buy now!
Flatten the chicken
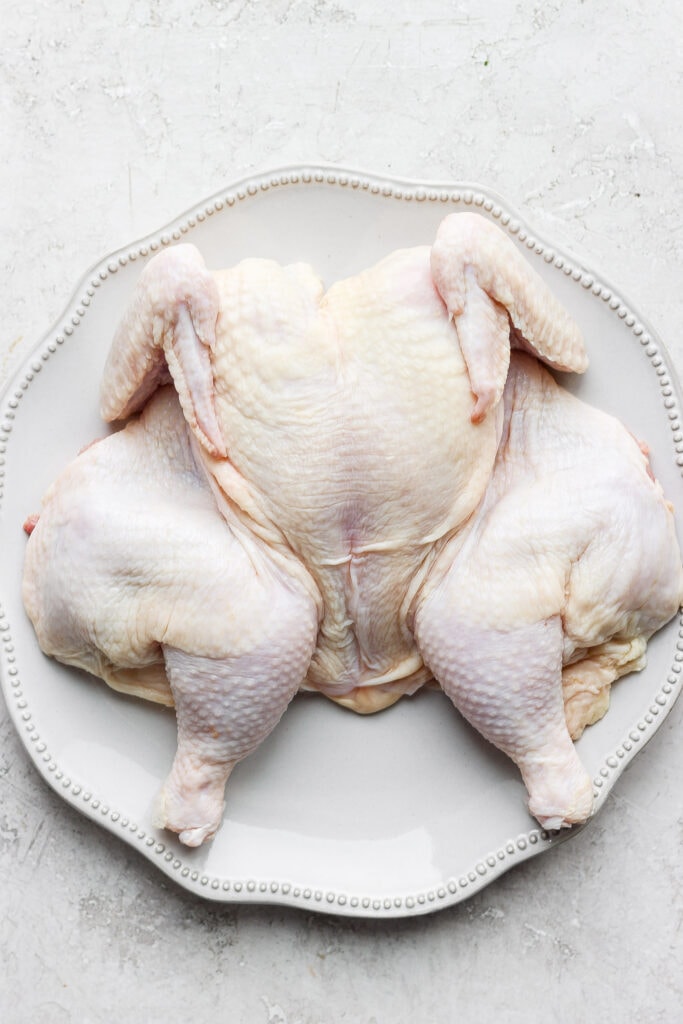
After removing the spine from the chicken, turn the chicken over and spread it out so the opening of the chicken is facing the flat surface.
Place your hand on the center of the chicken and press down so the breastbone breaks and the chicken lies flat on the surface.
That’s it! You beat up a chicken! Now it’s time to season and sear the chicken.

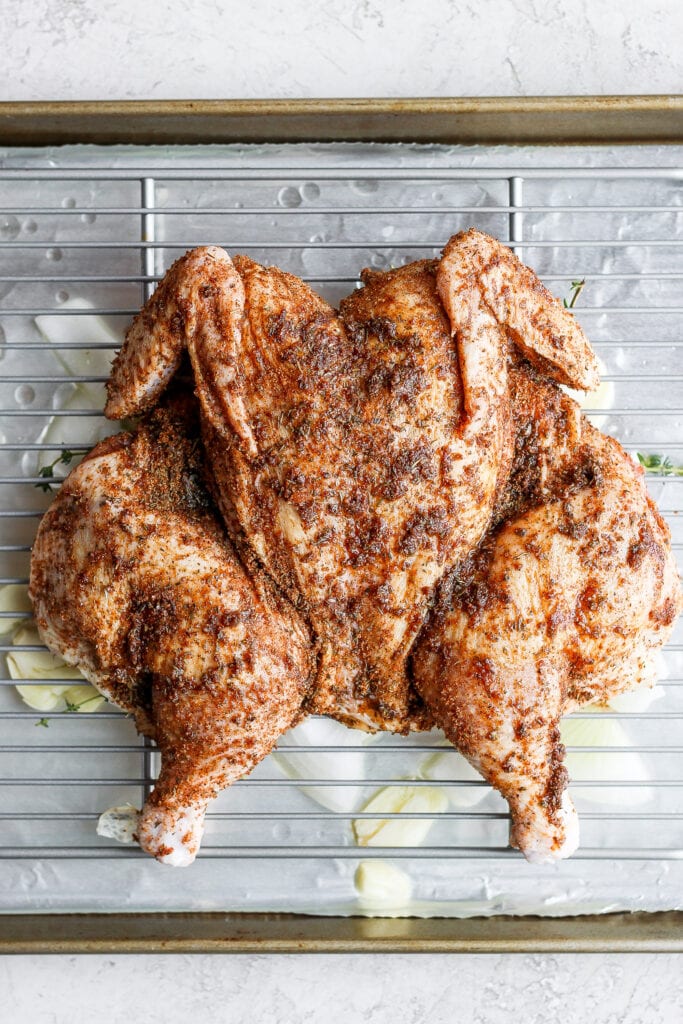
Don’t skip the dry rub
Once you’ve prepared the chicken with spatchcocks, it’s time to dry rub the chicken. Dry rubbing the chicken skin will help the chicken skin become flavored and crispy. Here are the seasonings you will need (these seasonings are very similar to the seasonings in our Chicken Dry Grate recipe).
Feel free to mix these spices together in a small bowl or in a mason jar if you plan to make a large batch and save for later.
- garlic powder
- chilli powder
- cumin
- Dried Thyme
- Ground mustard
- Dried Basil
- Ground black pepper
- Red pepper flakes
- sea-salt
- paprika
- Brown sugar
Before rubbing the chicken with this dry rub, rub a teaspoon of salt under the skin of the chicken meat. Then mix all the spices together and use the dry grater to rub the chicken skin all over and underneath.
refrigerate
After the chicken has been rubbed with the spices, place in the refrigerator, uncovered, for at least 2 hours (or overnight for best results).
Chilling the chicken allows the seasonings to penetrate the skin better and dry out the chicken’s skin (making it perfect for crisping).
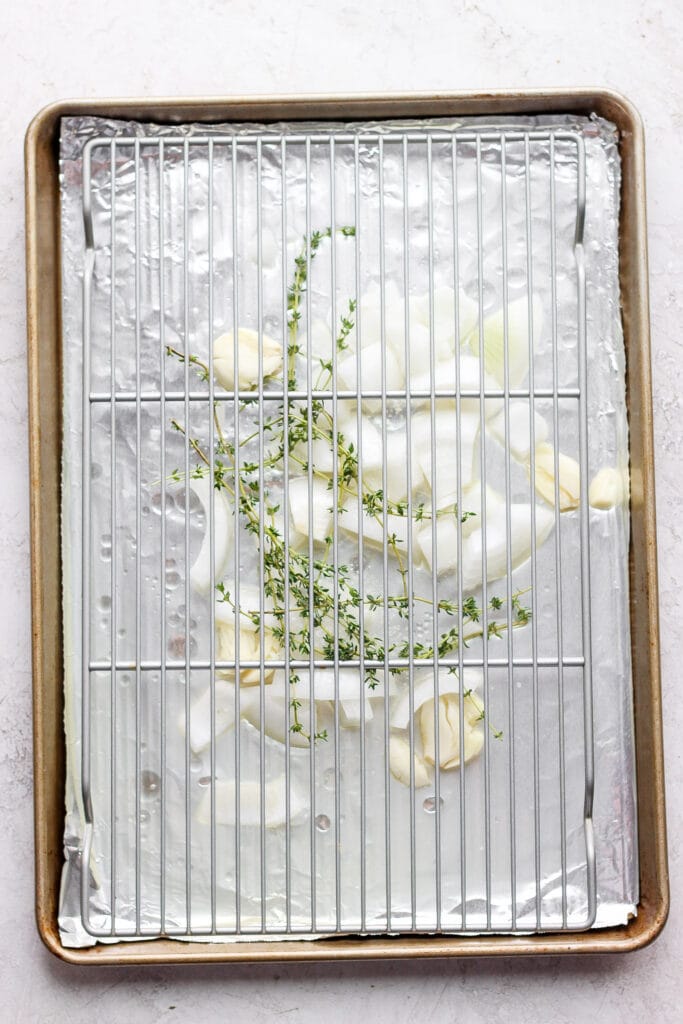
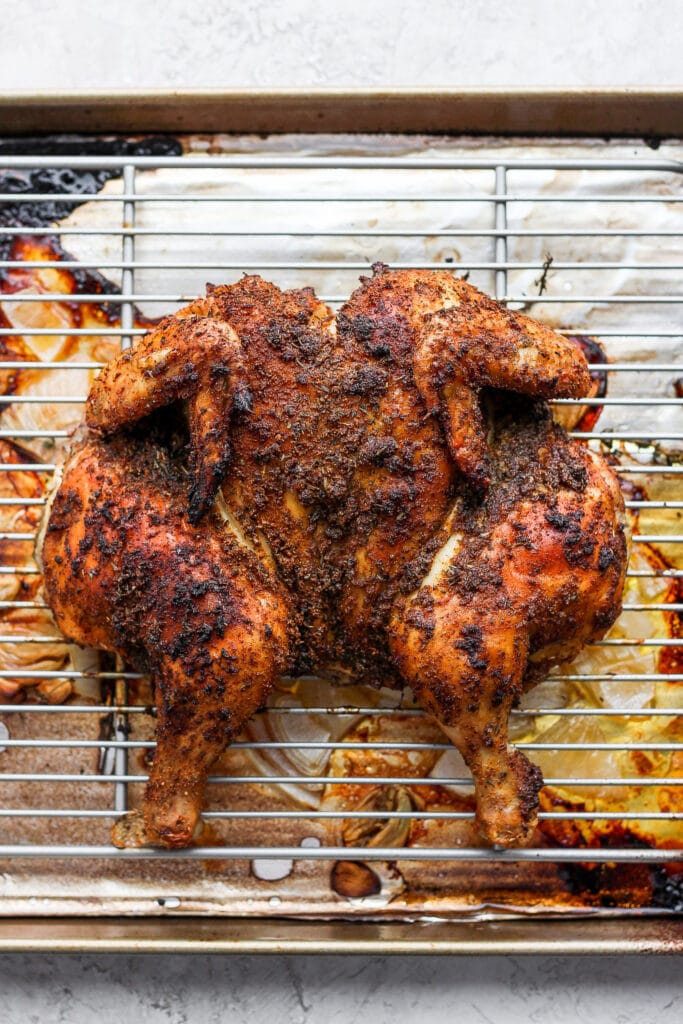
Don’t skip the baking rack
This is important! Don’t skip the rack on which the chicken is baked. Baking the chicken flat on a rack in a rimmed baking sheet is crucial for crispy skin!
How To Prepare Fried Spatchcock Chicken (Quick Guide)
- Prepare a baking sheet for the spatchcock chicken.
- Wipe excess moisture from the chicken with a paper towel.
- Butterfly the chicken.
- Rub the spatchcock chicken dry.
- Chill the chicken.
- Fry the spatchcock chicken.
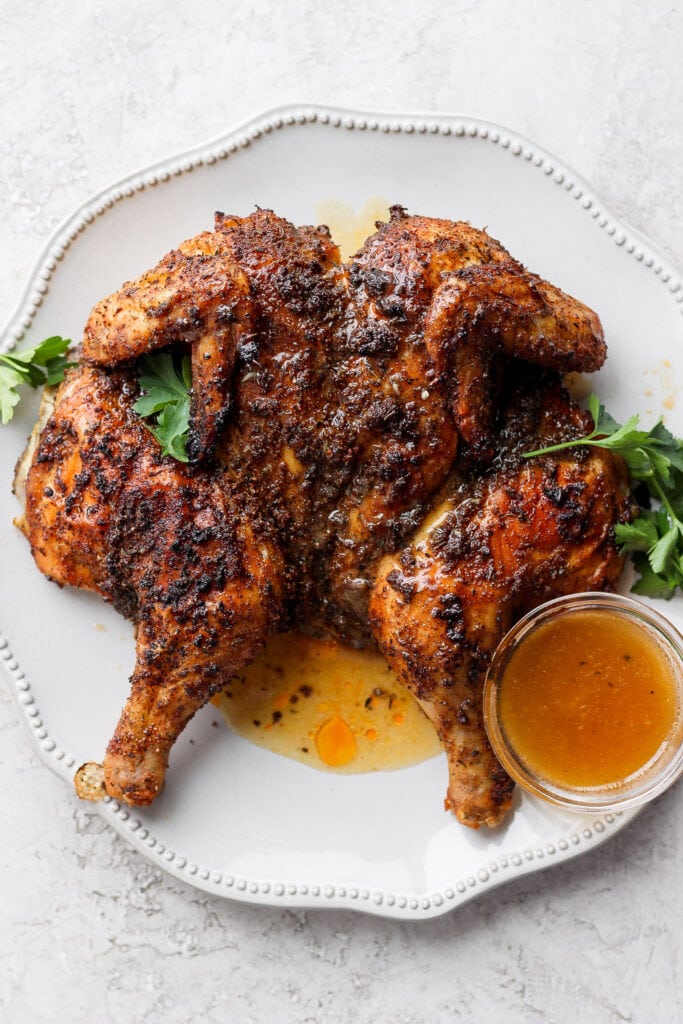
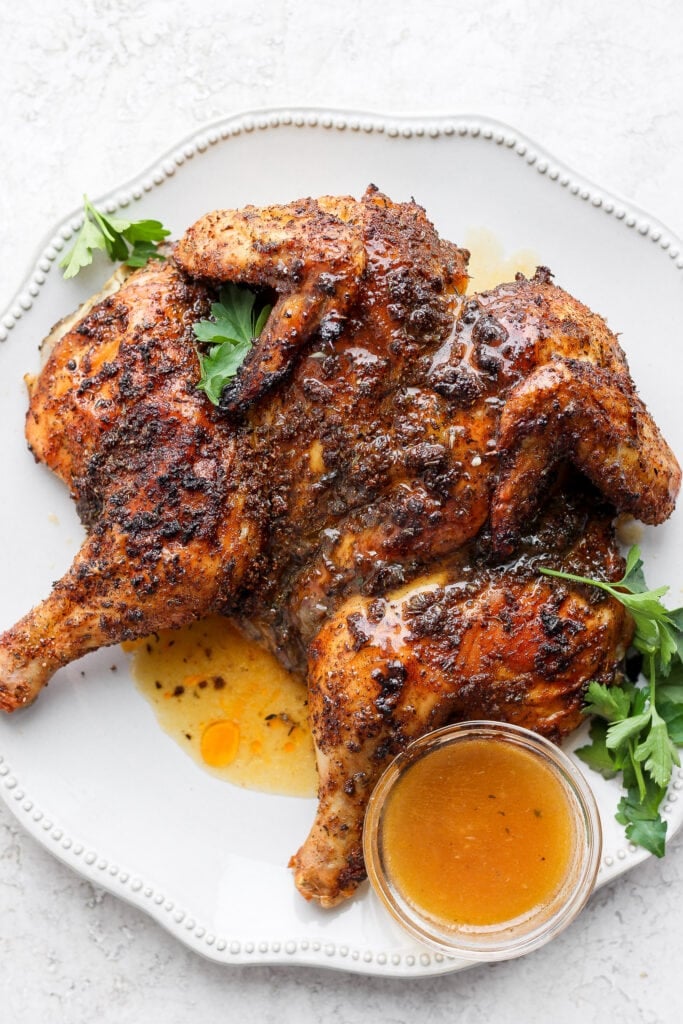
The secret of this spatchcock chicken
This spatchcock chicken has a delicious flavor secret – the gravy! To prepare the delicious gravy for this chicken, place aluminum foil on the baking sheet, then add onion, garlic, fresh thyme, white wine, broth, and olive oil to the baking sheet.
The chicken is fried over these ingredients on a metal rack and all the chicken fats fall onto the aluminum foil.
After the chicken is fried, take that delicious gravy that was simmering in the oven, put it in a saucepan, add 1 cup of the broth, and let it all simmer together.
When serving the chicken, pour the sauce over the chicken for an incredible burst of flavor.

Try it!
Thermoworks thermal pen
We swear by using a meat thermometer when cooking every cut of meat. The Thermapen is our go-to meat thermometer that always works.
buy now
Spatchcock Chicken Tips + Tricks
Spatchcock Chicken and Butterfly Chicken are the same. Butterfly is just a fancy word for spatchcock.
The recommended temperature for poultry is 165°F. We like to take our chicken out at around 160°F, let it sit and continue cooking for a while until you get a juicy spatchcock chicken.
Meal Prep Leftover Spatchcock Chicken
One thing we love about spatchcock chicken is that there are usually leftovers! Store the chicken in an airtight container in the fridge for up to 5 days and use the spatchcock chicken in salads, soups or any of your favorite chicken recipes!
Spatchcock chicken recipe
Learn how to arrange a spatchcock chicken and then cook it to perfection. Get the juiciest chicken and crispiest chicken skin with this Spatchcock Chicken recipe.
Preparation:2 hours
Cook:45 protocol
In total:2 hours 45 protocol
Ingredients
- 3 – 4- Lb. whole chicken
- 1.5 teaspoon Salt separated
- 3 tablespoon olive oil separated
- ½ White Onion chopped
- 4 cloves Garlic peeled and crushed
- 10 Sprigs of fresh thyme
- ¼ Cup dry white wine
- 1.5 cups broth each type (separately)
- 2 teaspoon lemon juice
- 2 teaspoon cornstarch
instructions
-
First, prepare the chicken seasoning. Mix all the spices together and set aside.
-
Next, remove the chicken from the packaging and place it on a clean, dry cutting board.
-
Wipe excess moisture from the chicken with a paper towel.
-
To spatchcock the chicken Lay the chicken breast-side down on a cutting board and, using very sharp kitchen scissors, begin slicing off one side of the spine through the ribs, then repeat the process on the other side of the spine. Discard the spine.
-
Turn the chicken onto the chicken breasts and use your hands to press the center of the bird, pressing down firmly to flatten the chicken.
-
Place the chicken on a large plate and gently separate the chicken flesh from the chicken skin with your hands.
-
Gently rub 1 teaspoon of salt under the skin of the chicken, making sure the chicken is coated in salt.
-
Next, season the whole chicken with the all-purpose chicken seasoning. Make sure all of the chicken is covered (skin, drumsticks, thighs, etc.). Then place the chicken in the refrigerator for at least 2 hours or overnight.
-
When ready to cook, preheat the oven to 400°F and line a baking sheet with aluminum foil.
-
Take the chicken out of the fridge and let it come to room temperature.
-
Place the onion, garlic, thyme, white wine, ½ cup broth, and 1 tablespoon olive oil on the aluminum foil and sprinkle with the remaining ½ teaspoon salt.
-
Place a metal rack over the foil and vegetables and carefully place the whole chicken, breast side up, flat on the metal rack.
-
Rub the chicken with the additional 2 tablespoons oil. Be sure to massage the oil thoroughly into the chicken.
-
Place chicken in oven and bake at 450F (200F) for 35-45 minutes, or until whole chicken is at least 350F internal temperature. Be sure to measure the temperature at the thickest points.
-
Remove the chicken from the oven and let it rest for at least 15 minutes. Your chicken should continue to cook at 5°F to reach an internal temperature of 165°F.
-
While the chicken is resting, prepare the sauce. Add all of the cooked vegetables, liquid, and herbs from the bottom of the pan to a small saucepan along with the remaining broth (1 cup).
-
Bring the sauce to a boil, then turn the heat down to medium/low and add the lemon juice.
-
Then carefully sprinkle the cornstarch into the sauce and whisk. Let the sauce cook over medium heat until thick. Remove from the heat and discard the herb stems.
-
Carve the chicken and serve with the sauce.
nutritional information
Calories: 475kcal Carbohydrates: 5G Protein: 56G Fat: 24G Fiber: 1G Sugar: 1G
Photography: The photos captured in this post are by Erin from The Wooden Skillet.